Spring and early summer bring a plethora of family holidays and birthdays in my world. But the last thing I want to do right now is linger in a grocery store looking for the perfect cards for everyone. So, I decided that DIY greeting cards were the route to take this year.
The problem with that? I have limited craft paper and no card stock in my craft stash. I’m just not a paper crafter in general, so I was going to have to get creative.
After some thought, though, it dawned on me that I did have something on hand to turn in DIY greeting cards. In fact, I had a whole box of them in our home office.
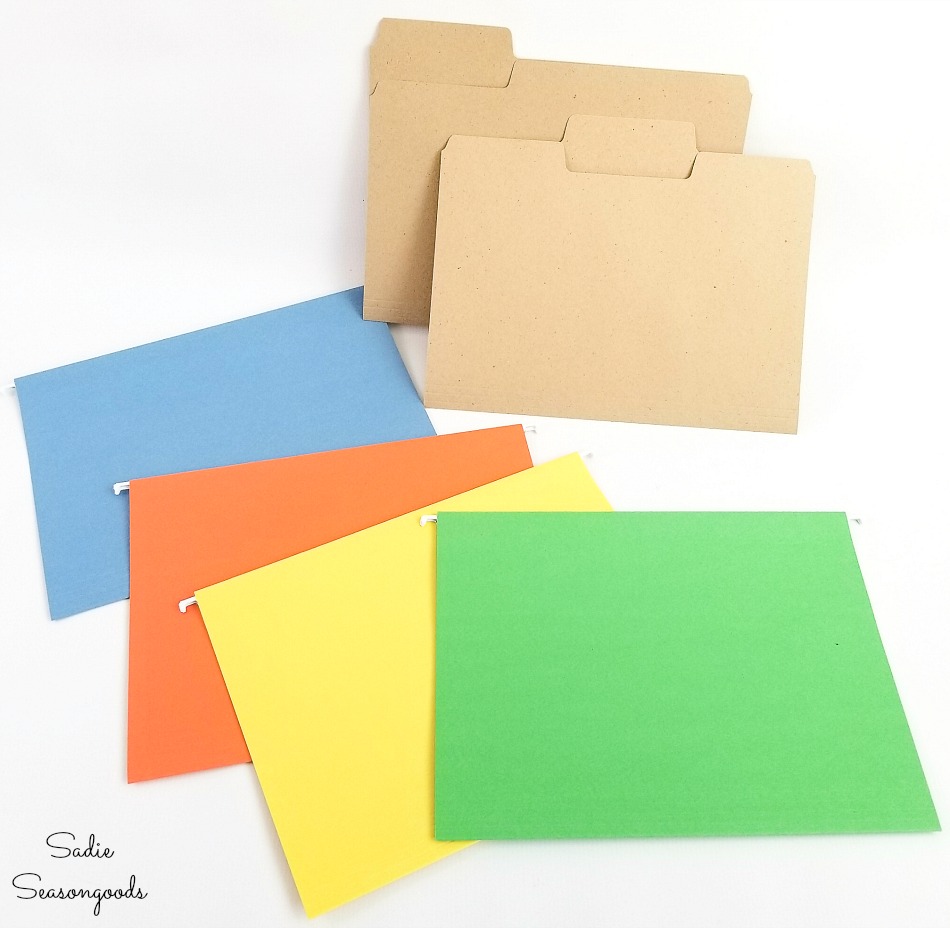
Image credit: Sadie Seasongoods.
File folders! Both the hanging kind and the regular version.
They were made with a heavy card stock paper AND they already had a strongly creased fold that would be perfect for DIY greeting cards!
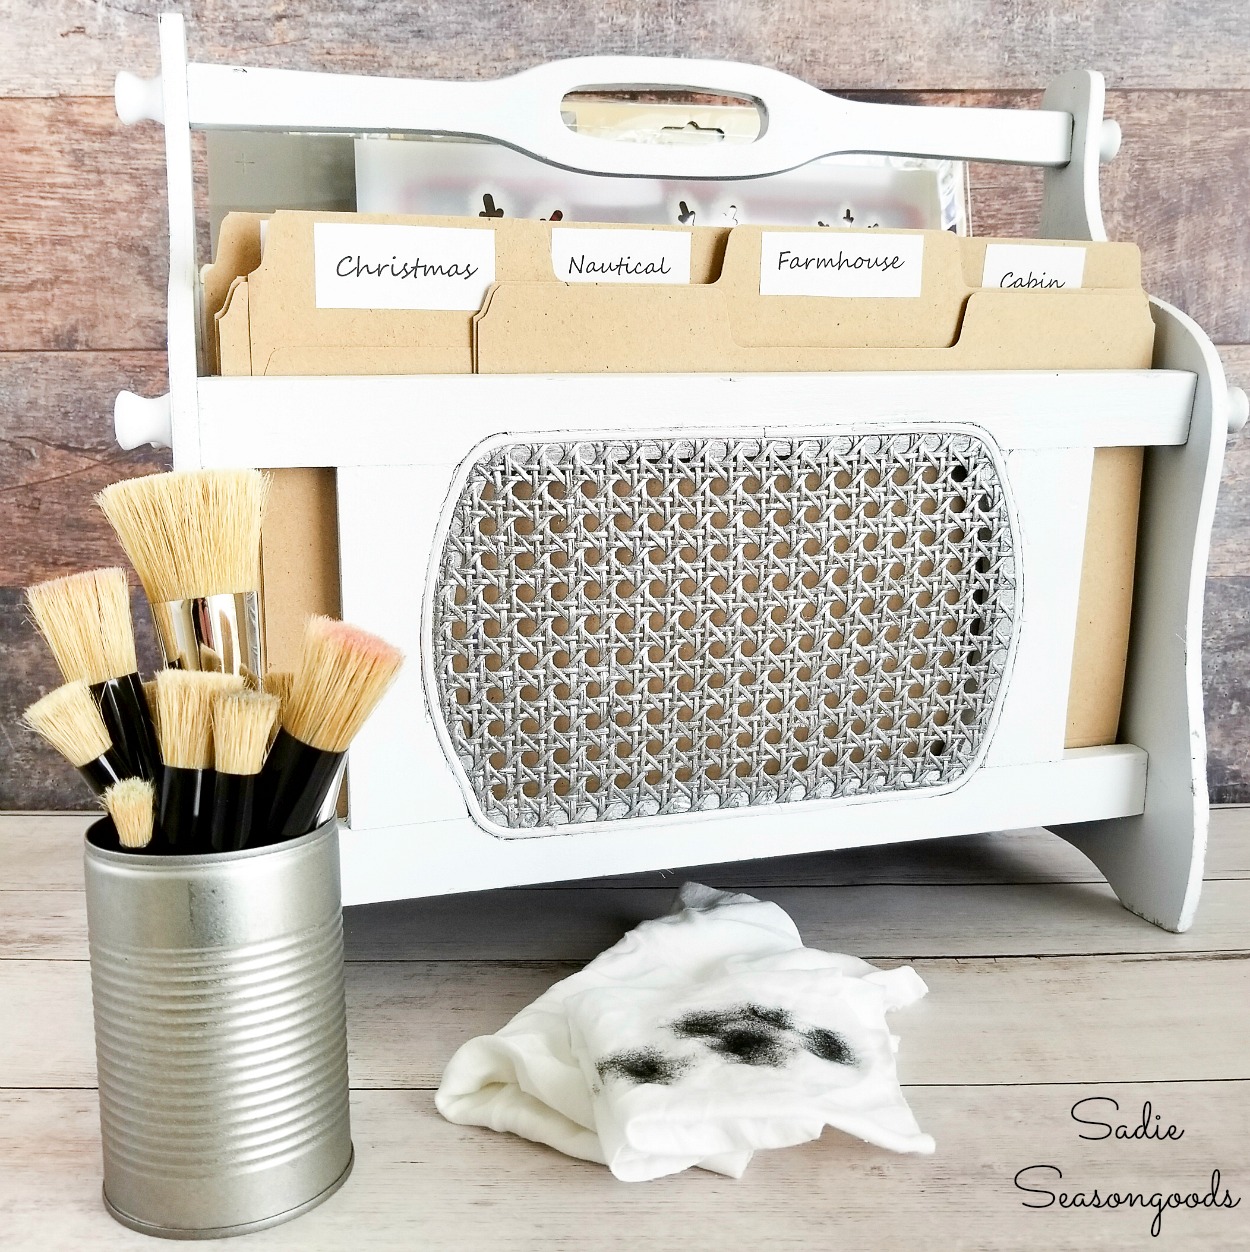
And while I don’t keep much card stock on hand, the same can’t be said for various paper ephemera. Heck, remember this project that I made to store all my little crafty paper bits?
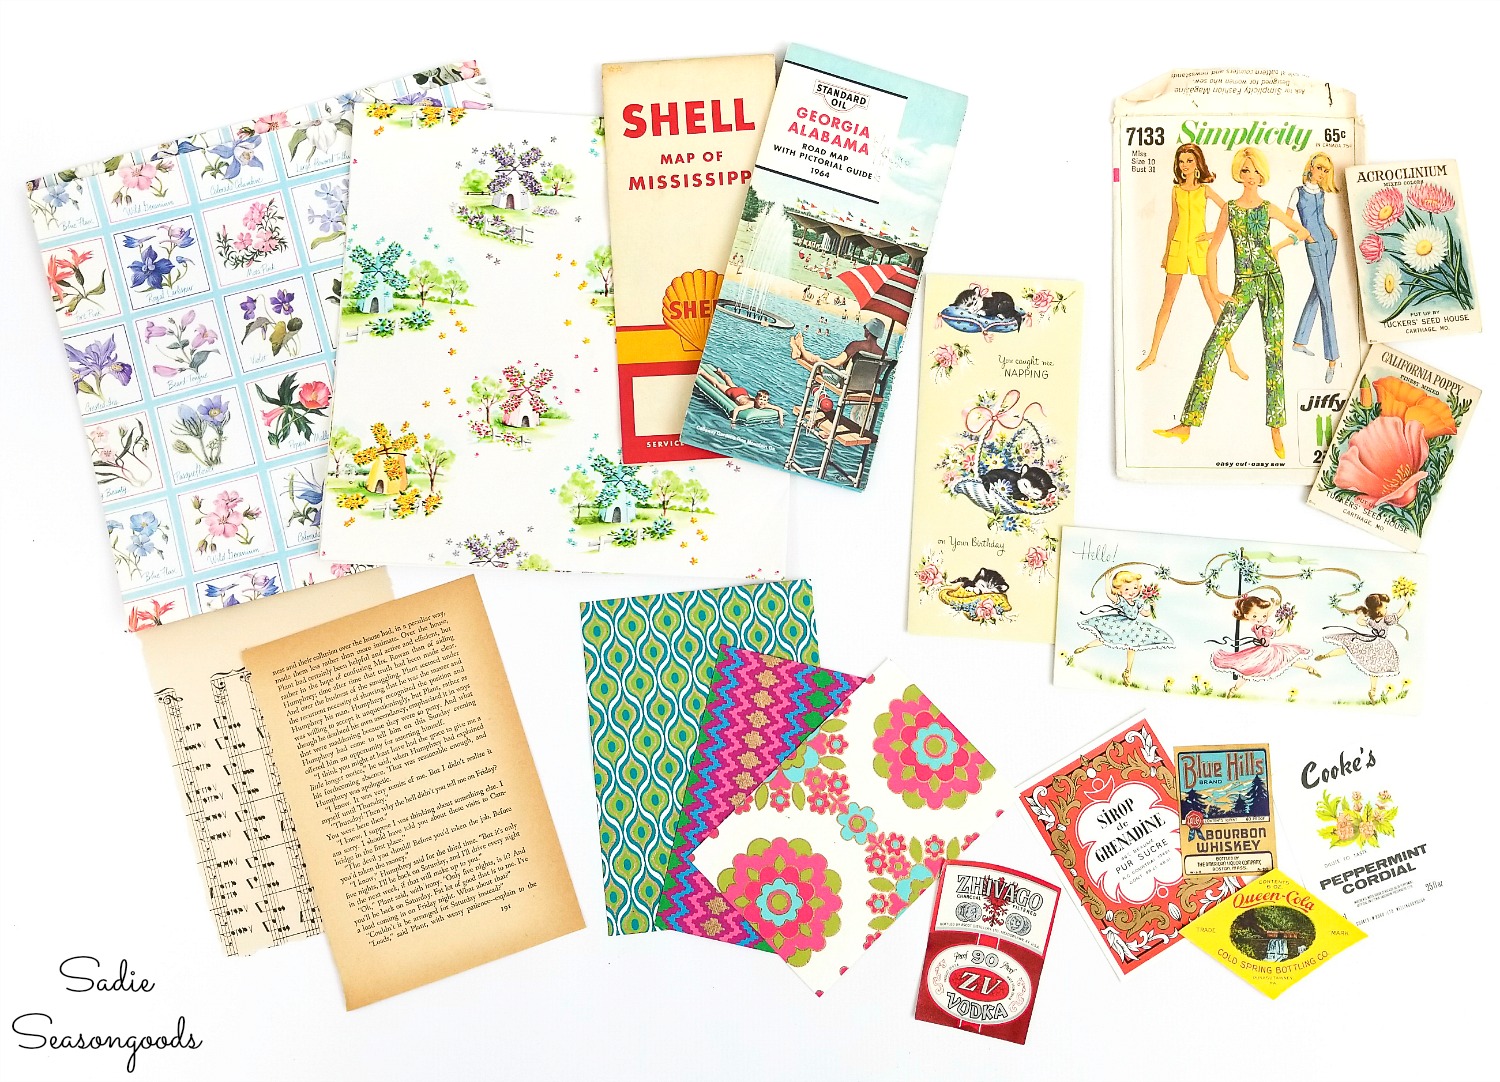
Image credit: Sadie Seasongoods.
I had plenty of labels, used vintage greeting cards, maps, and scraps of decorative paper to play around with.
So, with file folders and craft paper bits in hand, I was ready to make a few DIY greeting cards. Or at least try making them in hopes that they looked good enough to give someone!
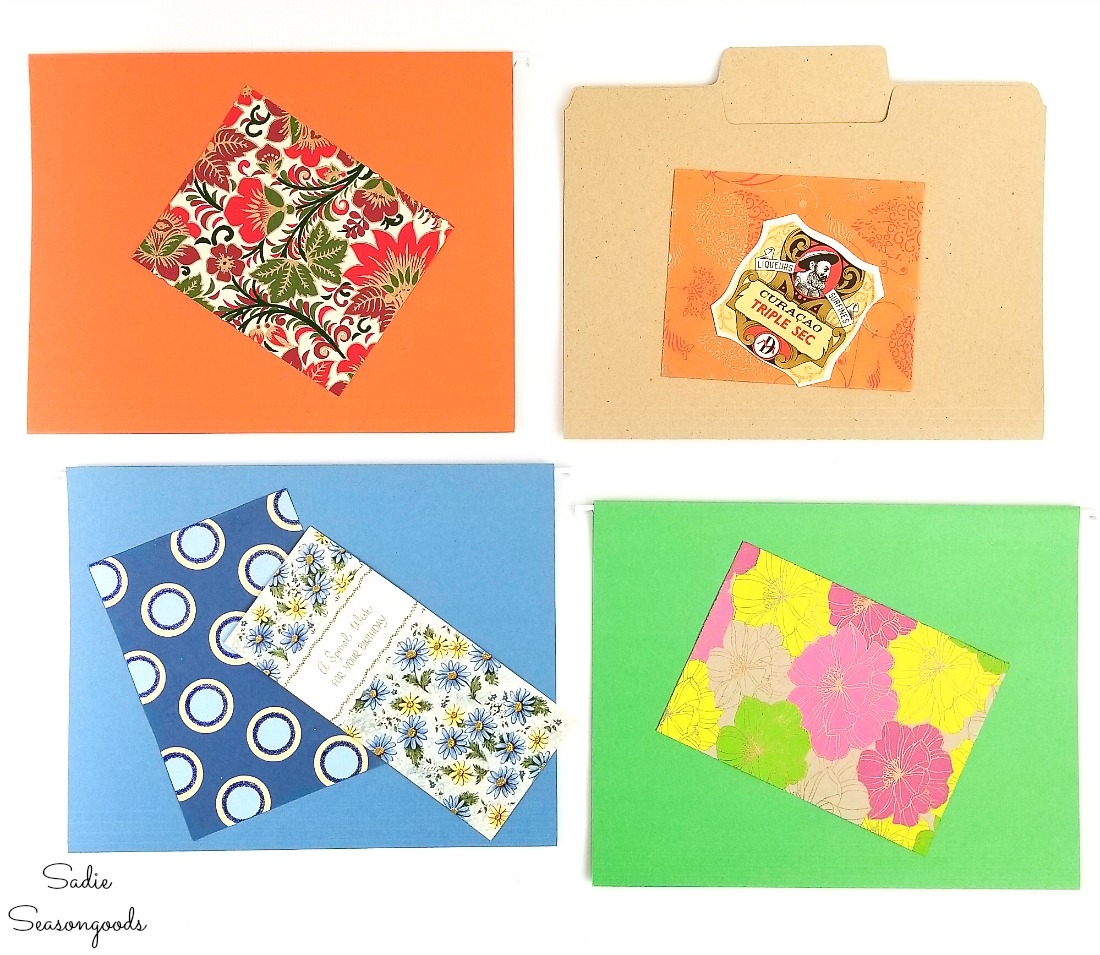
Image credit: Sadie Seasongoods.
This post contains affiliate links for your crafting convenience. As an Amazon Affiliate, I earn from qualifying purchases. All blue, bold, and underlined text is a clickable link, either to a product or to a related post.
Cardmaking with File Folders
Because I would need to mail some of these DIY greeting cards, I had to take stock of the envelopes I had. Most were leftover from boxes of Christmas cards.
Once I had an envelope picked out, I gathered a file folder and some cardmaking supplies (like a self-healing mat, scissors, etc.).
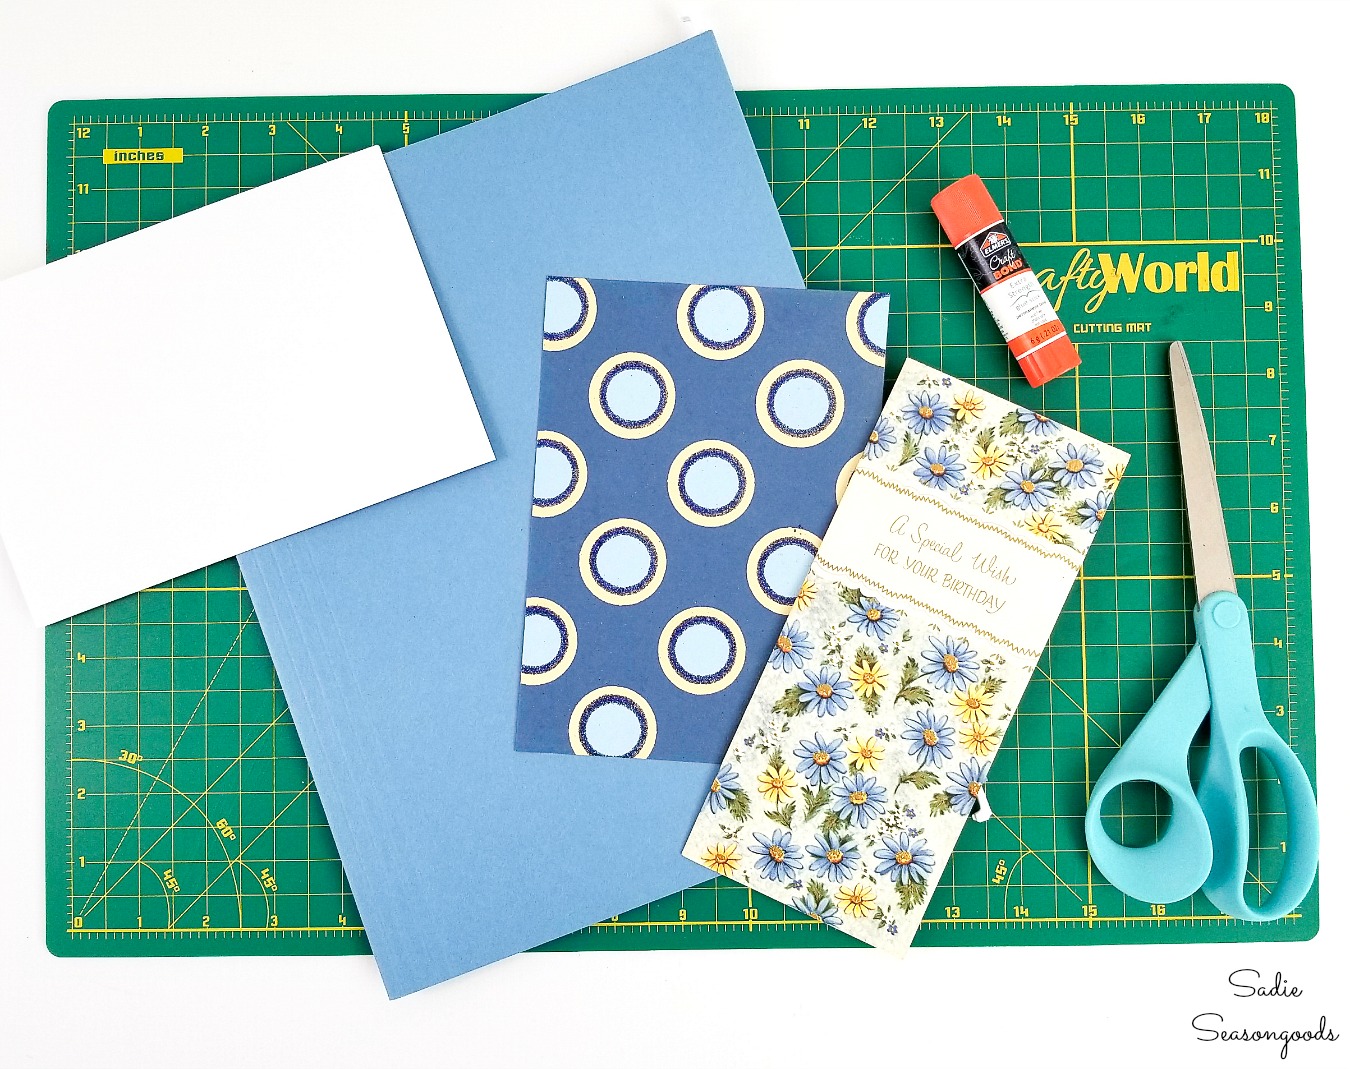
Image credit: Sadie Seasongoods.
First, using the envelope as a guide, I cut out a greeting card from the file folder that was just smaller than my envelope.
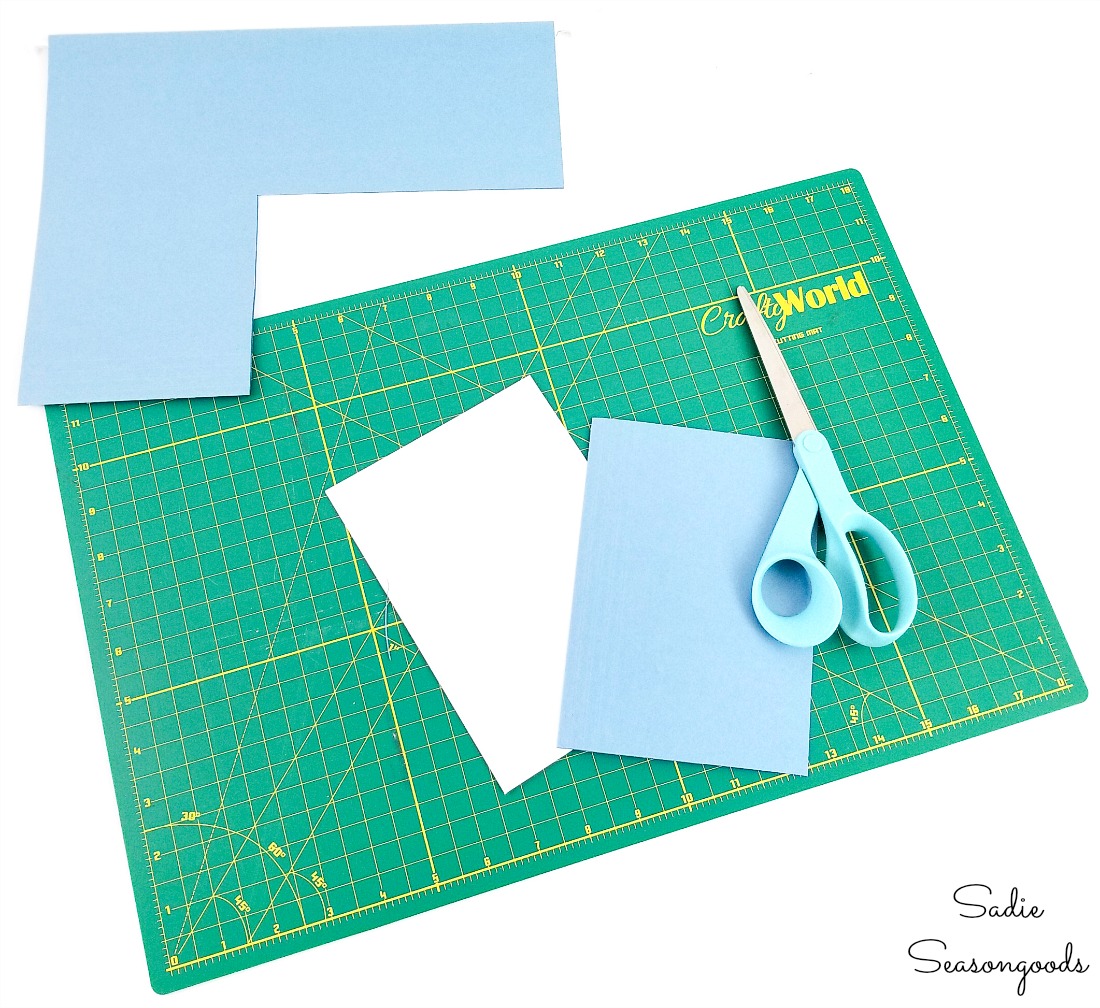
Image credit: Sadie Seasongoods.
But one thing I wasn’t counting on was the fact that the file folders were stamped inside by the maker!
Sigh.
But I had a work-around, and grabbed one of my sheets of label paper that I had leftover from my Etsy shop days.
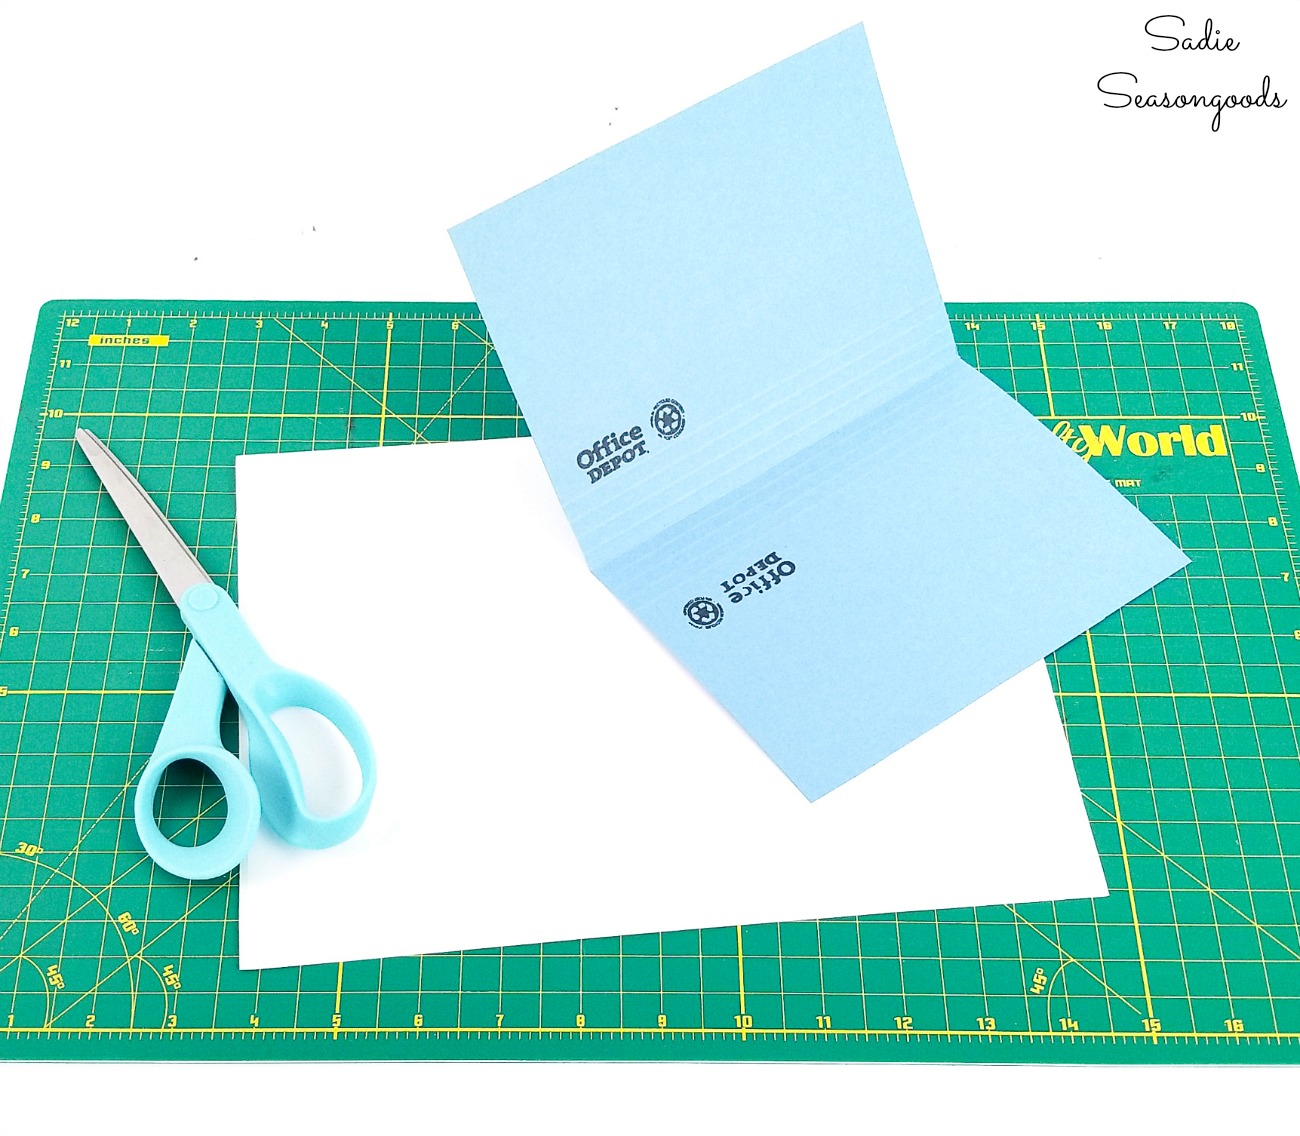
Image credit: Sadie Seasongoods.
Next, I cut out rectangles of label paper and stuck them on the insides of the card. Perfect- they covered up the Office Depot stamps AND gave me a nice white surface to write on!
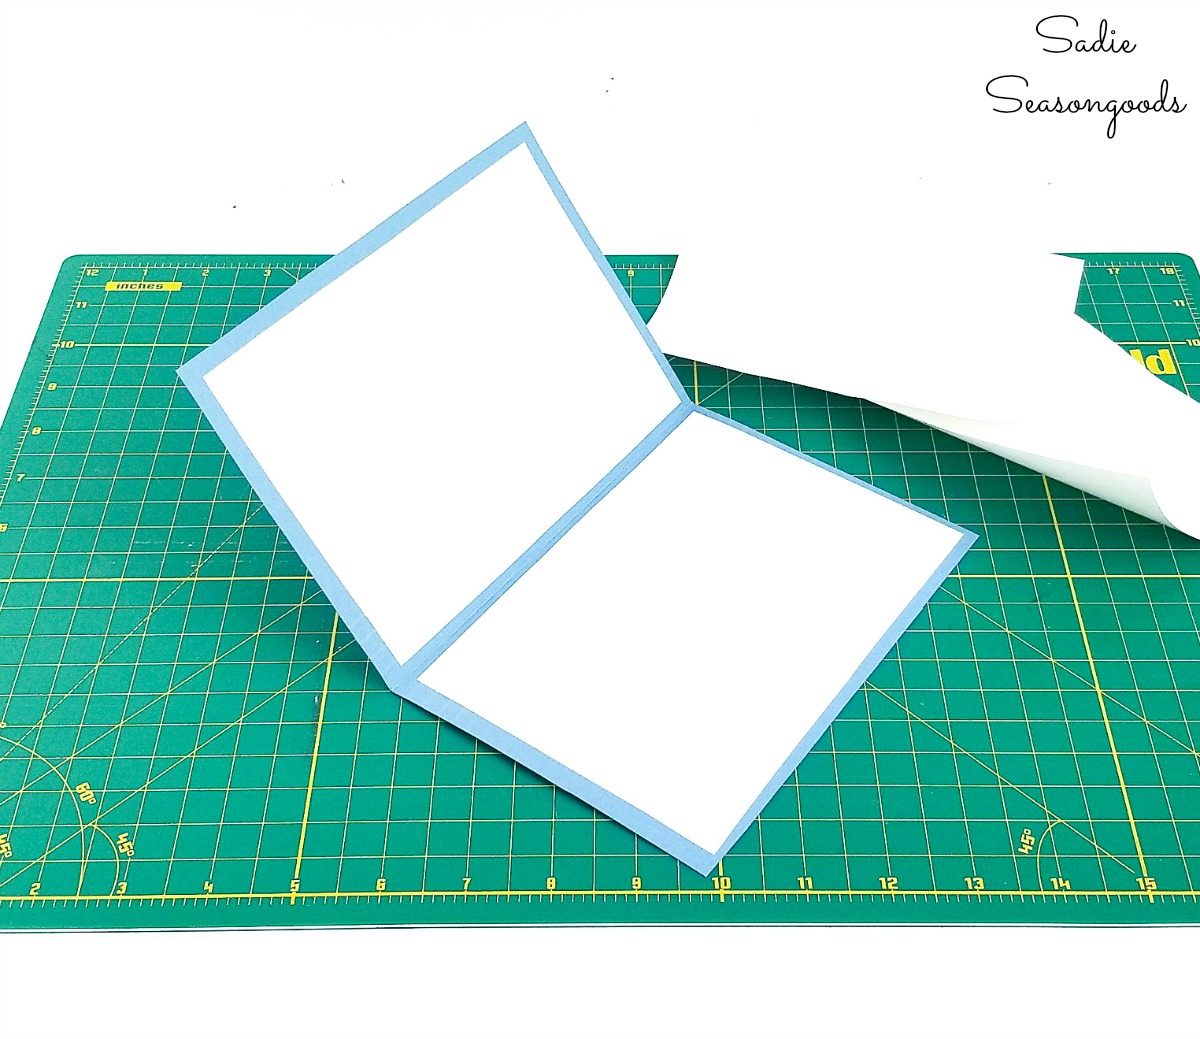
Image credit: Sadie Seasongoods.
Decorating the DIY Greeting Cards
Once the interior of the card was done, I focused on the exterior. Otherwise known as the fun decorating part!
First, I trimmed a piece of decorative paper to fit the front of the card. You can find great grab-bags of decorative paper or mulberry paper on Etsy, which are perfect for this kind of craft project.
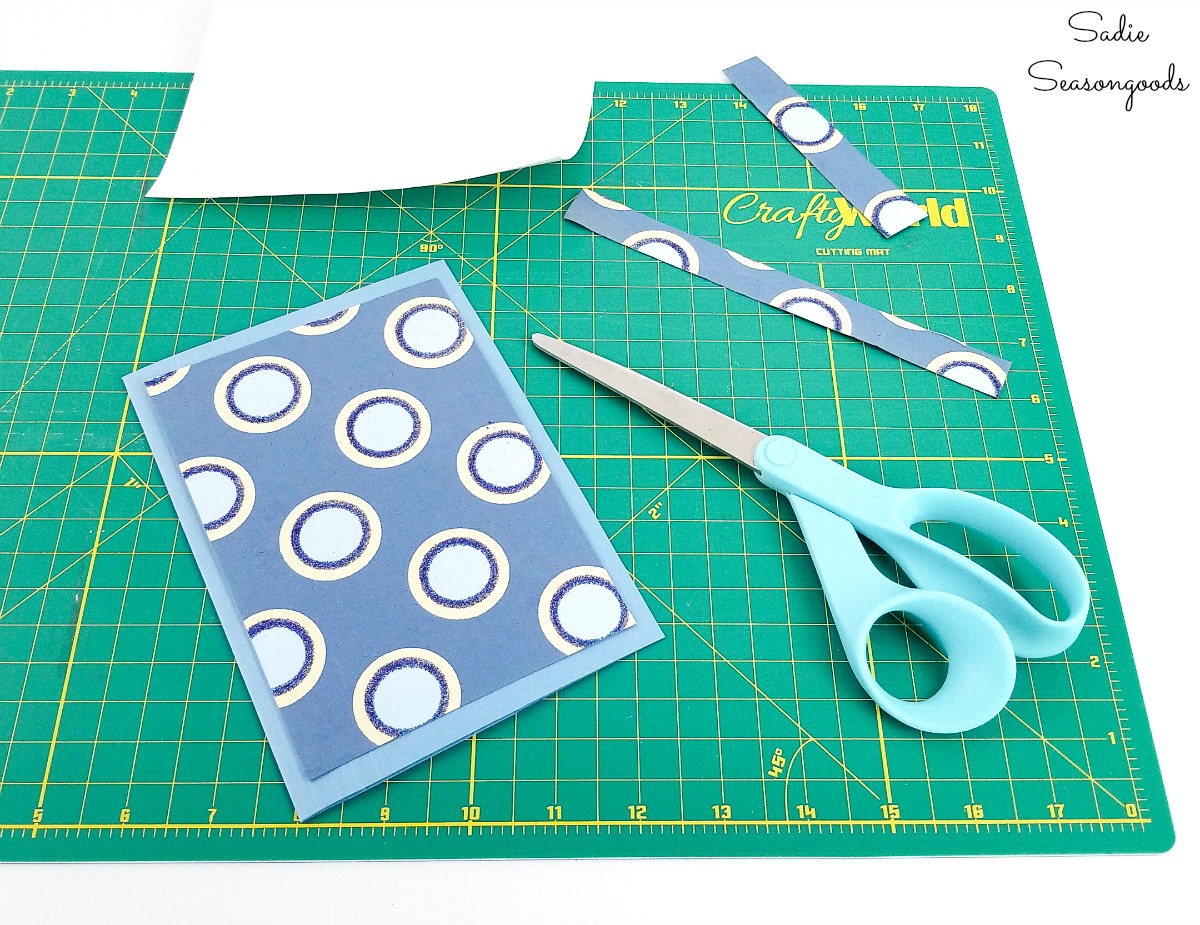
Image credit: Sadie Seasongoods.
Then, I salvaged part of vintage used greeting card to place on top of the decorative paper.
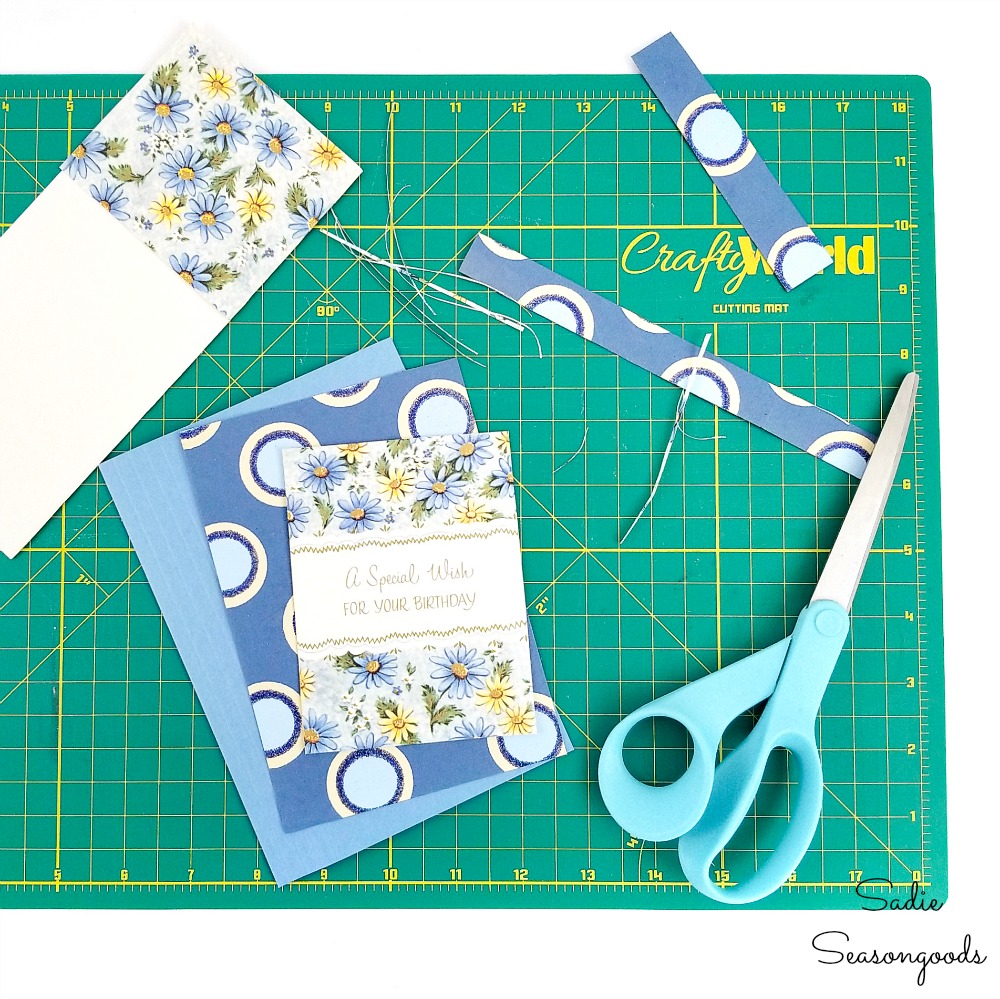
Image credit: Sadie Seasongoods.
With a basic glue stick in hand, I first adhered the vintage greeting card paper to the decorative paper. Then, I adhered the decorative paper to the front of my file folder card.
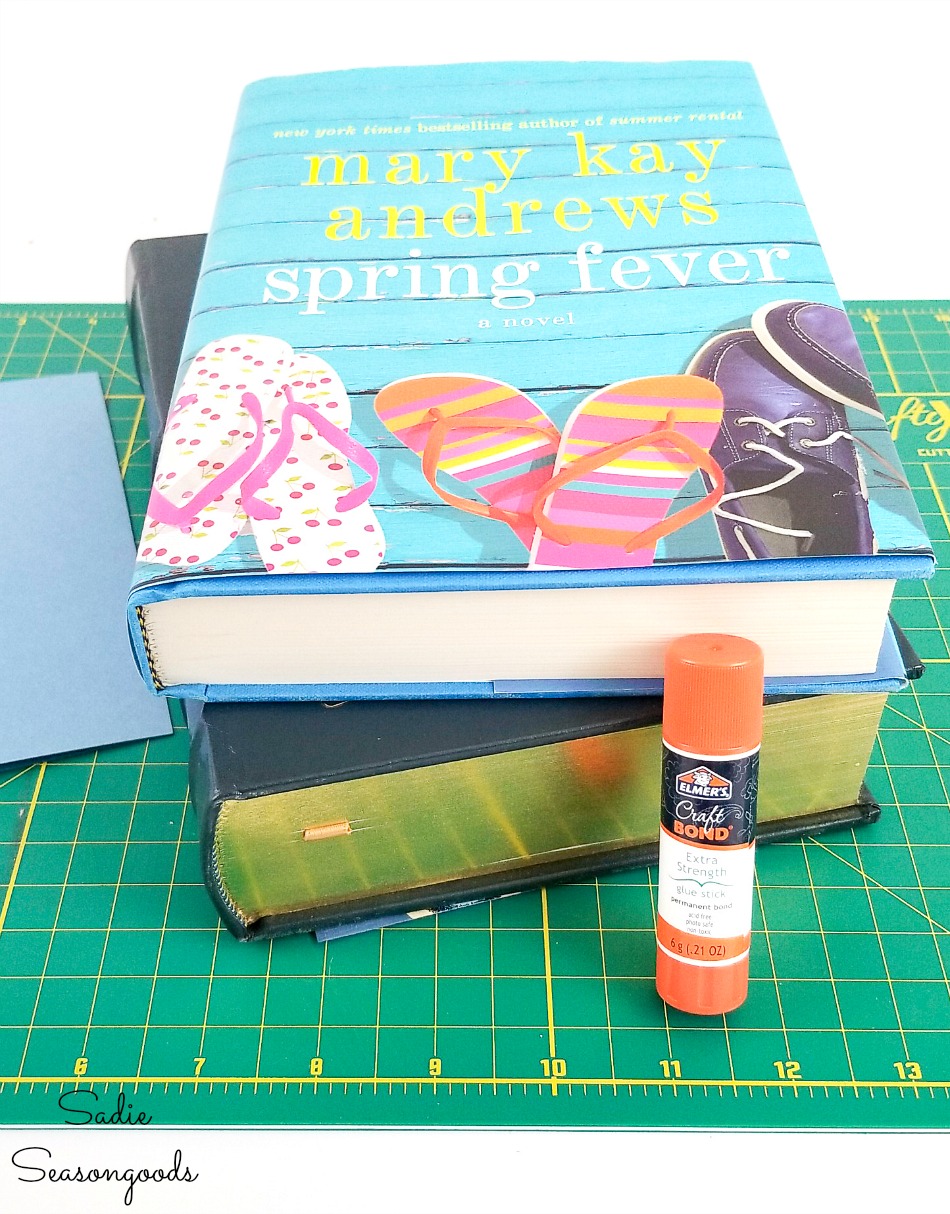
Image credit: Sadie Seasongoods.
I used heavy books to keep everything flat as the glue dried and cured.
When all was said and done, my DIY greeting card was finished. And you know what? I absolutely loved it!
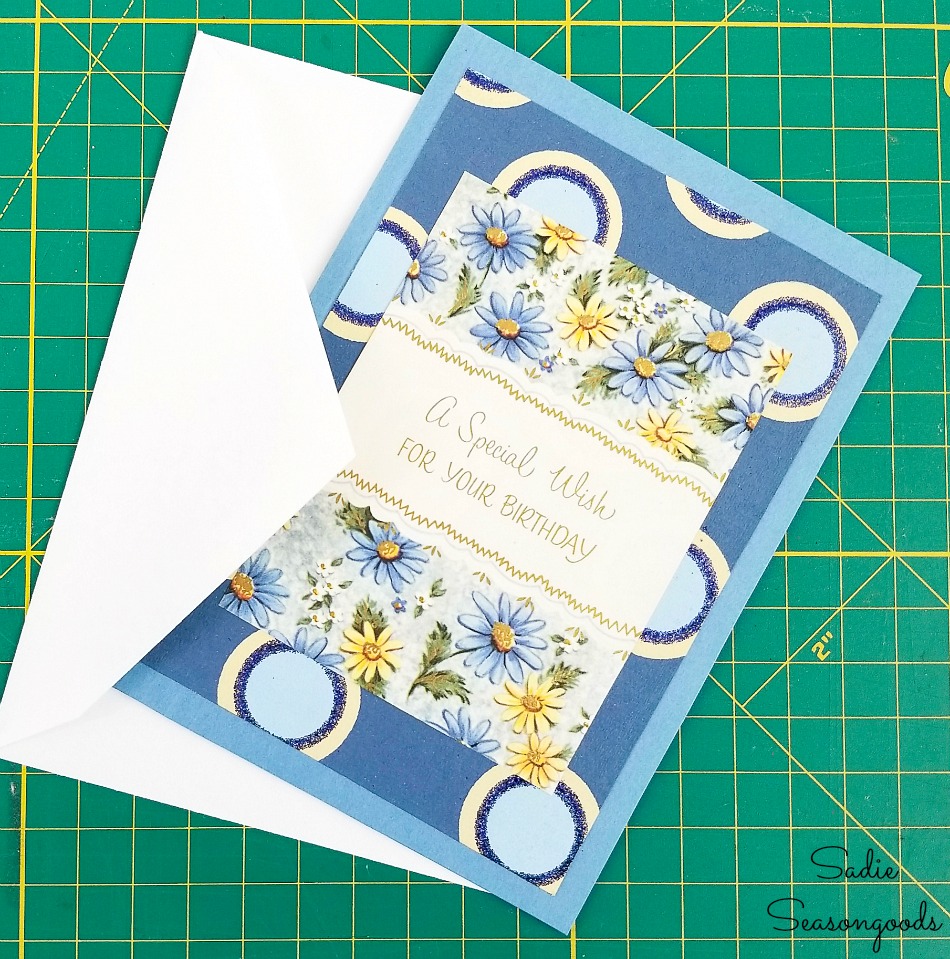
Image credit: Sadie Seasongoods.
I highly recommend looking for listings on Etsy for Mulberry paper scrap lots. Inexpensive and perfect for these kinds of paper craft projects!
DIY Greeting Cards from File Folders
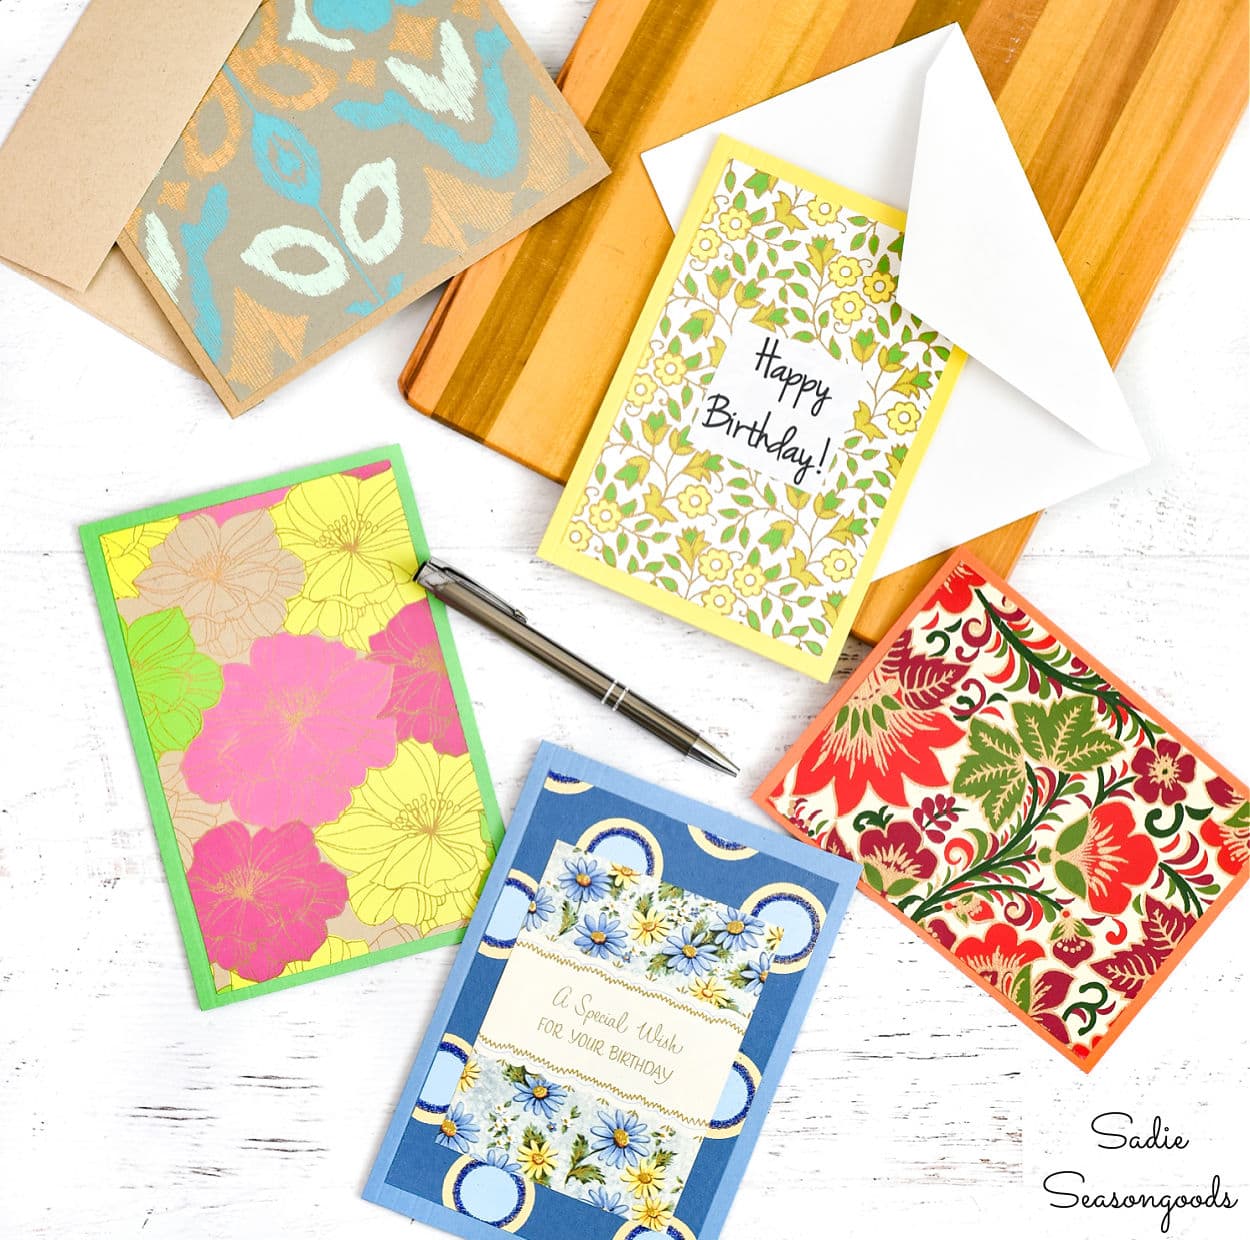
In no time at all, I made several DIY greeting cards from various colorful file folders!
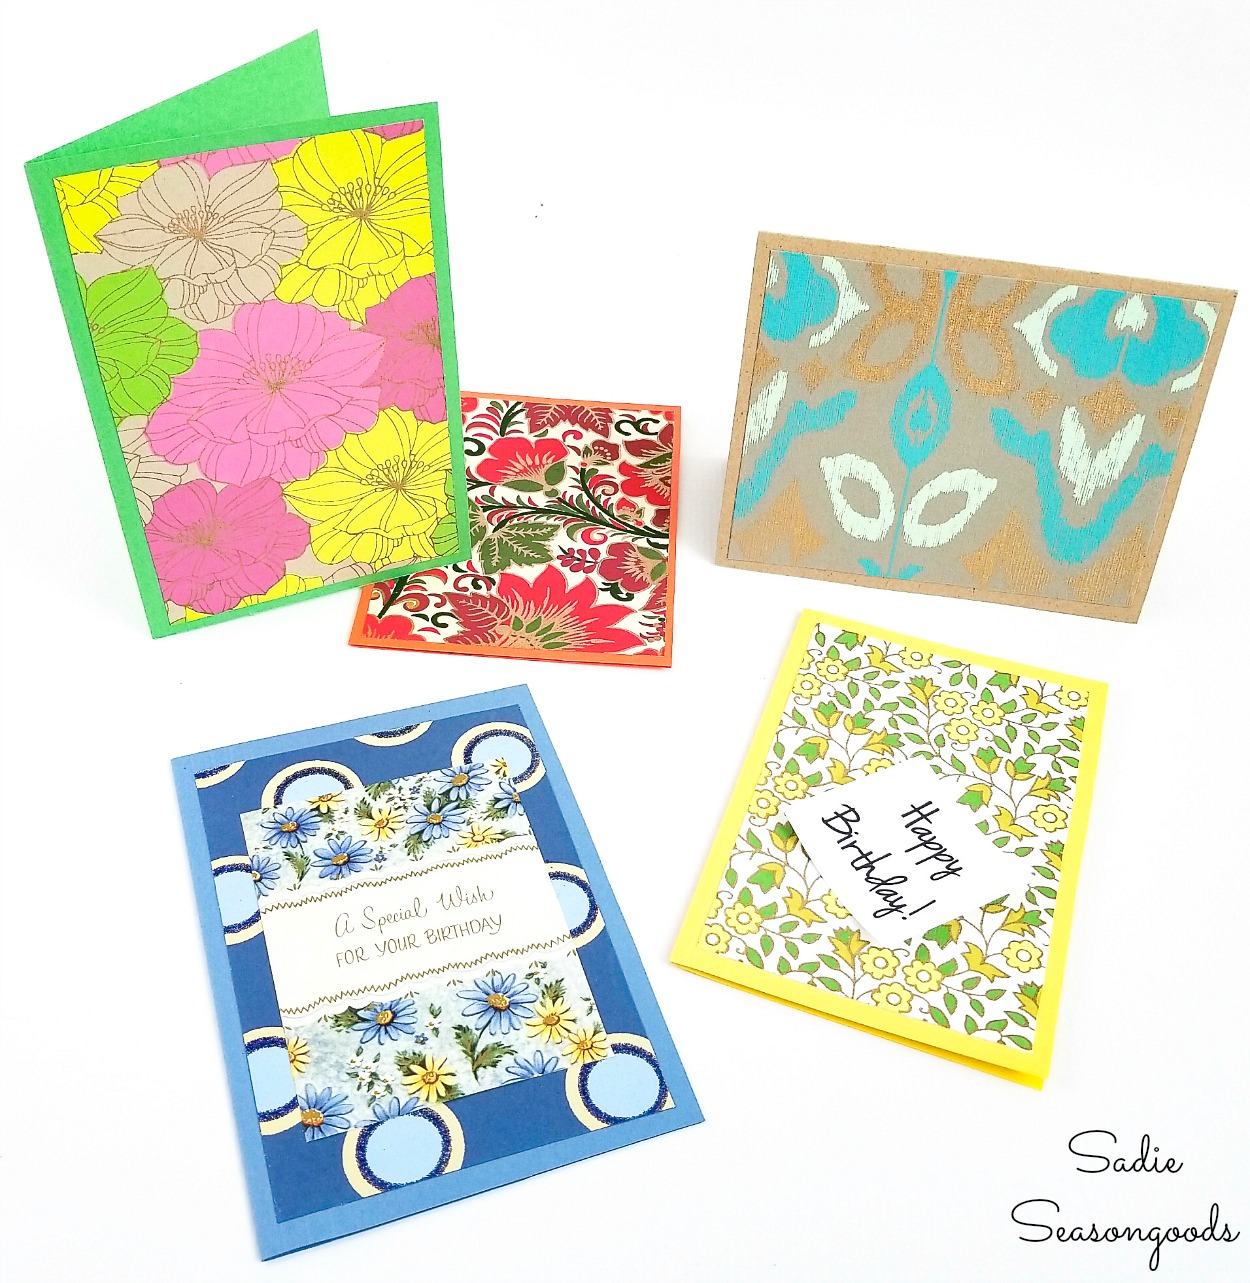
Image credit: Sadie Seasongoods.
Some sported just colorful paper, others had layers like the blue one I made. And I also printed some general greetings on a sheet of label paper, which I then could stick on the card fronts.
Either way, the file folders were absolutely PERFECT for upcycling as DIY greeting cards. I’m just so glad I had colorful folders on hand.
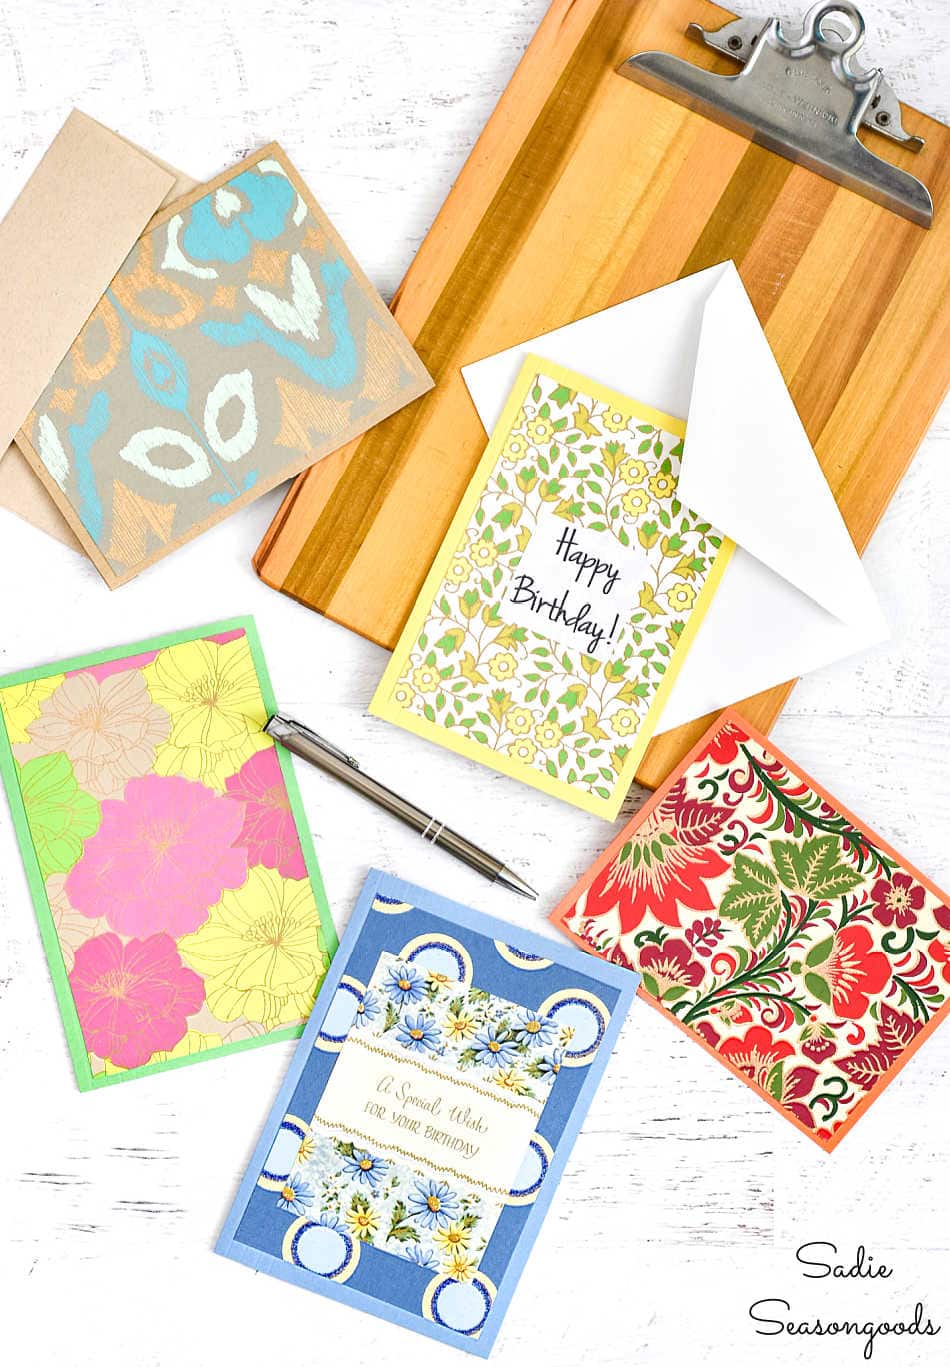
Image credit: Sadie Seasongoods.
And if you enjoyed this upcycling idea for DIY greeting cards from file folders, then you may also enjoy this upcycling idea for a vintage magazine holder, as well!
Craft on!
S
Want to be notified when I publish my next upcycling project tutorial?
Join me on Social Media:
PIN ME!
Image credit: Sadie Seasongoods.
Sarah Ramberg is the owner of Sadie Seasongoods, a website that celebrates all things secondhand. From upcycling ideas and thrifted decor to vintage-centric travel itineraries, Sadie Seasongoods is a one-stop shop for anyone who loves thrifting and approachable repurposing ideas. Sarah is also the author of “Crafting with Flannel” and has been featured in numerous media outlets and magazines.


Excellent! You are so clever and creative~that I already knew, but you just keep on amazing me! These look so professional, I would not have guessed you made these yourself. Who wouldn’t want a custom card created just for them?
Thank you so, so much, Denise!!
Ephemera, mulberry paper – see all I learn from you (in addition to the REALLY pretty cards??) I really loved today’s blog – great idea, as usual! PS – don’t apologize about the book release, not your fault! I’ll look forward to it any time. 🙂
Thank you so much, my friend!! Miss our HHs!! Hope you guys are doing well through all this.
Brilliant!! What a great idea and one more of your ideas I will be using, Sadie!! Thanks so much for sharing!!
Hurray!! Thanks, Karolyn!
Great idea and very in-depth tutorial, thank you so much for sharing.
Thanks, Tracy!
Wouldn’t it be fun to recycle gorgeous Christmas cards! Especially if you were able to send back the recycle card to the one who sent it!!
Ohh yes, I just have such a hard time cutting into old Christmas cards!
Love the real recycled card as a front. So much easier than creating the words etc. i am a card hoarder. I use them or cut pieces out to reuse. Great post. Thanks.
Thank you so much, Sharon!
As usual, these are brilliant and beautiful! I had never heard of mulberry paper before, so googled it. So, not only did I get a great idea for cards, I also learned something new. Thank you!
Yay!! Thanks so much, Marilyn!