Several years ago, I upcycled a pair of crocheted potholders into a DIY coin purse. It was SO cute (the potholders were clock faces), but I can’t find it anywhere. So, I decided to make myself a new one and re-share it here on my blog.
Vintage potholders are not all that uncommon at vintage shops and thrift stores. Some, of course, are cuter than others.
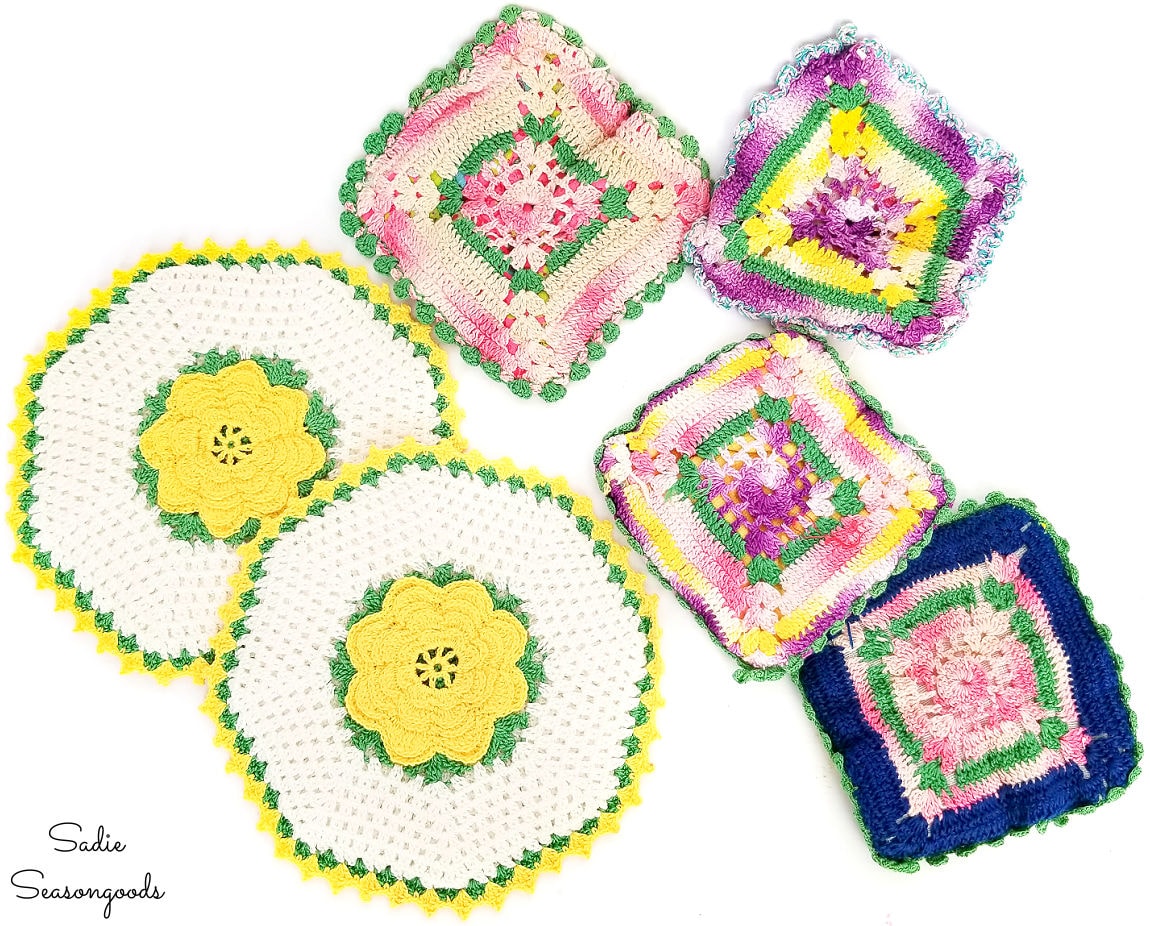
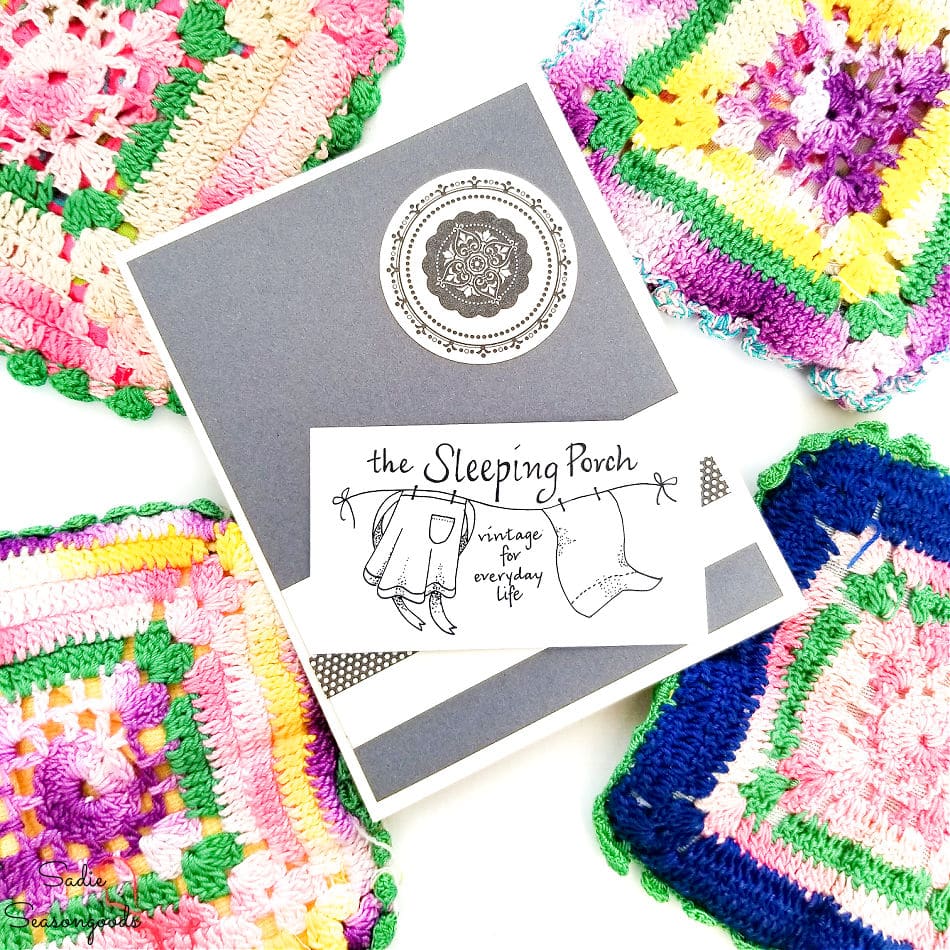
I was lucky enough to find a delightful pair of floral potholders. AND my friend, Mary Ann, of The Sleeping Porch, sent me a few others to tinker around with.
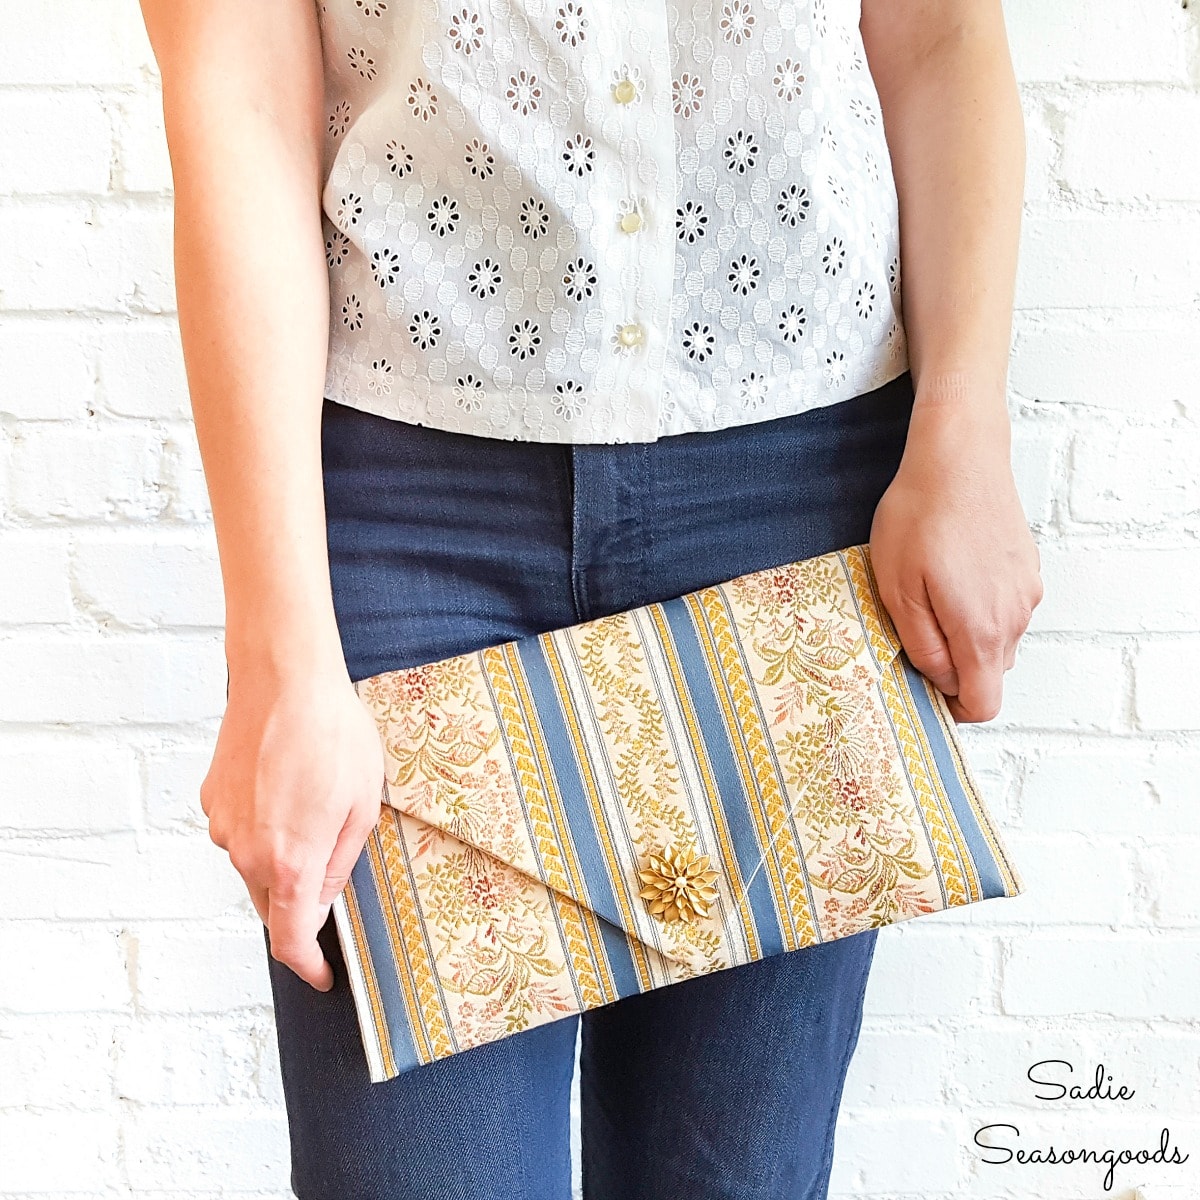
I definitely have a penchant for transforming random items into some sort of handbag. I mean, remember what I did with this table runner?
But back to the task at hand. With crocheted potholders in hand, I was ready to make myself a new DIY coin purse!
This post contains affiliate links for your crafting convenience. As an Amazon Affiliate, I earn from qualifying purchases. All blue, bold, and underlined text is a clickable link, either to a product or to a related post.
Upcycling a Pair of Vintage Potholders
Just a quick note before we get started. If you can’t find vintage potholders at an antiques or thrift shop, I highly recommend Etsy!
First things first, I grabbed my crocheted potholders, a piece of ultra firm interfacing (or fabric stabilizer), a pencil, and some scissors.
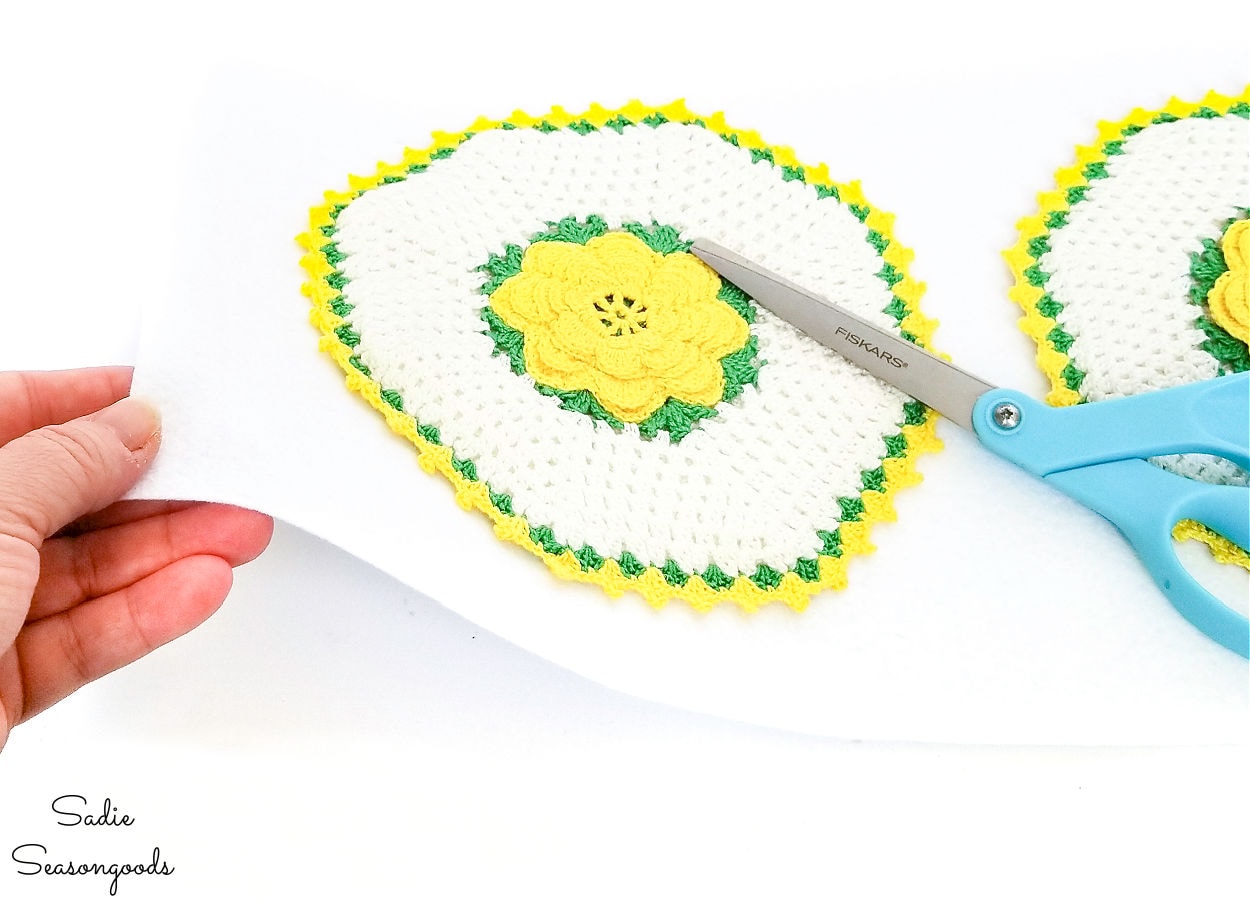
Why the need for interfacing? Crocheted potholders tend to be “floppy”, and the interfacing will help my DIY coin purse keep its shape.
With the pencil, I traced out the shape of each potholder onto the interfacing.
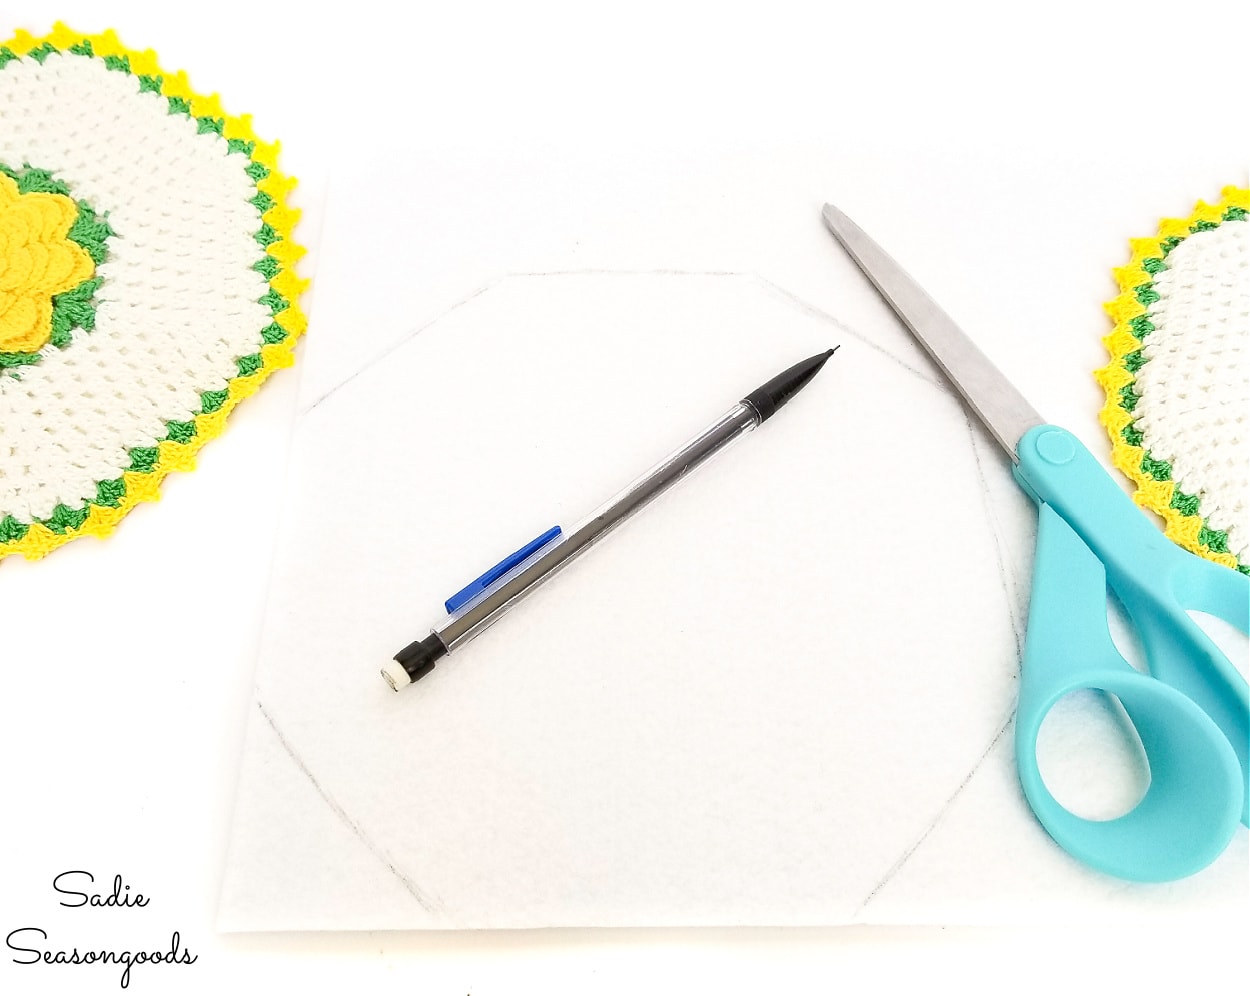
Then, I simply cut out the shapes with my scissors and trimmed them until they were slightly smaller than the potholders.
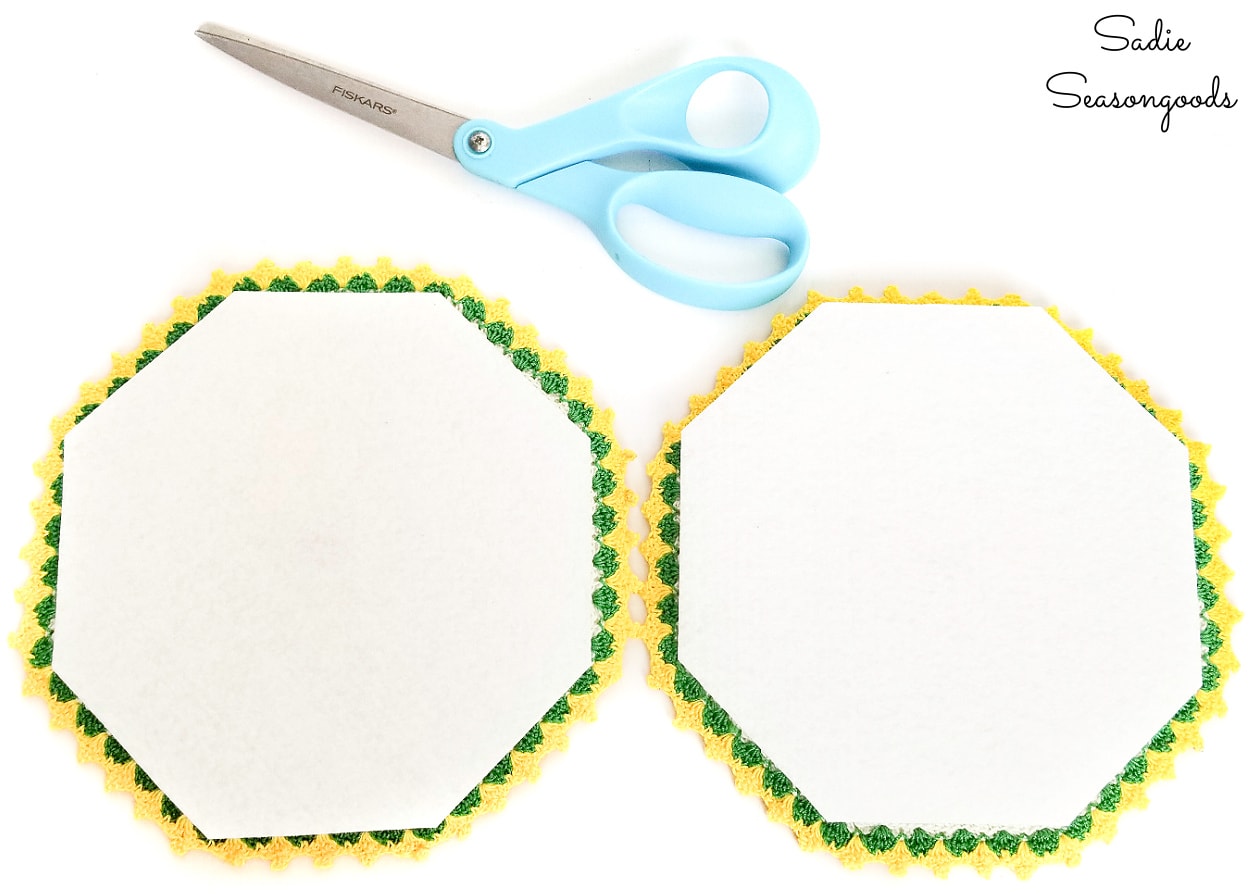
Chances are, everything you trim will remove the interfacing with pencil marks on it. But if not, don’t fret- the interfacing won’t be visible when you’re done anyway.
Next, I grabbed some single sided Velcro and cut out strips that fit within the edges of my interfacing. I pinned one on one interfacing piece, and the matching strip to the other piece of interfacing.
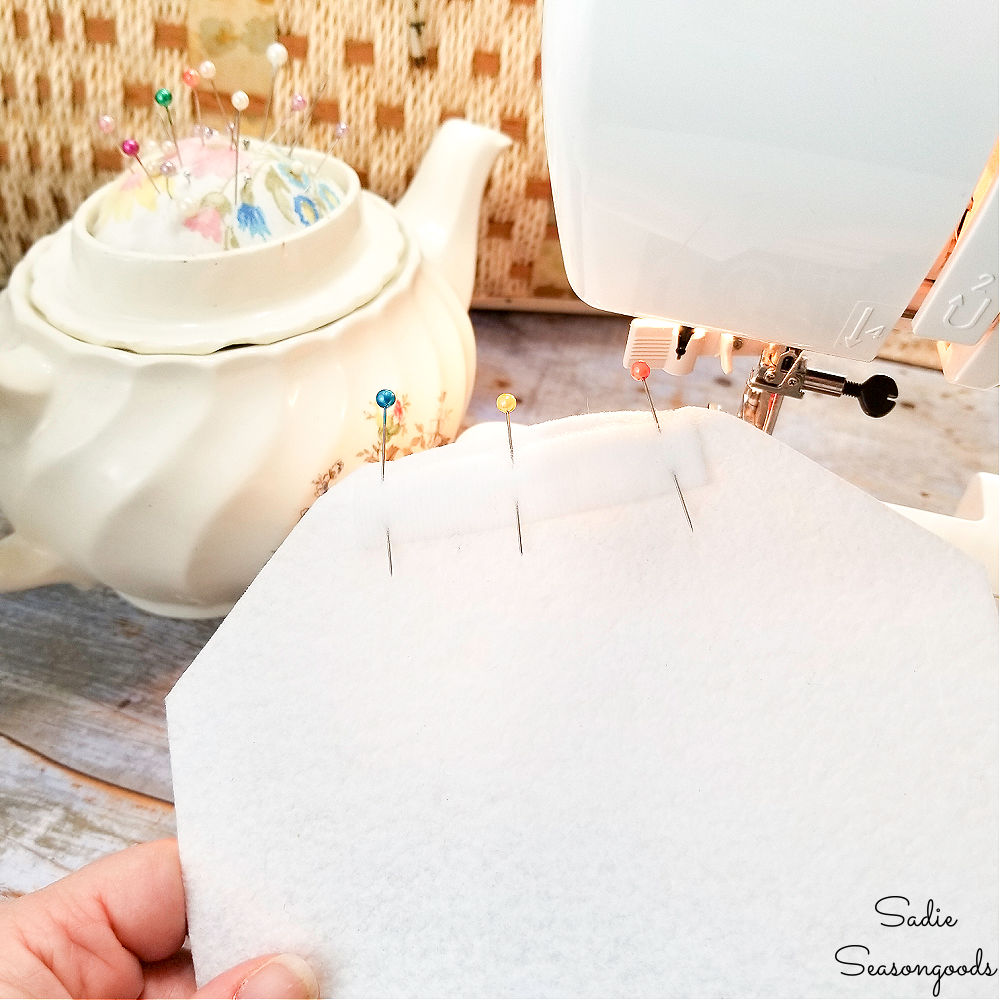
Then, I simply stitched the Velcro pieces to the interfacing pieces on my sewing machine.
Sewing a DIY Coin Purse
Now I was ready to attach the interfacing pieces to each potholder. So, I pinned them to the interior of each potholder, making sure that the Velcro was facing away from the potholder.
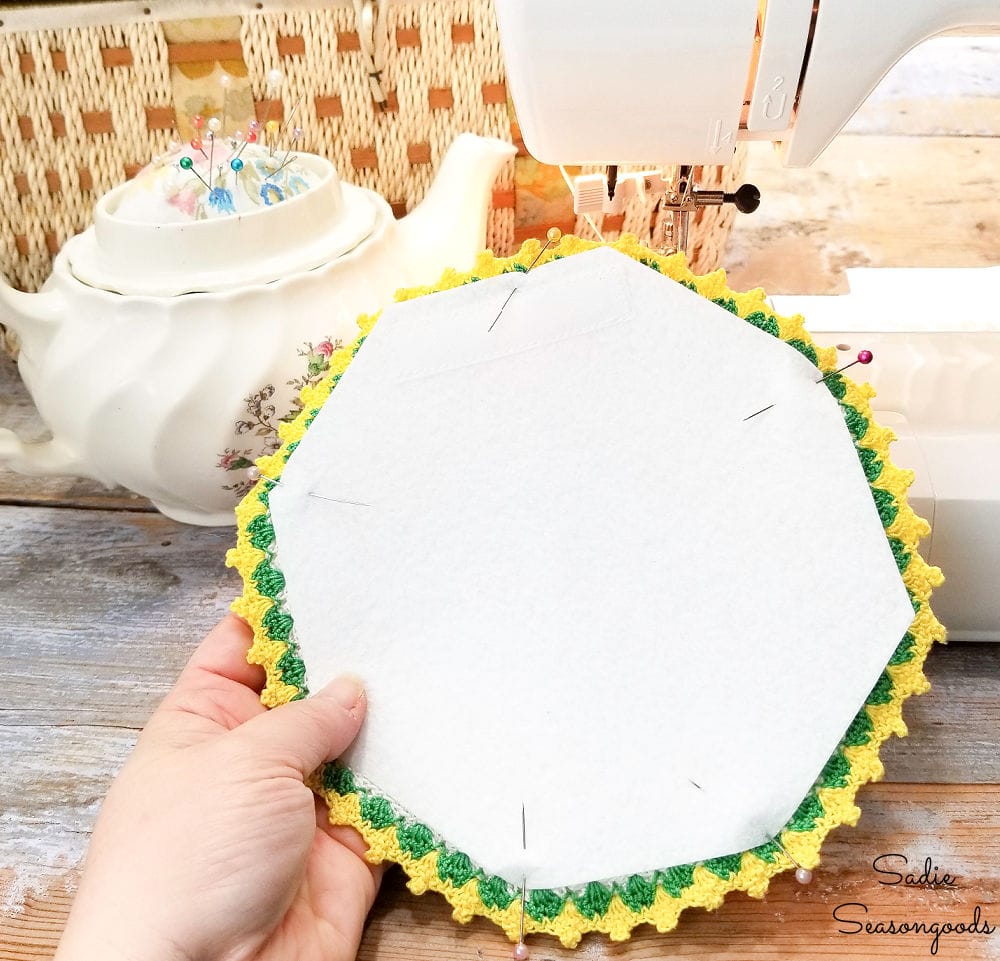
I also made sure the strip of Velcro was at what would become the “top” of my DIY coin purse.
Then, I stitched the interfacing all the way around each potholder.
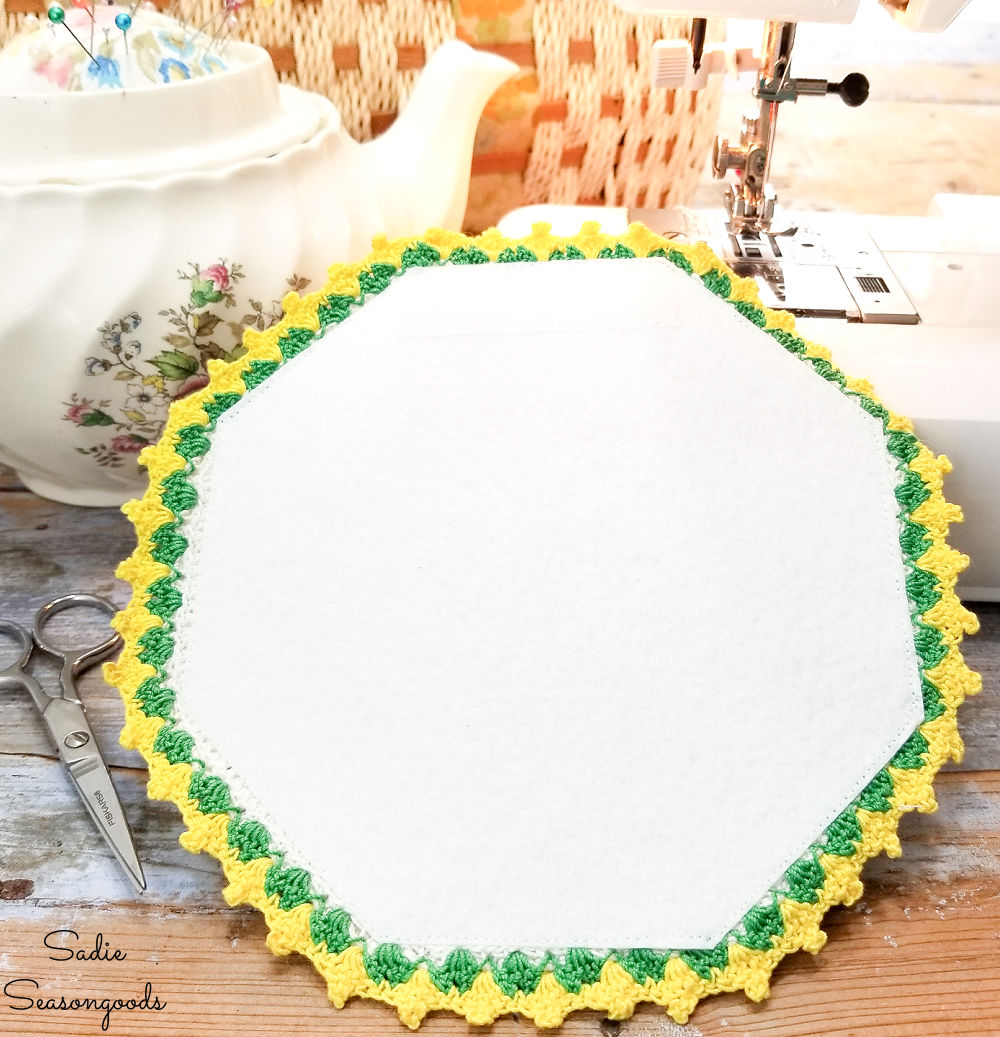
To finish off the coin purse, I then placed the potholders together, Velcro attached, and lined up the edges.
I pinned them together, making note of the edge where the Velcro pieces were.
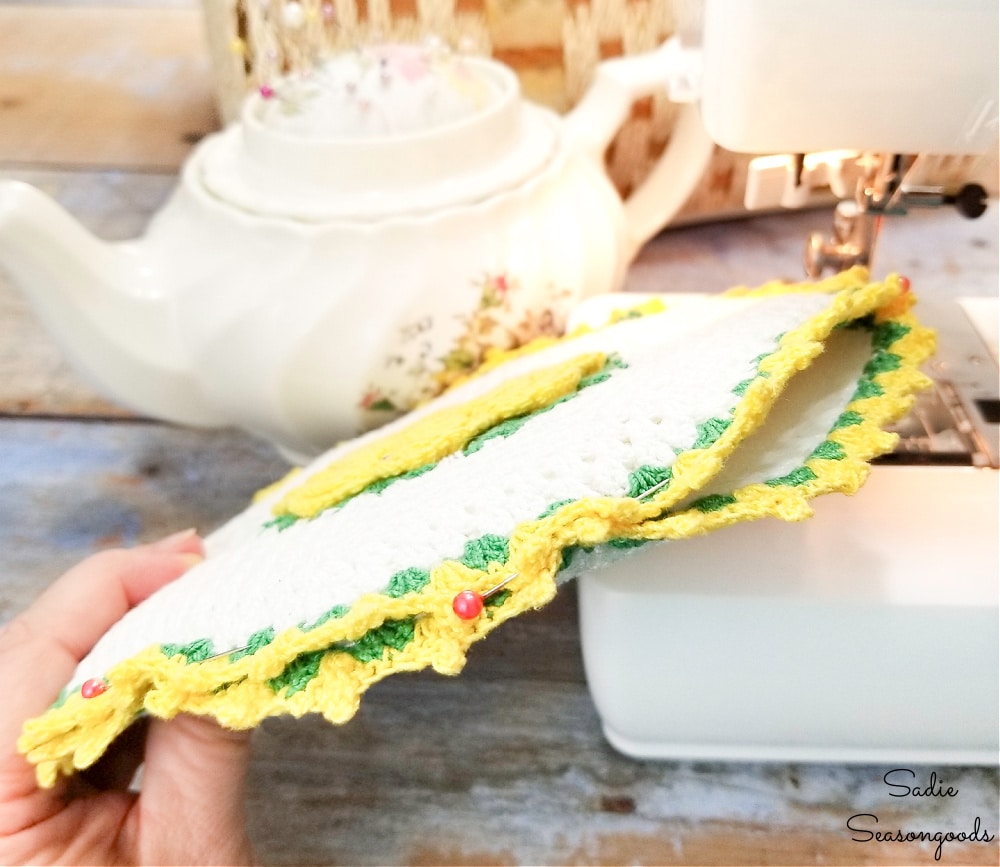
Lastly, I stitched the vintage potholders together all the way around EXCEPT for the section where the Velcro strips were.
And that was it!
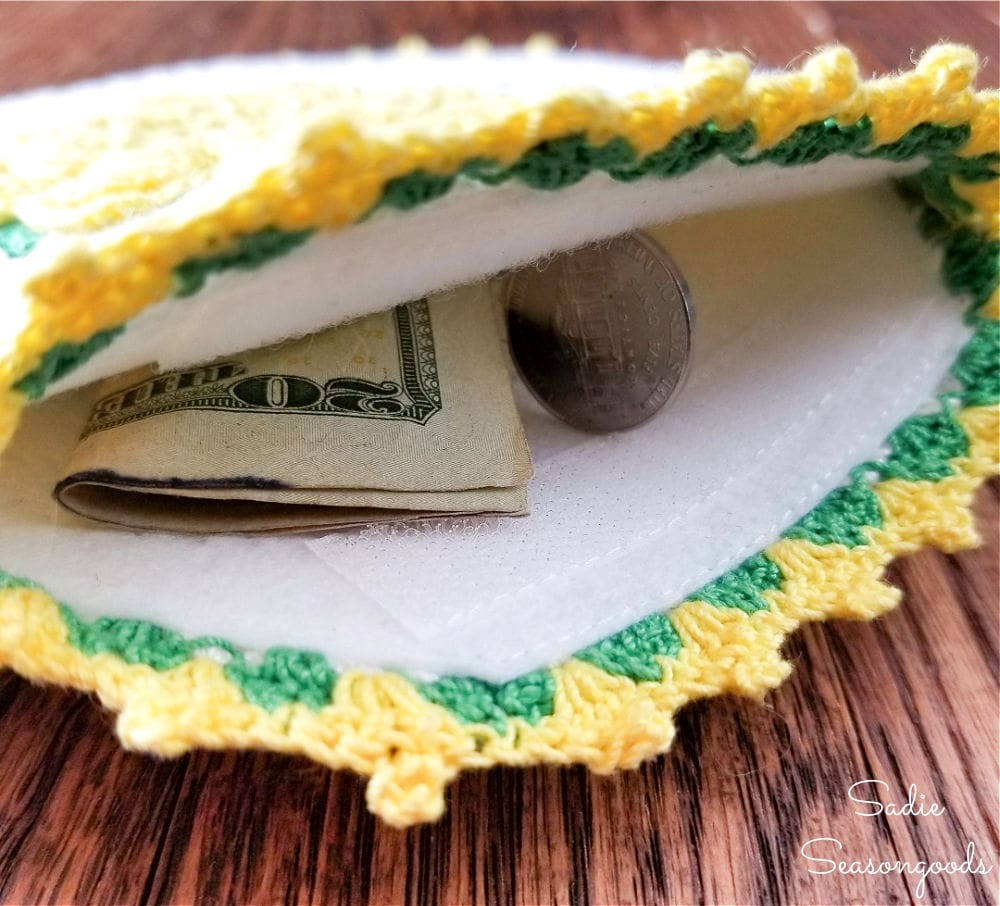
DIY Coin Purse from Crocheted Potholders
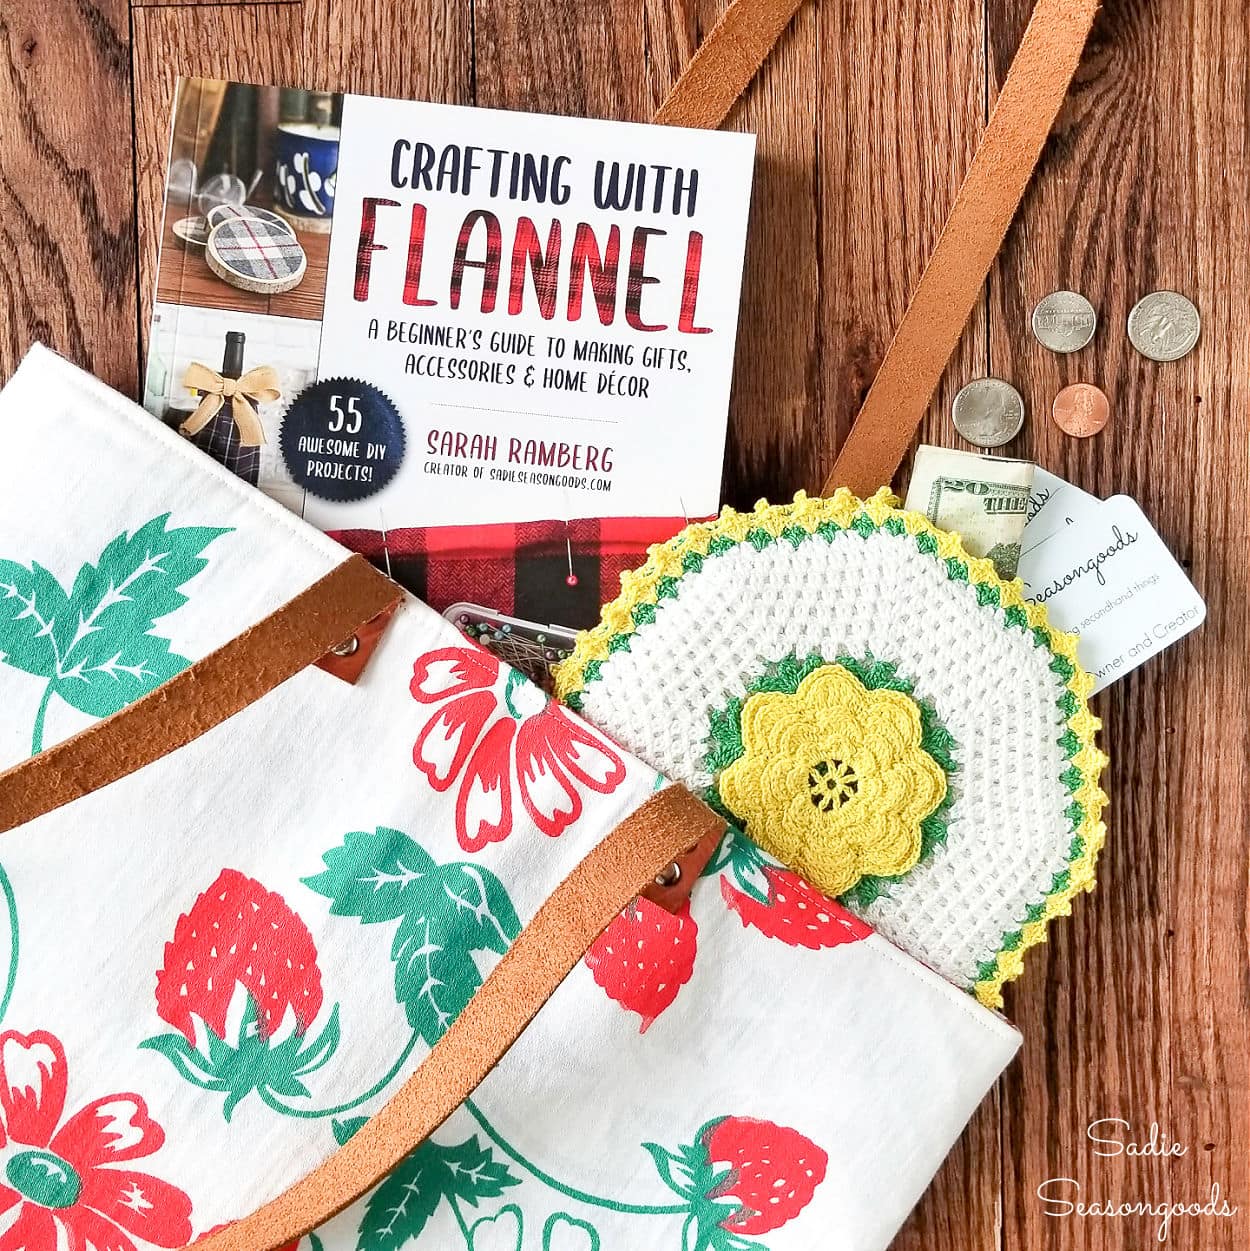
Now I have a sweet little coin purse that I can toss in a tote bag or beach bag! It’s just big enough to hold a little mad money, my ID, and a couple of credit cards.
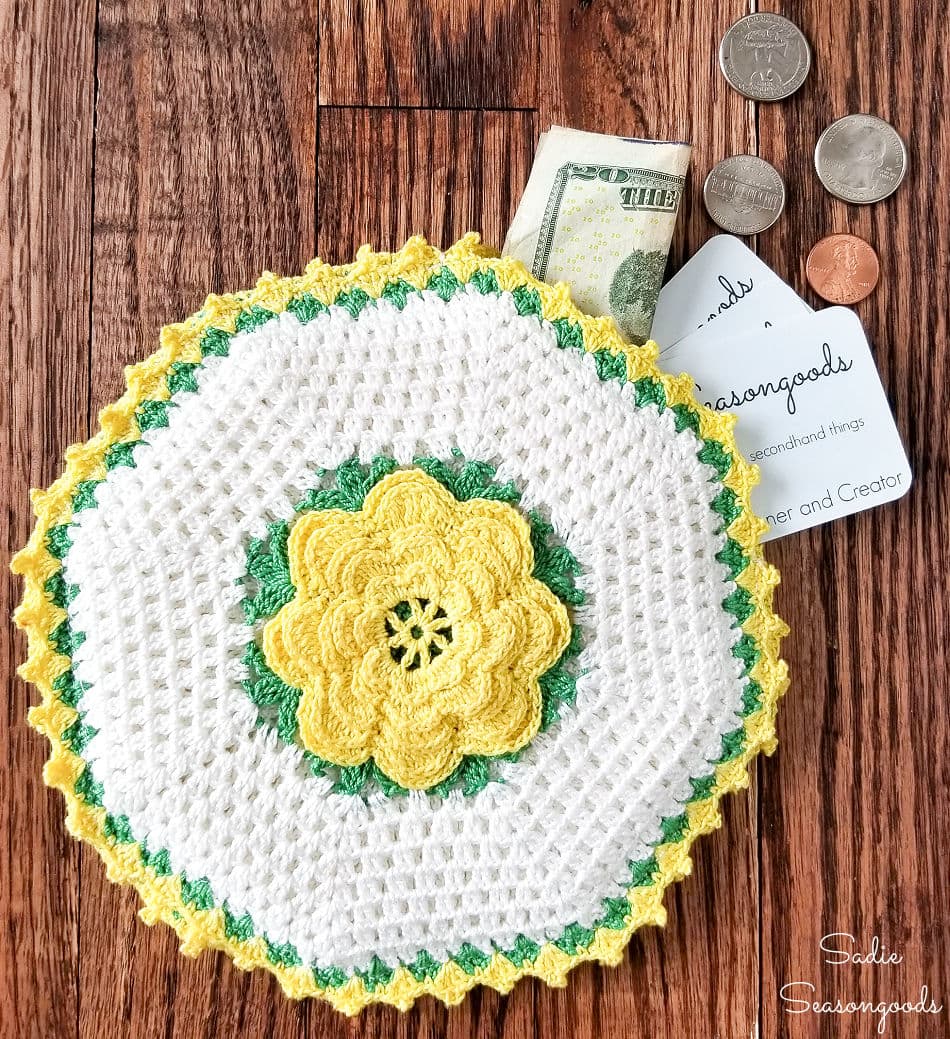
Obviously, you could skip the interfacing steps altogether. But attaching the Velcro directly to the crochet might ultimately damage it from opening and closing over and over again.
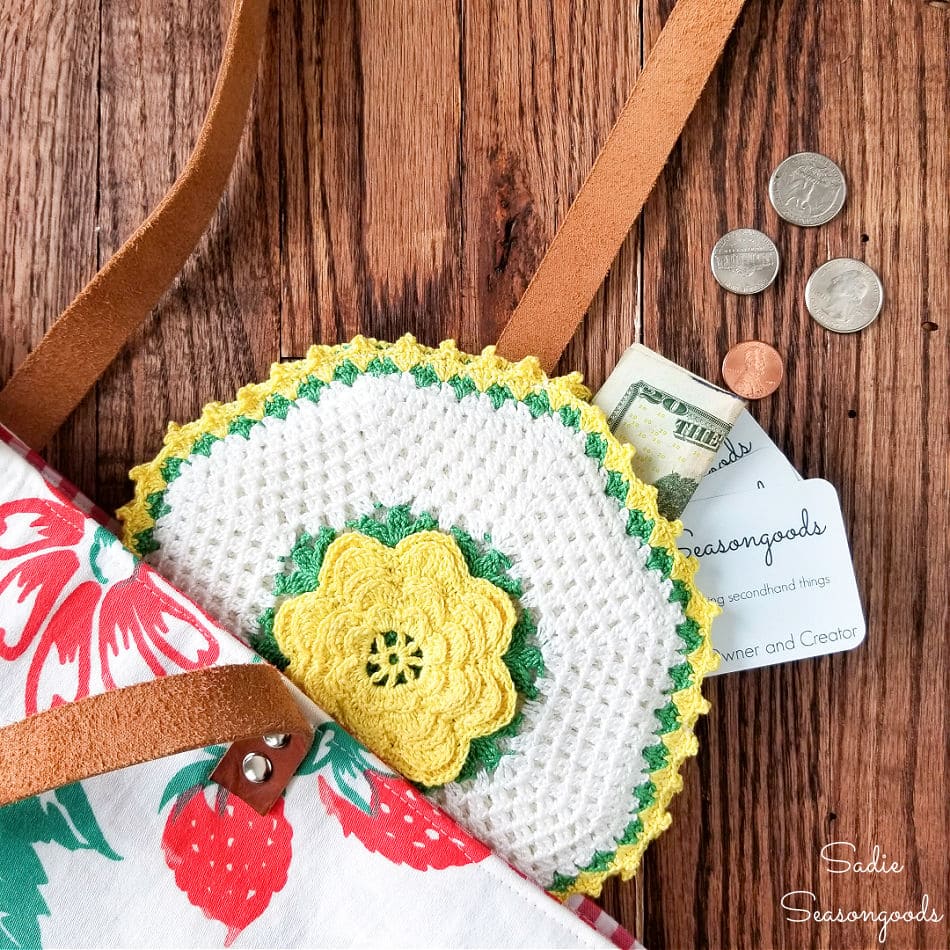
Ok, ok- I don’t know that for a fact. But I’m also not willing to take that risk with cute crocheted potholders, either!
*****
And guess what? Today is Thrift Store Decor Team Day, so check out everything my friends have been up to!
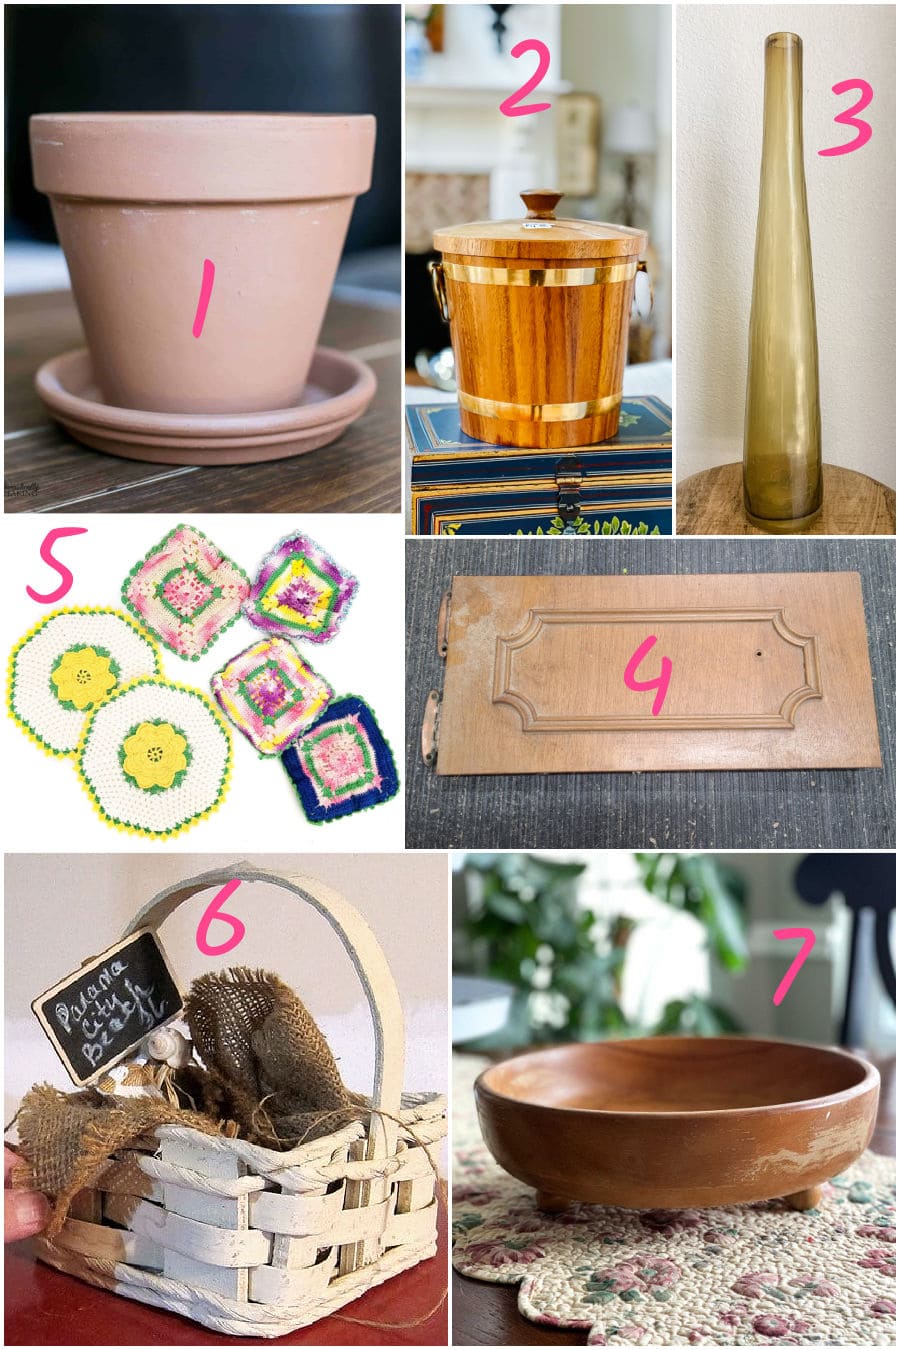
1. How to Make a Macramé Plant Hanger – Domestically Speaking
2. DIY Chinoiserie Ice Bucket – Our Southern Home
3. Textured Stoneware Using Paint and Baking Soda – My Uncommon Slice of Suburbia
4. Cabinet Door Vanity Tray – My Repurposed Life
5. DIY Coin Purse from Crocheted Potholders – Sadie Seasongoods
6. Bird Nest in a Basket – Petticoat Junktion
7. Bleaching Wood Bowls for a Farmhouse Look – House of Hawthornes
*****
So, what do you think? Will you upcycle a pair of hot pads into a little coin purse? I promise you, it’s a SUPER simple sewing project that anyone can do.
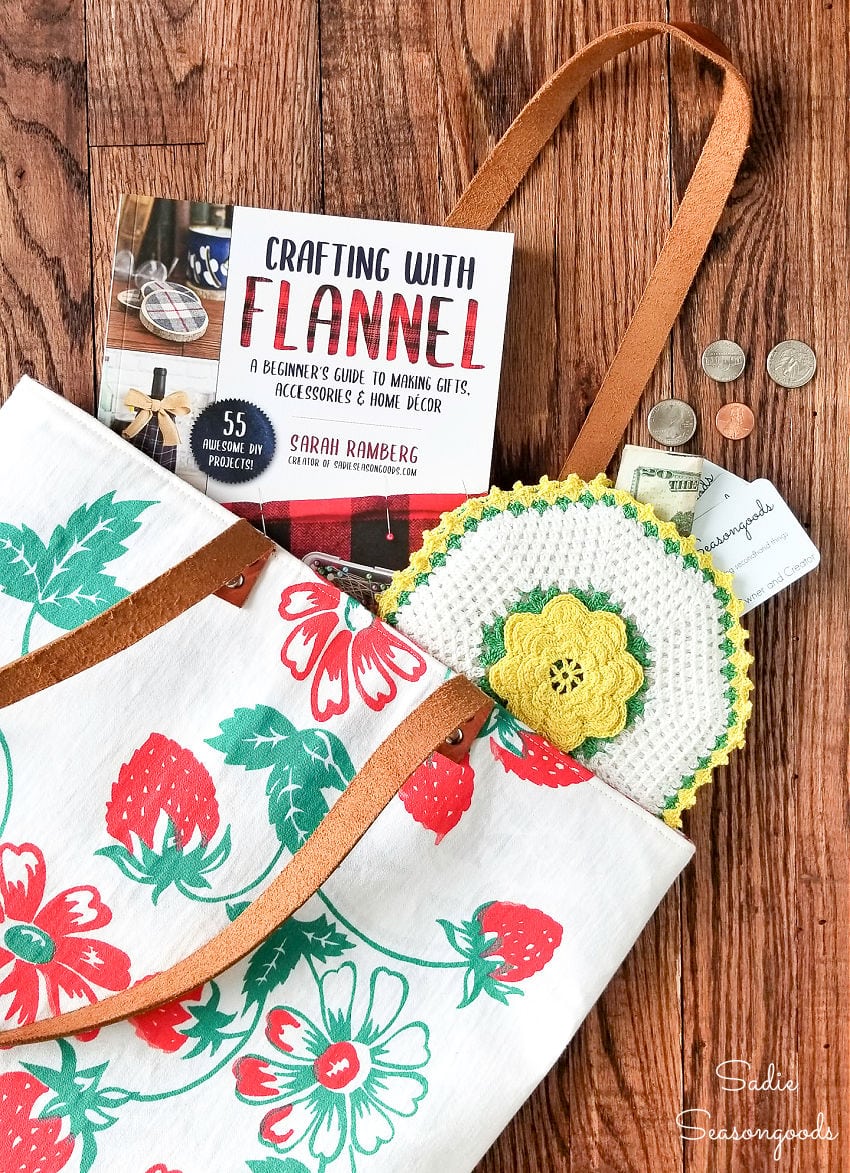
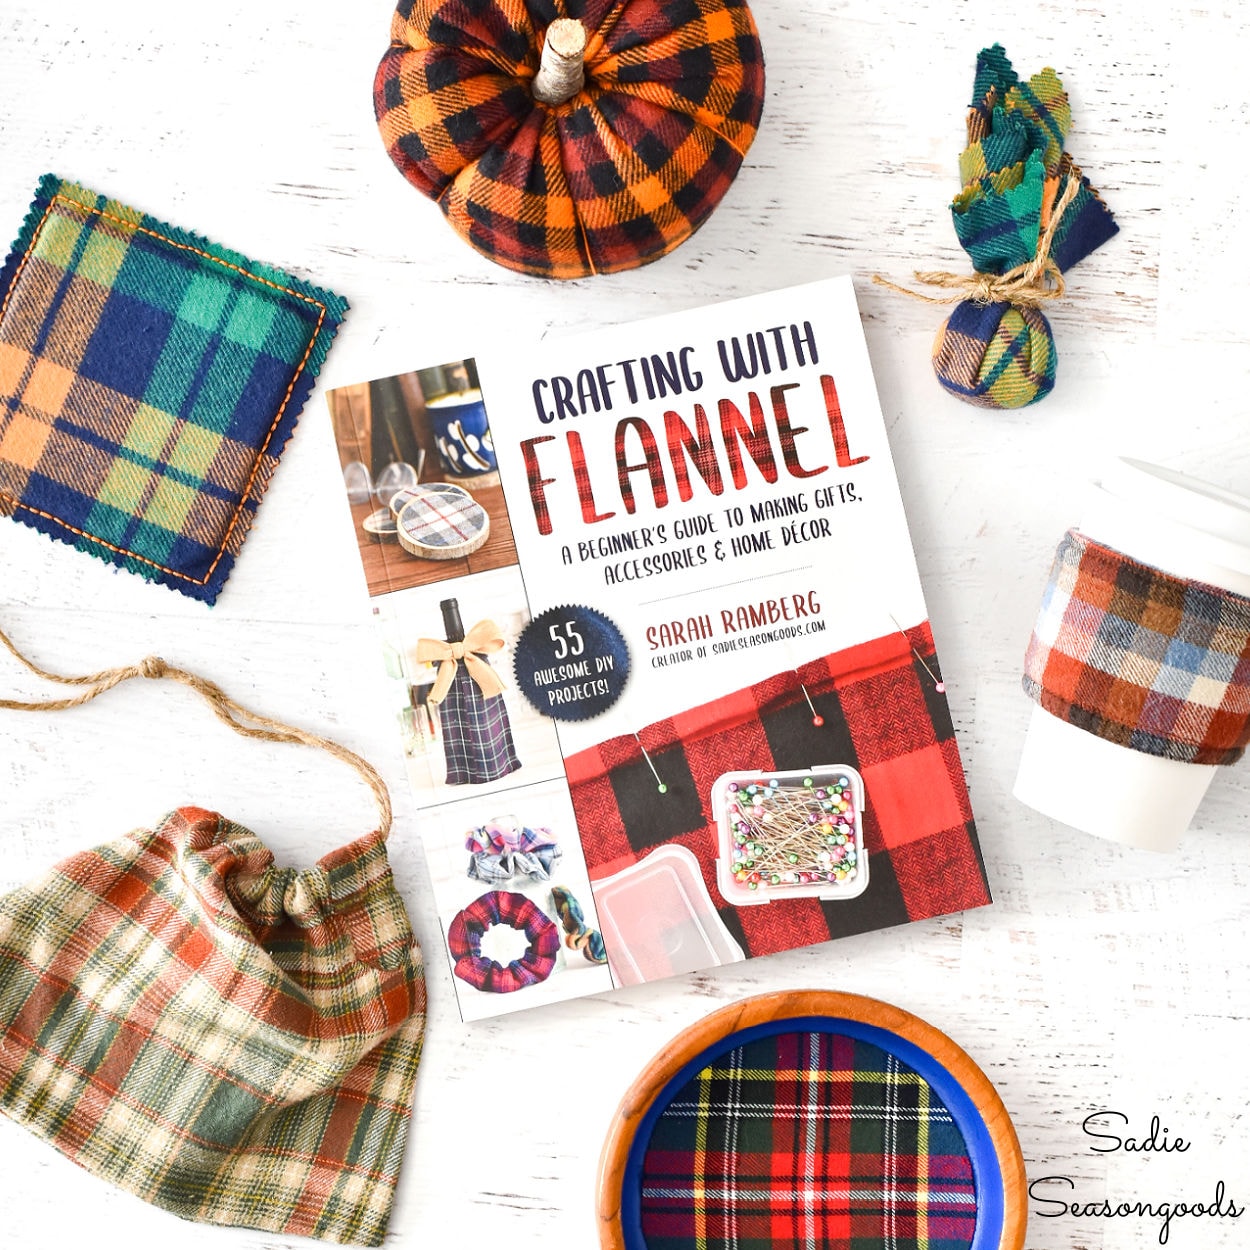
Speaking of simple sewing projects, did you see my book peeking out of the tote bag in the photo above? YES, it’s finally available for sale and I hope you’ll love it as much as I do!
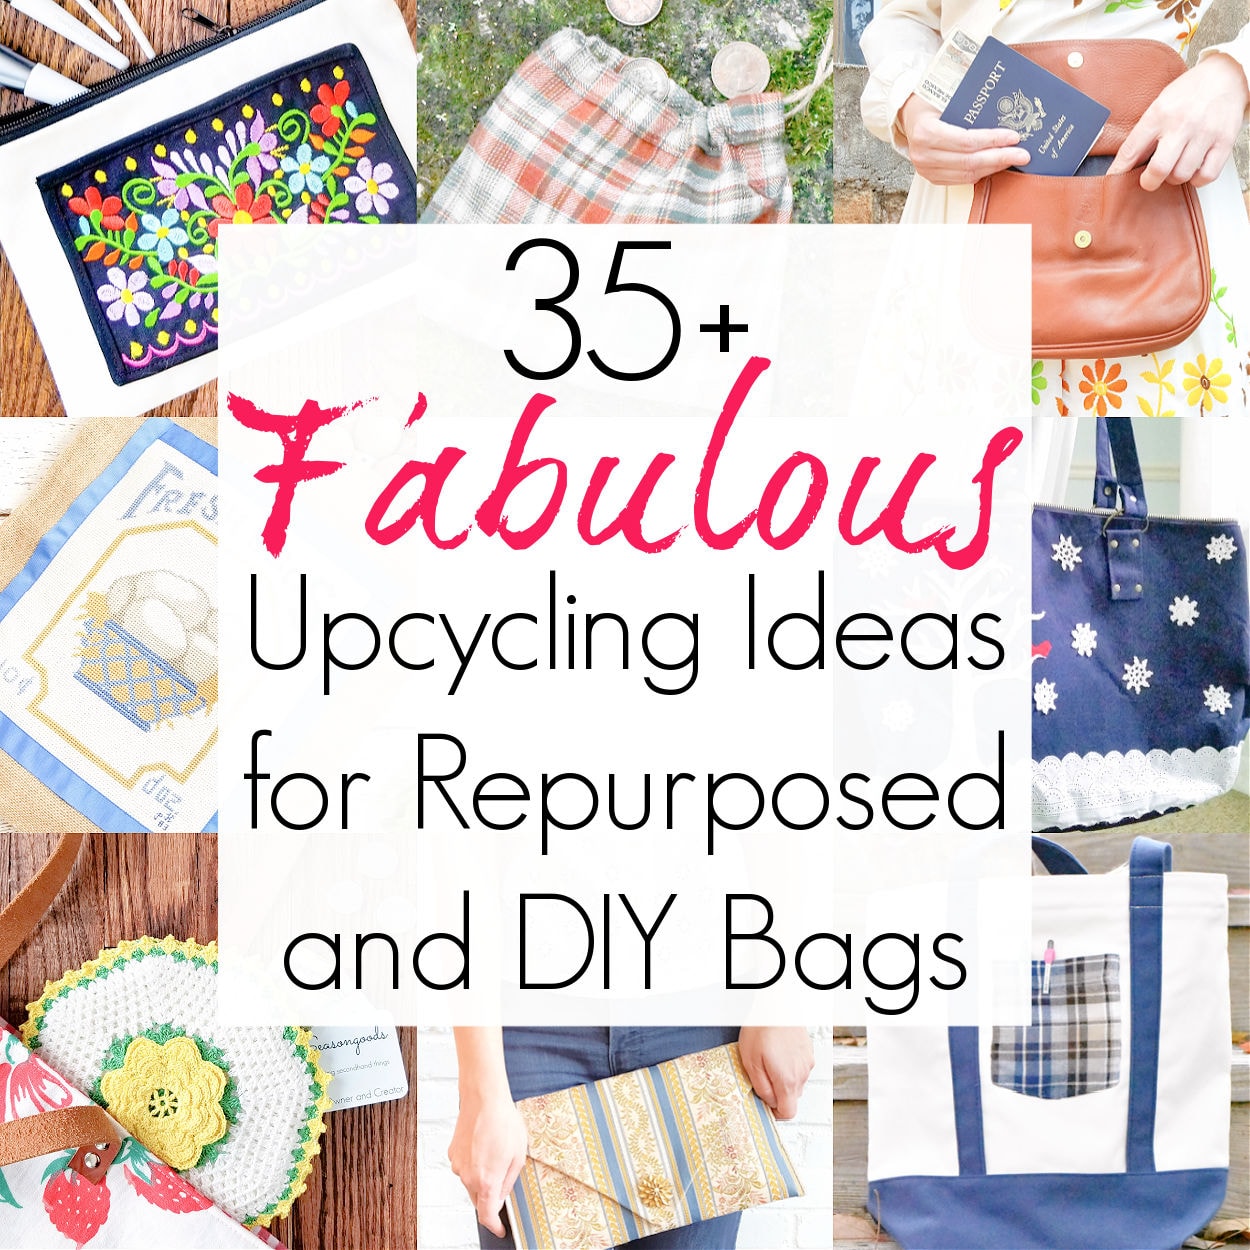
And if you enjoyed this upcycling idea for a coin purse, you may also be interested in this collection of other DIY bags, as well!
Craft on!
S
Want to be notified when I publish my next upcycling project tutorial?
Join me on Social Media:
PIN ME!
Sarah Ramberg is the owner of Sadie Seasongoods, a website that celebrates all things secondhand. From upcycling ideas and thrifted decor to vintage-centric travel itineraries, Sadie Seasongoods is a one-stop shop for anyone who loves thrifting and approachable repurposing ideas. Sarah is also the author of “Crafting with Flannel” and has been featured in numerous media outlets and magazines.







Sweet!
Thanks, Fonda!
That coin purse is so adorable! I need one of those in my life. It sure beats digging in the bottom of my purse for loose change.
Right?? Thank you!
Oh my goodness, so cute! I remember the clock-face coin purse but had forgotten about it… and the fact that I wanted to make one!! Thanks for the reminder! Pinning!!
Tania
Girl, I cannot believe I lost the OG one with the clock faces. It makes me so sad!!
Well, how cute is that little coin purse!!
Thanks, Barb!
I love this one–super cute idea!!!!
Thanks, Jenni!
Oh my gosh, so stinking cute Sarah! The diy coin purse looks fabulous made from those oh so yummy potholders!!
Congrats and BIG hugs for the publication of your new book!!!! So incredibly happy for you.
gail
Thank you SO VERY MUCH, Gail- I really appreciate it!
I love this idea and I’ve seen those crocheted pot holders and wondered what could be done with them. Somebody made them and they deserve a good life. You are so creative. I always love your projects.
Exactly!! And honestly, sometimes they’re not all that great AS potholders (too small, etc), so repurposing them like this makes even more sense.
Such a creative idea!
Thank you!
This is adorable, I love how it turned out! I have a few of these from my late grandma and I might just have to do this project, thank you!
Yay!!! And thank you, Kristin!
This is adorable! You constantly amaze me with your creativity!!!
Thank you so much, Christy!