There are a few Christmas “staples” that I’ve never created for my blog, and DIY candy cane decorations are one of them. And honestly, I had no earnest intentions to do something about that, until I came across some wooden walking canes at Goodwill.
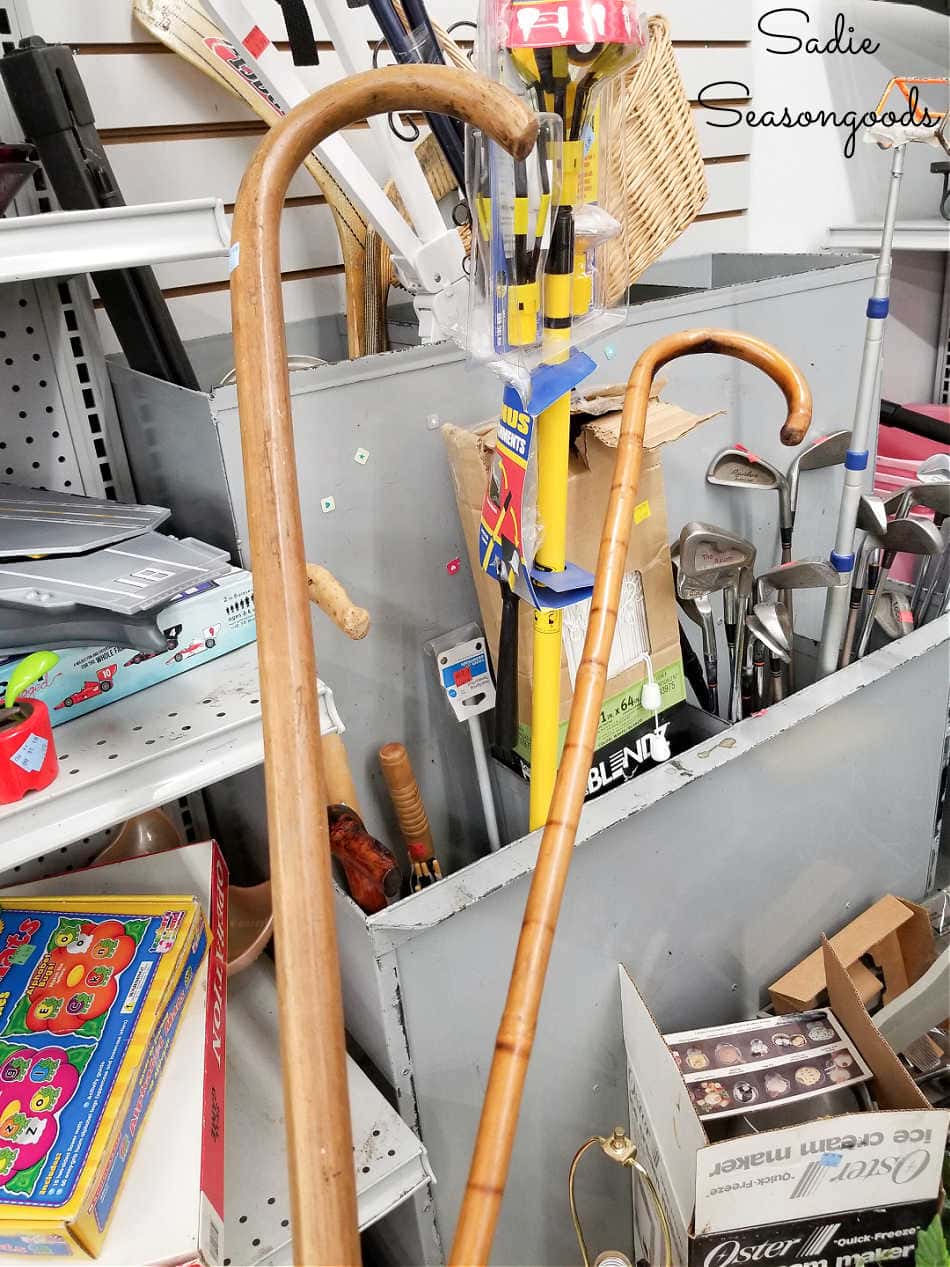
Image credit: Sadie Seasongoods.
THAT’S when the “duh” moment happened. As if the walking canes had tripped me up, saying “HELLO! DON’T WE LOOK LIKE CANDY CANES TO YOU?”.
And well, here we are, upcycling some wooden walking canes into candy cane decorations.
Once the upcycling seed was sown, I kept my eyes peeled for more wooden walking canes. I found one more, and because it was similar in size and texture to one I already had, I nabbed it and got to work.
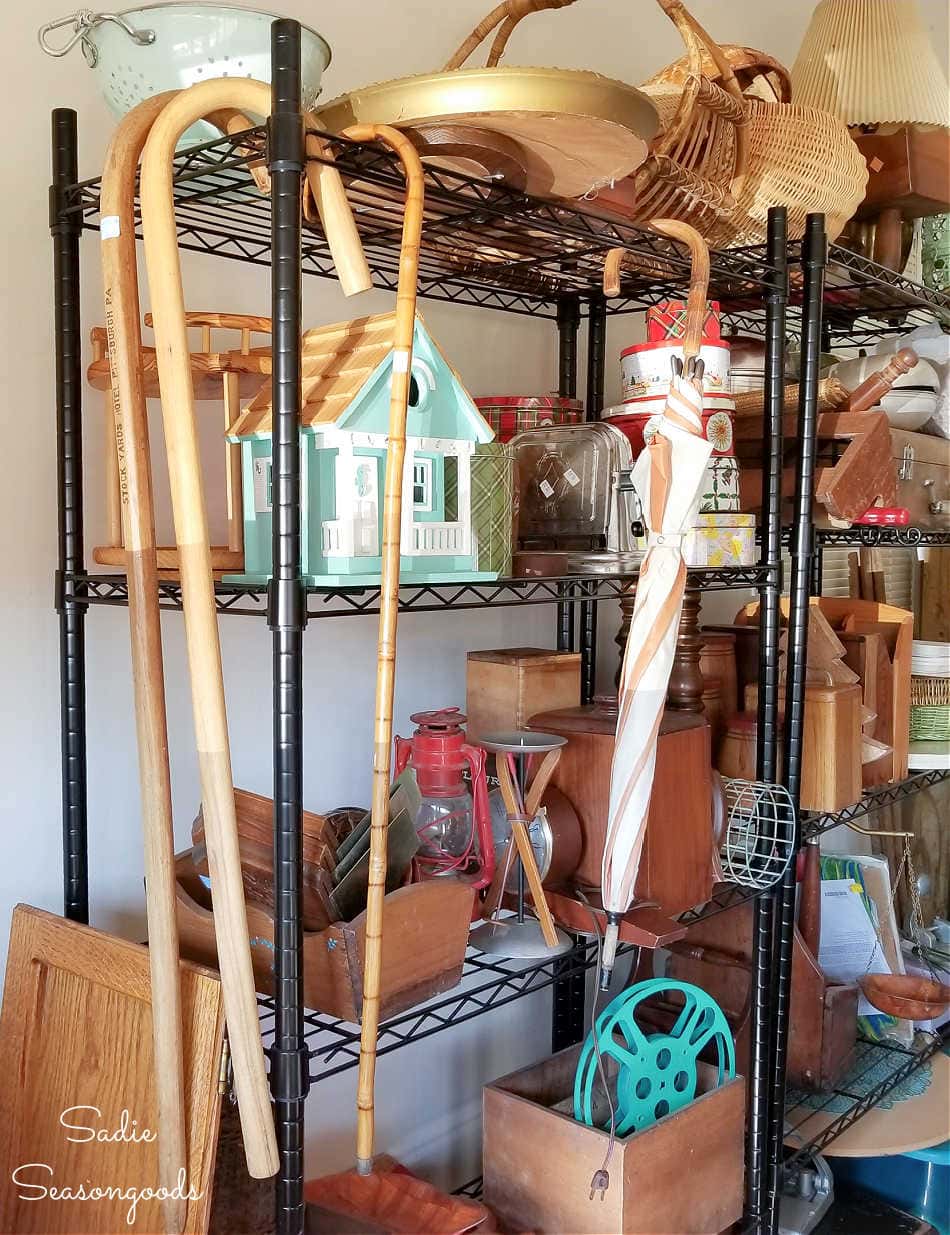
Image credit: Sadie Seasongoods.
This post contains affiliate links for your crafting convenience. As an Amazon Associate, I earn from qualifying purchases. All blue, bold, and underlined text is a clickable link, either to a product or to a related post.
Painting the Wooden Walking Canes
Now, there were several decorating possibilities here: I could stick them in the ground along my front walkway. Or I could just use them as Christmas porch decorations.
But first I had to paint them to look like candy canes.
The easiest plan was to paint each walking cane white, and then add the red stripes over the white paint. First, I set up my spray painting station and employed the use of a heavy right angle clamp to hold my walking canes while I spray painted each end.
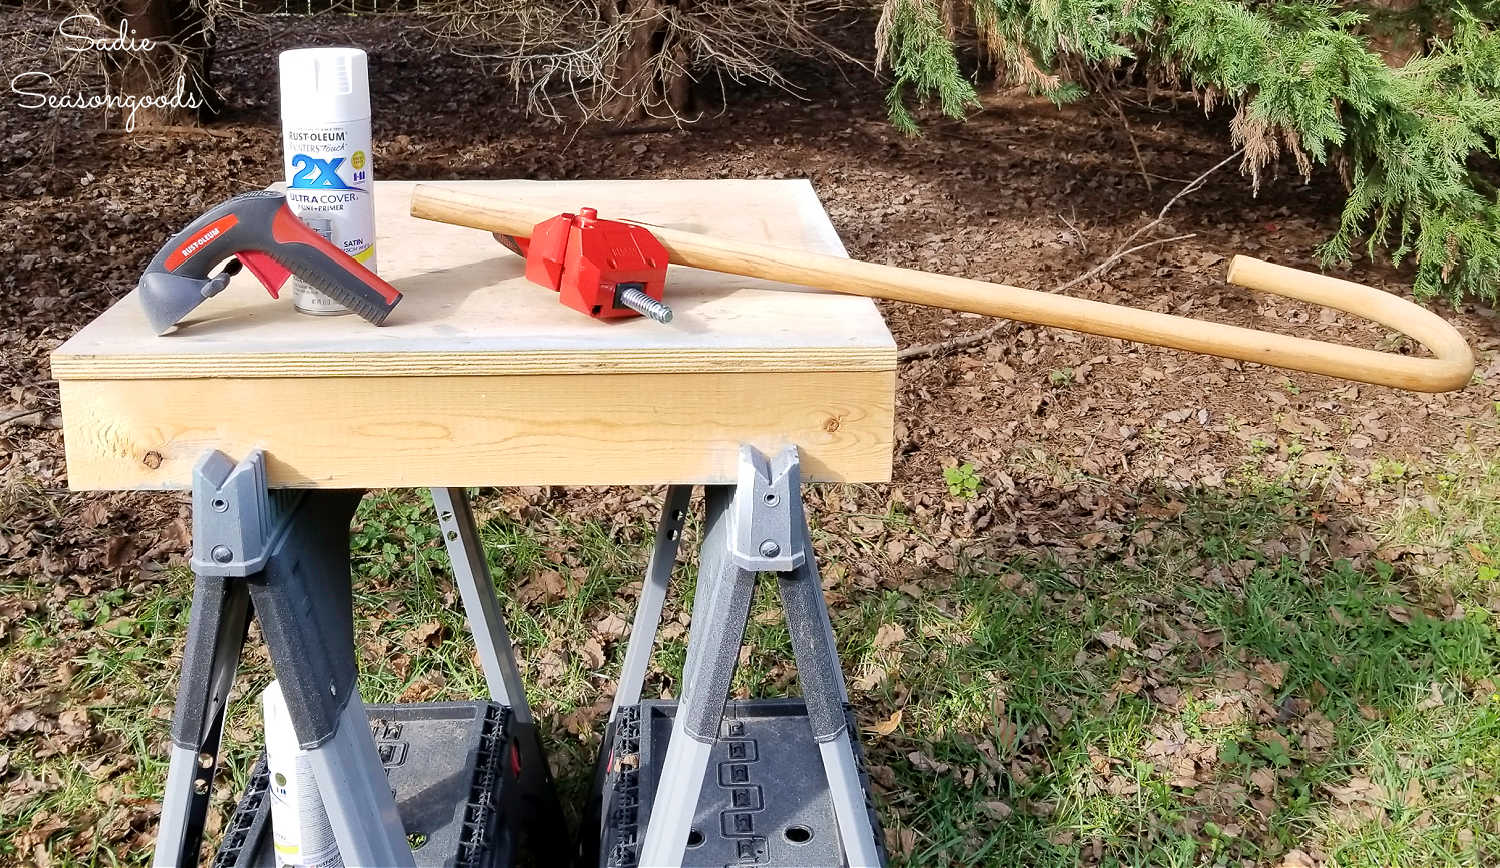
Image credit: Sadie Seasongoods.
After both wooden walking canes were completely white, I wrapped painter’s tape around each cane to create the ribbon shape for red paint.
*Important to note- I used wider painter’s tape along the straight “staff” portion of the walking canes, and narrower painter’s tape around the crook. I also REALLY made sure that the tape was perfectly smooth to prevent paint bleed.*
Starting to look like some DIY candy cane decorations, eh? Next, I needed to lightly spray my glossy red paint over everything to get that ribbon-y look.
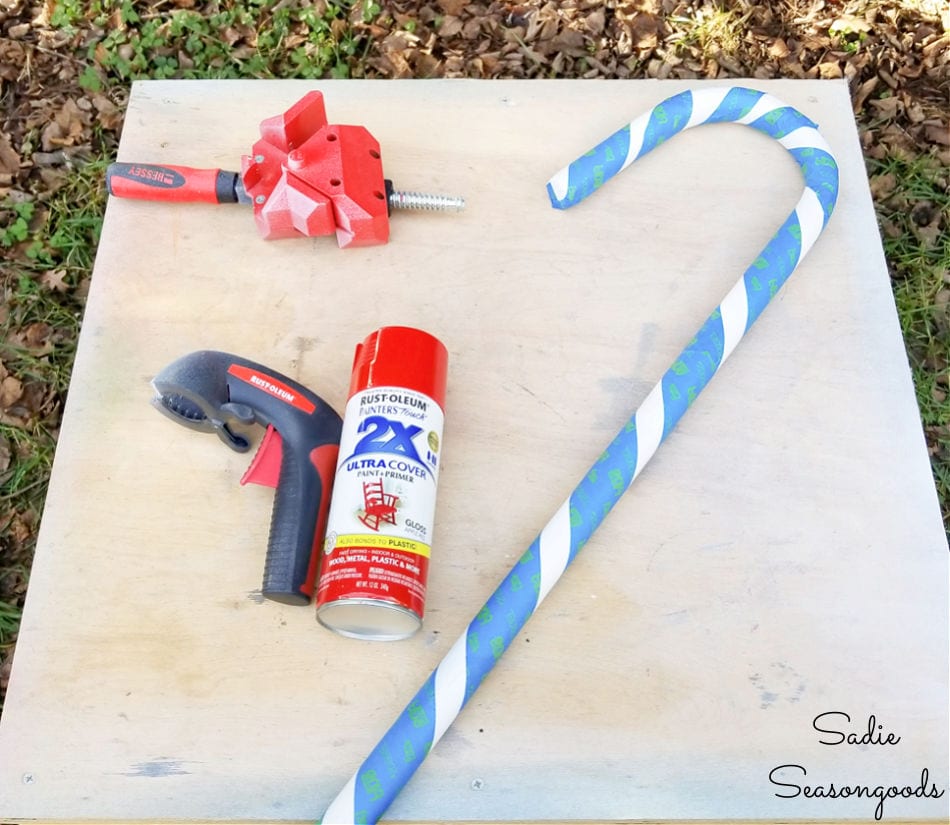
Image credit: Sadie Seasongoods.
When all the paint had dried, I very carefully removed the painter’s tape, revealing that perfect red and white ribbon of your standard candy cane!
And don’t worry too much if there’s a little paint bleed here and there- you can either leave it as is or touch up with white craft paint!
Assembling the Candy Cane Decorations
Now that the actual painting was done, I could begin putting my candy cane decorations together. But before that, I sprayed them both with a glossy top coat to protect them from the elements.
They were going to be outdoors (albeit on a covered porch), after all.
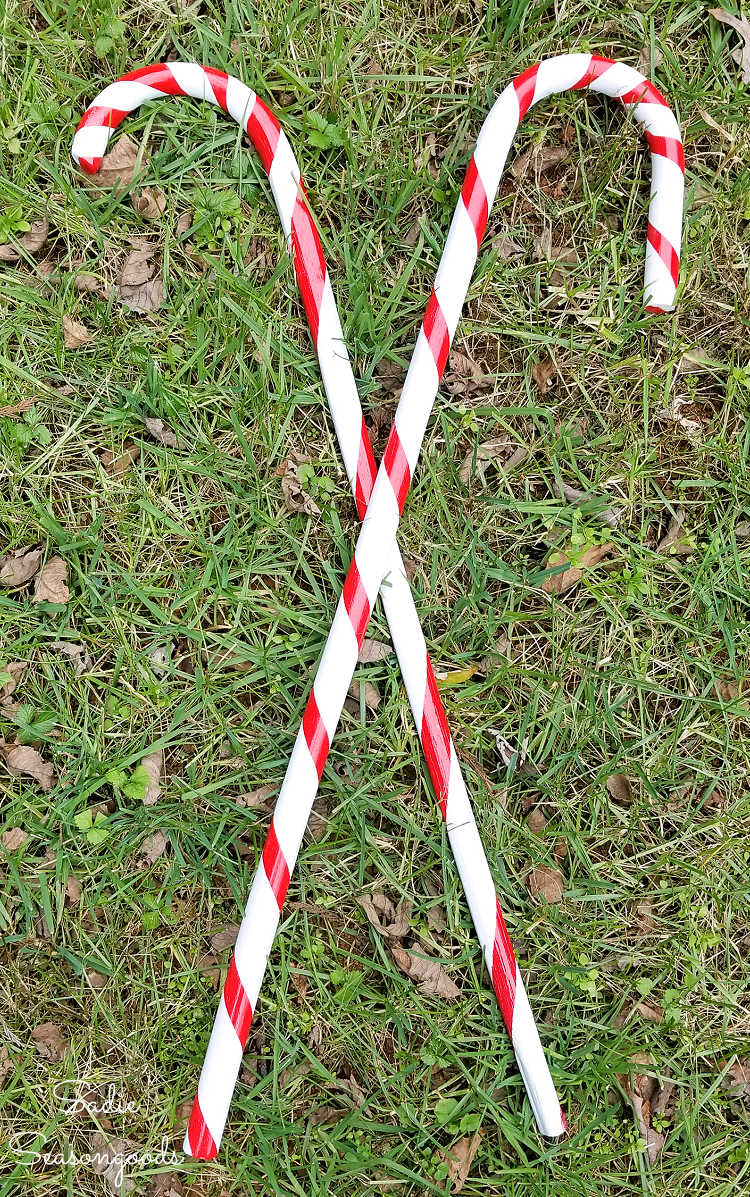
Image credit: Sadie Seasongoods.
Speaking of which, I decided that I wanted them to stand crisscrossed on the porch.
Next, I needed to “connect” them, doing so with a little hot glue and then wrapped (figure 8 style) with basic cotton string (aka, my kitchen twine).
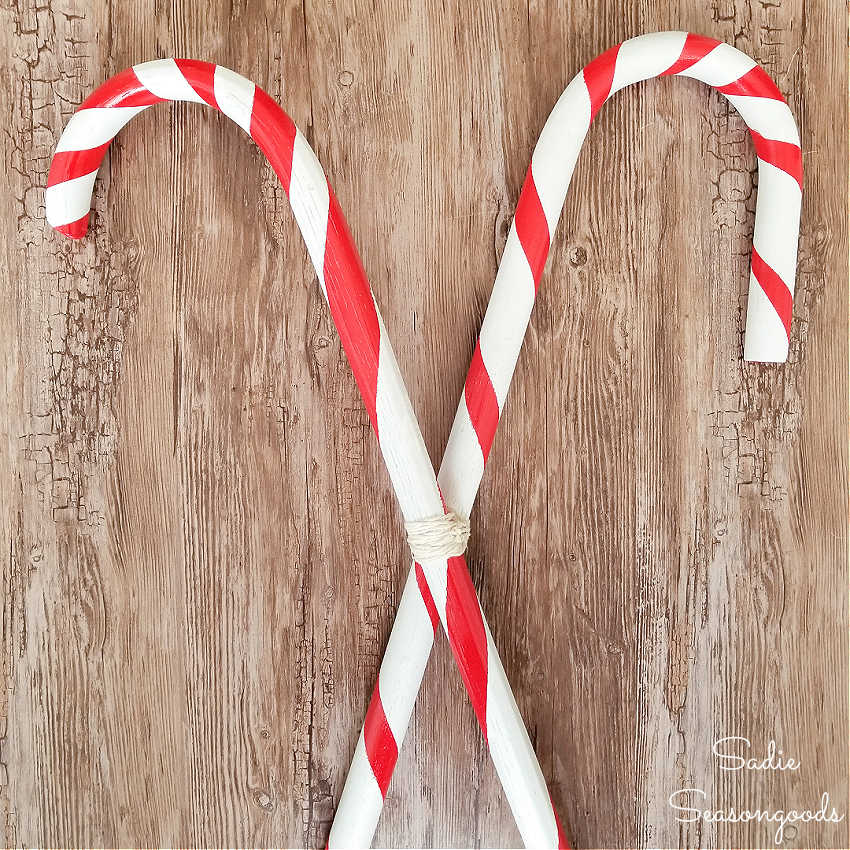
Image credit: Sadie Seasongoods.
And yes, I know that looks kind of ugly! Which is why I used a large wreath bow (from the craft store) to cover it up (held in place with basically jewelry wire).
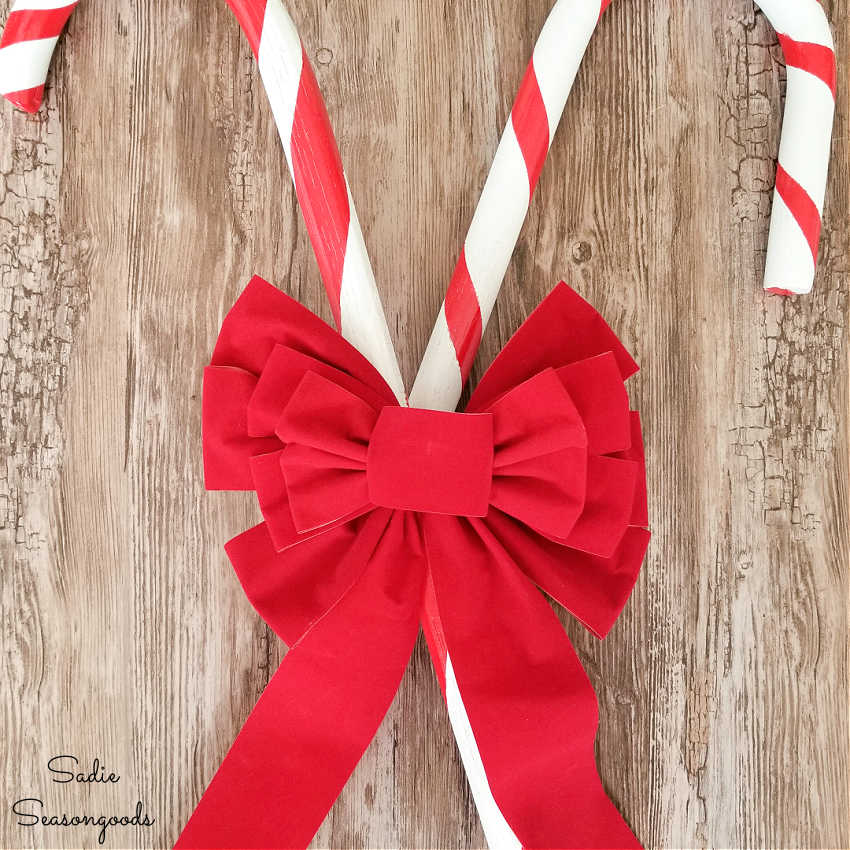
Image credit: Sadie Seasongoods.
Lastly, I glued small circles of anti-slip shelf liner (you know what I’m talking about- that sponge-y kind of grip liner) to the bottoms of my diy candy cane decorations to help anchor them in place on the front porch.
DIY Candy Cane Decorations from Wooden Walking Canes
Now my candy cane decorations were ready to place on my front porch!
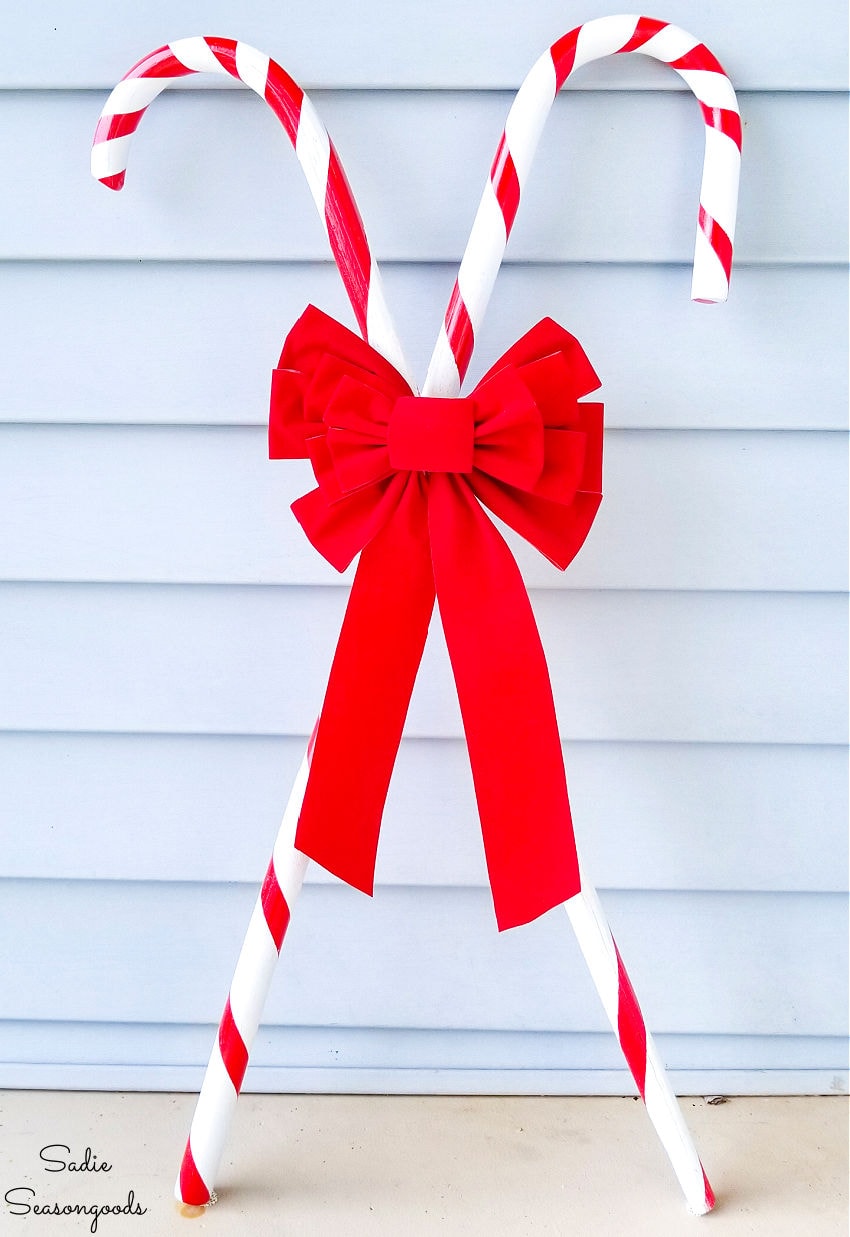
Image credit: Sadie Seasongoods.
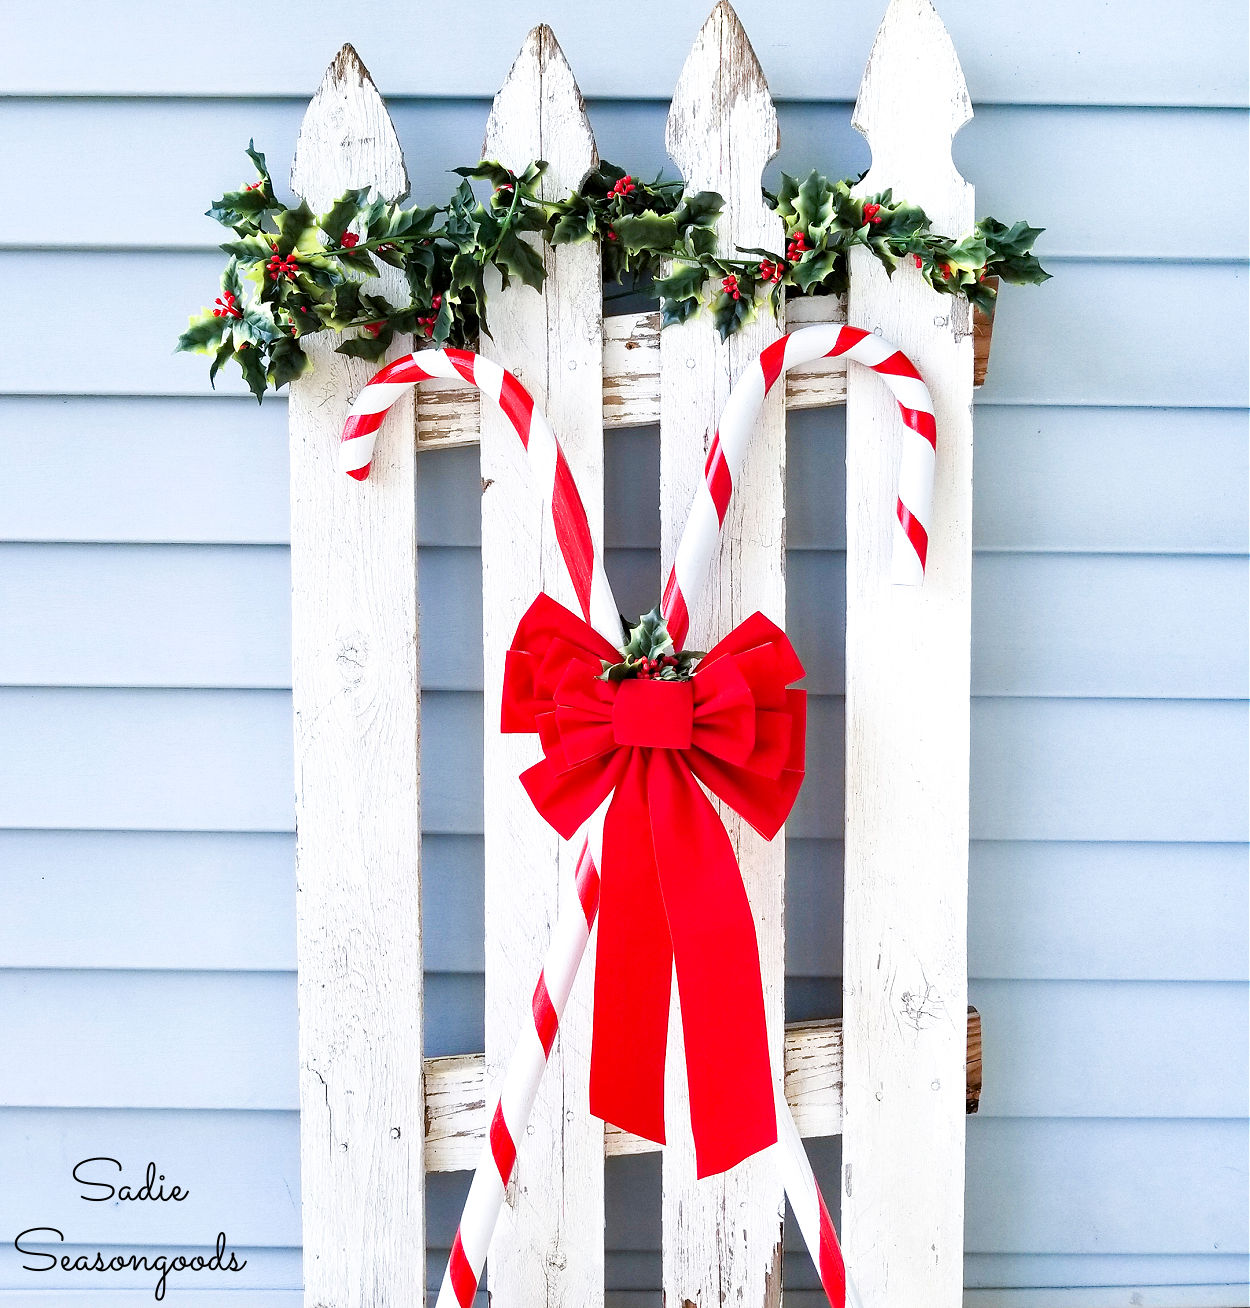
My salvaged chunk of picket fence made for a fun backdrop, eh? And some thrifted holly garland added a touch of (necessary) green to complete the look.
Ta-da! Large candy cane decorations from wooden walking canes that came from the thrift store! They became the perfect front porch Christmas decorations, didn’t they?
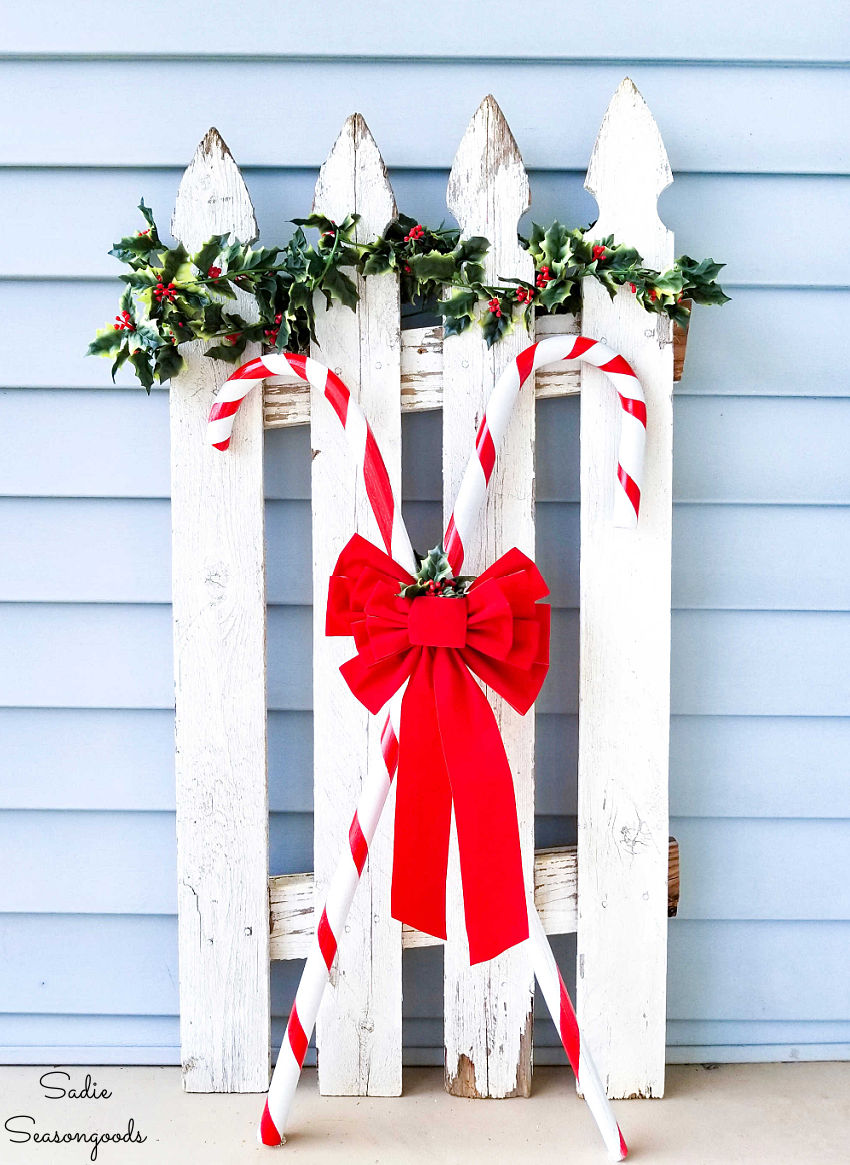
Image credit: Sadie Seasongoods.
Wouldn’t this be a wonderful way to preserve the walking cane(s) from a loved one? I can definitely envision someone not being able to give away an old cane for sentimental reasons…but not being sure what to do with it either.
So, if you’ve ever wondered what to do with an old cane or walking canes, this is an excellent idea.
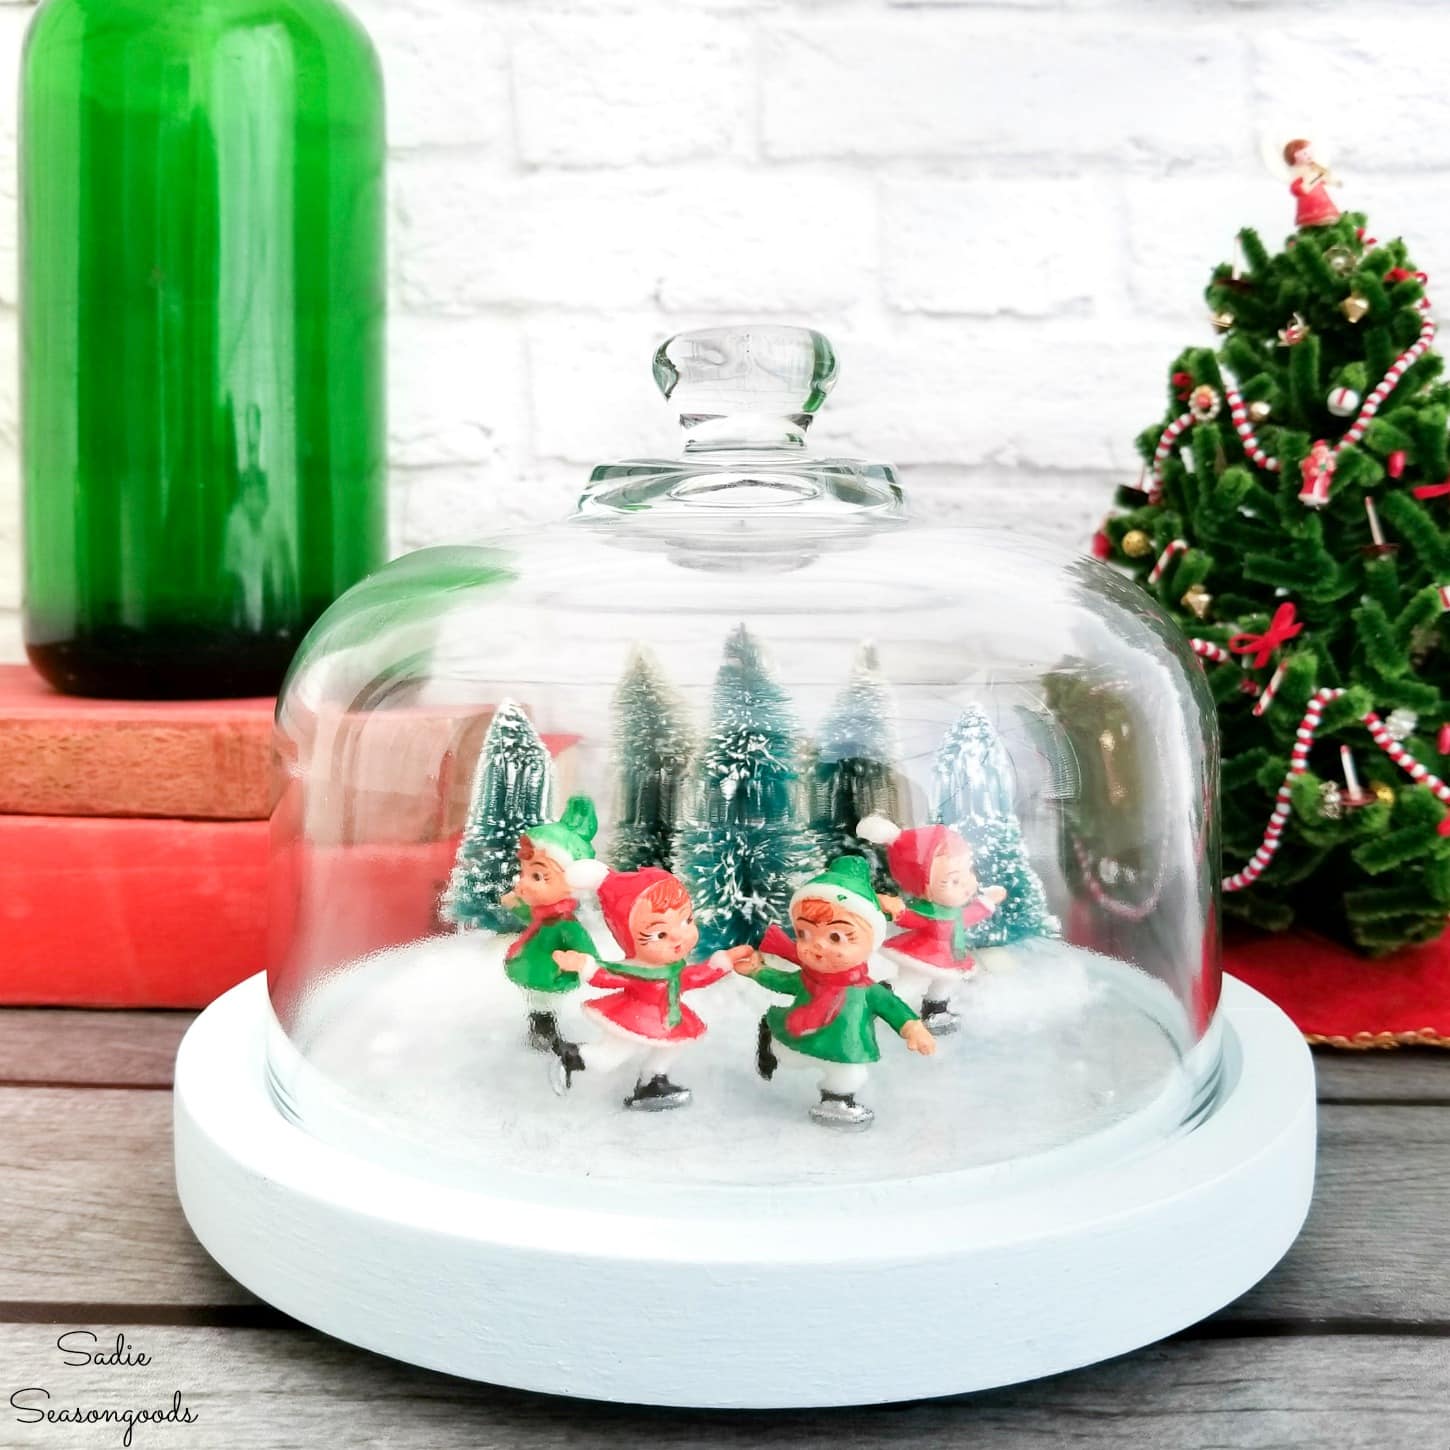
Love this upcycling idea for Christmas decor? Then you may also be interested in this mini ice skating scene that I created with an old cheese dome, too!
Craft on!
S
Want to be notified when I publish my next upcycling project tutorial?
Join me on Social Media:
PIN ME!

Image credit: Sadie Seasongoods.

Image credit: Sadie Seasongoods.
Sarah Ramberg is the owner of Sadie Seasongoods, a website that celebrates all things secondhand. From upcycling ideas and thrifted decor to vintage-centric travel itineraries, Sadie Seasongoods is a one-stop shop for anyone who loves thrifting and approachable repurposing ideas. Sarah is also the author of “Crafting with Flannel” and has been featured in numerous media outlets and magazines.











Adorable, as usual. I had to smile when I saw them as I thot they were just the large plastic ones! I remember getting those, shoving them onto a broomstick, covering them with pieces of masking tape, then shoe polishing them to antique them to make shepherd’s crooks for the kids’ Sunday school play! And here you are, doing just the reverse!
Very nice idea. It looks lovely.
Marilyn
Thank you, Marilyn!
great idea! thanks for sharing all your dyis!
Thank you so much!
Love the candy canes! You have such a creative eye. However, I’m more in love with your sawhorse table… genius!! ??
Haha, we have two!! The small one (which you saw) and then one that is about twice as long. We built them from basic plywood and 2″x4″s! Super handy.
Fantastic idea! This is a “duh” moment for me, too! Merry Christmas!
I’m glad I’m not the only one to feel that way, Aleane!!
OK, this is beyond fantastic! That is just a phenomenally creative- I never, ever would have thought that’s what these were.
Thank you so very much!!!
Well, yeah, a “DUH” moment for me, too!! You certainly have a great creative eye and that’s why I follow you! I really like to do the projects, but don’t always have the ideas first….so Thank you to Hometalk and great Diyers like you!!! You make me look talented!!LOL!! God Bless you and your family this Christmas season…
Thank you so very much, Karolyn- to you and yours, as well!
Wonderful ideas. I have my dad’s cane and saved with the idea of using the last scene in Miracle on 34th Street (Natalie Wood & Maureen O’Hara version) and stand it up in a corner like Kris Kringle did at the end.