Several years ago, I saw a rustic birdhouse that was done up like a “junk shop”. And while I didn’t make the purchase, I never forgot how cute it was. So, when I found this broken birdhouse while thrifting, it seemed like I had been given a second chance at a junky birdhouse. I just needed to fix it up and I already had the right piece of barnwood to do it!
Here’s the original (that I didn’t buy).
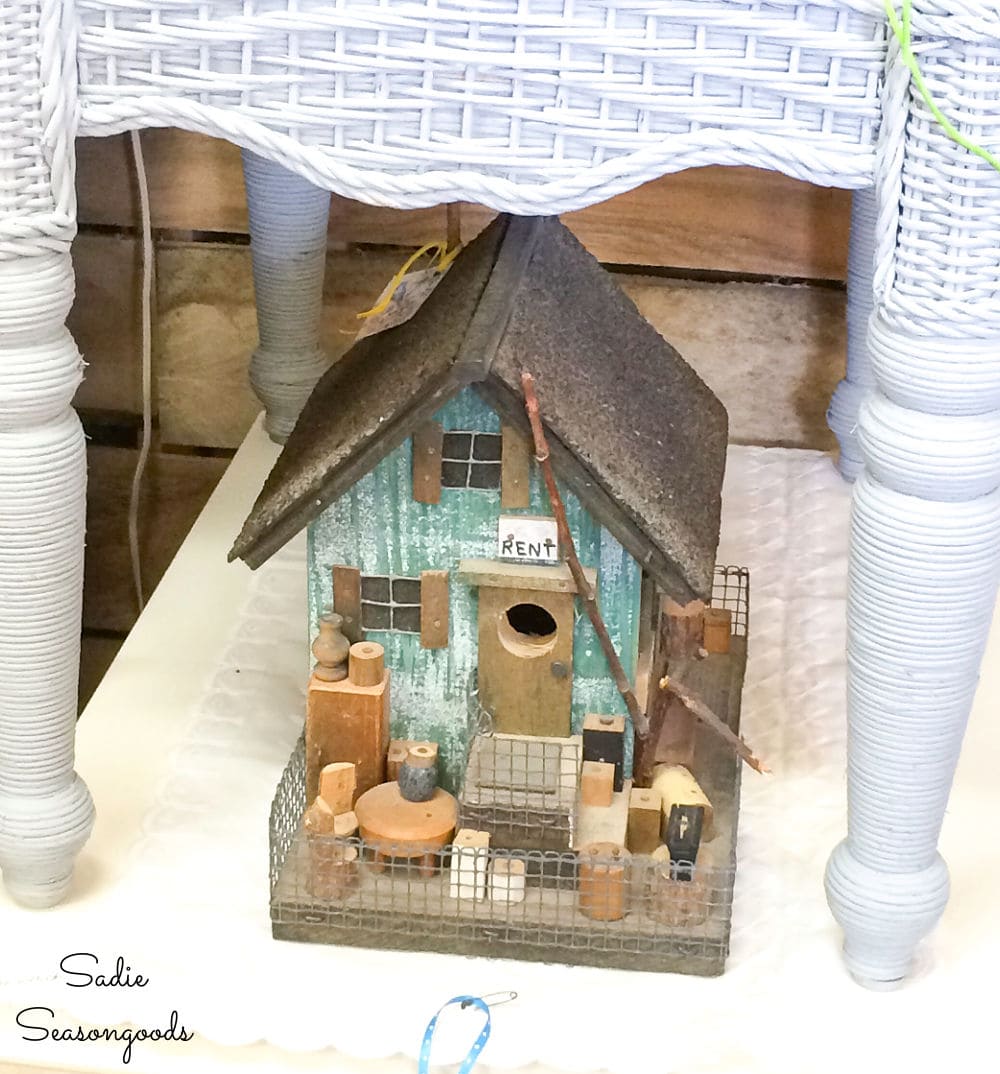
Image credit: Sadie Seasongoods.
And this is my thrifted find (for about 10% of the cost of my inspiration birdhouse!).
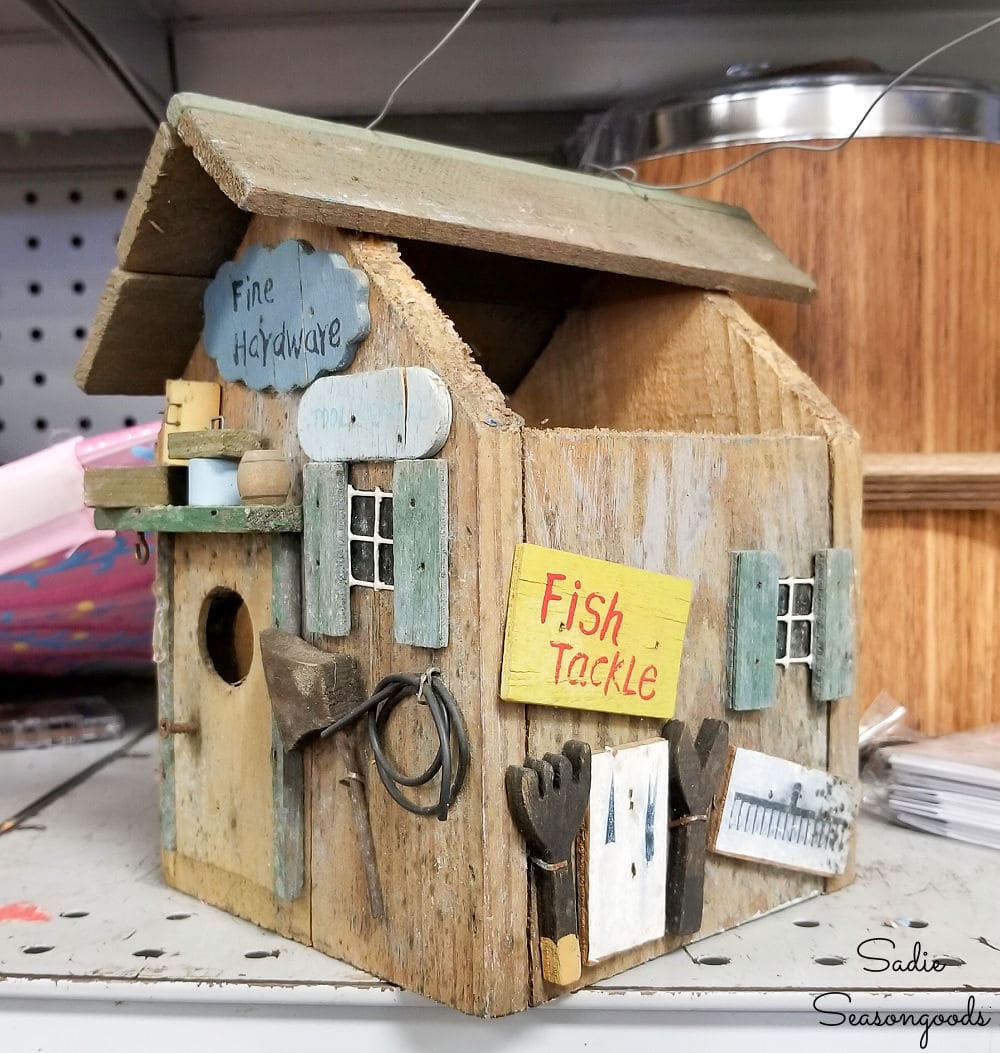
Image credit: Sadie Seasongoods.
I honestly didn’t have to do much to fix up my fixer upper. Just a new base, a new roof, and a hanging wire. Easy peasy and I knew it would look adorable in my yard!
This post contains affiliate links for your crafting convenience. As an Amazon Affiliate, I earn from qualifying purchases. All blue, bold, and underlined text is a clickable link, either to a product or to a related post.
Using Barnwood to Update a Rustic Birdhouse
To fix up my broken birdhouse, I first wanted to disinfect it as best I could. So, I made a light bleach solution in a spray bottle of water and spritzed the whole thing down. Inside and out.
Then, I let it sit overnight to dry out before tackling the old roof slats that needed to be removed.
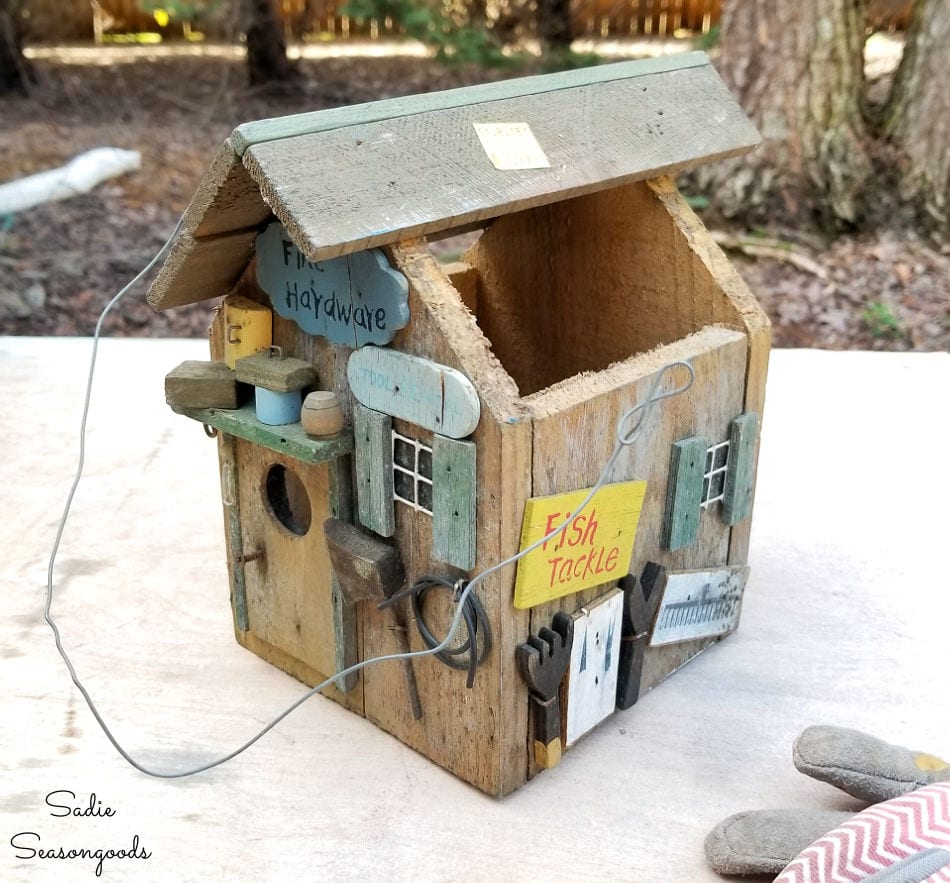
Image credit: Sadie Seasongoods.
With work gloves on, I pried them off and gave the interior a good sanding to remove splinters and extra-rough surfaces.
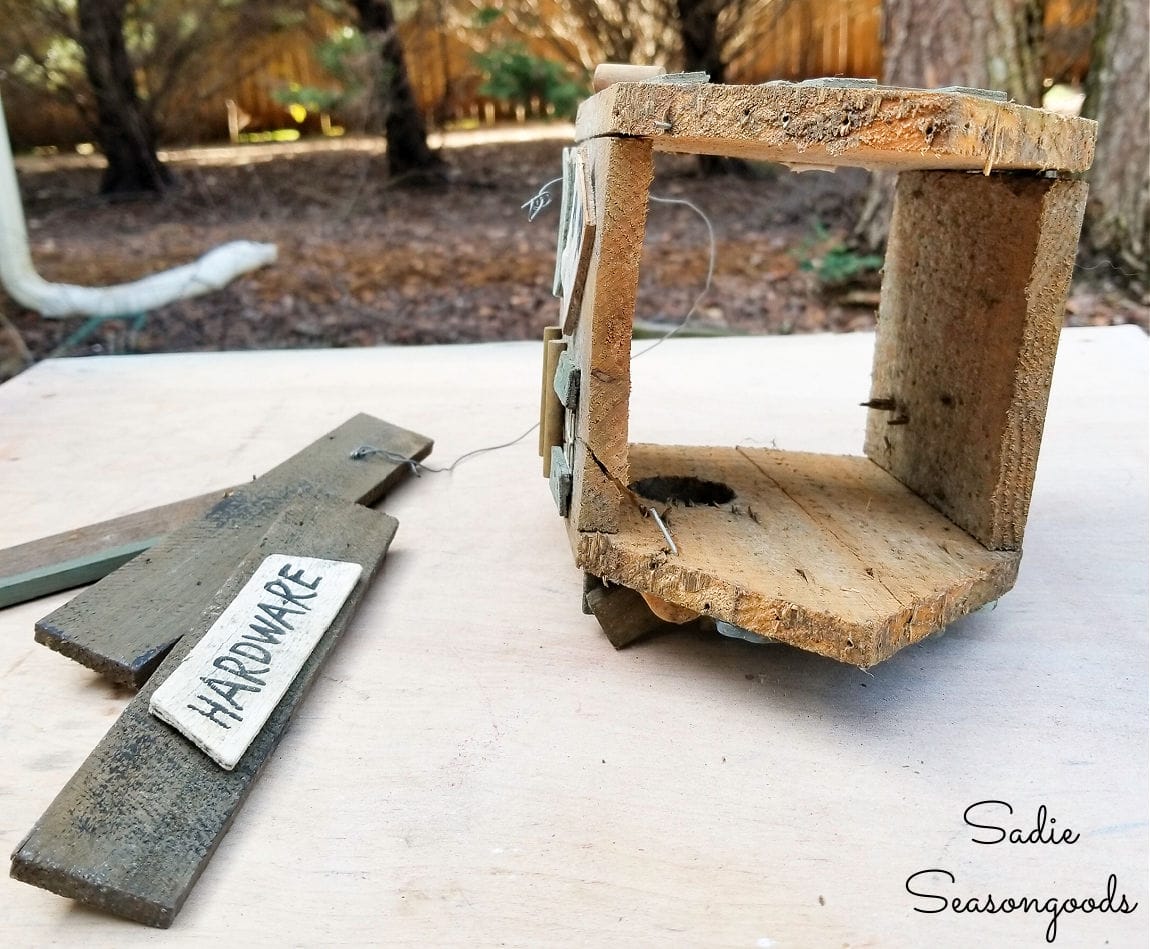
Image credit: Sadie Seasongoods.
Next, I retrieved the plank of barnwood that I planned on using for the base and roof. It was wonderfully weathered and already a good width.
Plus, it was on the thin side and wouldn’t add too much weight to my rustic birdhouse.
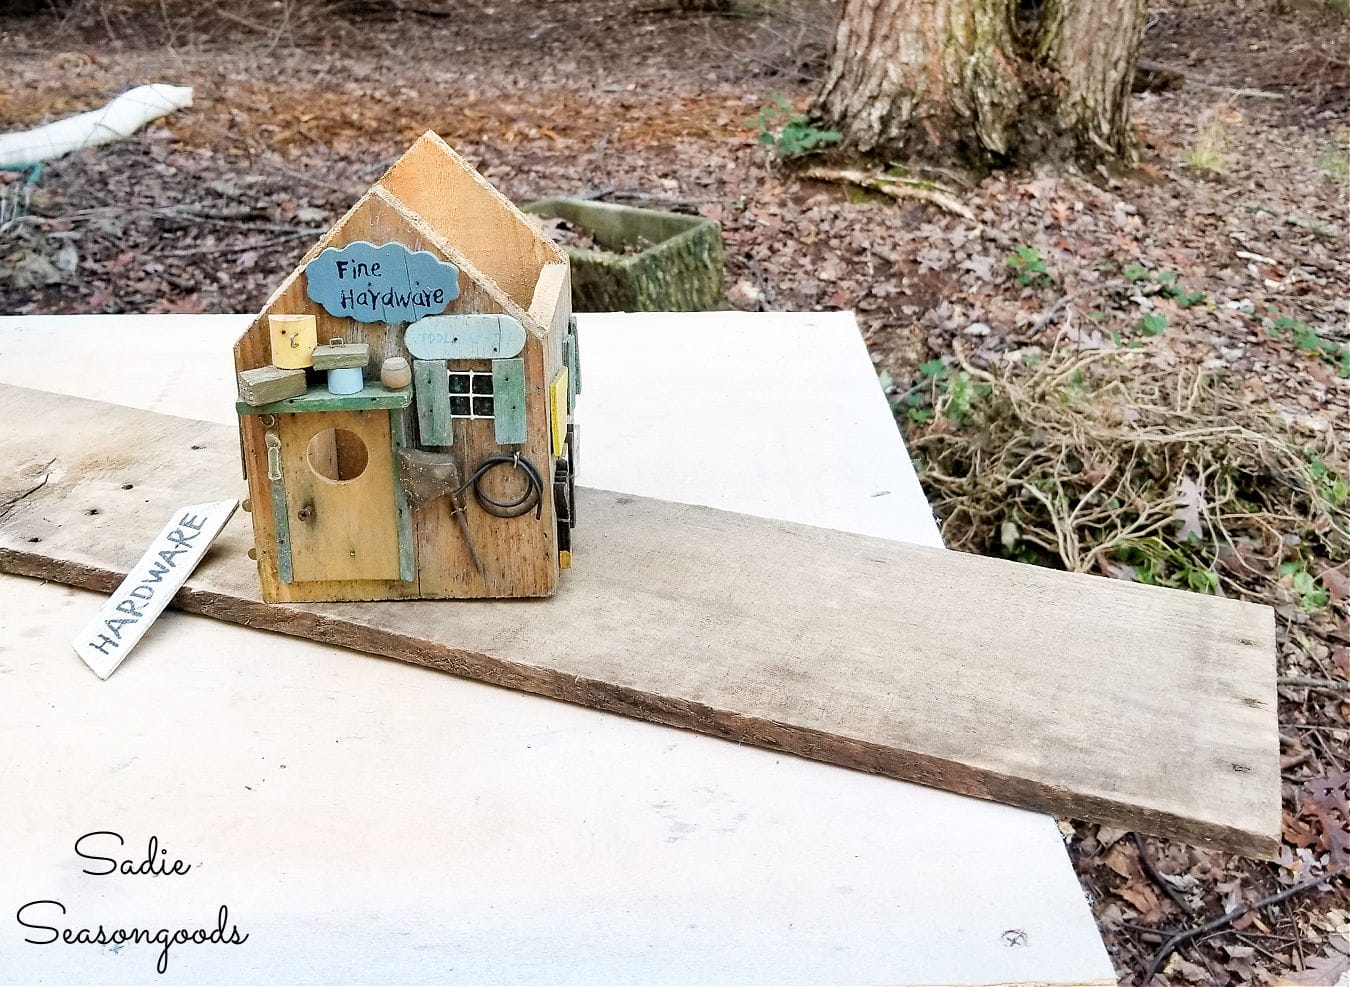
Image credit: Sadie Seasongoods.
After taking some measurements, we sawed off three sections of barnwood. I needed two coordinating sections for the roof (which I planned to make hinged) and one for the base.
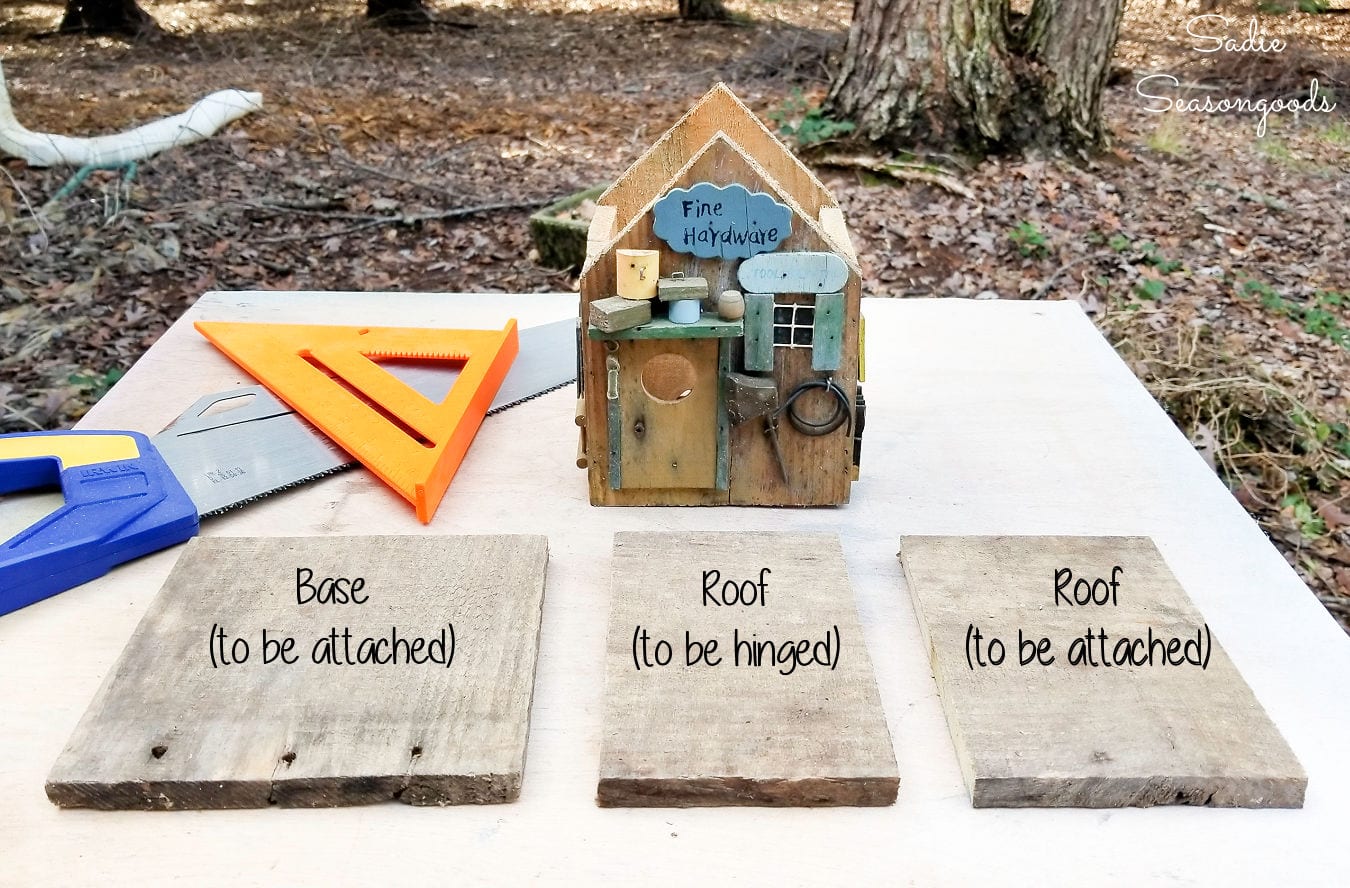
Image credit: Sadie Seasongoods.
Theoretically, this is what it’ll look like when I’m done. I just needed to add a splash of color first!
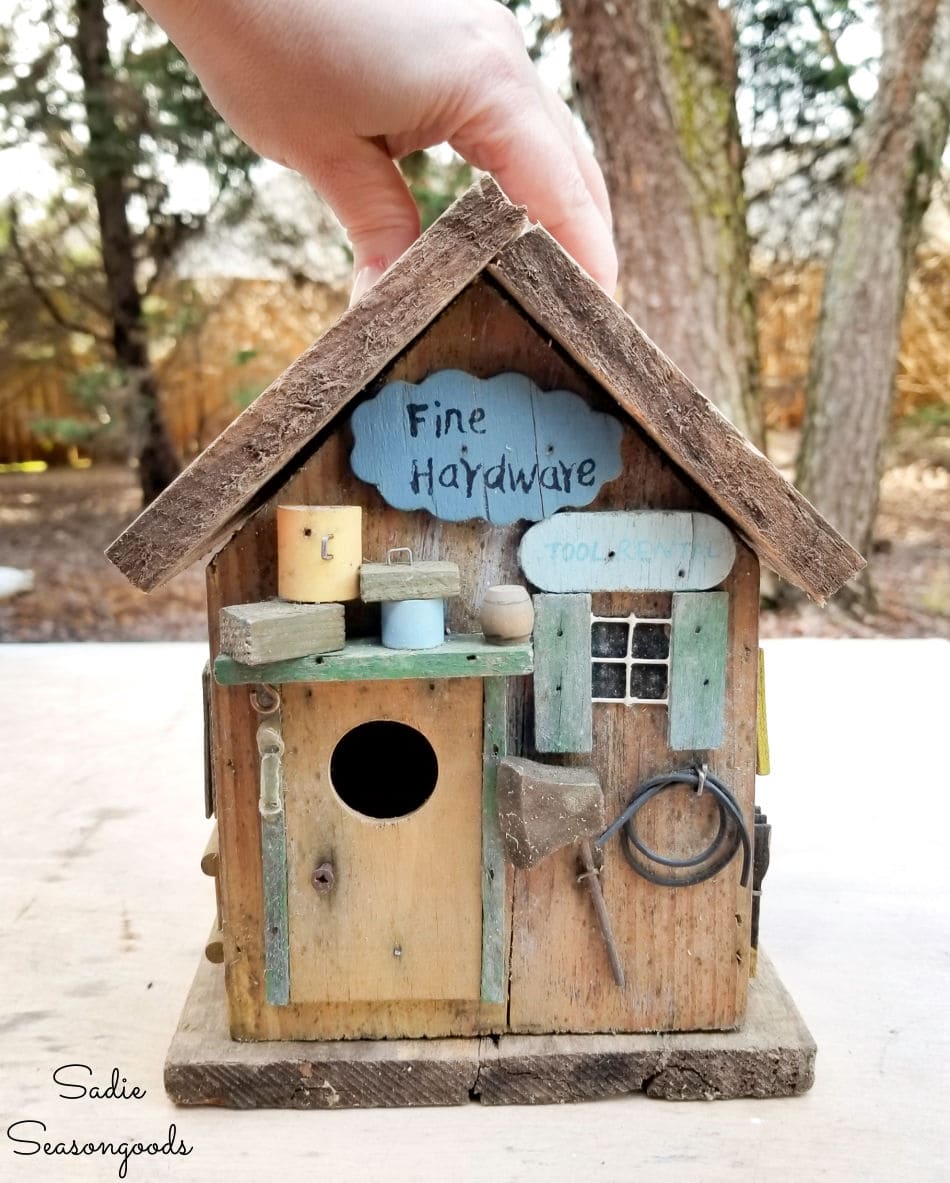
Image credit: Sadie Seasongoods.
Fixing a Rustic Birdhouse for a Junk Garden
I wanted the barnwood roof and base to coordinate with the existing colors of the shutters and doorframe of my rustic birdhouse.
YES, I love the natural barnwood, but for a decorative birdhouse, a touch of paint was warranted.
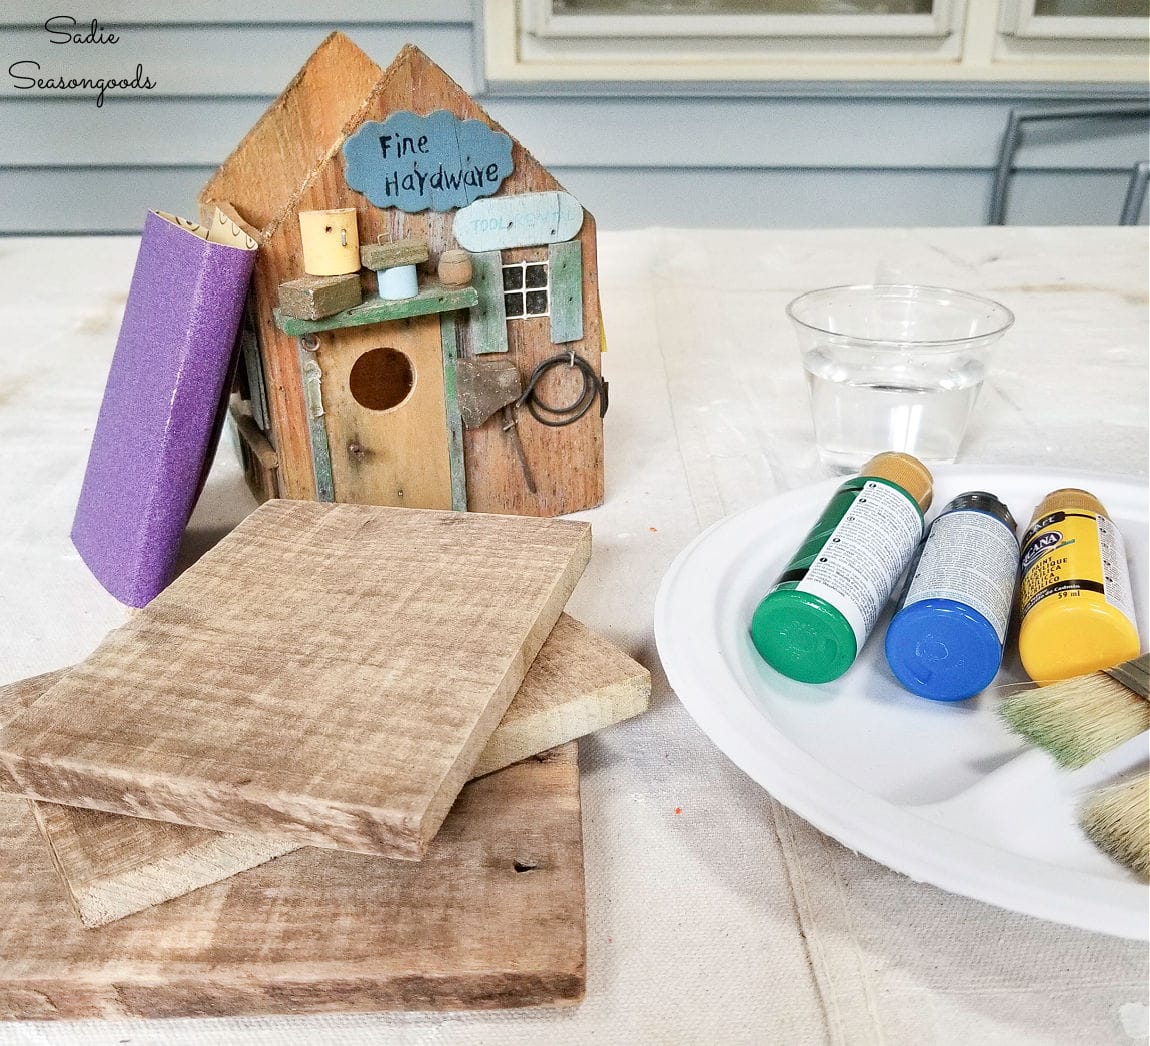
Image credit: Sadie Seasongoods.
To keep the paint job “washed out”, I used a wet chip brush and just a drop of paint (sometimes blue, sometimes green).
After the paint dried, I lightly sanded each piece of barnwood to both smooth it out and weather the colors.
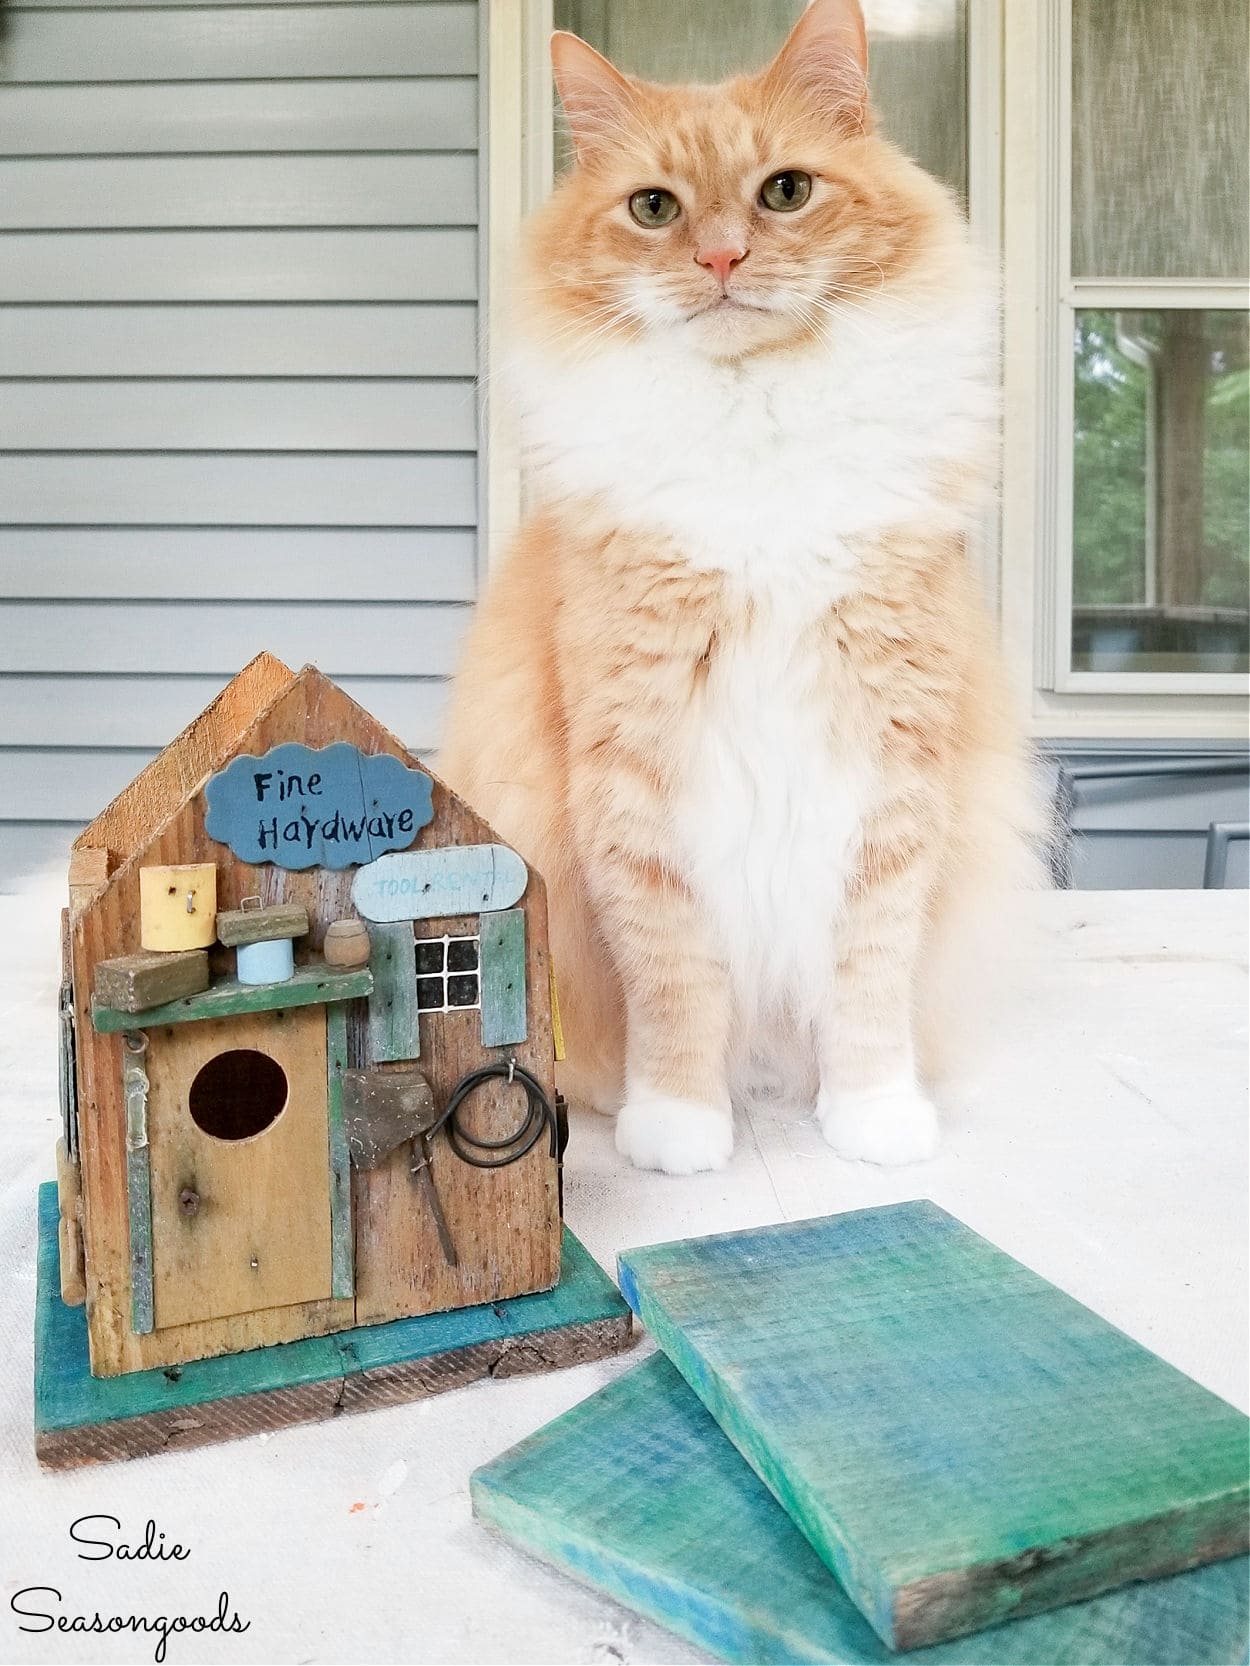
Image credit: Sadie Seasongoods.
After this, I sealed the roof pieces and base with top coat and used a spray-on sealant for the birdhouse itself.
Now it was assembly time!
Using a combination of small screws and wood glue, I first attached the small section of barnwood roof to the birdhouse, lining it up with the peak. Then, using two small hinges, I connected the second section of roof, linking it up with the edge of the screwed-on roof section.
After that, I drilled a couple of small holes in the middle of the birdhouse base (for ventilation/drainage). Then, I used wood glue on the base, centering the birdhouse on top. How did I weigh it down and help the wood glue adhere without clamps?
I made a makeshift “weight” by filling a produce plastic bag with our coin jar contents! It sounds silly but it worked like a charm. I suspect a pliable bag of rice or dried beans would work, as well.
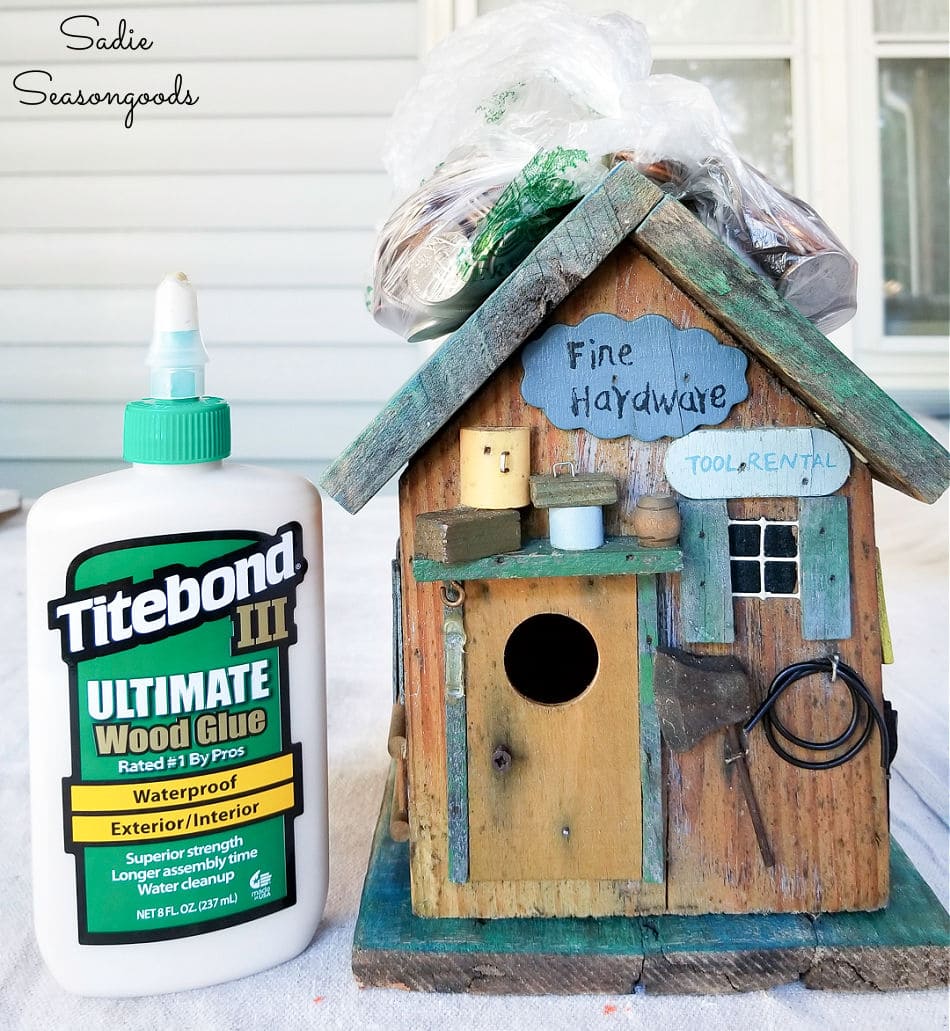
Image credit: Sadie Seasongoods.
Once the glue had thoroughly set and dried, I reinforced the base by tapping in some small nails through the bottom.
And just like that, my rustic birdhouse had been thoroughly repaired and was nearly ready to be used.
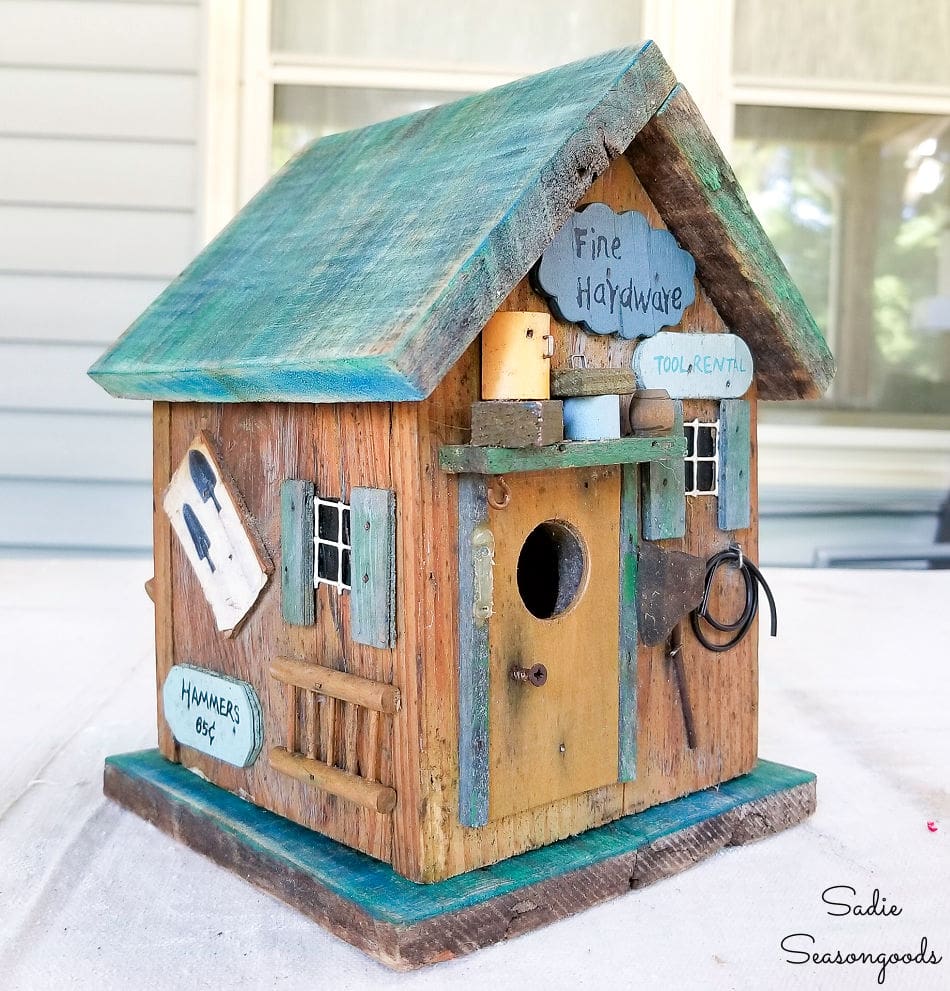
Image credit: Sadie Seasongoods.
Here’s my new hinged roof on the birdhouse! This will make it easy to clean out each season.
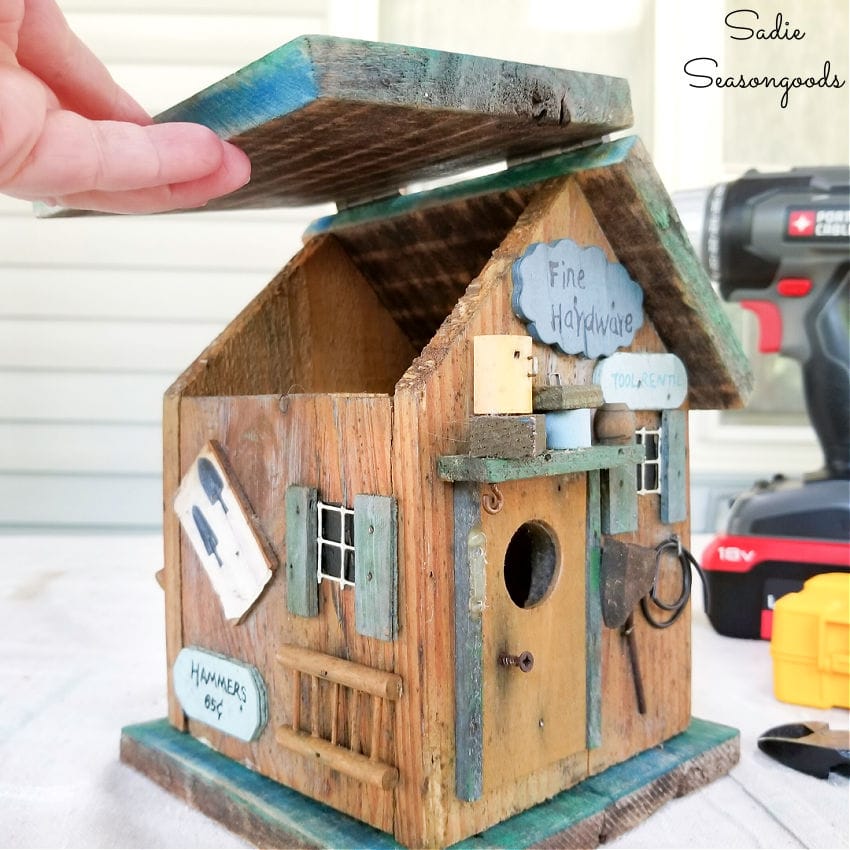
Image credit: Sadie Seasongoods.
Repairing a Rustic Birdhouse with Barnwood
Lastly, I drilled pilot holes under each gable and inserted a small eye screw. Then I simply strung some braided picture hanging wire between the two screws.
Ta-da! My rustic birdhouse was all fixed up and ready for the yard.
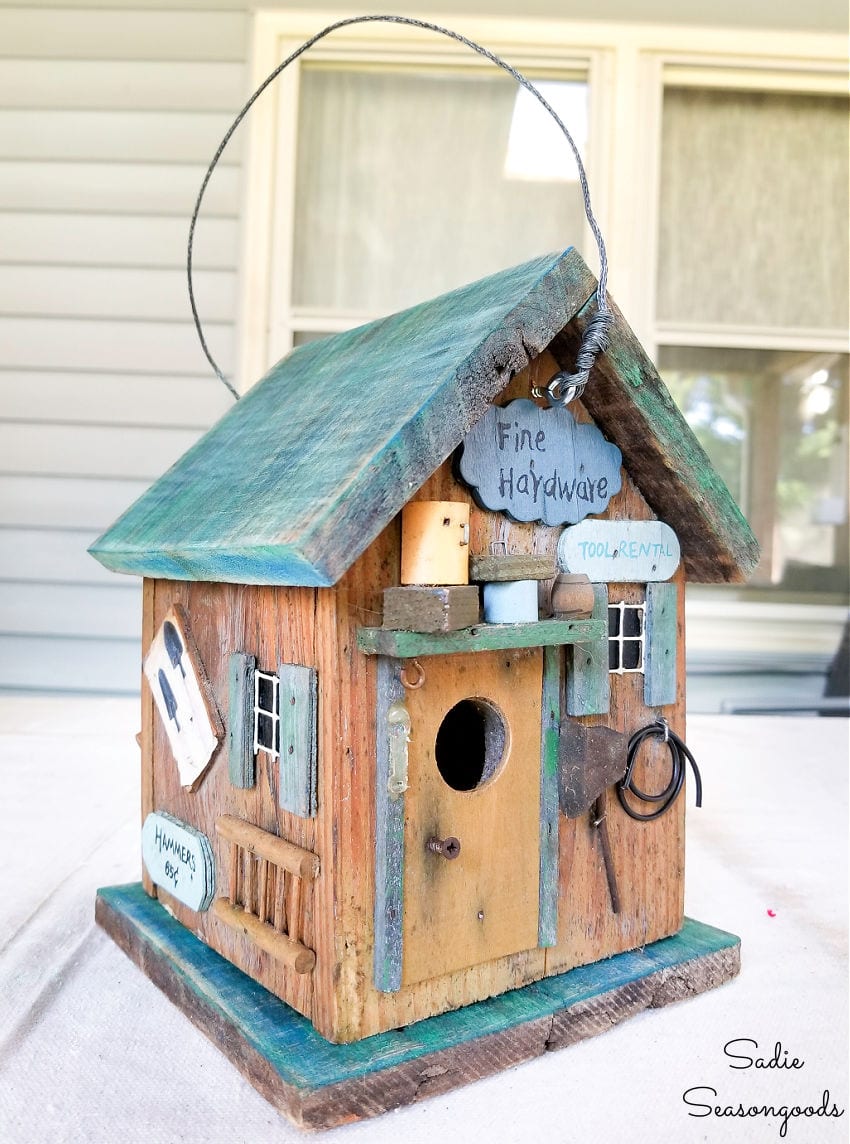
Image credit: Sadie Seasongoods.
It really is adorable wildlife habitat – I’ll let you know if any of my resident wren or chickadee families move in.
As you may recall, those are my most frequent birdhouse nesters.
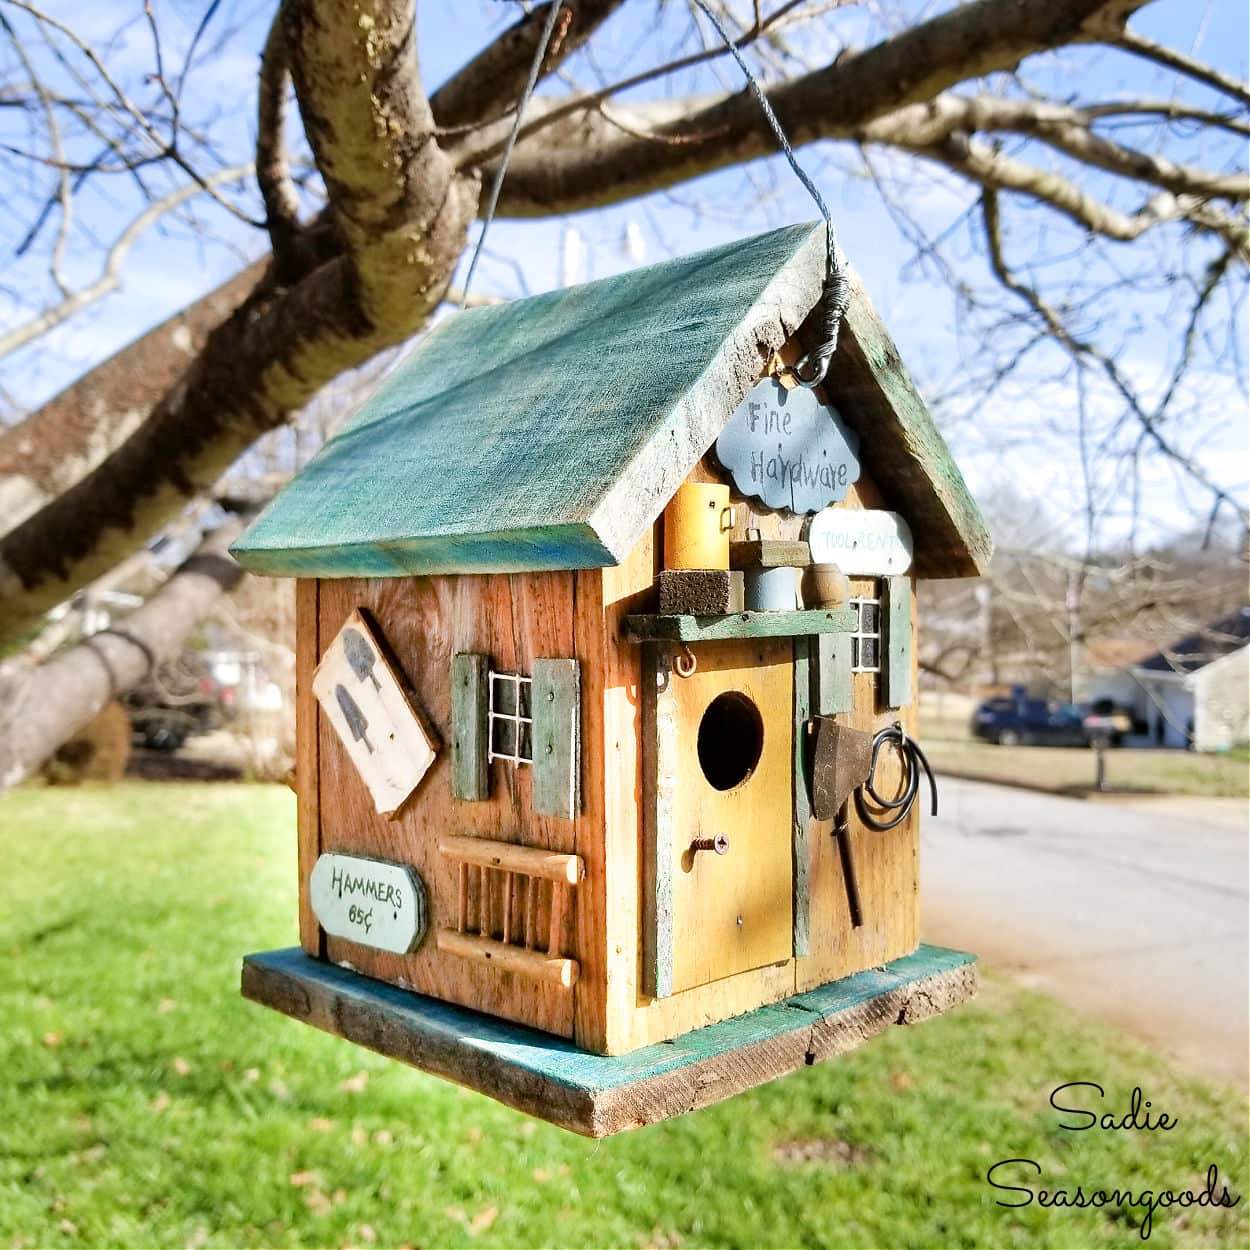
Image credit: Sadie Seasongoods.
*****
Guess what else is happening today? It’s Thrift Store Decor Team day, so check out what my friends have been up to – simply click on the links beneath this collage photo to see the ‘after’ shots!
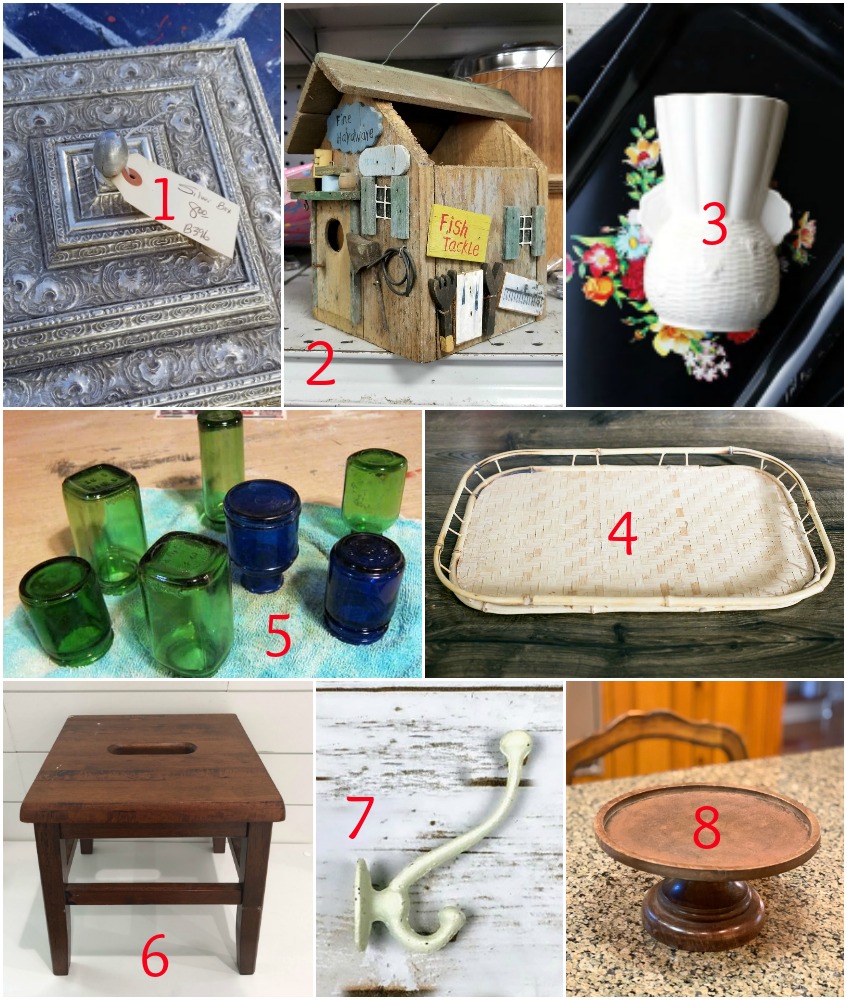
2. Fixing Up a Broken Birdhouse with Barnwood (that’s mine!)
3. Vintage Wall Pocket Organizer
8. Pedestal Makeover
*****
What can I say? I’m obsessed with upcycled bird projects – check them all out here, if you’re curious! Thankfully, my birds seem to love them as much as I do, too.
And if you enjoyed this upcycling idea for a rustic birdhouse, then you may also be interested in this bird project for INSIDE, as well!
Craft on!
S
Want to be notified when I publish my next upcycling project tutorial?
Join me on Social Media:
PIN ME!
Image credit: Sadie Seasongoods.
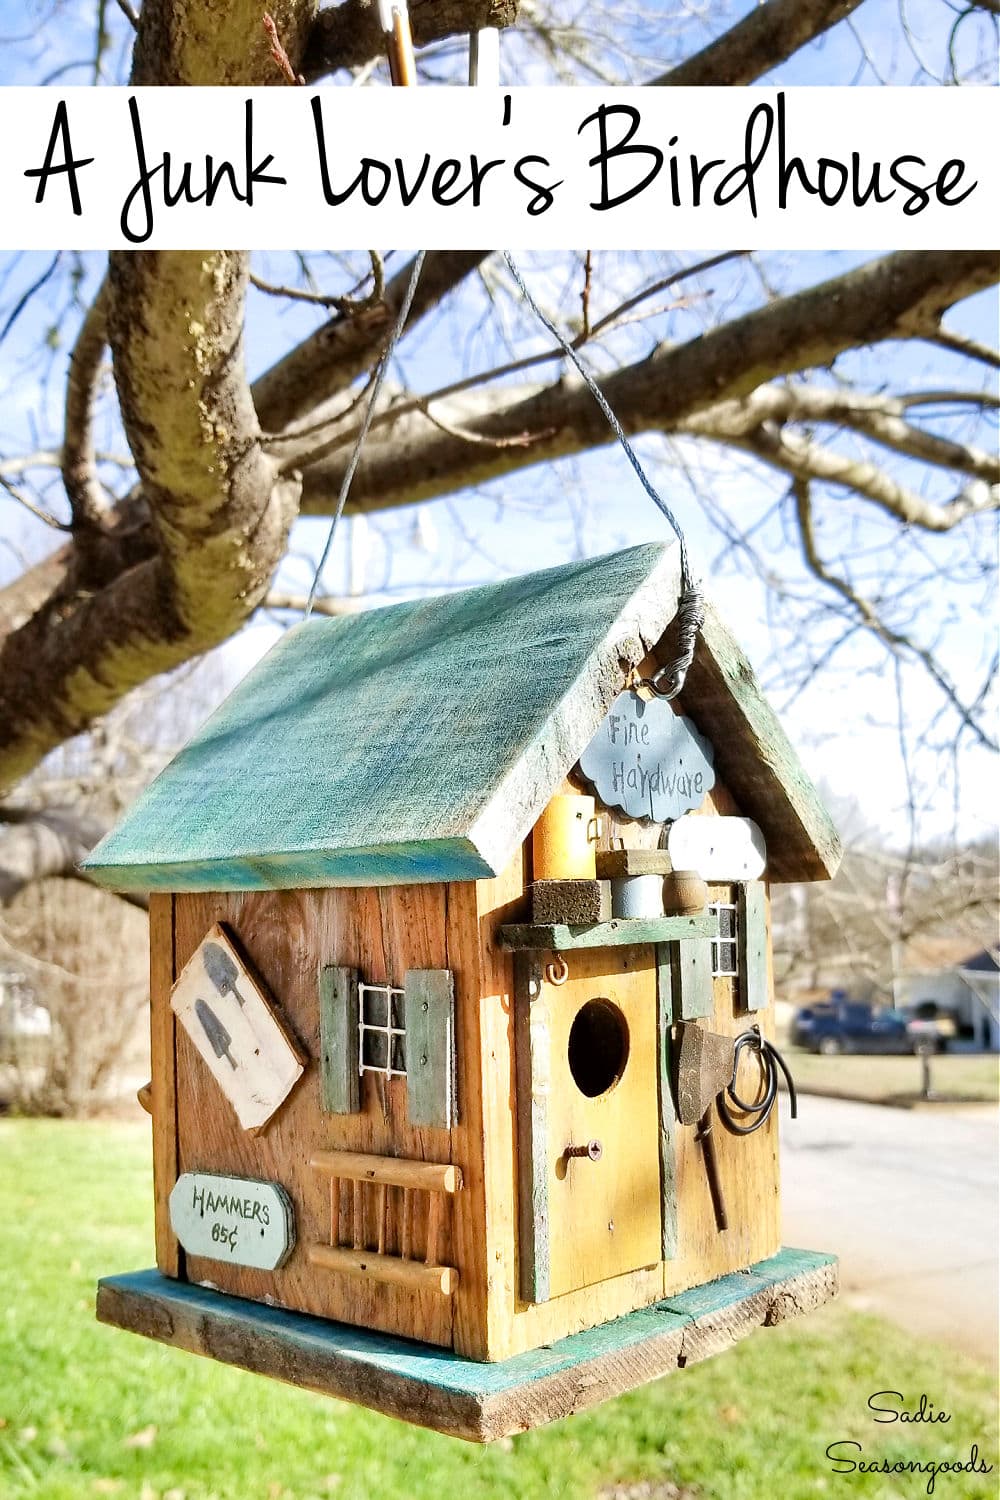
Image credit: Sadie Seasongoods.
Sarah Ramberg is the owner of Sadie Seasongoods, a website that celebrates all things secondhand. From upcycling ideas and thrifted decor to vintage-centric travel itineraries, Sadie Seasongoods is a one-stop shop for anyone who loves thrifting and approachable repurposing ideas. Sarah is also the author of “Crafting with Flannel” and has been featured in numerous media outlets and magazines.


That hinged roof is brilliant!!
Birdies aren’t the best at housekeeping after the season is over! LOL
That’s adorable! I love the way the painted barn wood came out.
Thank you!
Oh my gosh Sarah!!! I LOVE this barn,wood birdhouse!!! I want one! It’s soooo you! 😉
pinned!
Thanks, Gail!!!!
This turned out beautifully! OMG…your cat ready for the birds!! I’m quickly becoming that crazy cat lady with our new cat. 🙂
Ha!!! The more crazy cat ladies, the better (IMO)! 😉 Thank you!
How cute and you only had to do a little bit of work to get what you envisioned. Great hint using a plastic bag filled with coins to weigh down the roof while the glue dried.
Thank you, Rita!!
Bravo et merci pour ces créations de l’autre bout du monde !!!! Je vous souhaite une fabuleuse année 2019 faite de créations de partage et d’amour !!!!! Grosses bises d’un petit coin de France ;…
Ok! That birdhouse is too cute!!!
I felt lucky finding him at the thrift store, that’s for sure!
I would have bought that in a HOT second!
Right?? Too cute for words!!
You are so creative, this is adorable!
Thank you!
Your bird house is just adorable, wish I had your talent
What a great up-cycle. I love these fancy birdhouses but they are always so expensive! I like your addition of color; it brightened it right up! The hinged lid will be great for cleanouts (and even checking on the baby birds!). Great save!
adorable!! So stinkin’ clever!!
Thank you!!
You know that adorable Cottonball, the photo bomber, is determined to be hired as your assistant. Maybe on this project especially considering the contents could be considered dinner!
He *does* love to watch the birds out the window!! I keep telling him he can’t eat his friends! 😉
That is an adorable bird house, Sarah! I would love to pin it but I can’t figure out how to. What do I click on on your post page to do that? If I click on the big P at the bottom I go to your Pinterest site and have to look through a b’zillion posts. Is there another way? Am I missing something? Thanks for any help you can give me here!
Hmmm- I can definitely help you out with that, but are you looking at the blog post on your phone or on your computer (the pin location is different in each)? Conversely, if you’re on your computer, you can click on this pin and save it to your own board!