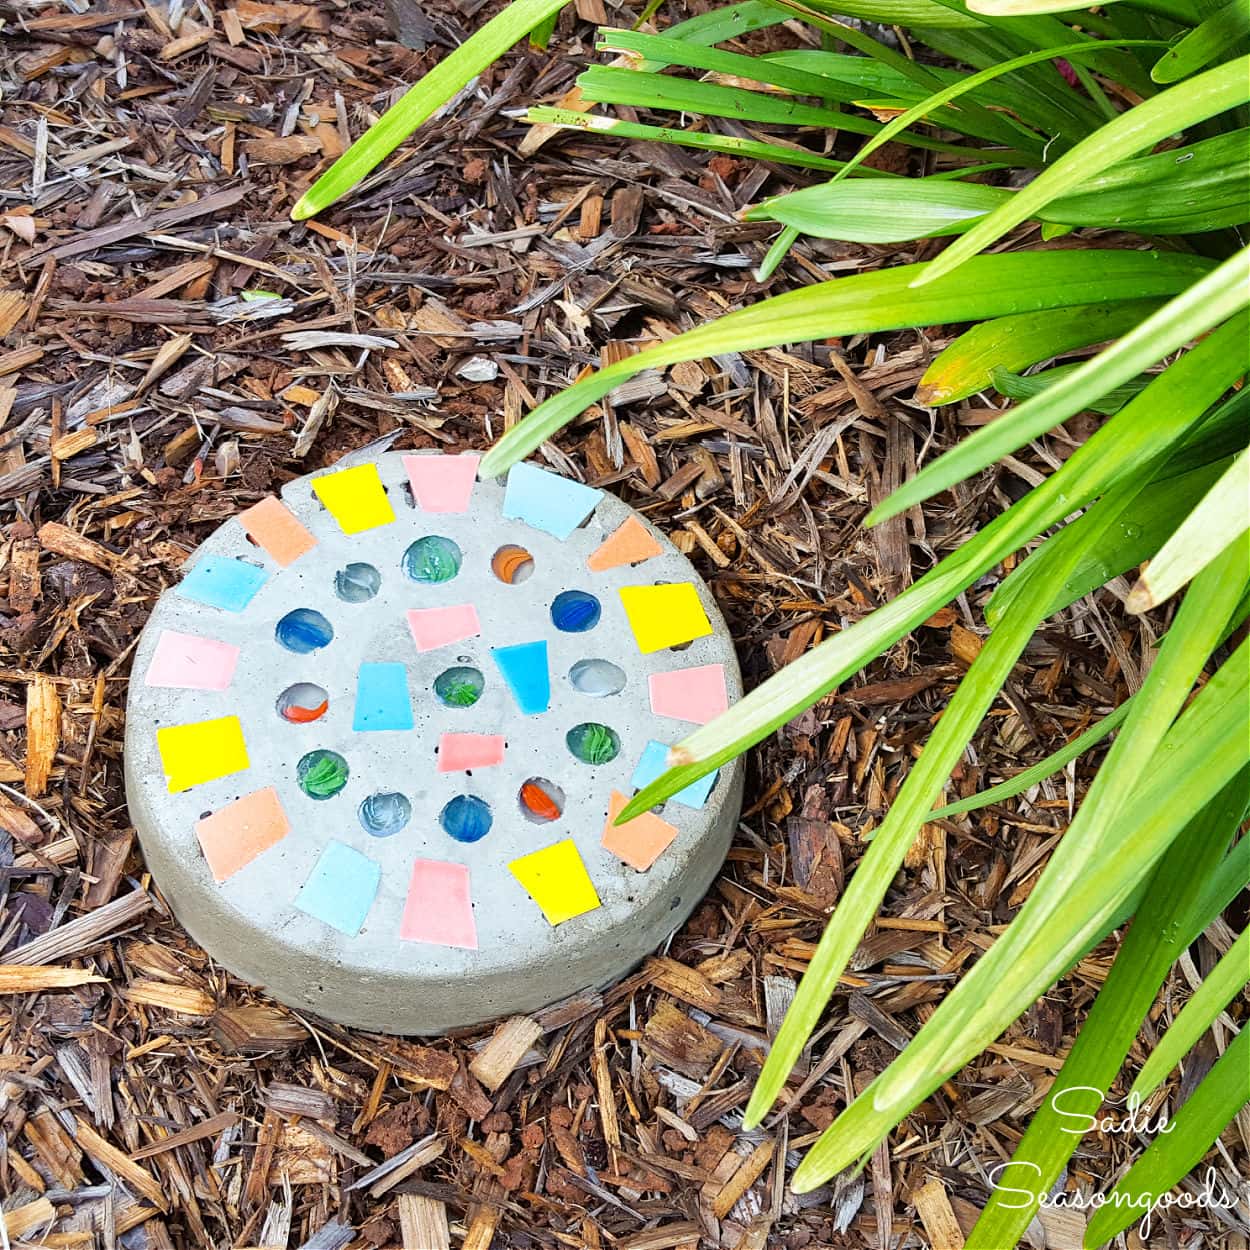
Years ago, I made a mosaic stepping stone that featured an outdoor key hider underneath it. More recently, I had a hankering to try playing with concrete once again. But this time, I decided to use some copper molds from the thrift store to make some decorative garden stones.
My first and only concrete craft project:
But back to today’s upcycling idea! Let’s face it, these copper are ALL OVER thrift store shelves…in any number of shapes and sizes.
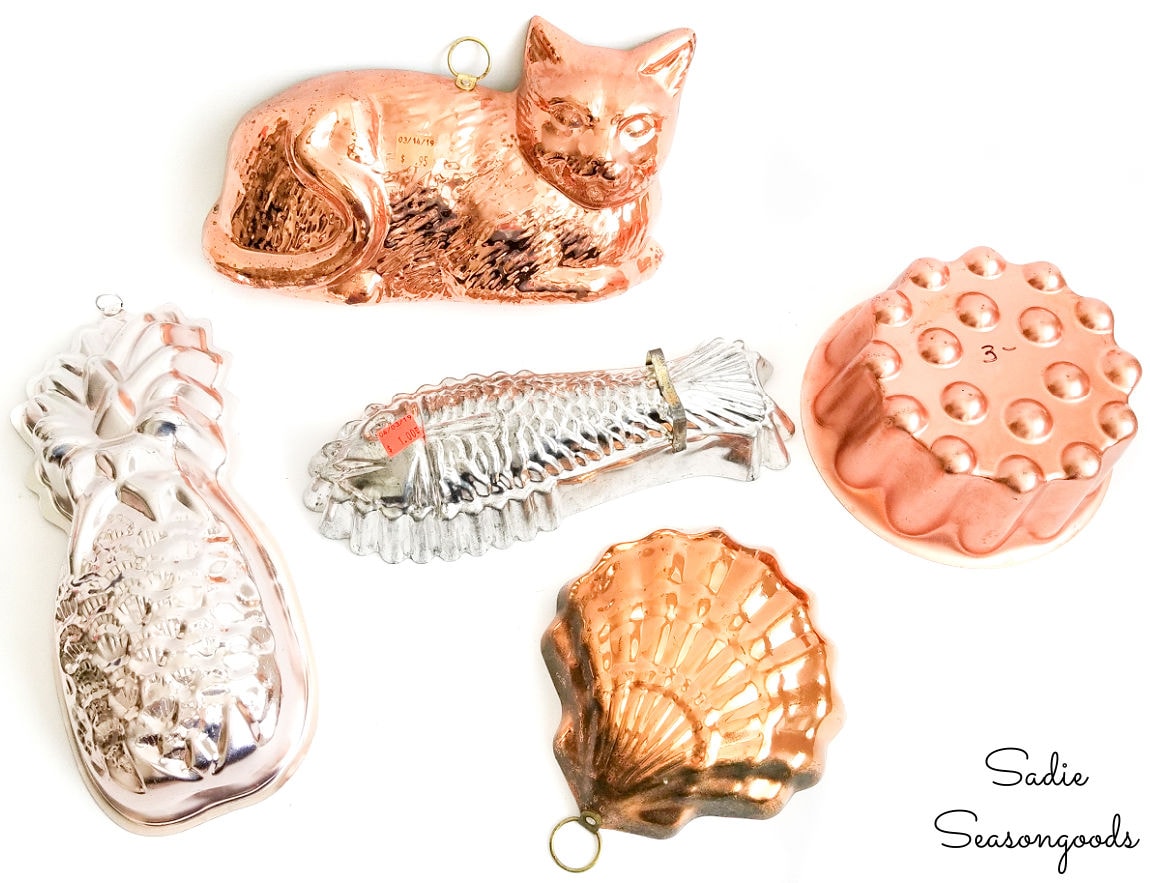
Image credit: Sadie Seasongoods.
This upcycling idea was also a chance for me to try a stepping stone kit instead of the standard Quikcrete, which is a little burdensome to use for craft projects.
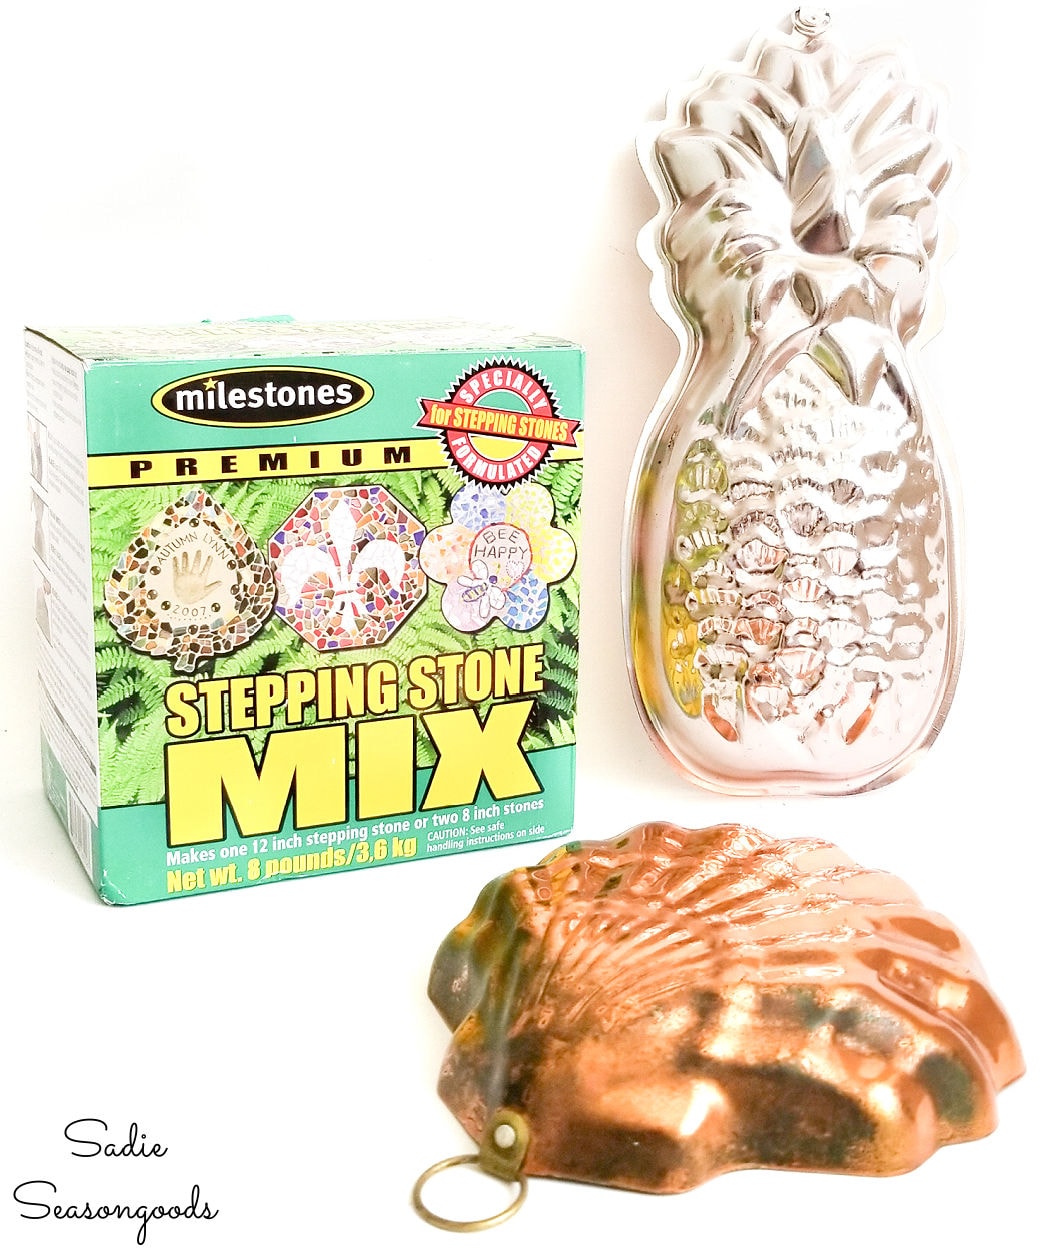
Image credit: Sadie Seasongoods.
Either way, I gathered up some copper molds to try making some decorative garden stones for my yard. Think my idea will work? There was only one way to find out!
This post contains affiliate links for your crafting convenience. As an Amazon Affiliate, I earn from qualifying purchases. All blue, bold, and underlined text is a clickable link, either to a product or to a related post.
Upcycling the Copper Molds
I used this stepping stone kit as my source of cement, but it’s also available in most craft stores (for a lot less money, too). I really loved that it was a set amount of cement that would be mixed with a set amount of water.
Unlike Quikcrete, which is a guessing game!
First, I followed the directions on the box and mixed up the concrete in a bucket. It was much smoother than Quikcrete, without any aggregate (stones) to deal with.

Image credit: Sadie Seasongoods.
Before I poured the cement into the copper molds, however, I sprayed them generously with nonstick spray.
This is an absolutely CRUCIAL step, and don’t be stingy with the spray, Make sure you thoroughly coat the bottom of AND sides of the stone mold.
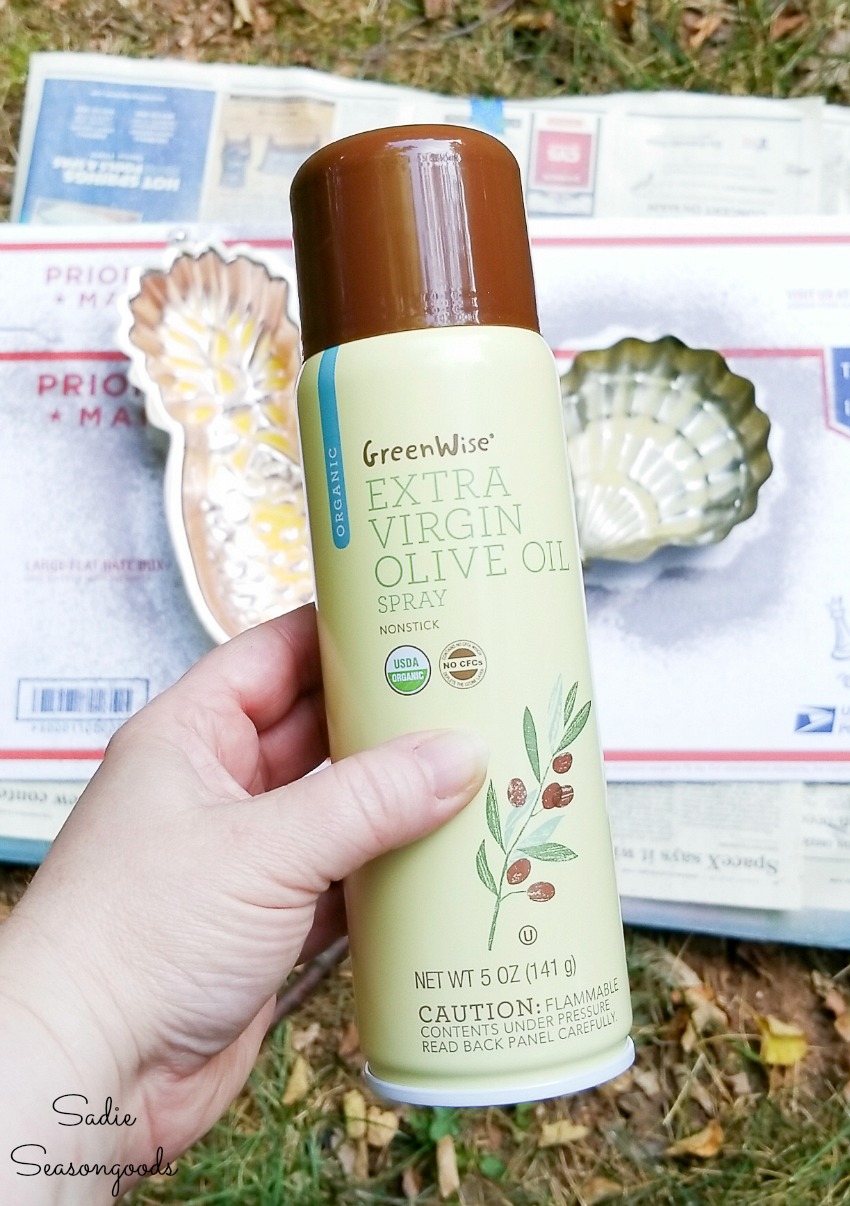
Image credit: Sadie Seasongoods.
Once the copper molds were sufficiently lubricated, I carefully poured the cement mix into each one. From that 8-pound box of concrete, I was able to create three decorative garden stones.
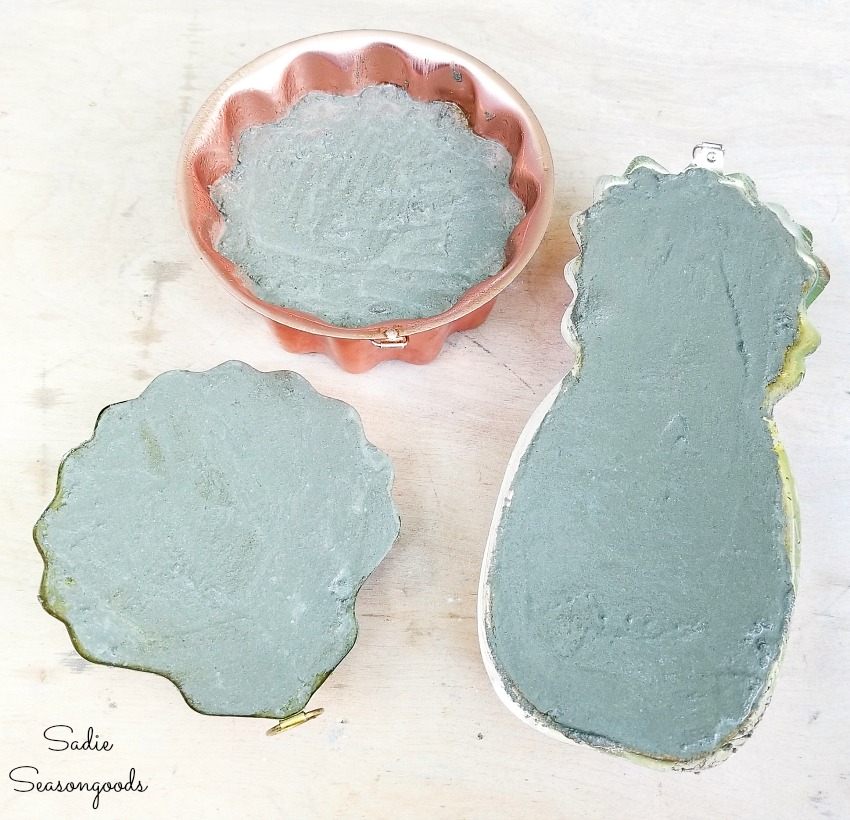
Image credit: Sadie Seasongoods.
Pro tip: I REALLY wish I had purchased a used wooden spoon from the thrift store before doing this project. It would have been ideal for mixing the cement AND guiding it into the jelly moulds.
Then, I let everything sit overnight before carefully removing the garden stones from the copper jello molds.
It may not have been needed, but I let the naked stones sit for an additional night before decorating them.
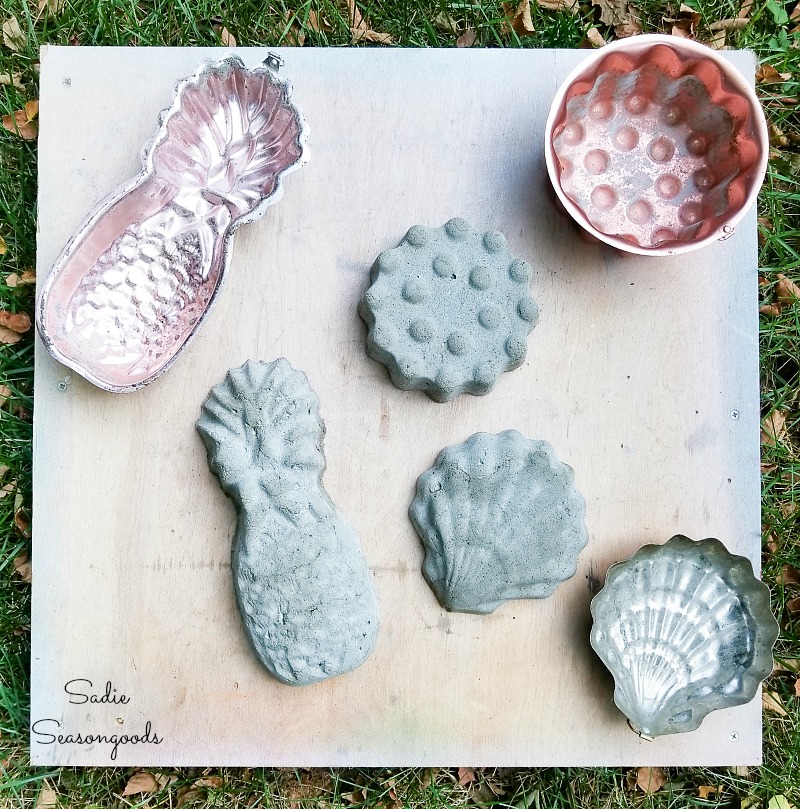
Image credit: Sadie Seasongoods.
Before I started decorating them, though, I brushed each one with a stiff-bristled paint brush to remove concrete dust, loose particles, etc.
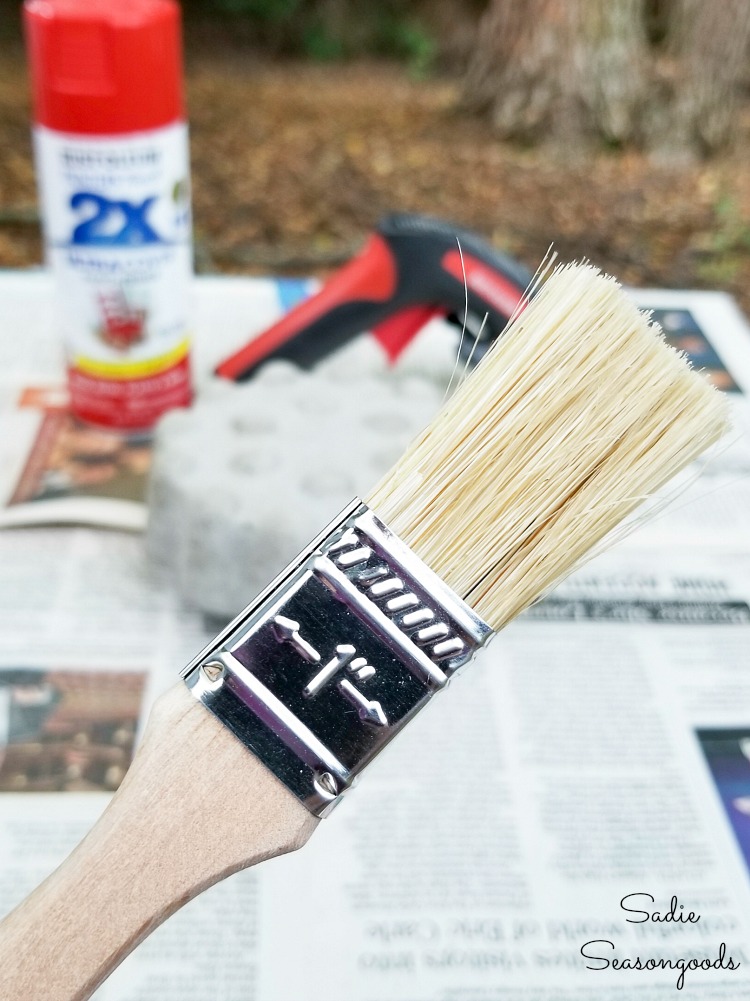
Image credit: Sadie Seasongoods.
Painting the Decorative Garden Stones
Next, I spray painted my decorative garden stones. I gave each one 2 or 3 light coats of paint to achieve a vivid color.
Concrete is porous, so a few coats made a big difference.
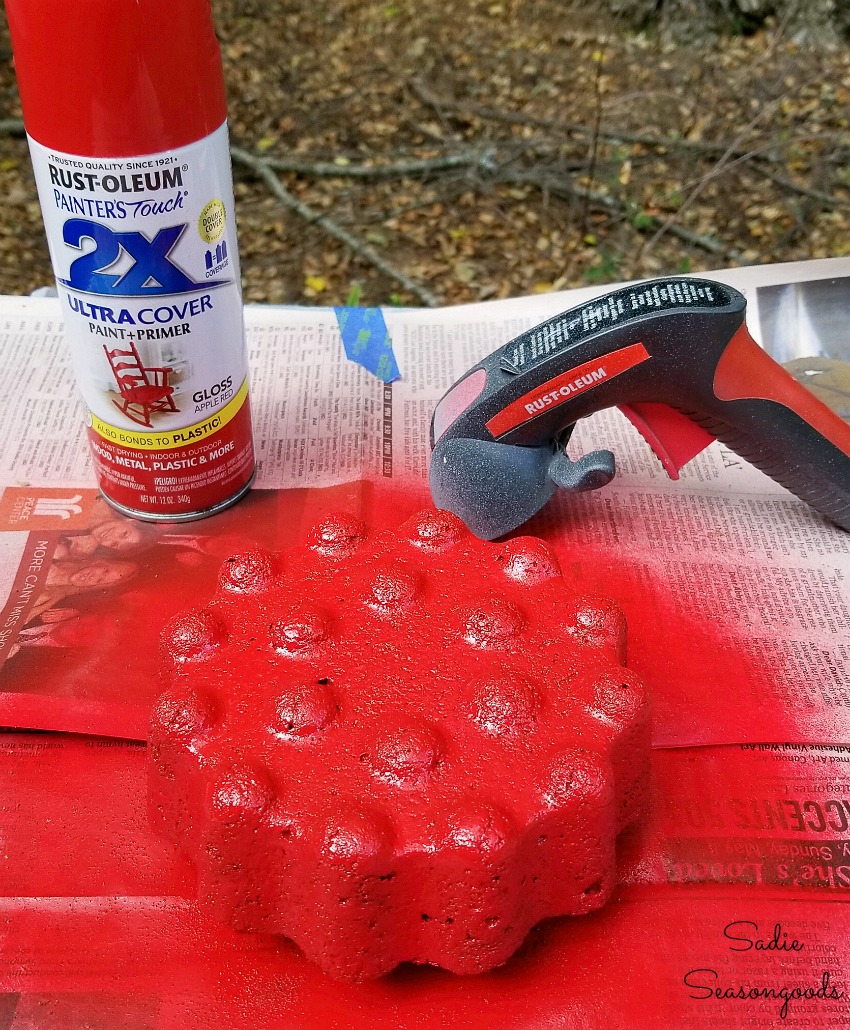
Image credit: Sadie Seasongoods.
When all was said and done, this is what the stone garden ornaments were shaping up to look like!
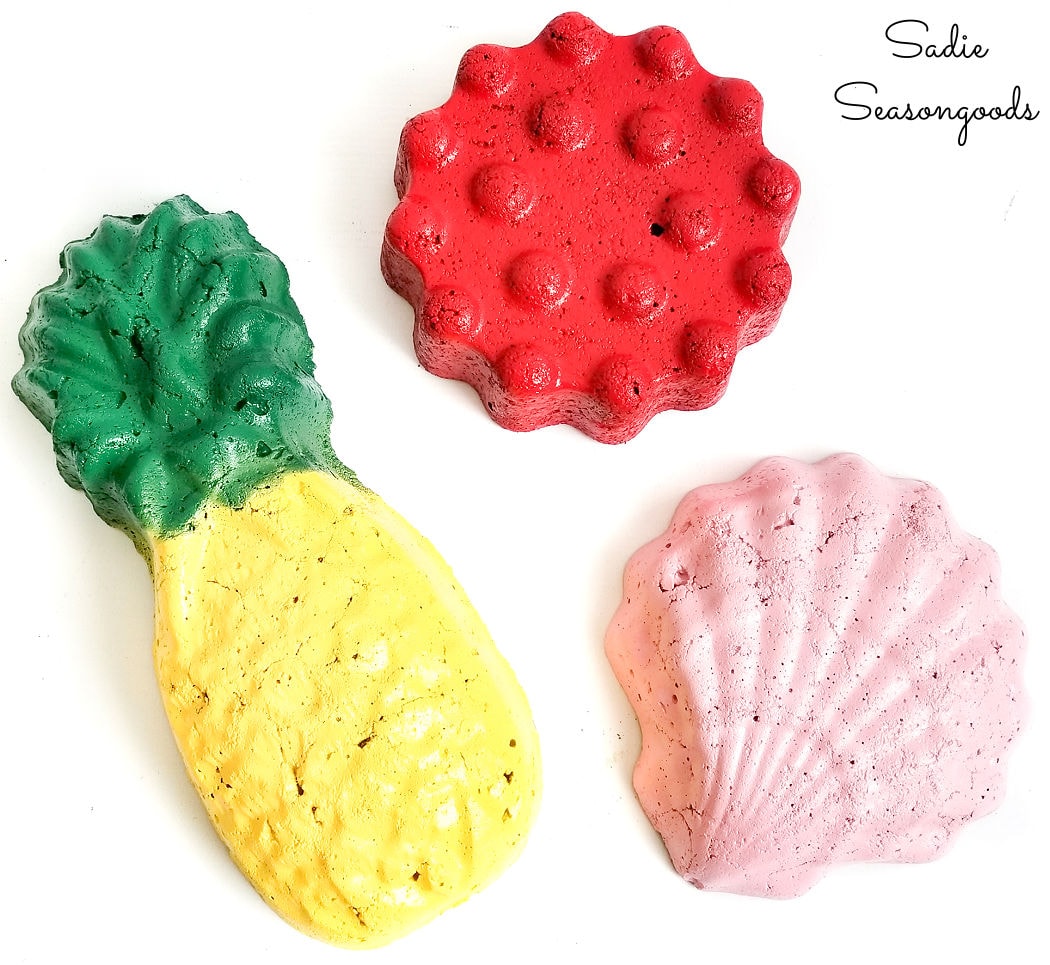
Image credit: Sadie Seasongoods.
I used foil to wrap parts of the pineapple in order to get both colors with spray paint.
Next, I hand painted a couple of the concrete lawn ornaments to give them a little more dimension. For this step, I just used regular craft paint.
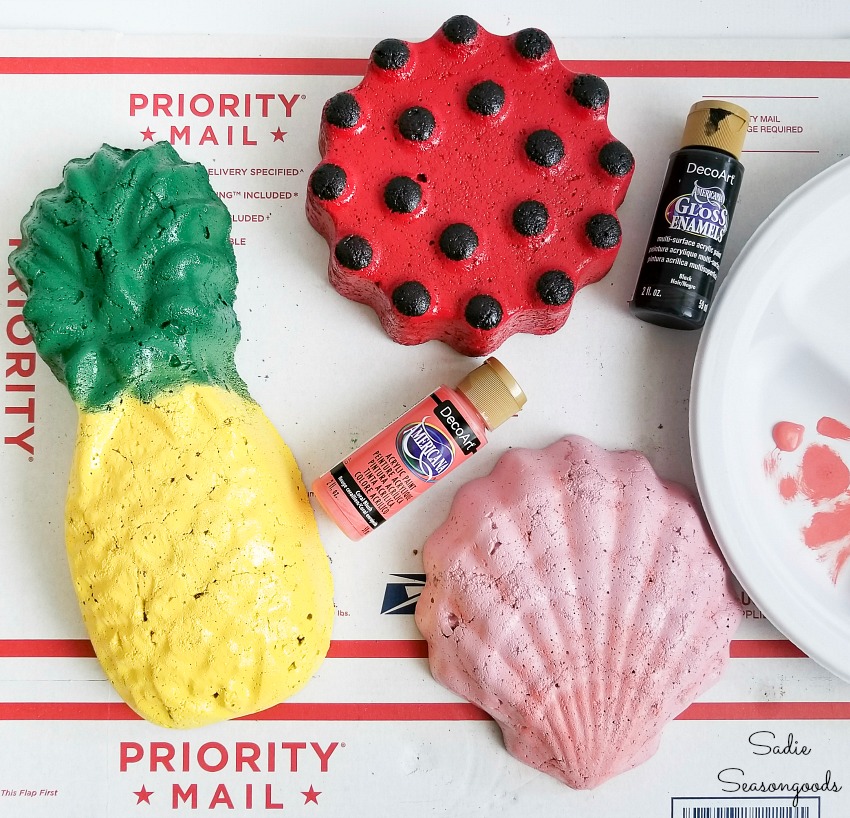
Image credit: Sadie Seasongoods.
Last but not least, I applied a top coat to each side of the decorative garden stones with a basic polyacrylic.
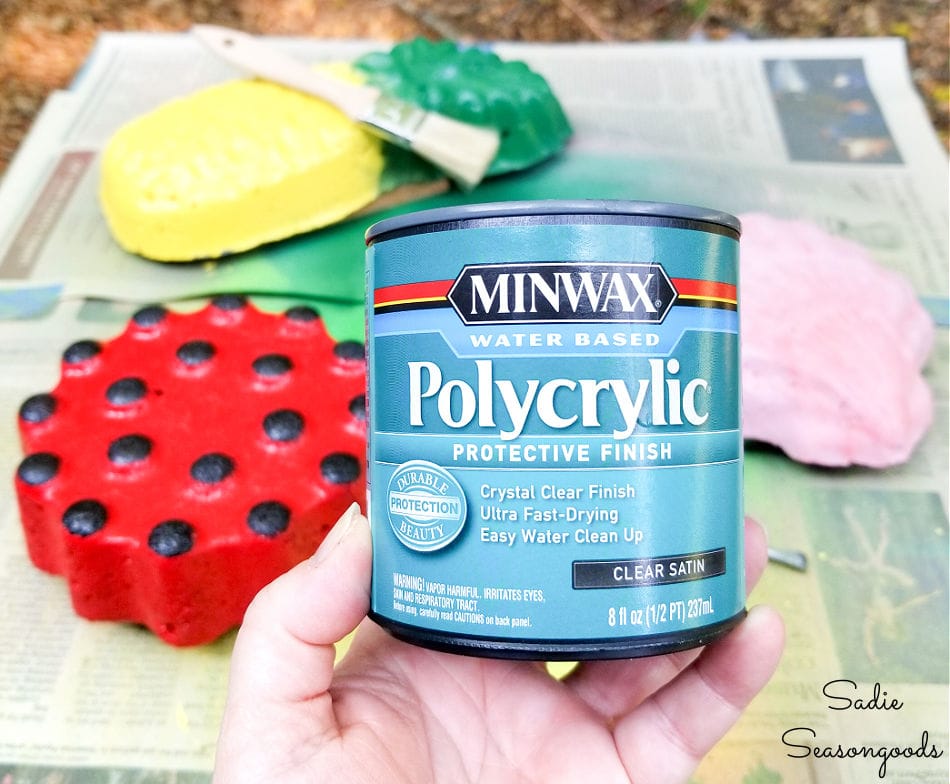
Image credit: Sadie Seasongoods.
This will protect them from the elements, as they’ll be living outside!
Decorative Garden Stones from Copper Molds
And that was it! I had fun little trio of decorative garden stones that were bright and festive to add to my yard. My upcycling idea for copper molds worked out better than I could have hoped!
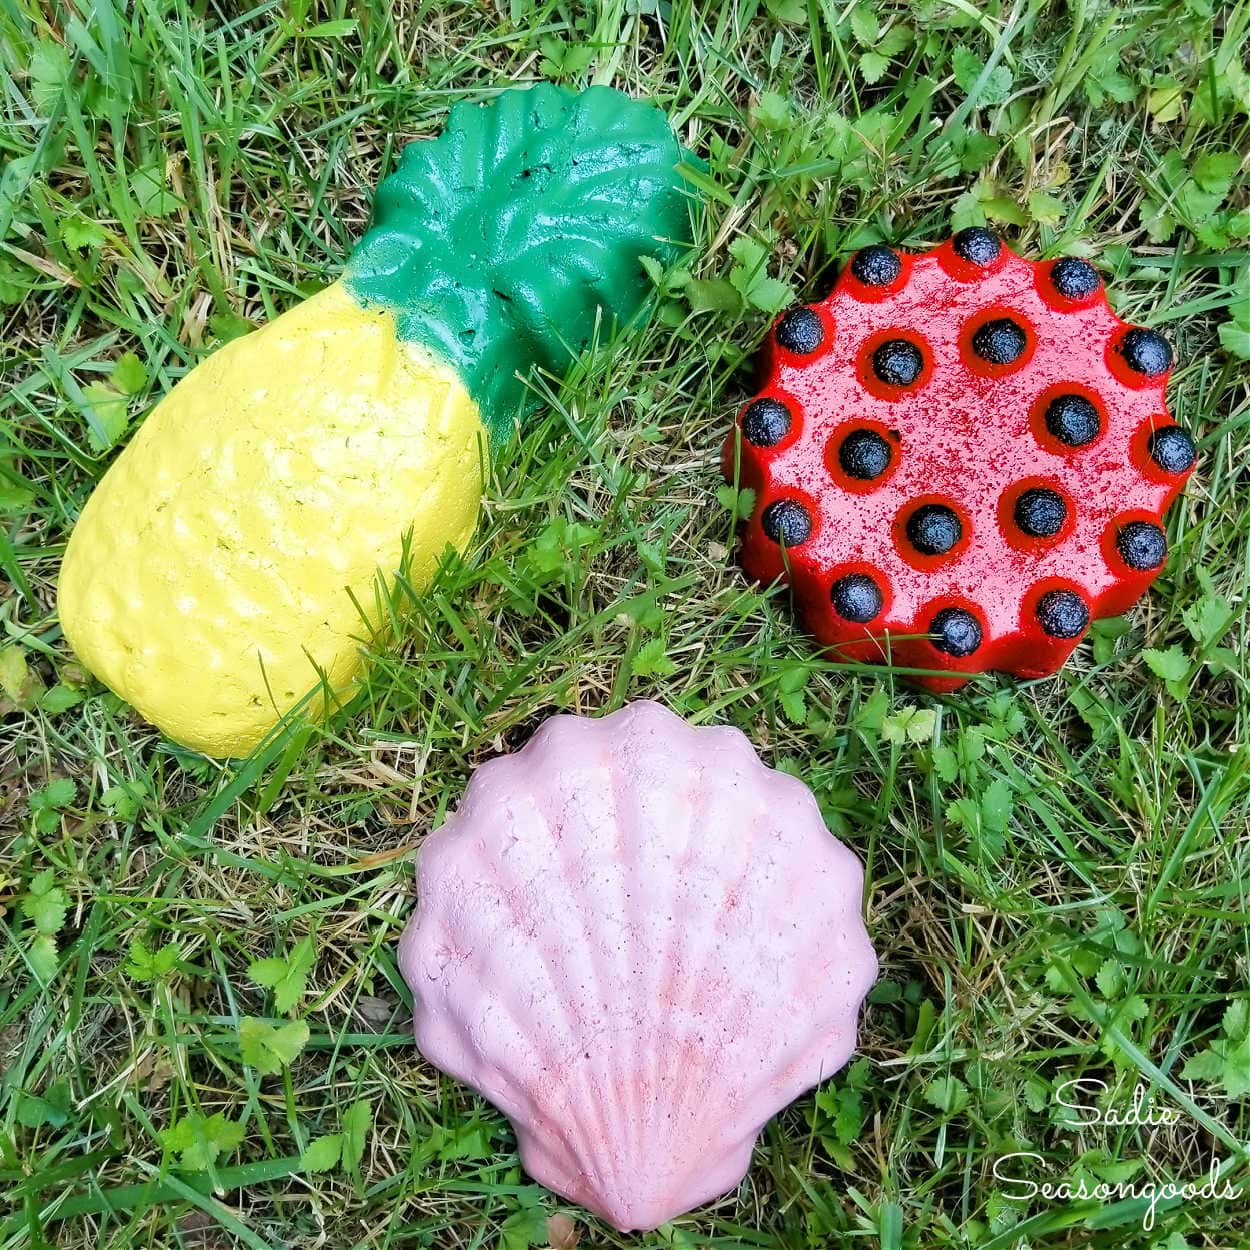
Image credit: Sadie Seasongoods.
I still have the cat and fish shaped copper molds to work with, too. I just need to grab another box of stepping stone mix from the craft store!
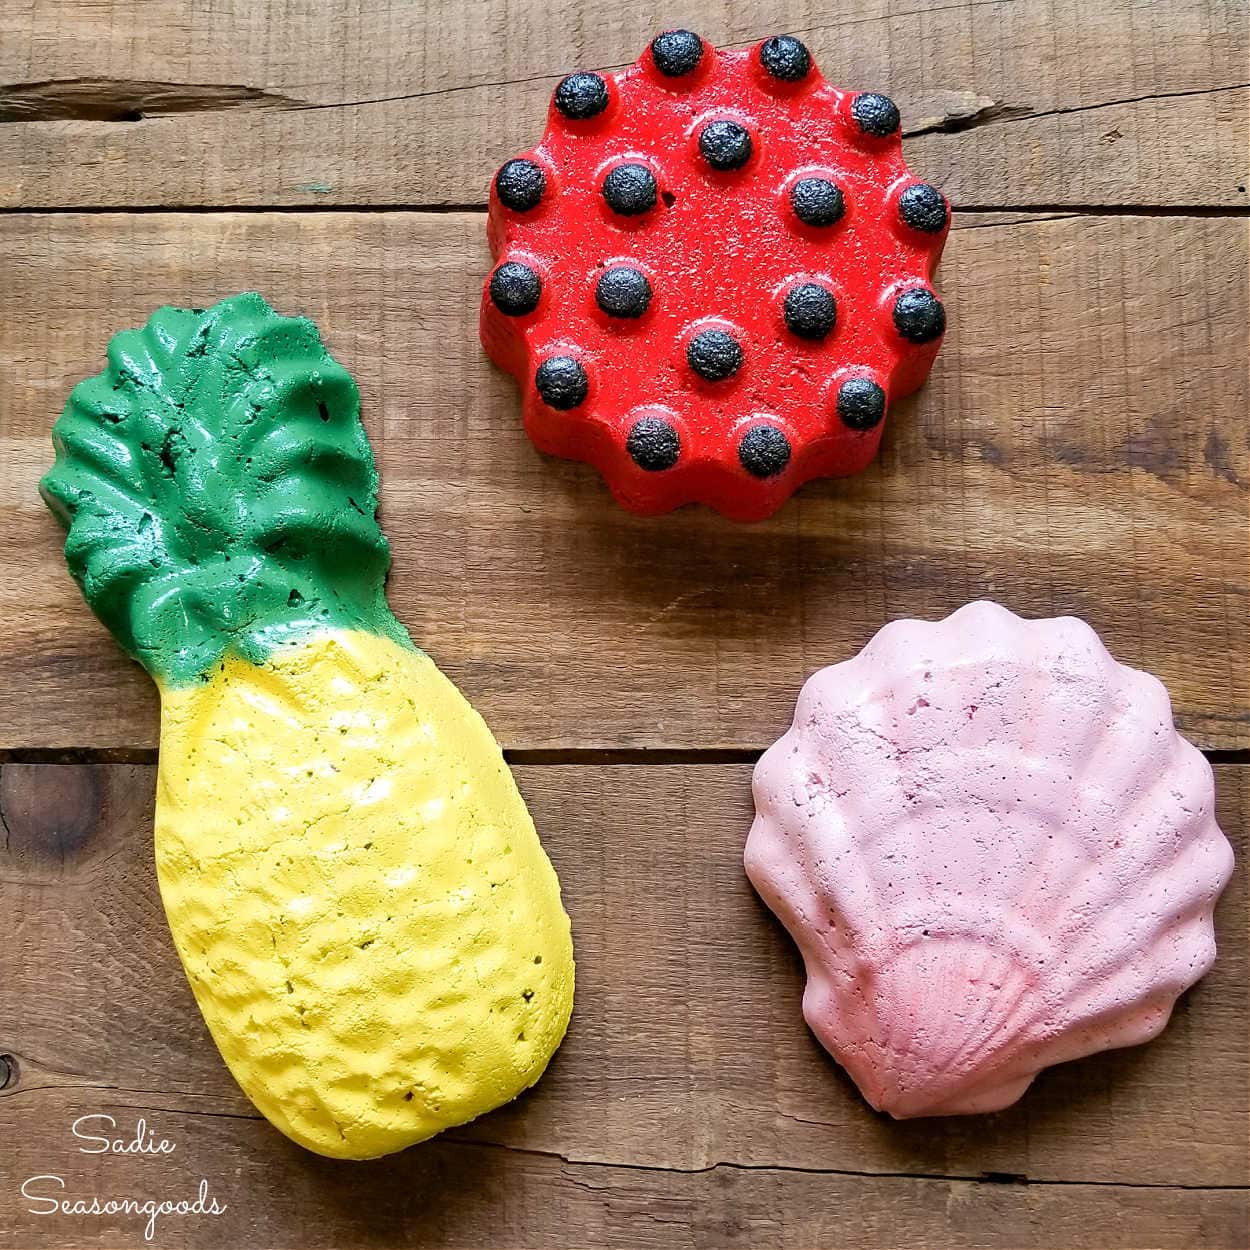
Image credit: Sadie Seasongoods.
Guess what today is? It’s Thrift Store Decor Team Day! Please check out what my blogging friends did with these thrift store items (See the links underneath collage photo).
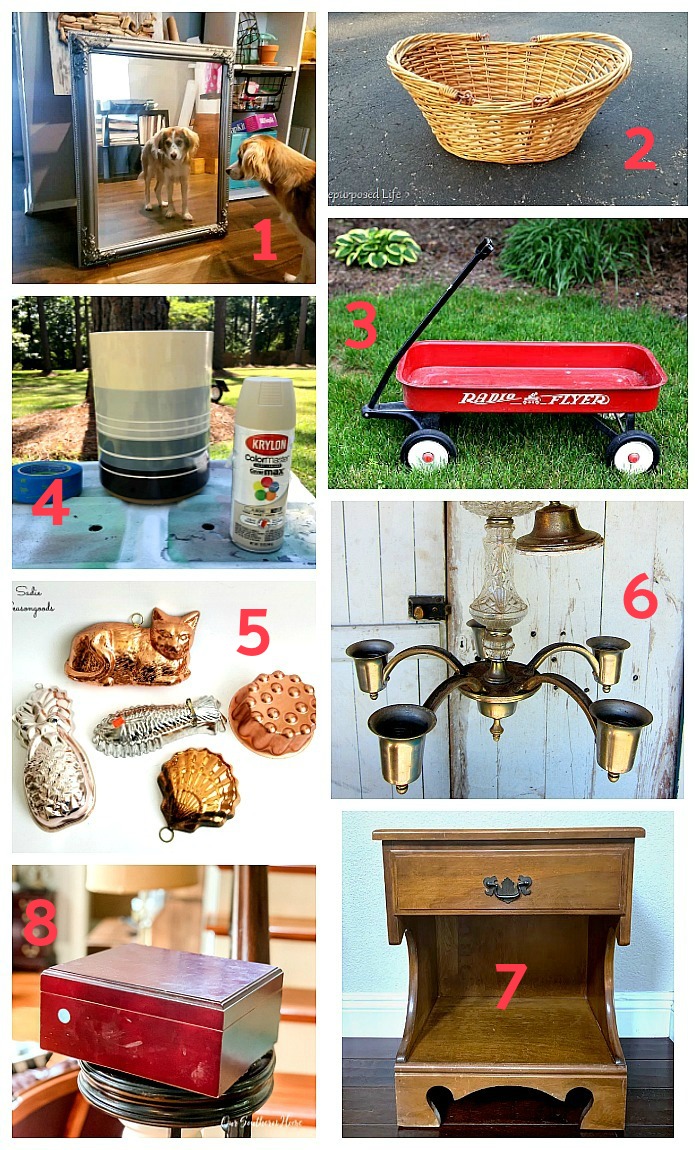
3. Repurposed Little Red Wagon
5. Making Decorative Garden Stones from Copper Molds
Back to the garden stones, here are a couple I made for the Charlotte Region ReStores. I seriously can’t stop making these!
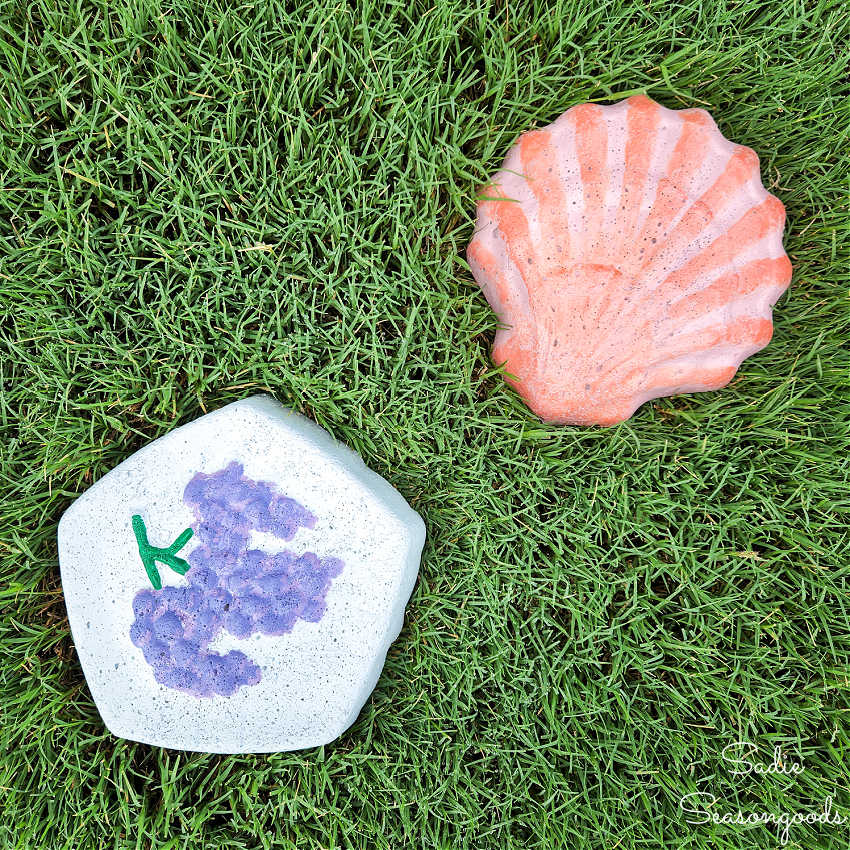
Image credit: Sadie Seasongoods for the Charlotte Region ReStores.
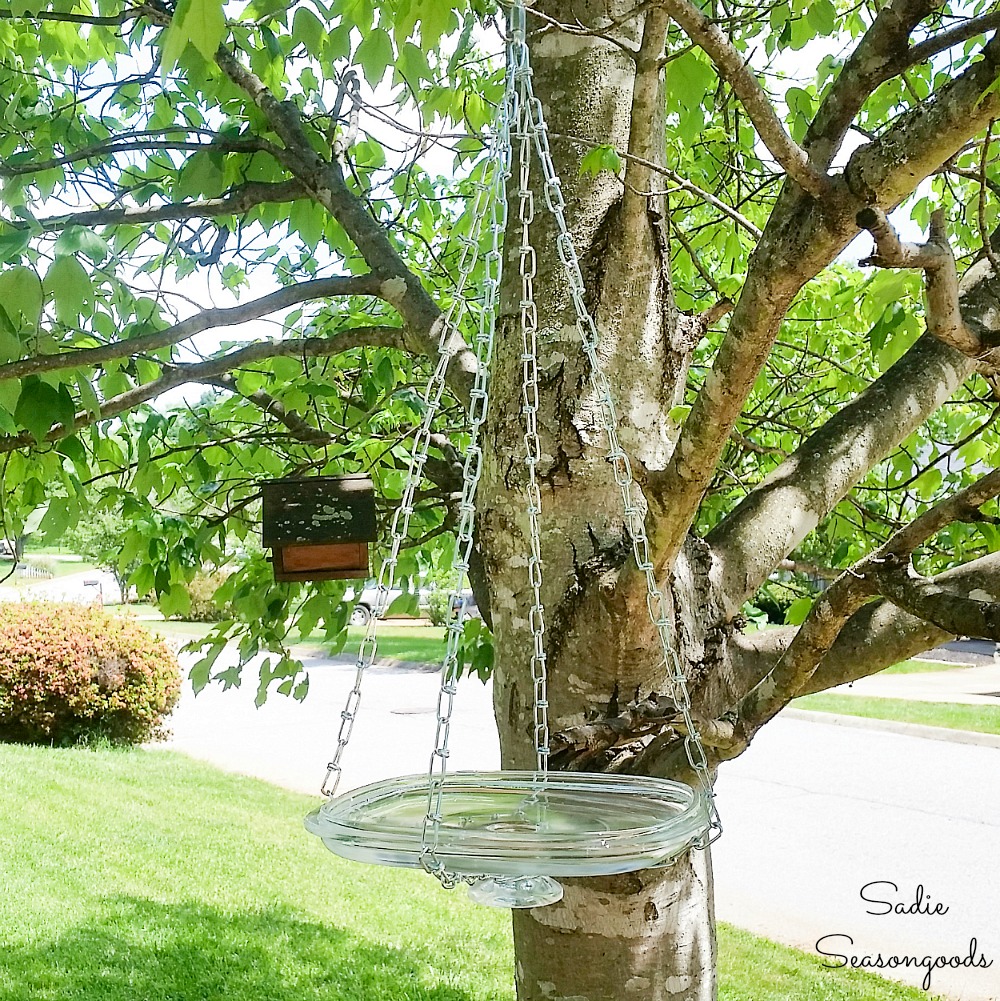
And if you enjoyed this upcycling idea for your lawn and garden, then you’ll love this hanging bird bath I made with a glass lid!
Craft on!
S
Want to be notified when I publish my next upcycling project tutorial?
Join me on Social Media:
PIN ME!
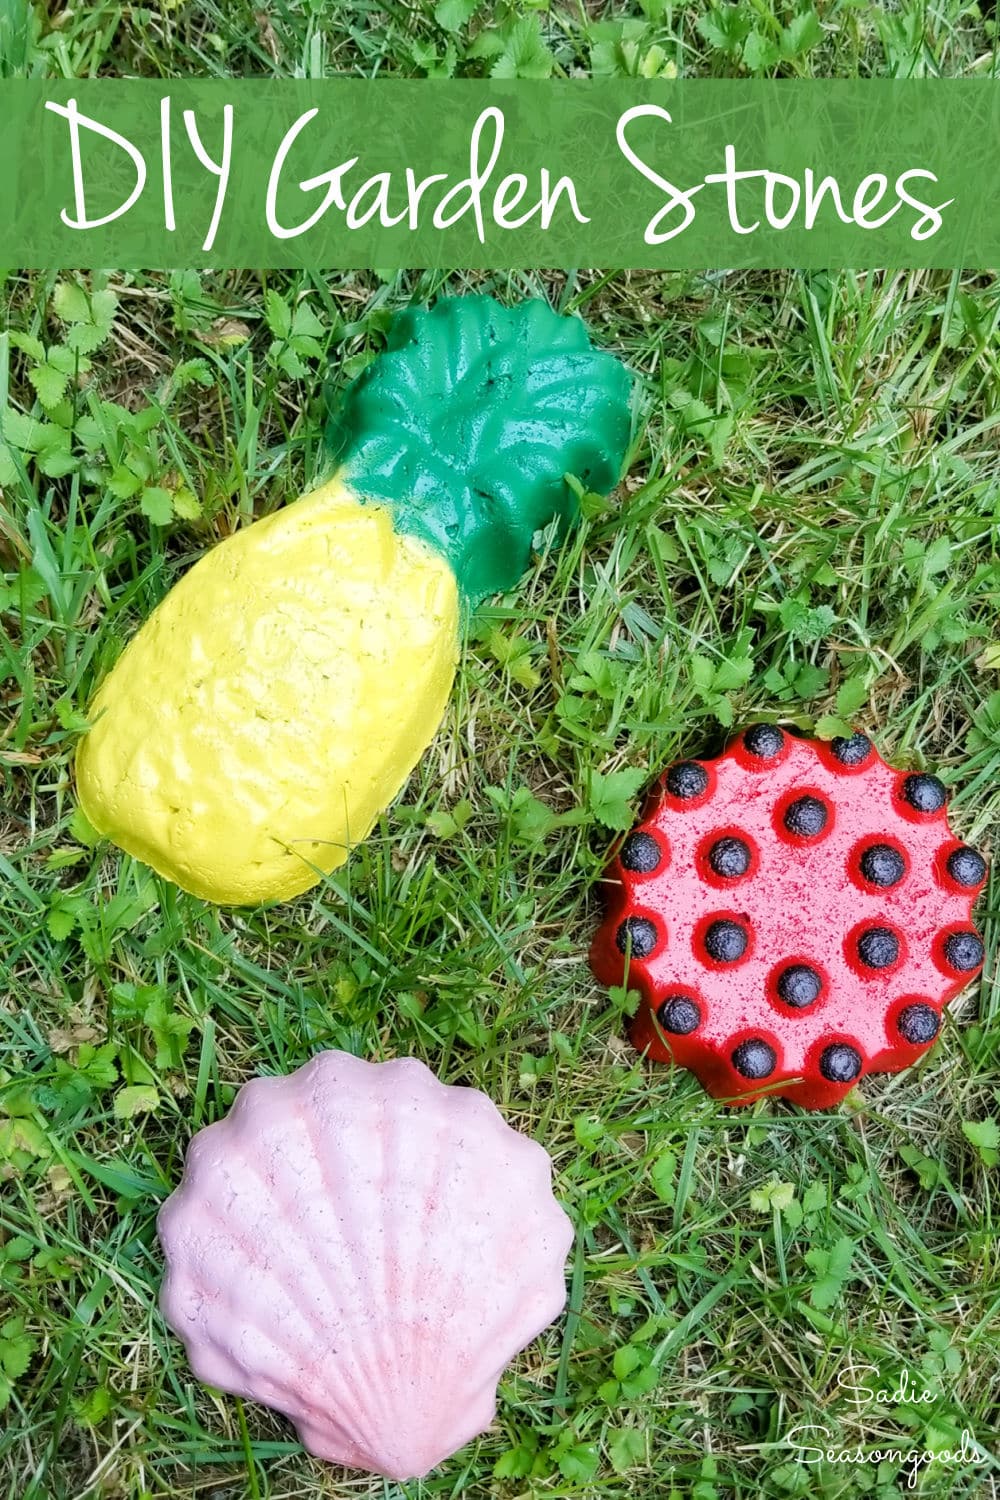
Image credit: Sadie Seasongoods.
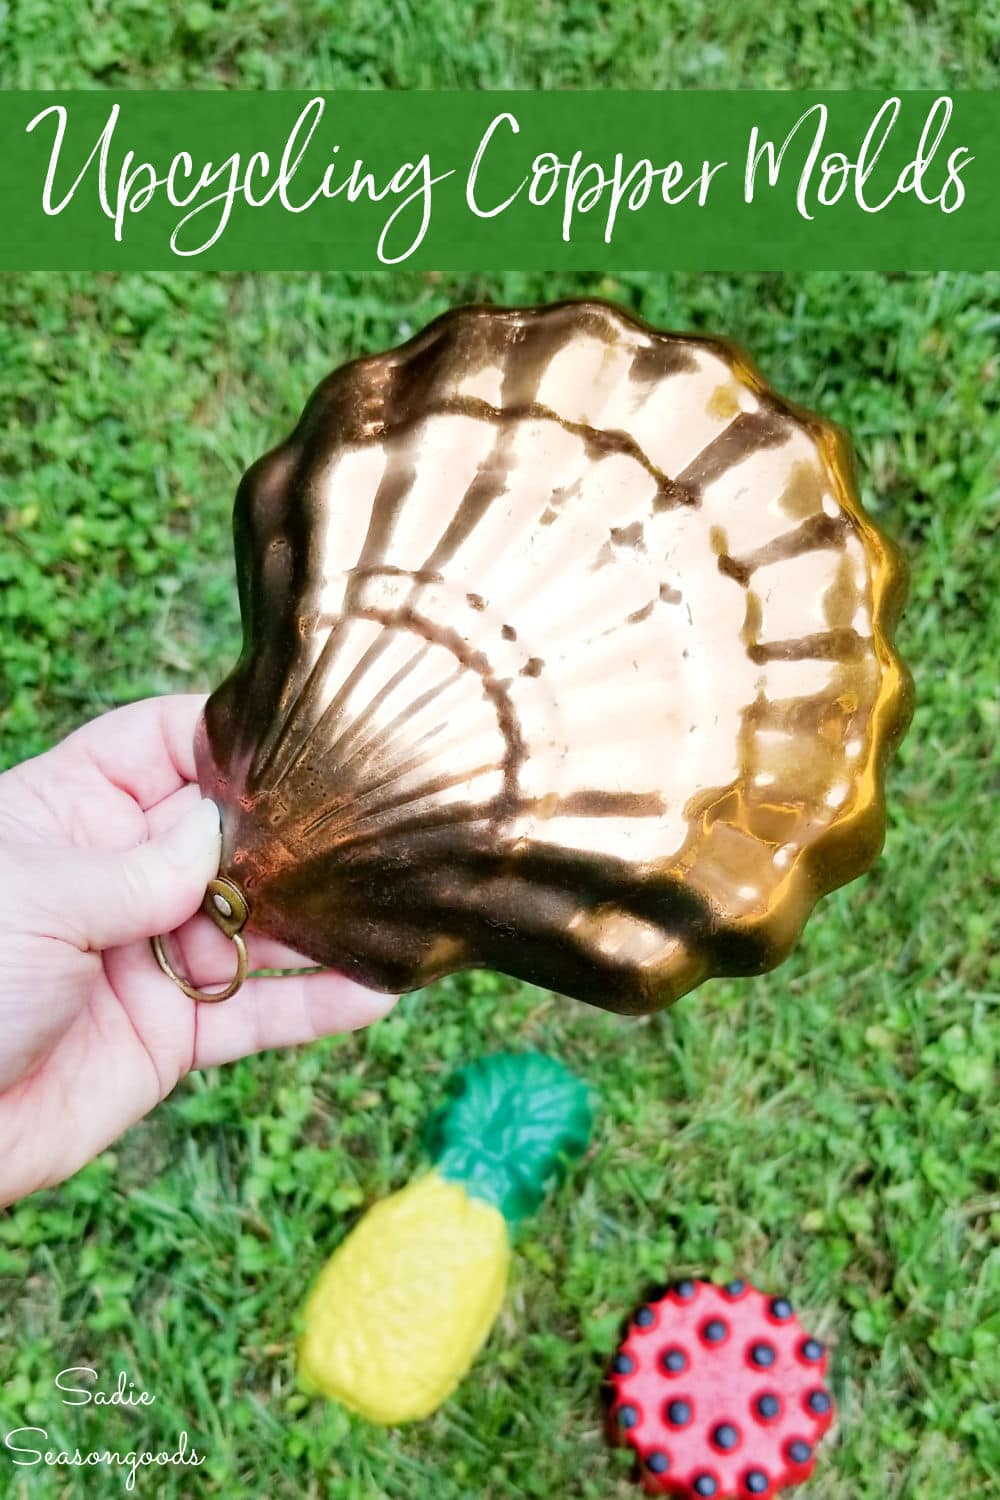
Image credit: Sadie Seasongoods.
Sarah Ramberg is the owner of Sadie Seasongoods, a website that celebrates all things secondhand. From upcycling ideas and thrifted decor to vintage-centric travel itineraries, Sadie Seasongoods is a one-stop shop for anyone who loves thrifting and approachable repurposing ideas. Sarah is also the author of “Crafting with Flannel” and has been featured in numerous media outlets and magazines.








The stepping stones turned out very nice. Thanks for the idea and instructions. I’m going to look for molds to make some with my grandsons this summer.
You are so very welcome, Amanda – I was hoping someone would want to do this as a summer project with the kids or grands. 🙂
Very cool! I love that lady bug one.
Thank you so much!!
I adore these stones!!!! What a great idea! Can’t wait to see the kitty one! ?
I think I’ll actually be doing a giveaway with the cat mold!!
Sarah,
I thought the molds were going to be the stones, I never imagined you would USE them as molds. You surprised me!
I love how the garden stones turned out. You painted them so cute.
pinned!
gail
Ha!! But they, too, could become the stones – a twofer project! 🙂 Thank you, Gail!
Such cute and summery – love them!
Thank you so much, Maryann!
Great job. I especially like the seashell. From a crazy cat lady I gotta tell ya, the cat mold is perfect.
It really is fantastic, I agree- and thank you!
Sweet! I didn’t guess stepping stones, but how perfect!! A great garden addition ?
Thank you so much, friend!
Boy does this bring back childhood memories for me. We “baked” concrete cakes in old cake pans with my Mom when we were kids. We couldn’t afford to buy regular patio blocks at the store, so while my Dad was at work, we made them in old square and rectangle cake pans, then my Dad laid them out and that became our patio. We never thought of decorating them, they were just concrete.
What an amazing memory!!
What a fun idea! I would have never thought to use molds like this. You are always so creative with thrift store makeovers!
Thanks, Christy!