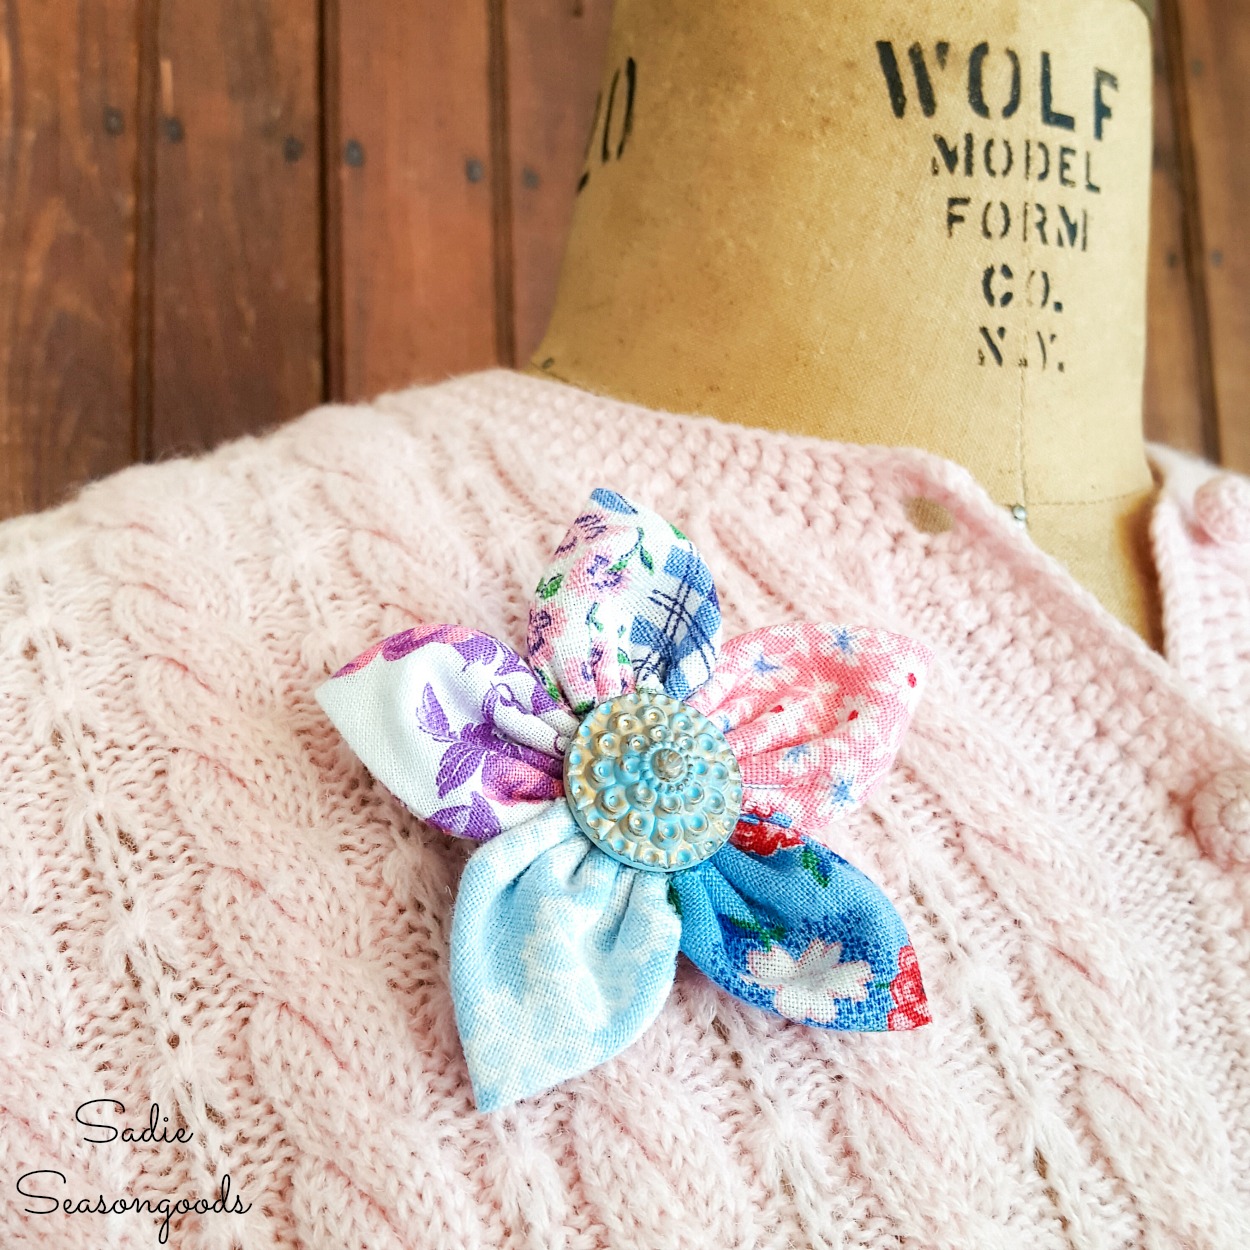
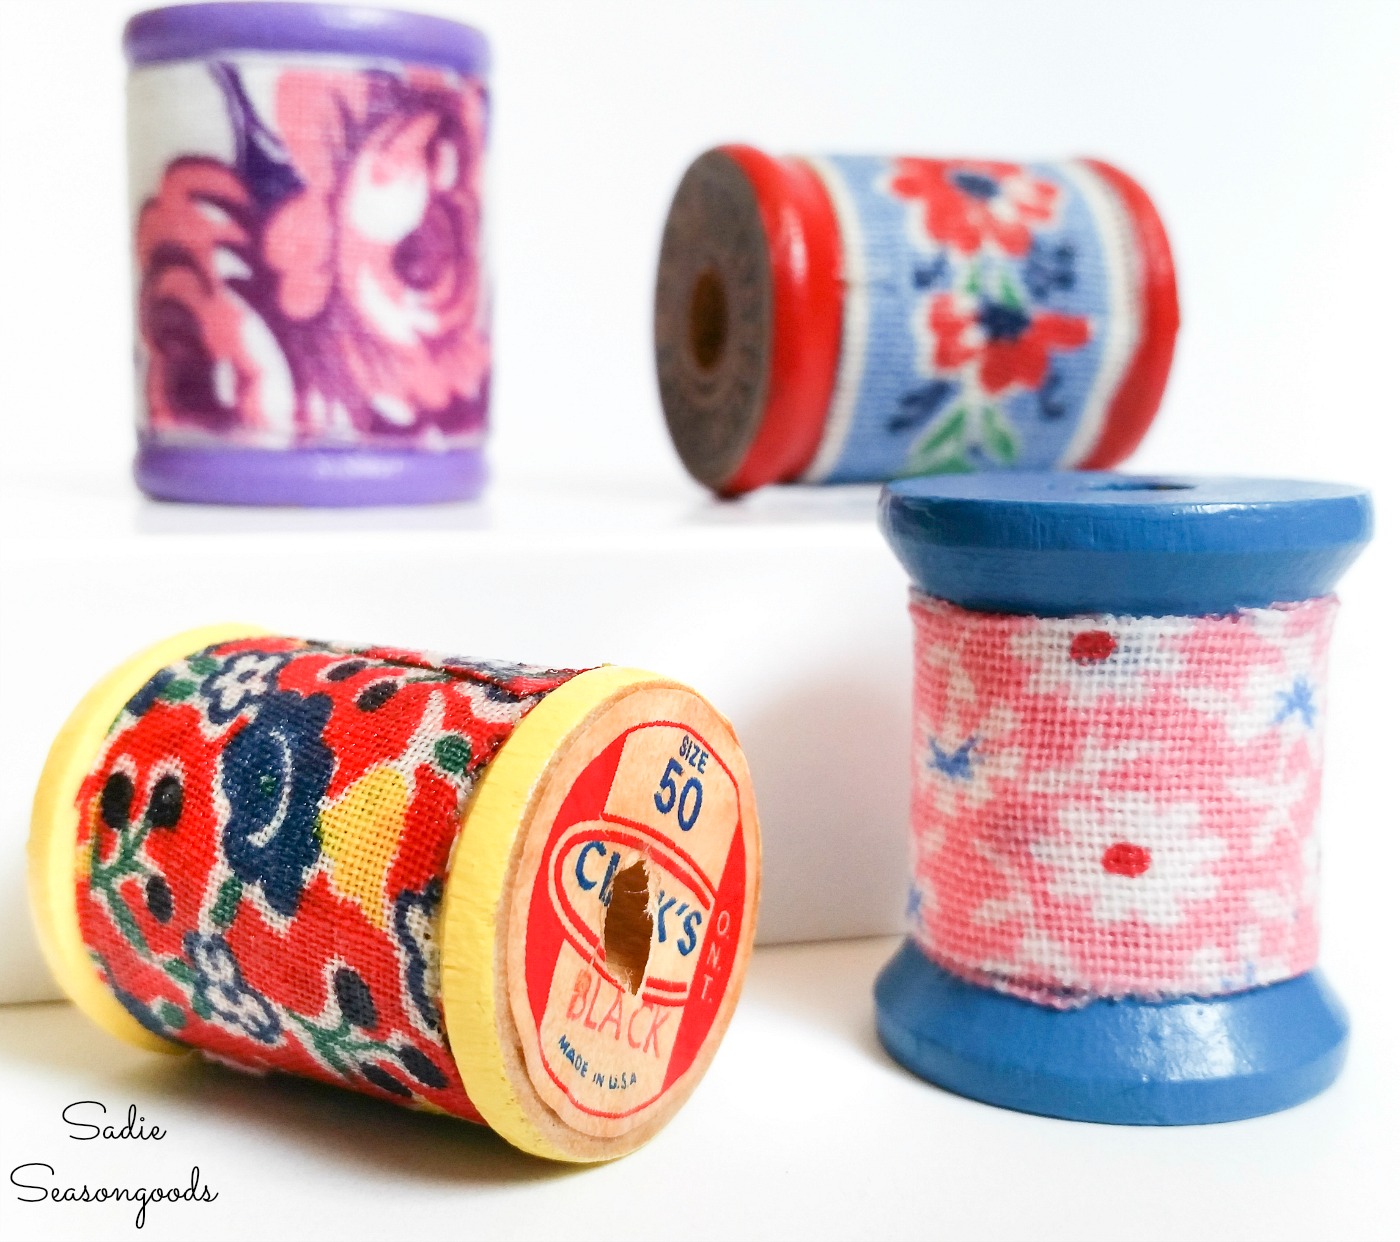
After taking a lengthy break from upcycled jewelry making projects, I decided it was time for me to delve back into it. I’ve made plenty of bracelets and necklaces, but never a brooch or a pin! And I decided to make some cloth flowers with the same flour sack fabric that I used for this project with vintage wooden spools.
You see, I came across this adorable idea from Mollie Makes for a fabric flower pin that I just had to try myself. And while my inspiration used new craft materials, I wanted to try it with my scraps of flour sack cloth!
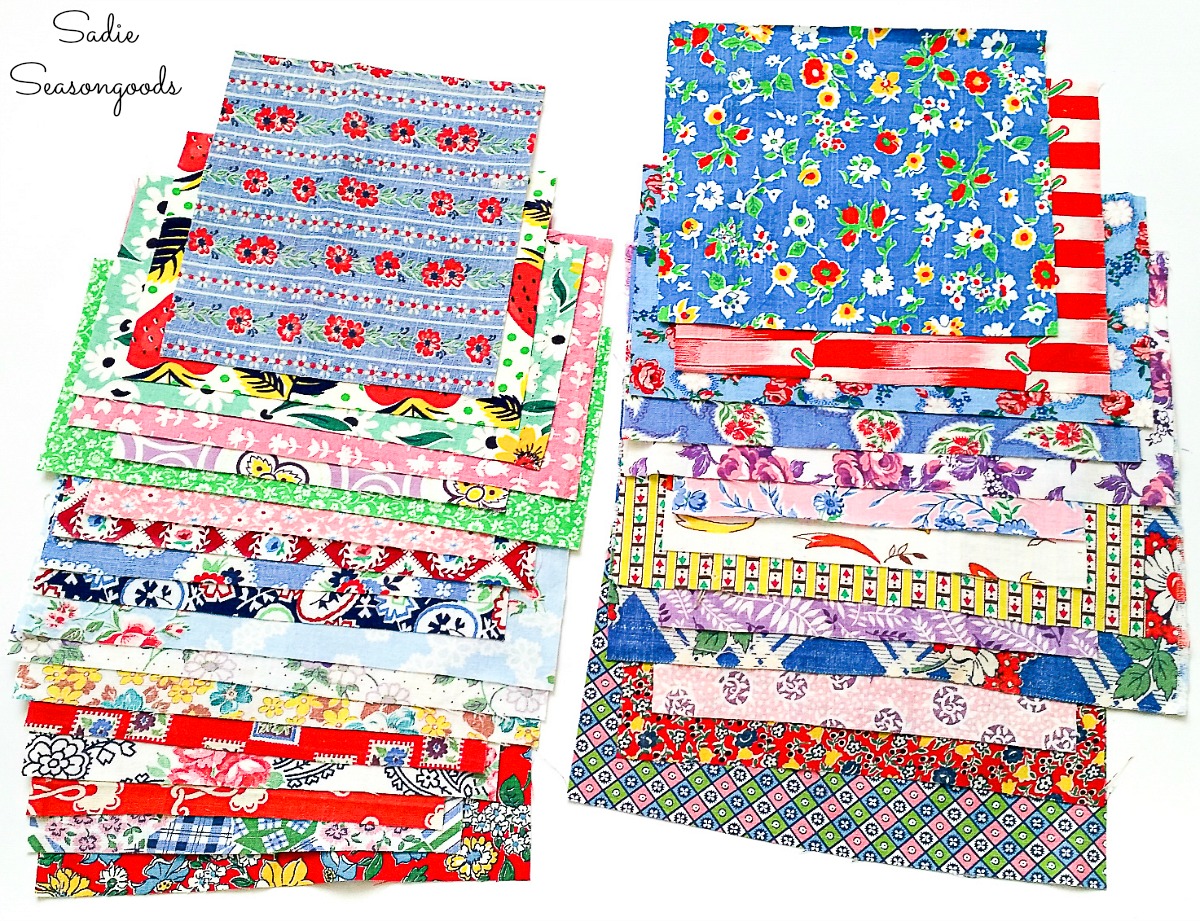
Image credit: Sadie Seasongoods.
And of course, I always have plenty of vintage buttons on hand, so I was ready to start creating a fabric flower!
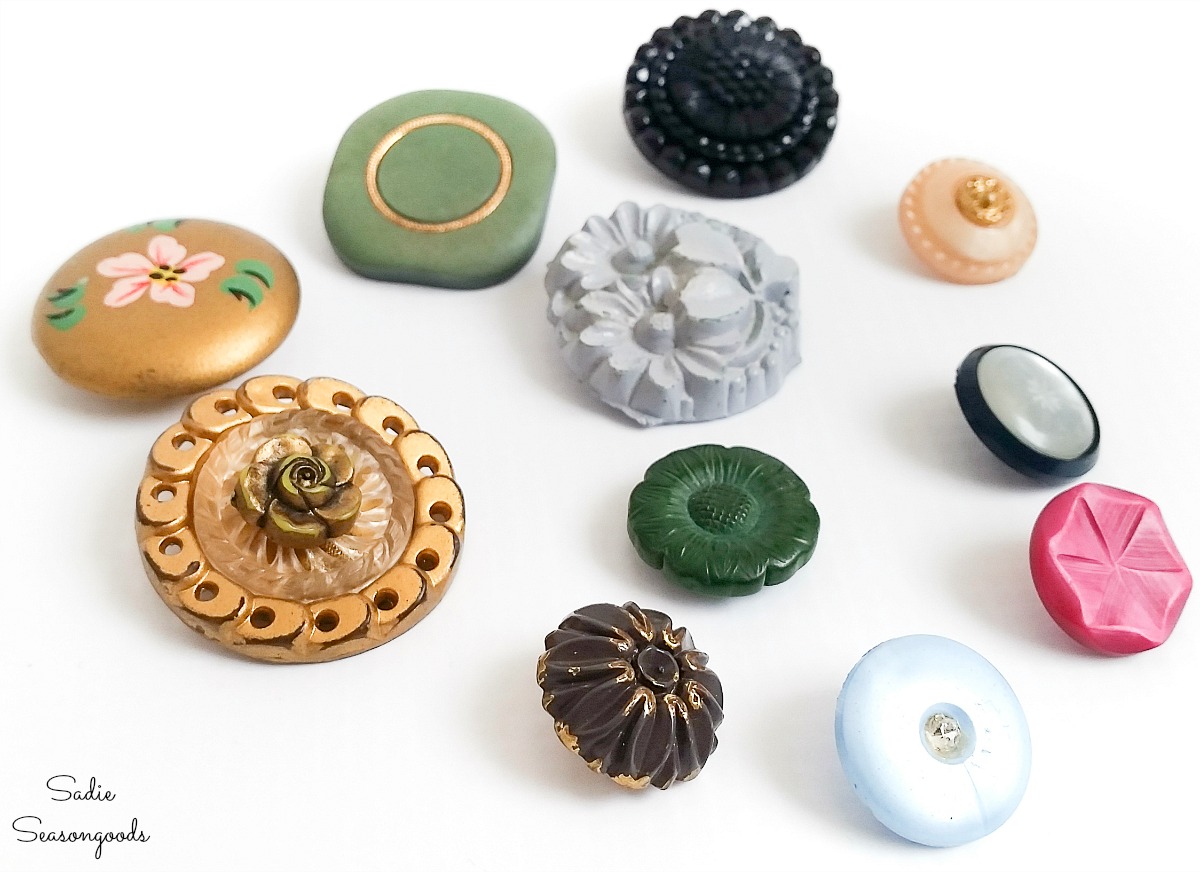
Image credit: Sadie Seasongoods.
This post contains affiliate links for your crafting convenience. As an Amazon Affiliate, I earn from qualifying purchases. All blue, bold, and underlined text is a clickable link, either to a product or to a related post.
Flour Sack Fabric as Petals for Cloth Flowers
As a quick note, I found my scraps of vintage flour sack fabric on Etsy. Etsy is also a great place to search for vintage buttons, as well. Ok, onto the project tutorial!
First, I selected five scraps of flour sack fabric and used a can of chickpeas to trace out my circles (along with a fabric pencil for tracing).
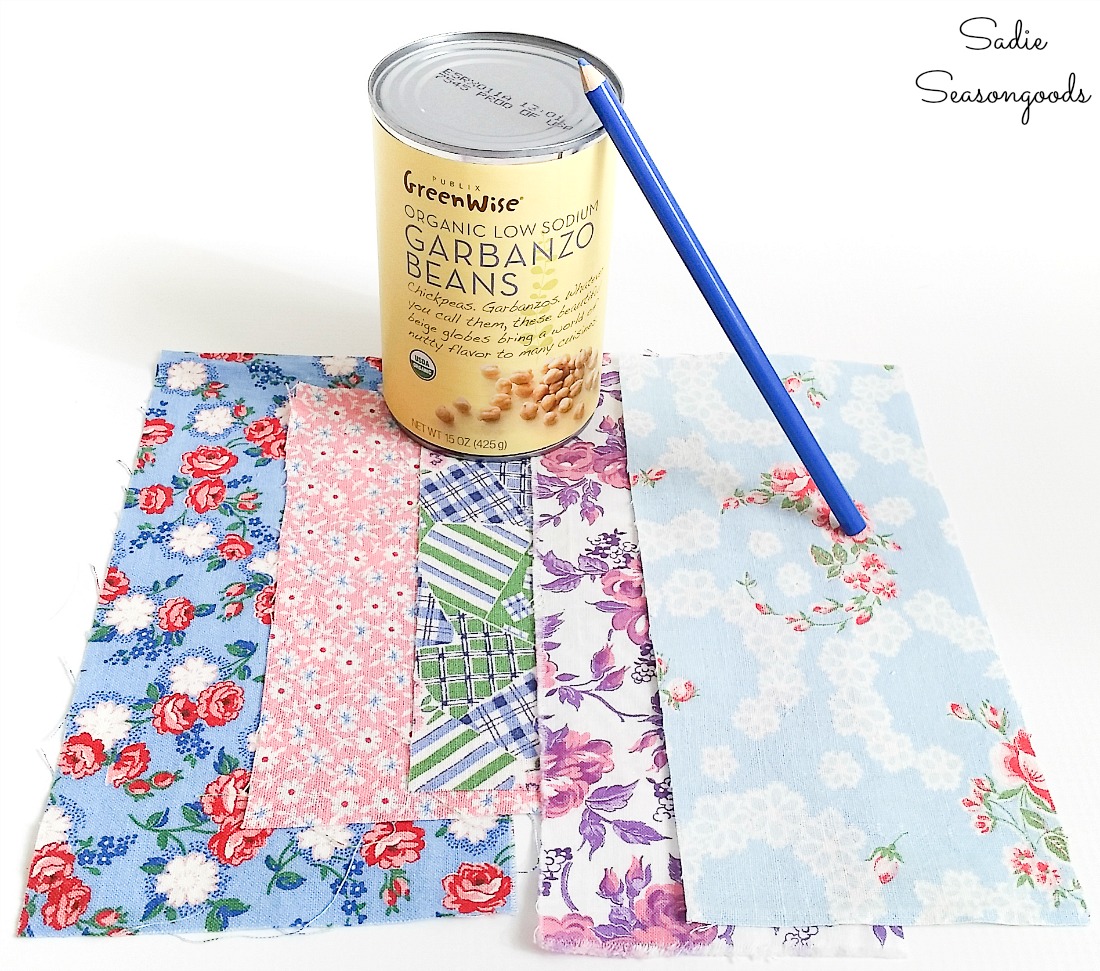
Image credit: Sadie Seasongoods.
Then, I simply cut them out with my fabric scissors. They didn’t need ironing, but this is the time to do it if your fabric is wrinkled.
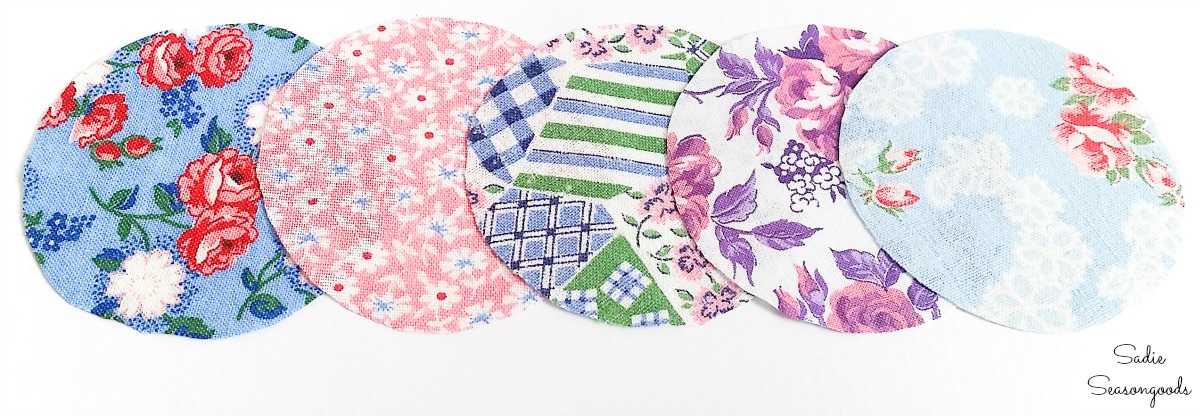
Image credit: Sadie Seasongoods.
With my fabric circles in hand, I folded one fabric circle in half (wrong sides together).
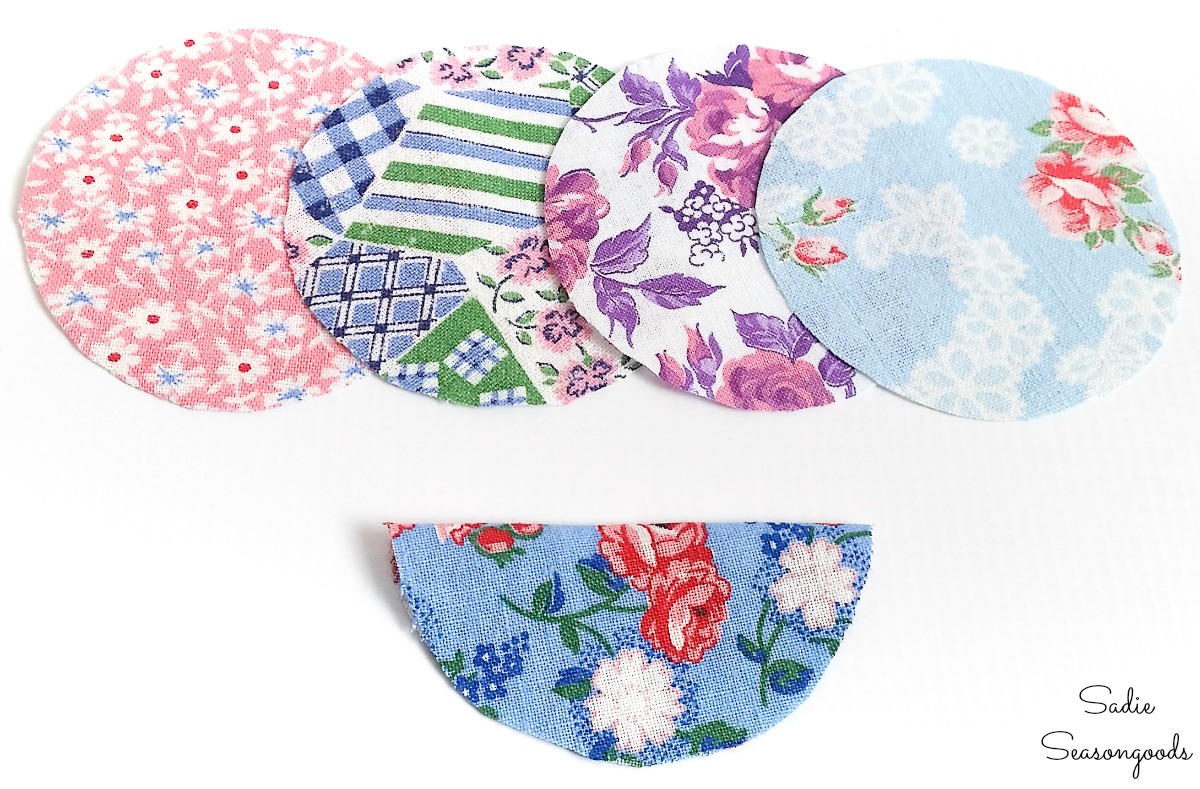
Image credit: Sadie Seasongoods.
Then, I simply folded it in half again (now quartered) and looked like a little triangle.
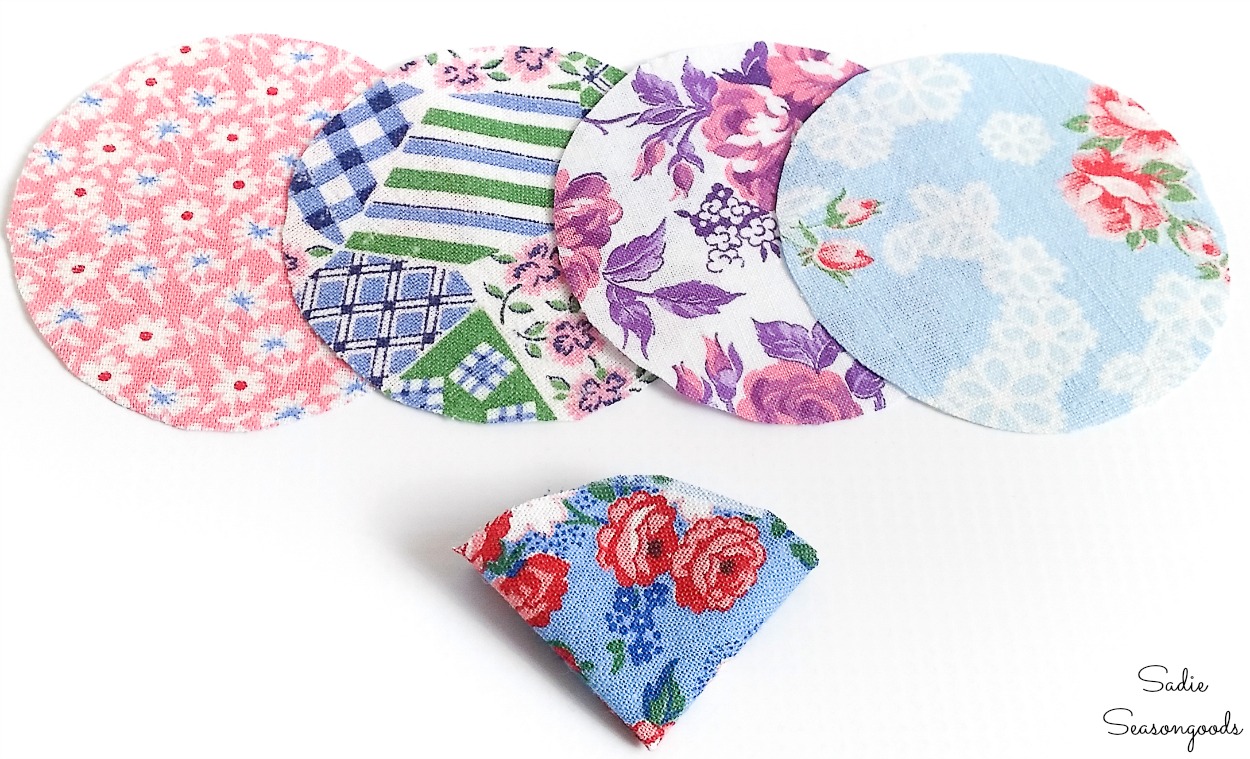
Image credit: Sadie Seasongoods.
Now it was time to break out the needle and thread!
Stitching Together a Lapel Flower from Flour Sack Cloth
First, I ran a basic running stitch across the raw, curved edge of the vintage fabric (through all layers). I also left a lengthy tail on both sides of my “petal”.
Doing so is an important step throughout the rest of the project.
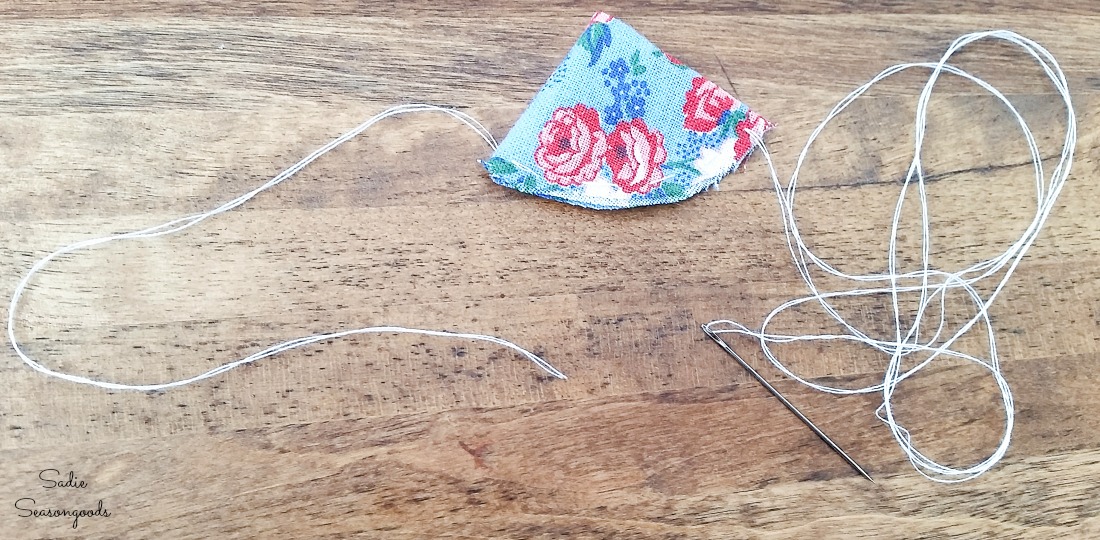
Image credit: Sadie Seasongoods.
Contrary to the original inspiration tutorial, I then carefully gathered my lapel flower “petal” before moving on to the next piece of flour sack fabric.
I did so by pulling the running stitches tighter.
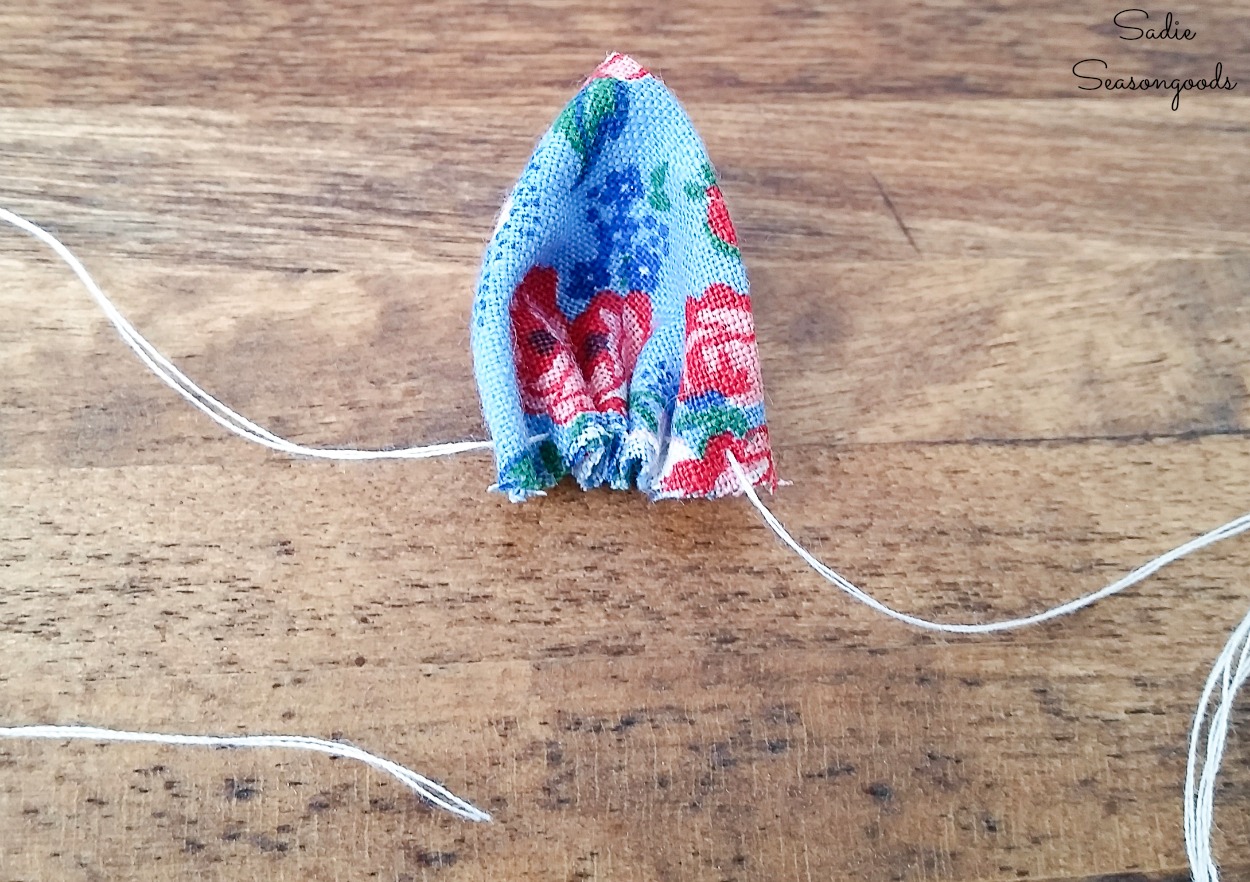
Image credit: Sadie Seasongoods.
The inspiration tutorial gathered all five petals at the same time. I’m sure that would work just fine, as well!
Then, I simply repeated the process with running stitches through the next folded fabric circle.
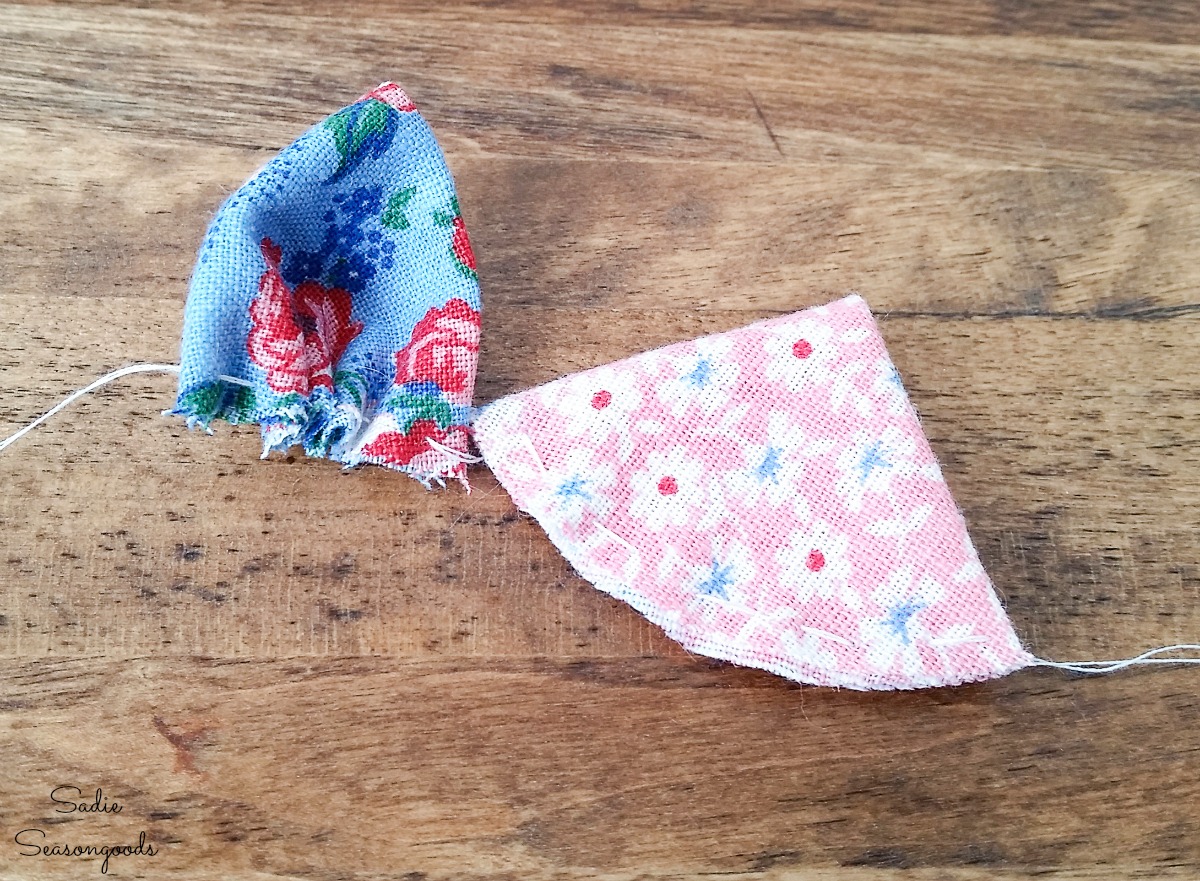
Image credit: Sadie Seasongoods.
And again, I gathered the second petal right next to the first. My lapel flower was starting to come together!
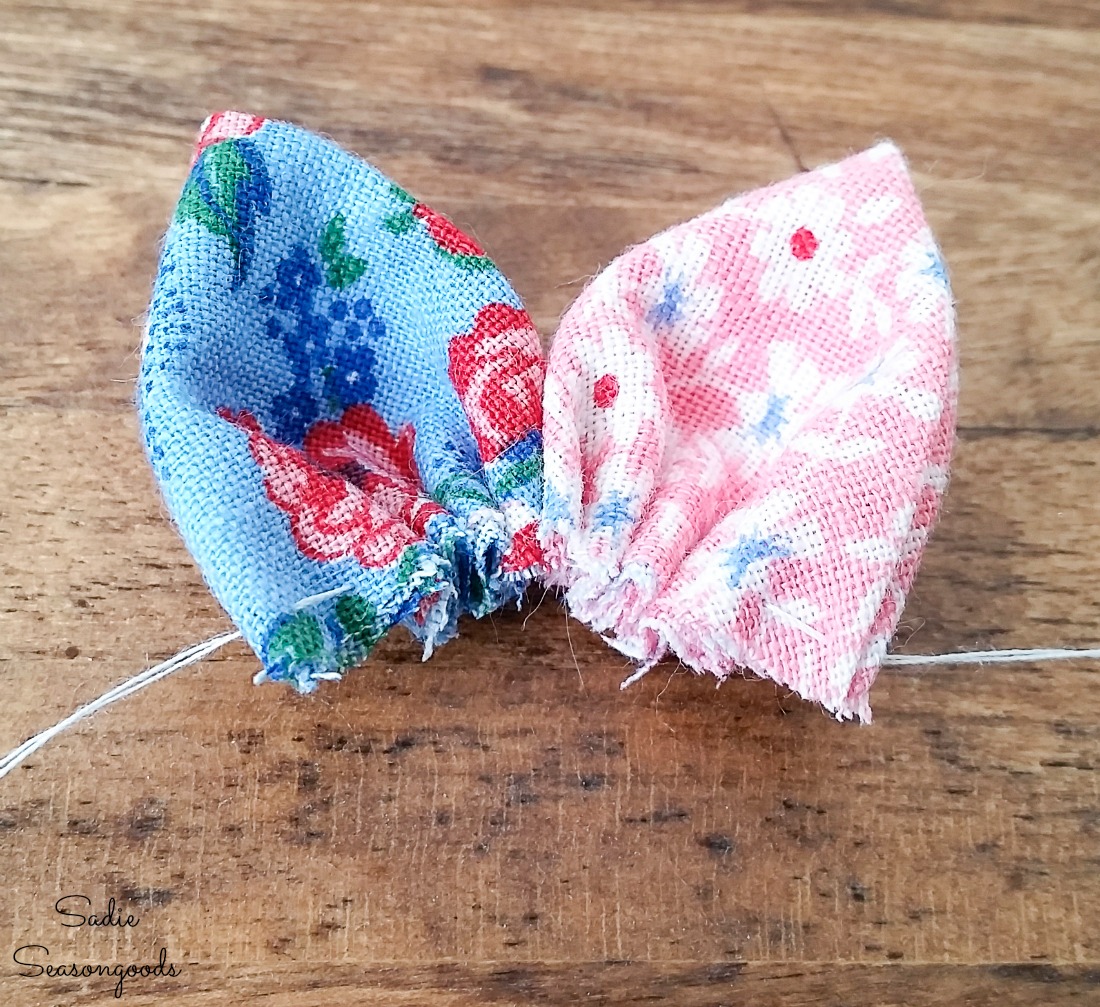
Image credit: Sadie Seasongoods.
Transforming a Fabric Flower into a Lapel Flower
I continued to do the same thing until all five “petals” of my lapel flower were stitched on!
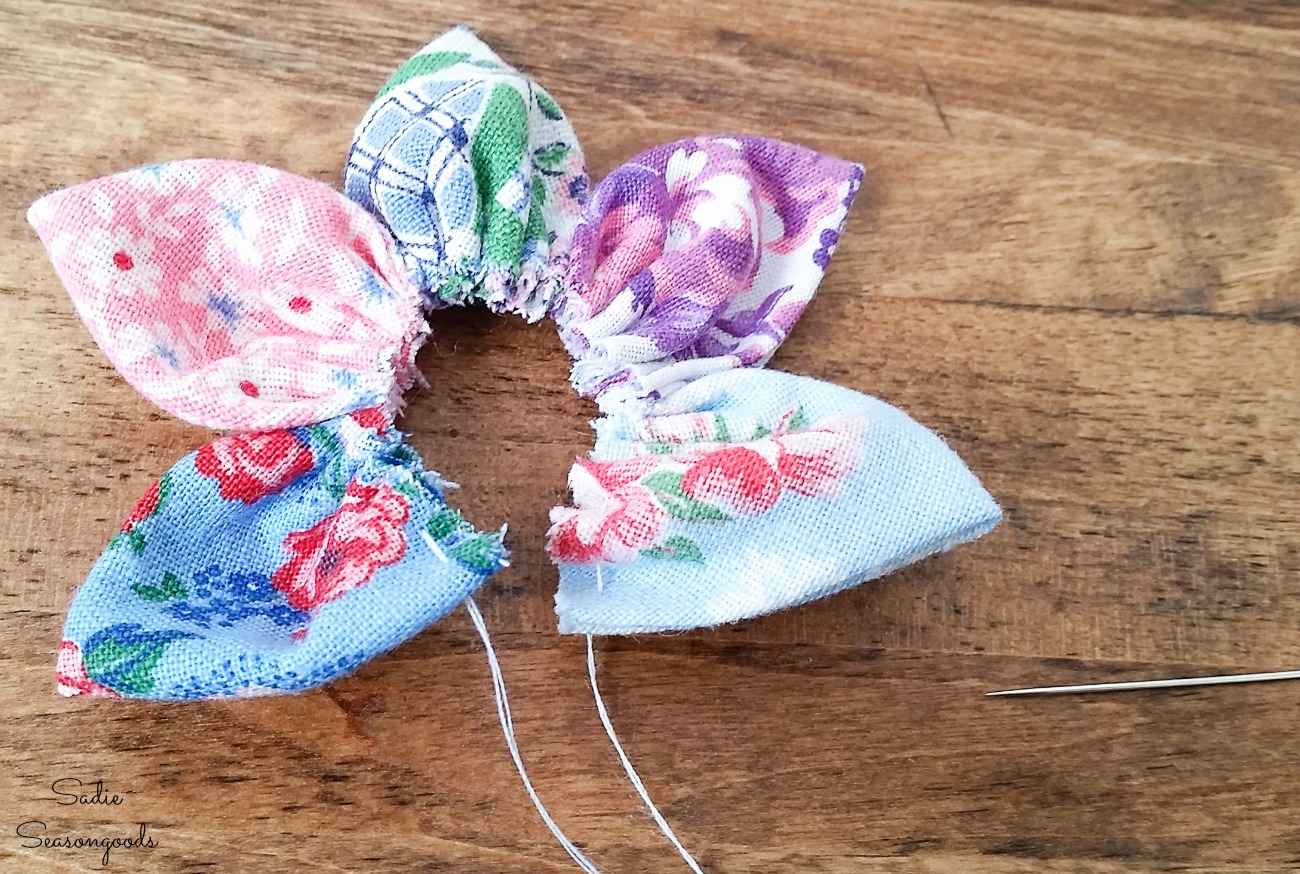
Image credit: Sadie Seasongoods.
Then I carefully tied the tail threads together in a knot. Now it was time to add a vintage button to the center and add the brooch hardware to the back.
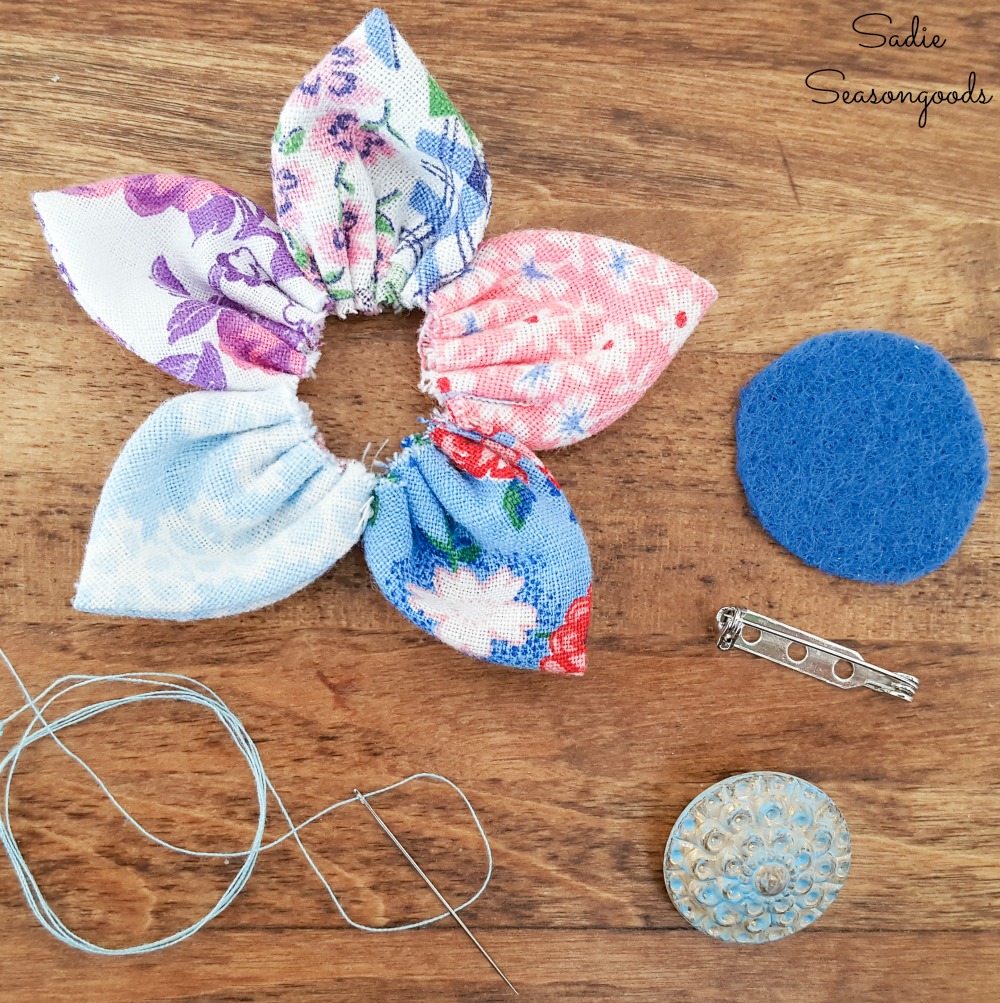
Image credit: Sadie Seasongoods.
First, I used a little glue to attach my vintage button to the center of the lapel flower. Then, I cut out a small circle of felt, and stitched a pin back to the upper center of my felt circle.
Next, I stitched the felt circle to the back of my brooch pin, grabbing each vintage fabric petal as I went along.
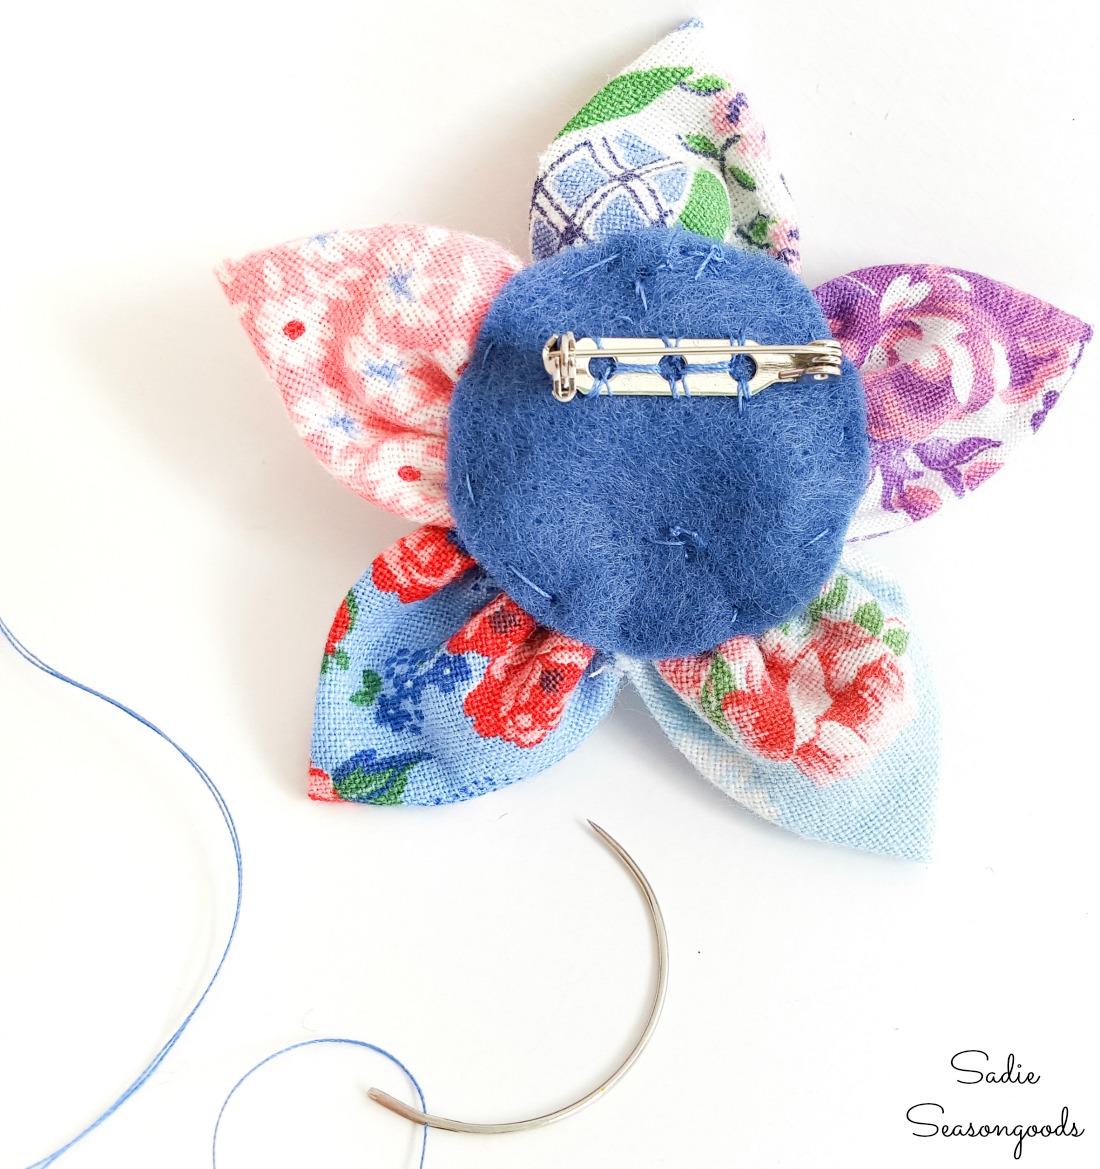
Image credit: Sadie Seasongoods.
As insurance for my vintage button, I used a curved quilting needle to carefully stitch the vintage button to the felt. It wasn’t the easiest task, but it was doable!
I also made sure I paid attention to the angle of the shank before I stitched on the felt circle. Doing so made it easier to grab with the curved needle. This wasn’t a step in the original tutorial, but I just didn’t trust the glue alone!
Cloth Flowers from Flour Sack Fabric
And then I made another…and another…until I had a trip of flower lapel pins!
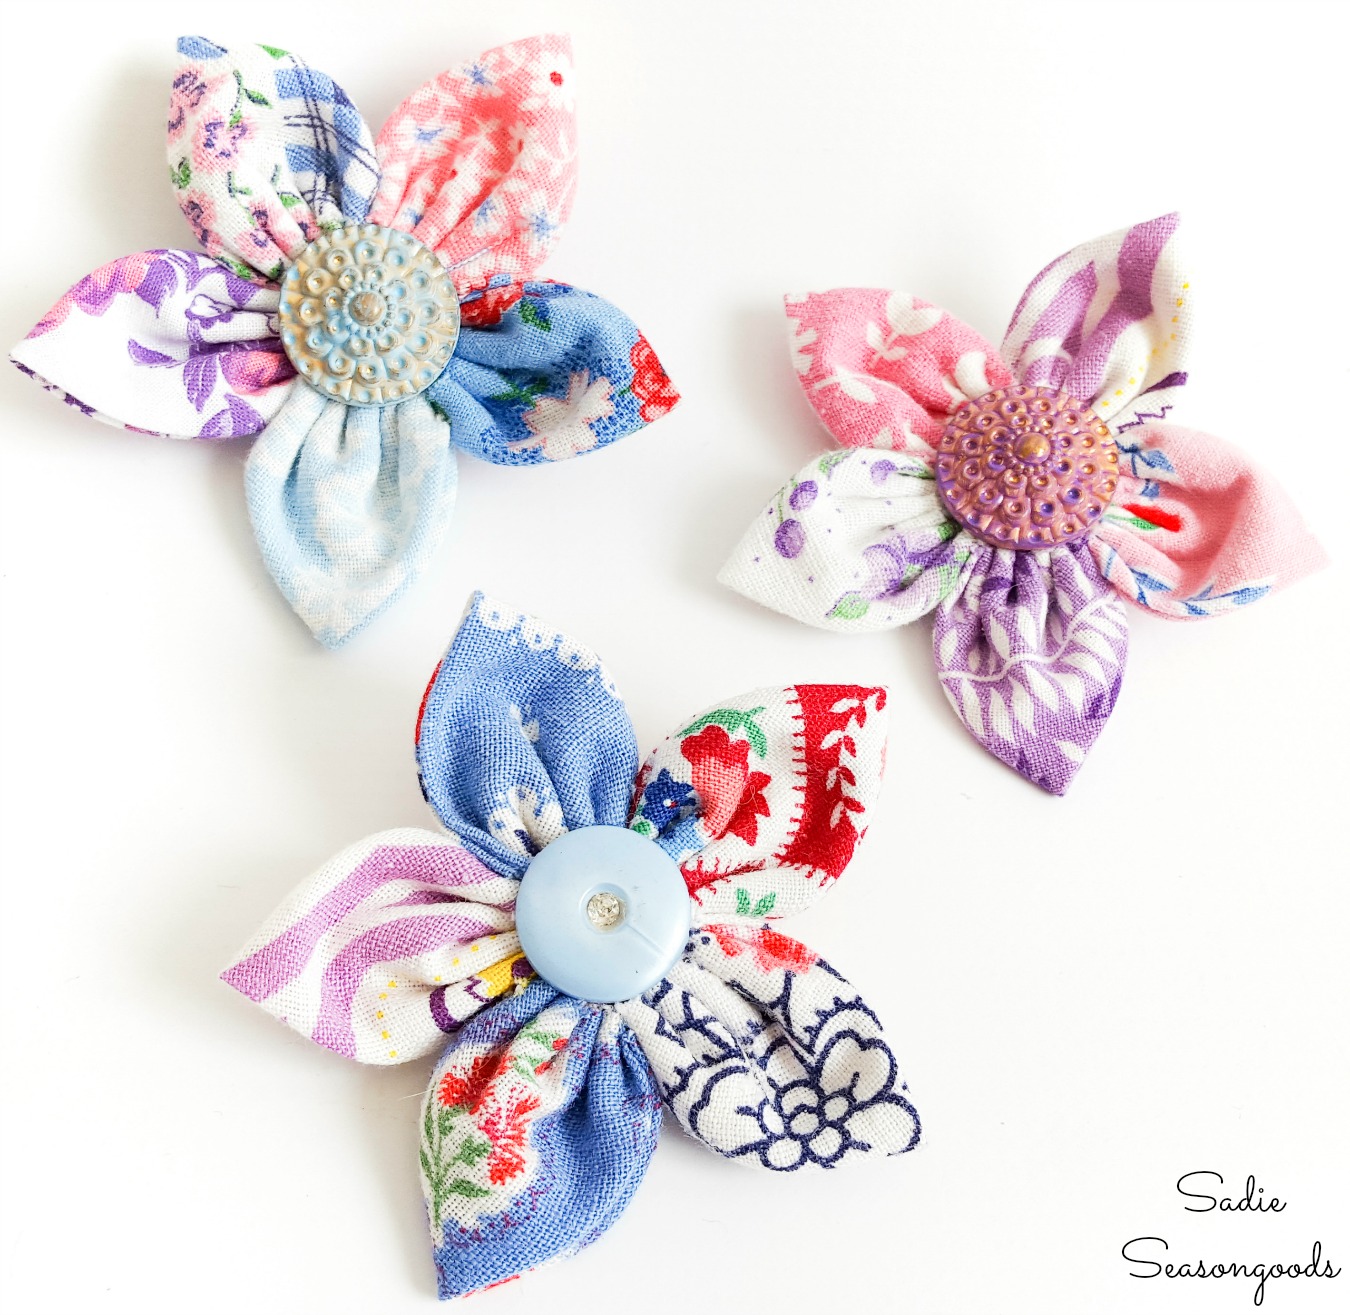
Image credit: Sadie Seasongoods.
I mean, really, isn’t that lapel flower the cutest? The flour sack cloth and vintage button work perfectly together.
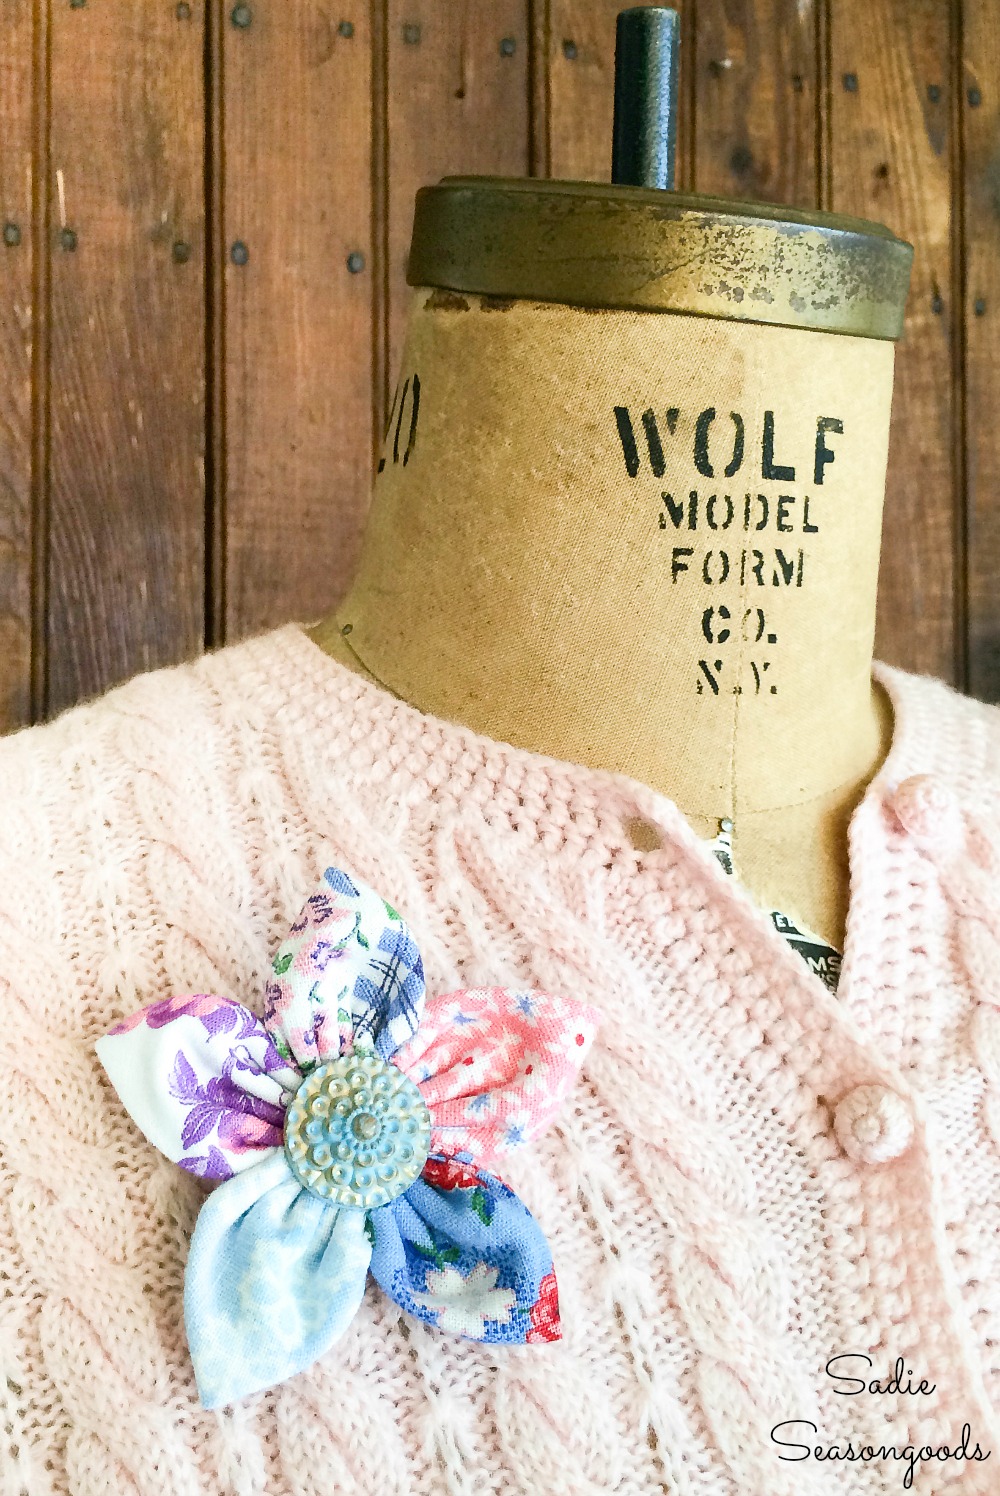
Image credit: Sadie Seasongoods.
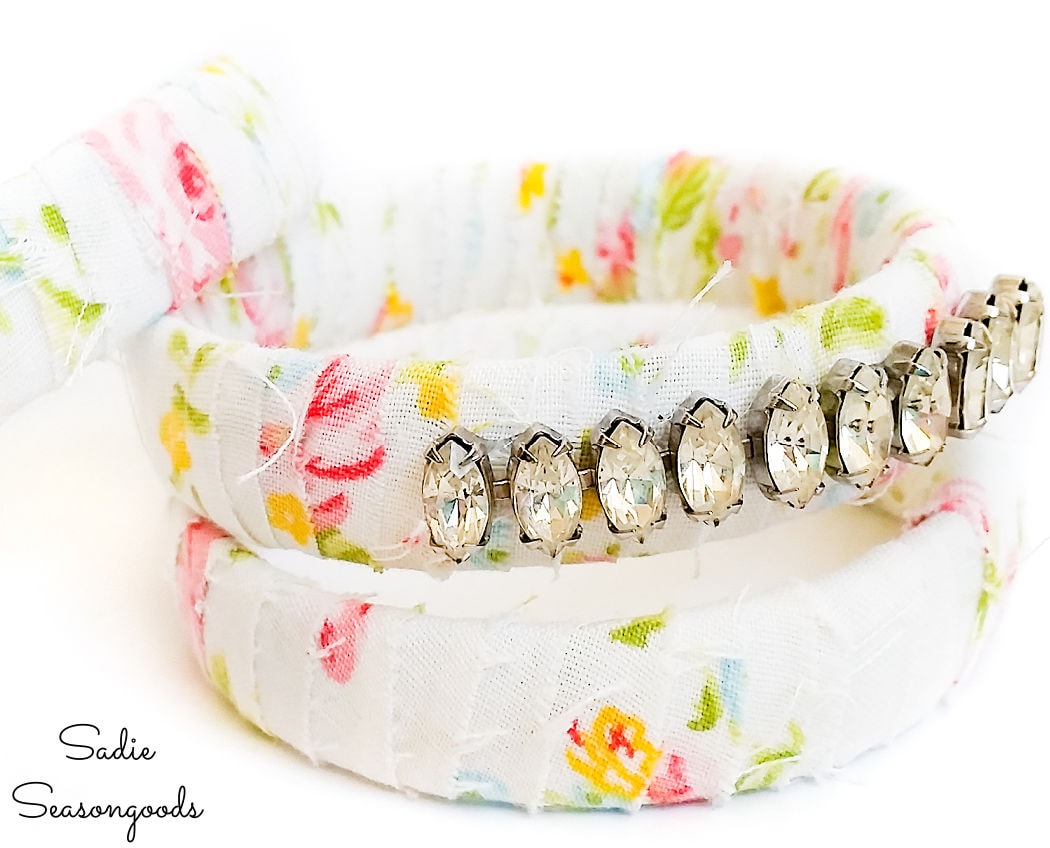
And if you enjoyed this upcycling idea for a lapel flower, than you may also be interested in these boho bracelets made with fabric from a vintage sheet!
Craft on!
S
Want to be notified when I publish my next upcycling project tutorial?
Join me on Social Media:
PIN ME!
Image credit: Sadie Seasongoods.
Sarah Ramberg is the owner of Sadie Seasongoods, a website that celebrates all things secondhand. From upcycling ideas and thrifted decor to vintage-centric travel itineraries, Sadie Seasongoods is a one-stop shop for anyone who loves thrifting and approachable repurposing ideas. Sarah is also the author of “Crafting with Flannel” and has been featured in numerous media outlets and magazines.





Absolutely adorable! I’m picturing this on a denim jacket. Wouldn’t that be cute for spring?
So glad to see you early this morning at Thoughts of Home on Thursday.
That would be perfect, Stacey- I can totally picture it, too!
These are precious, and the fabric choices perfect! Pinned!
Thank you for joining us at Thoughts Of Home On Thursday.
Thanks, Jemma- and thank you for hosting!
I really love them. I think they’re great for a Spring Look. I think I’ll make some extra and pin them to my Drop Cloth Curtains for tie backs. Also love the fact that they’re hand sewn, since my sewing machine needs to go to the fix it shop so isn’t working right now.
Thanks, Barbara- what a great idea!!!
It sew pretty and looks easy enough even for me! Loving and pinning!
Thanks so much, Lisa!
How beautiful!
I agree with Stacey- I can see this on denim too- or white!
Thank you for sharing this with us at Thoughts of Home on Thursday. We are so glad you are here.
Thanks so much, Laura!
Very cute and a great way to use up small pieces of material! Thanks for the wonderful tutorial! Have a wonderful weekend!
Thank you so much- to you, as well!
Your brooch is so pretty, and a great way to use up some of the many scraps in my sewing room.
Thank you, Lorrie!
This is such an adorable idea! Great for using up scrap pieces.
Thanks, Rose!
These are so cute! I love how the painted brass buttons turned out. I would love for you to share this at the Friday Favorites link party going on now.
~Bonnie
http://www.oursecondhandhouse.com/2016/03/friday-favorites-week-317.html
Done and done!! Thank you for the invite! 🙂
Those are the cutest little posy pins! Thanks for the tutorial.
Have a great weekend.
Thanks so much, Marigene!
Hey Sarah ~ love these brooches and the button centers are fabulous!
Thanks, Cecilia!
So cute! I wish I had like seven girls in the family so we could ALL wear them! Thanks for bringing it to our Throwback Thursday Link Party!! 🙂
Mollie
Thanks so much, Mollie!
Wow, these are adorable. I can see them in all different patterns. Very cute on jacket, sweaters and even on the back of my chair sashes when I set a tablescape. Love the buttons. Thanks for sharing at DI&DI.
Thank you, Linda!
Love this! So clever 🙂
Thank you!!
Sarah, Love the flowers! Thanks so much for sharing with us at Snickerdoodle Sunday! Pinned and tweeted to share
Thank you, Laurie!
I’m in love with these sweet creations! So springy and charming! Great tutorial too.
Aren’t they the sweetest? And THANK YOU so much for the share on FB!! 😀
Oh I just love these. I quilt and sew a bit and these are just adorable ..I shall put this on my mile-long bucket list 🙂
I am all too familiar with the mile-long bucket list!! 😉 Thanks so much, Deb!
These are so cute! How talented you are. Found you on #celebrateyourstory
Thanks, Marilyn!
Cute brooch! Looks pretty easy to make too. I could use this in some of my craft projects for embellishments.
What a sweet brooch. Looks pretty easy to make too. Thanks for linking up to Merry Monday! Sharing on Twitter! Have a great week!
Kim
Thanks, Kim!
How cute are those?? Followed you on Twitter! Thanks for linking up at the #HomeMattersParty !
Thank you so very much!
These are adorable on this sweater and they would be cute on purses also. I like tying a scarf on my purse but this is way cuter. Thanks for sharing at Celebrate Your Story link party and have a Happy Easter!
Thank you so much, Sandra! To you, as well. 🙂
Lovely flowers.I made different fabric and felt flowers.Please,go to my blog and say Your opinions.Kiss from Serbia,
Cale
Thank you, Cale! What is your website address? I would love to see. 🙂
I would never have thought to paint the brassy buttons – you’re so clever!!!! Hmm, there could be some brassy button painting happening at my place. 🙂
These are so pretty – thank you for sharing your how-to.
Thanks, Kate!!
Just delightful, Sarah! Pinned and posted on fb 🙂
Thank you, Diana!!
These are so adorbale and you make them look so simple to make!
Thanks so much, Brittany!
How very pretty and original! There was a time when our mothers had brooches but they are so beautiful and can be used in a variety of ways. Thanks for the how to.
Thank you, Mary!
Adorable broaches and great tutorial! Pinned and tweeted. Thank you for sharing at Vintage Charm.
Aww…what a cute idea!
Thanks for joining Cooking and Crafting with J & J!
These are so adorable! Thanks for sharing at Creative Ways Link Party.
Thanks, Anita!
So lovely! And a beautiful choice of fabrics.
Amalia
xo
Thank you, Amalia!
Beautiful and great for a quick gift. Wondered if you should sew the button to the felt first,then sew the felt to the petals?
It’s very chicken and egg…because it’s far easier to sew the pin to the felt before it’s attached! 😀
Pretty & perfect for spring. Thanks for sharing at the Inspiration Spotlight party! See you again soon. Have a happy Easter!
To you, as well!! Thank you for hosting! 😀
I have seen these flower brooches quite a bit for the last couple of years and love the simple technique. I really admire the effect you got from painting the brass buttons! Beautiful 🙂
Wendy
This is so clever Sarah, I love the flowers! Beautiful and happy!
Thank you, Katrin! 😀
Thanks so much for sharing at Sweet Inspiration #5 Sarah! Have a great weekend!
Love these…I might have to make for my garden club. Or could be a crafts for them To complete. Thanks
Thank you so much! And what lovely ideas!!
So adorable and perfect for Spring! Thank you for sharing at the Celebrate Your Story Link Up Party.
Thanks so much, Danielle!
love these pins so cute thanks for sharing have a happy mother’s day
Thank you, Lorraine- happy Mother’s Day to you, too!
That’s really pretty! And you make it look so easy! Thanks for sharing on the Pleasures of the NW’s DIY party!
Sadie you have to a
Start Sharing with us over at Charming Homes and Gardens if you have the time??
What is flour sack fabric? Where do you get it?
I found these on Etsy. Here’s a great article on it, Katherine! https://www.collectorsweekly.com/rugs-and-textiles/feedsack-fabric
Can I ask what diameter of circle you used as a template? So pretty!