Whenever I’m in a creativity funk, I head into my garage or Craft Room to do some tidying up and rearranging. Why? Because I usually unearth something long forgotten and it’s the shot in the arm that I need to get back in the proverbial (crafting) saddle! And that’s how I decided to upcycle this vintage window into some whimsical decor to celebrate Spring.
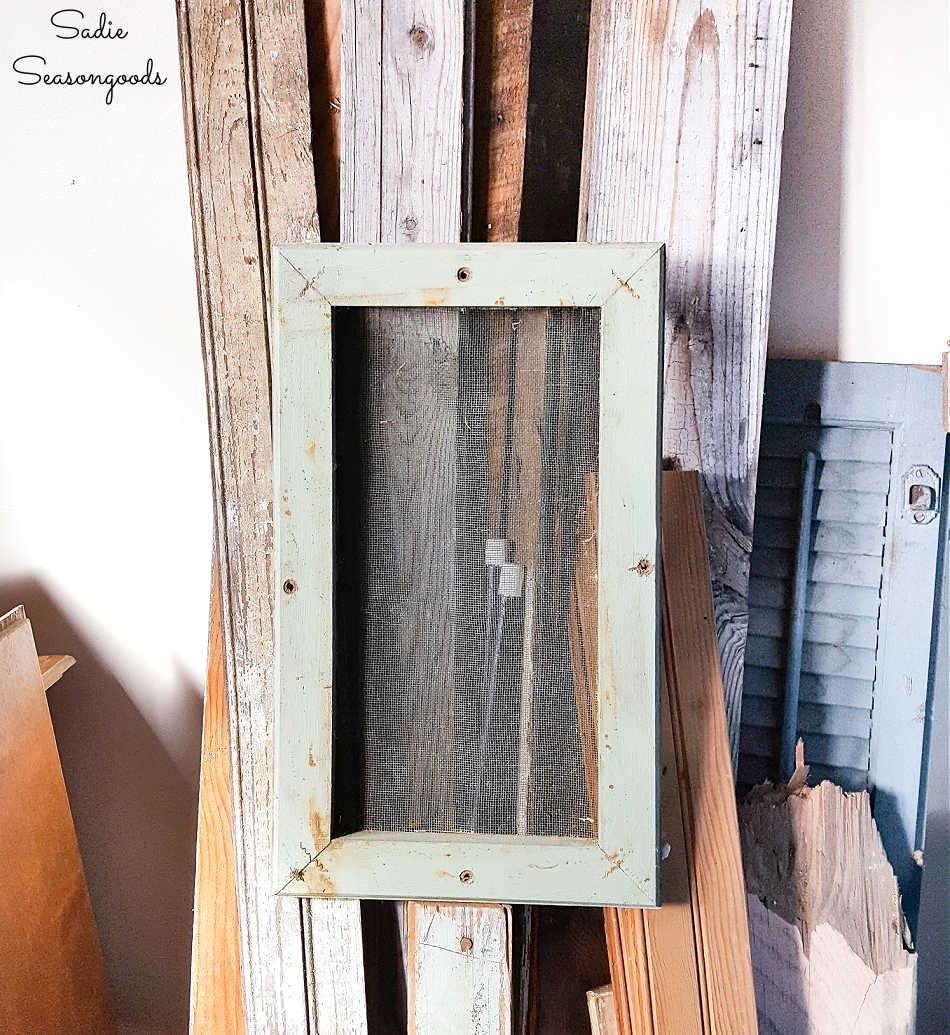
Image credit: Sadie Seasongoods.
Believe it or not, but I’ve had this vintage window since before I started my blog! Old, rusty, and crusty, it was the perfect project-to-be.
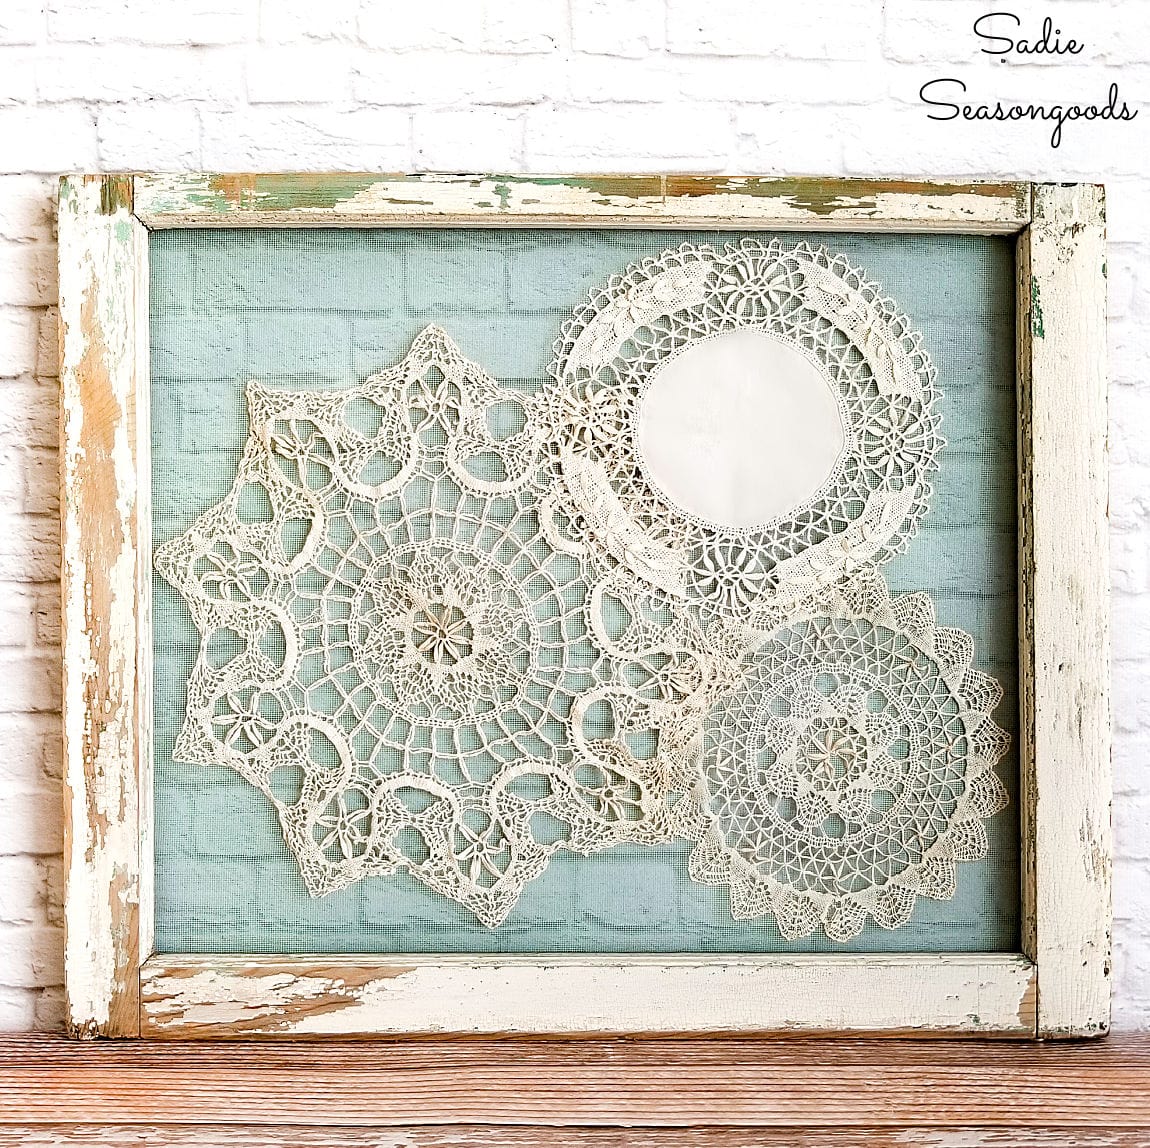
So, I decided to upcycle it into whimsical decor for Spring. And I would use my very first blogging project (this shabby chic wall decor) as my inspiration!
This post contains affiliate links for your crafting convenience. As an Amazon Affiliate, I earn from qualifying purchases. All blue, bold, and underlined text is a clickable link, either to a product or to a related post.
Refreshing a Vintage Window
Now, as much as I love a little rust and crust, this guy was a little overwhelming. The mesh screen on the back was old and, well, menacing! It grabbed, snagged, and sliced anything that came near it!
So, I decided to give the whole thing a makeover- without really changing its appearance. Kind of like wearing makeup that looks so natural that it doesn’t LOOK like you’re wearing makeup.
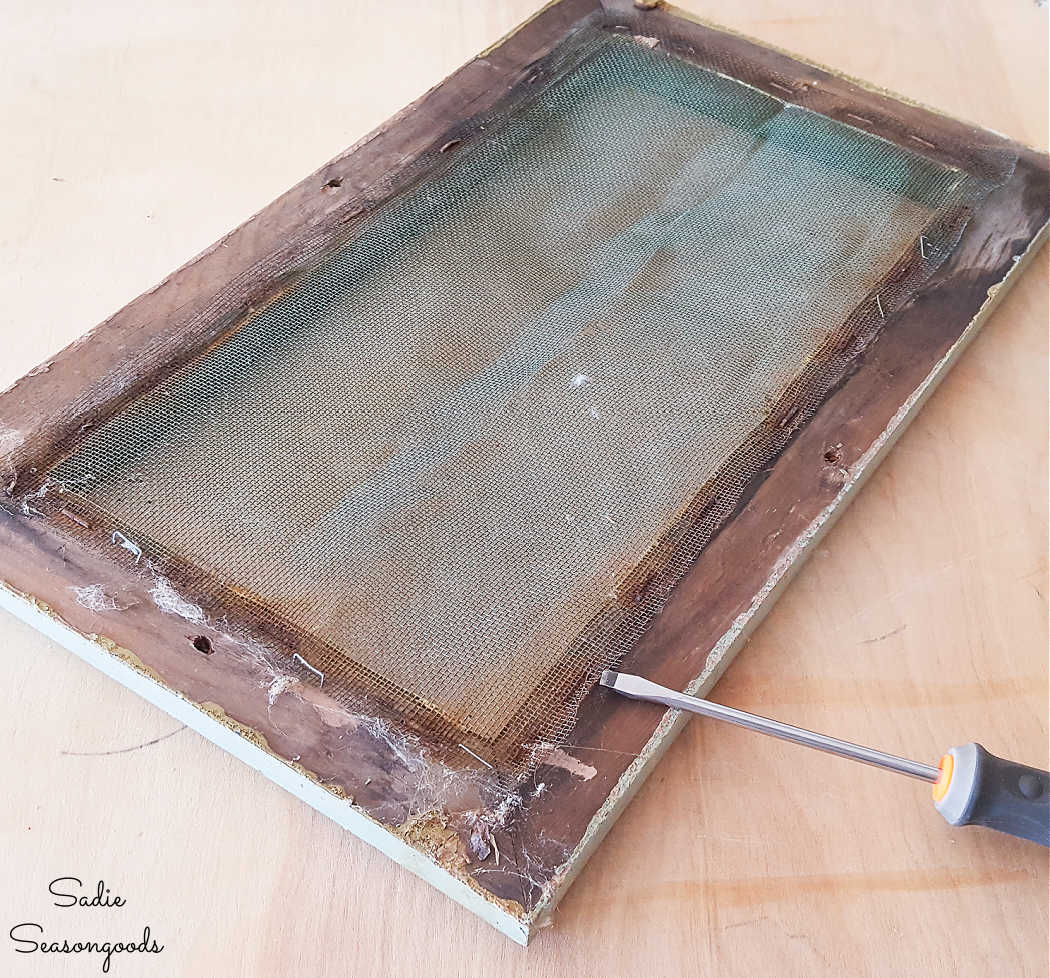
Image credit: Sadie Seasongoods.
The malevolent screen had to go!
First, I carefully removed the window screen and the crumbling staples that held it in place. A wire brush came in handy for really scrubbing the back of the rustic window frame and helped to clean it up nicely.
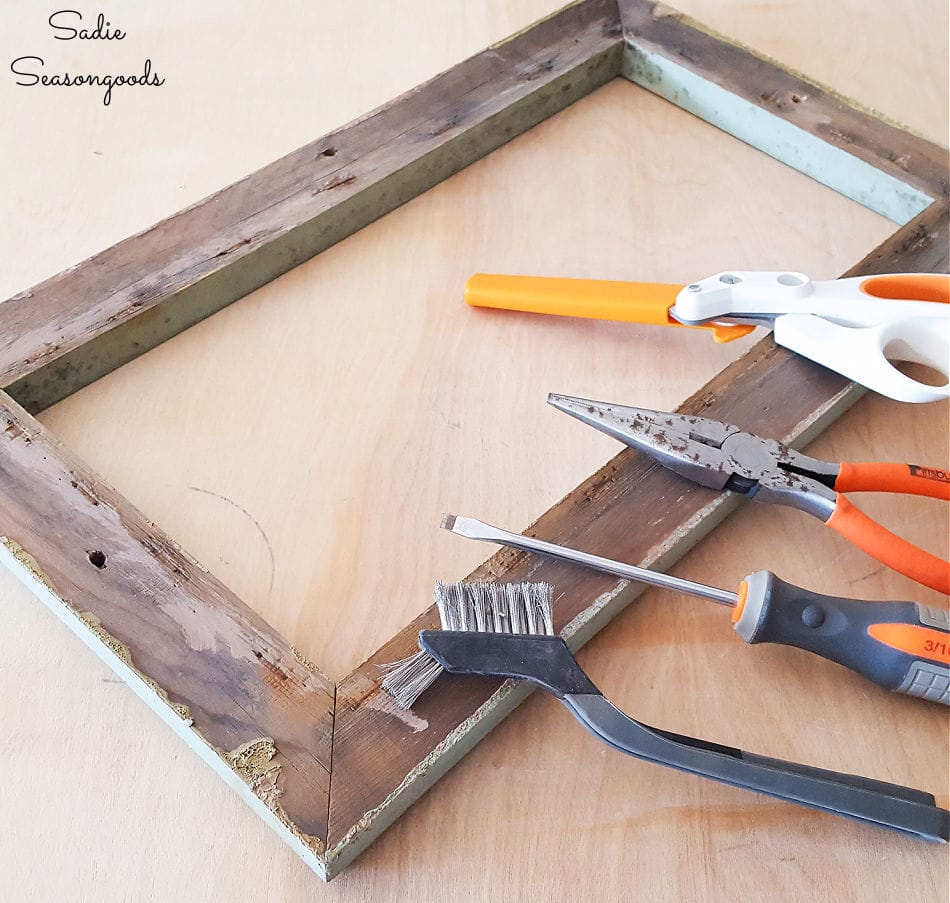
Image credit: Sadie Seasongoods.
Next, I decided to freshen up the rustic window frame. I had virtually the same color craft paint leftover from this project!
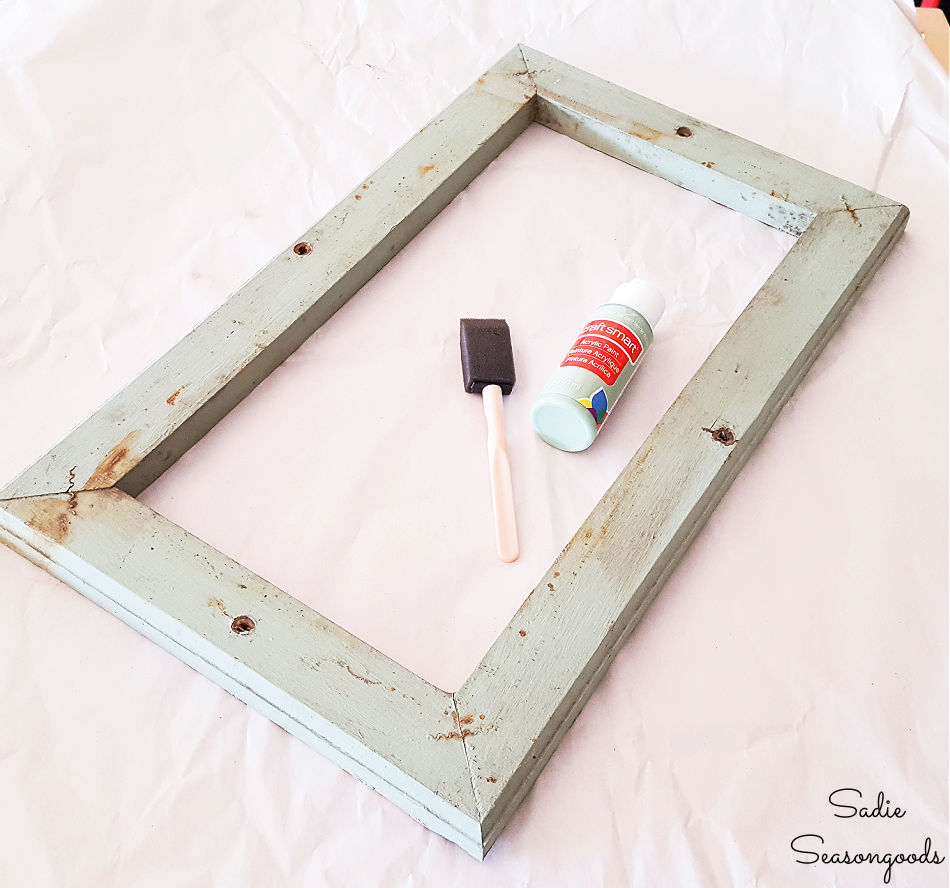
Image credit: Sadie Seasongoods.
So, I dry brushed some on the frame just to brighten and liven it up. I wanted it to remain that dusty shade of green which seemed perfect for my whimsical decor plans…
Next, I cut out a rectangle of window screen that was just smaller than the frame and spray painted the screen white. A cheap clip hanger works perfectly for spray painting screen!
Then, I just attached the screen to the back of the frame!
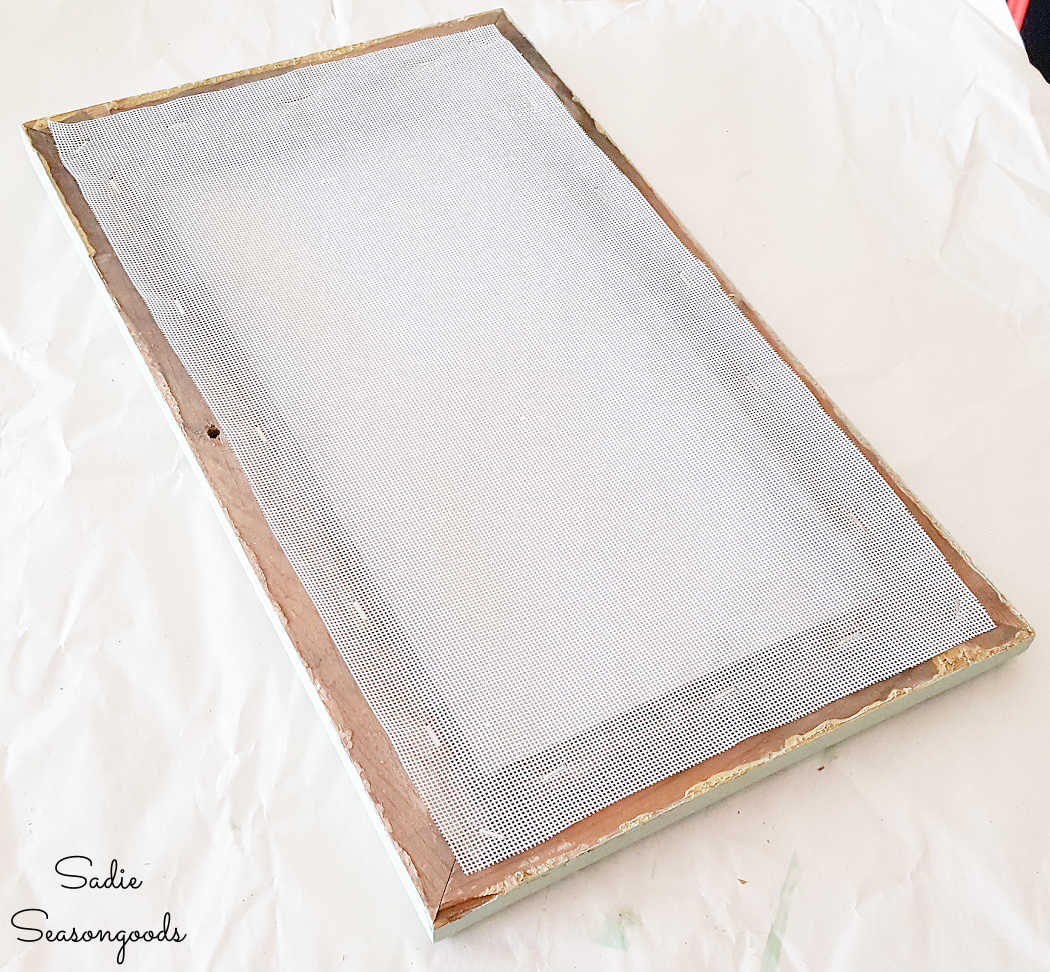
Image credit: Sadie Seasongoods.
Vintage Doilies for Whimsical Decor
Now the rustic window frame was fresh and clean, and ready for next steps!
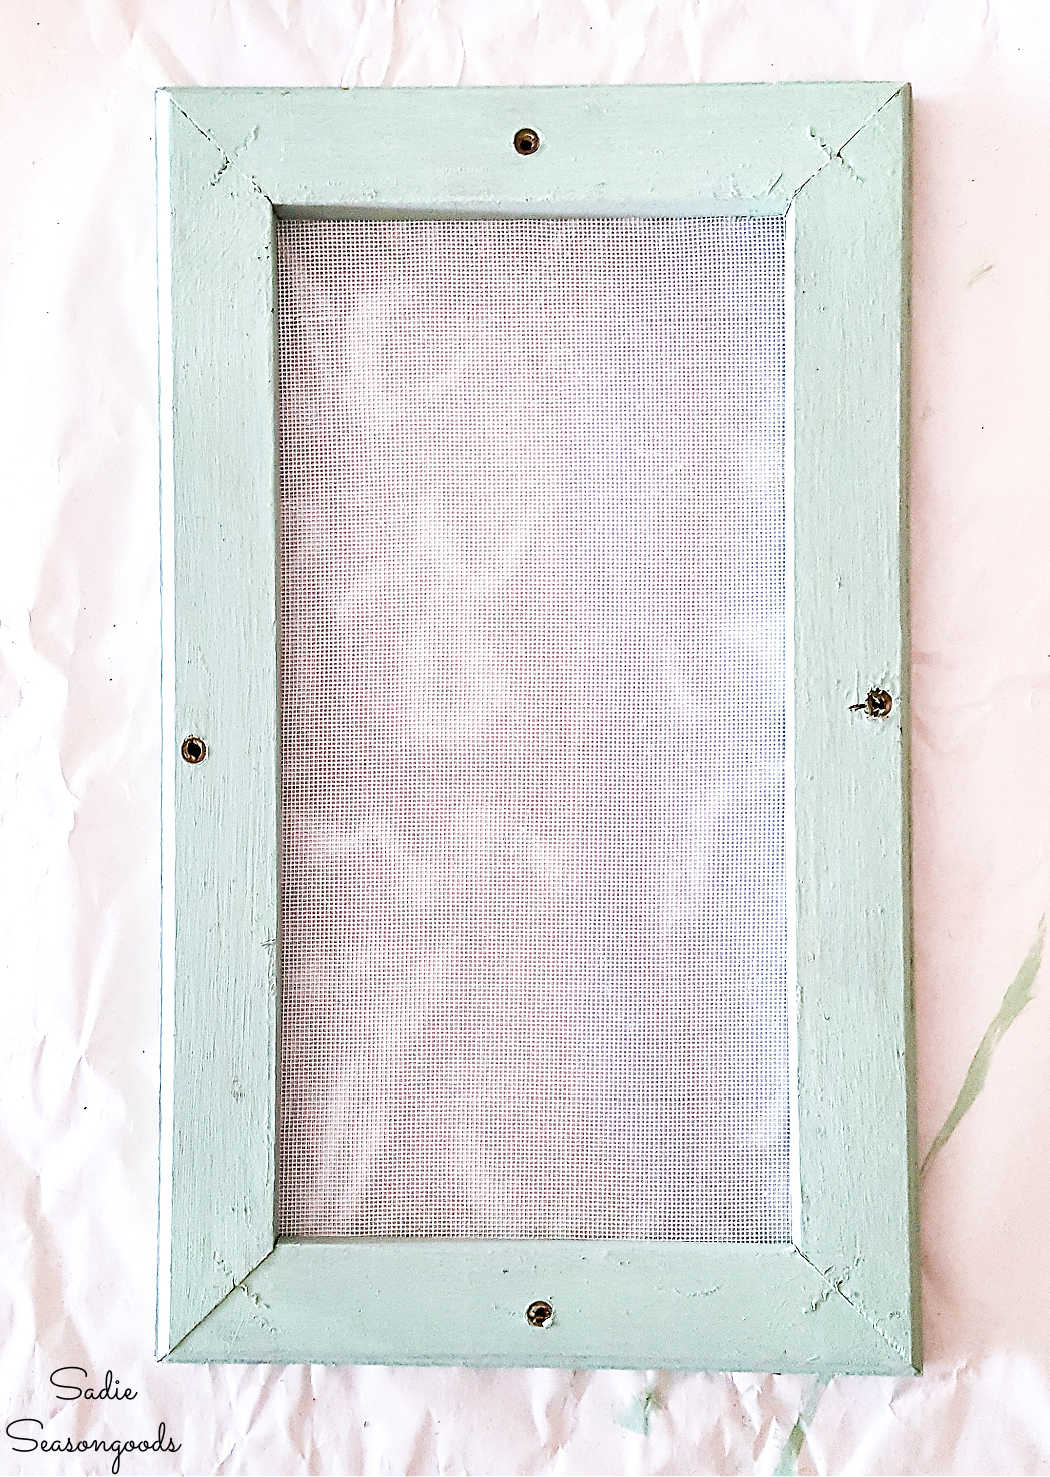
Image credit: Sadie Seasongoods.
As I mentioned before, I was using my shabby chic window decor with vintage doilies as my inspiration. But I wanted to use colored doilies in Spring colors instead of natural or white.
First, I selected a few of my smallest doilies (purchased from this Etsy shop) and arranged them on the screen.
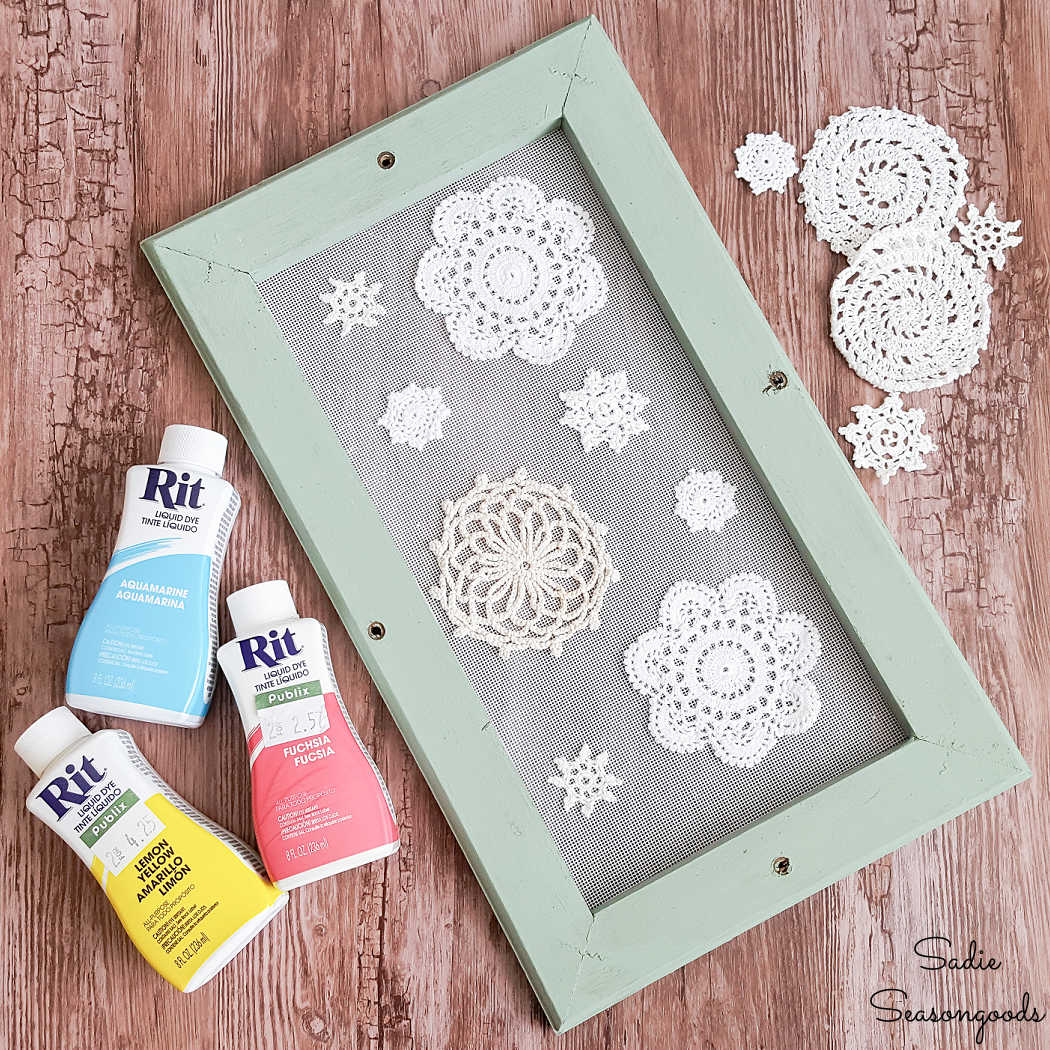
Image credit: Sadie Seasongoods.
I snapped a photo to remember the arrangement on the window screen frame. Then, I gathered some Rit dye in Springtime colors to dye my doilies.
You may remember that I’ve done this before for my doily table runner that I made for Spring decor, too!
After dyeing the doilies per the directions on the bottles of dye, I ironed them and placed them back on the window screen. I pinned them in place and grabbed some all-purpose thread in coordinating colors.
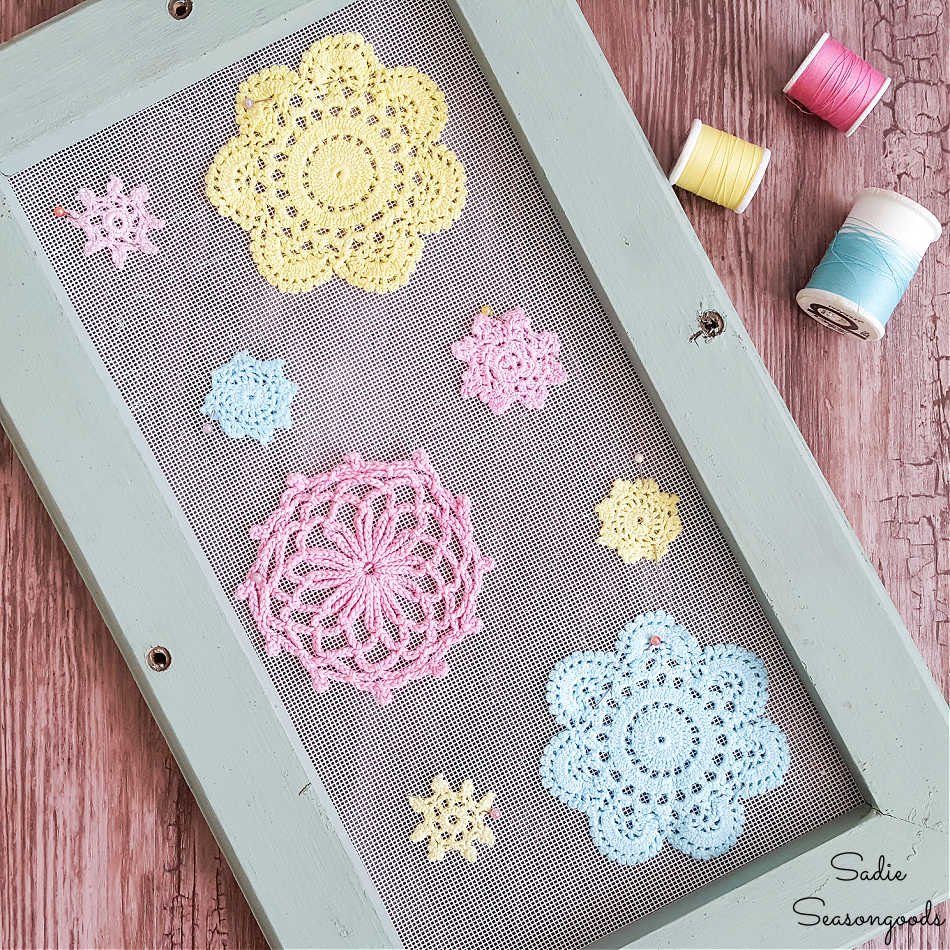
Image credit: Sadie Seasongoods.
My whimsical decor was really coming together now!
For a bit more whimsy, I grabbed some sage green embroidery floss. My plan was to add some floral embroidery in between the colorful doilies so that they looked like flowers on a trailing vine.
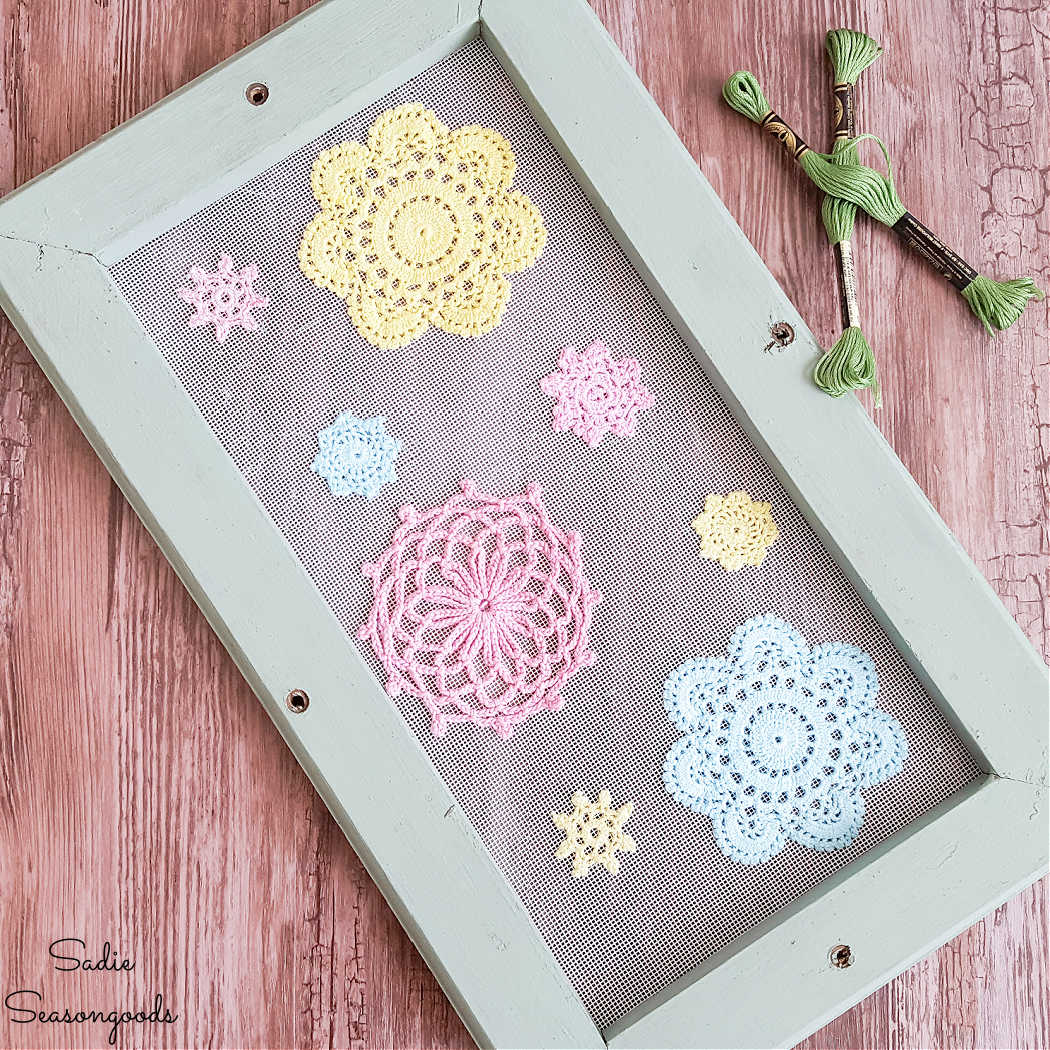
Image credit: Sadie Seasongoods.
Whimsical Decor on a Vintage Window
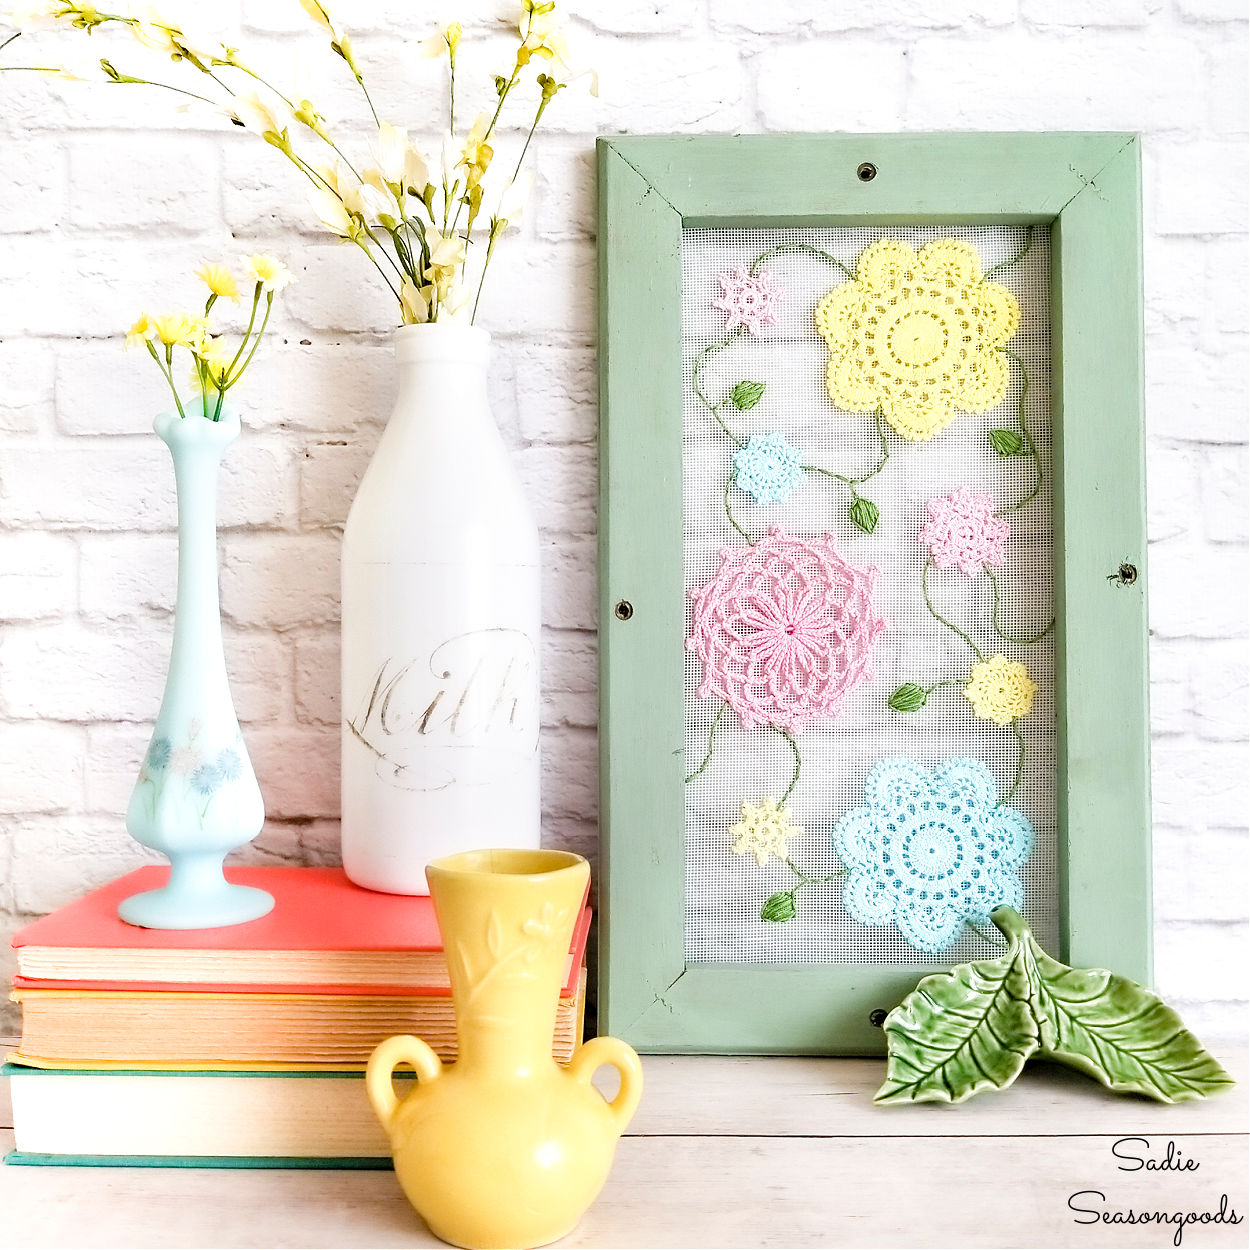
When all was said and done, this is what my vintage window looked like all gussied up!
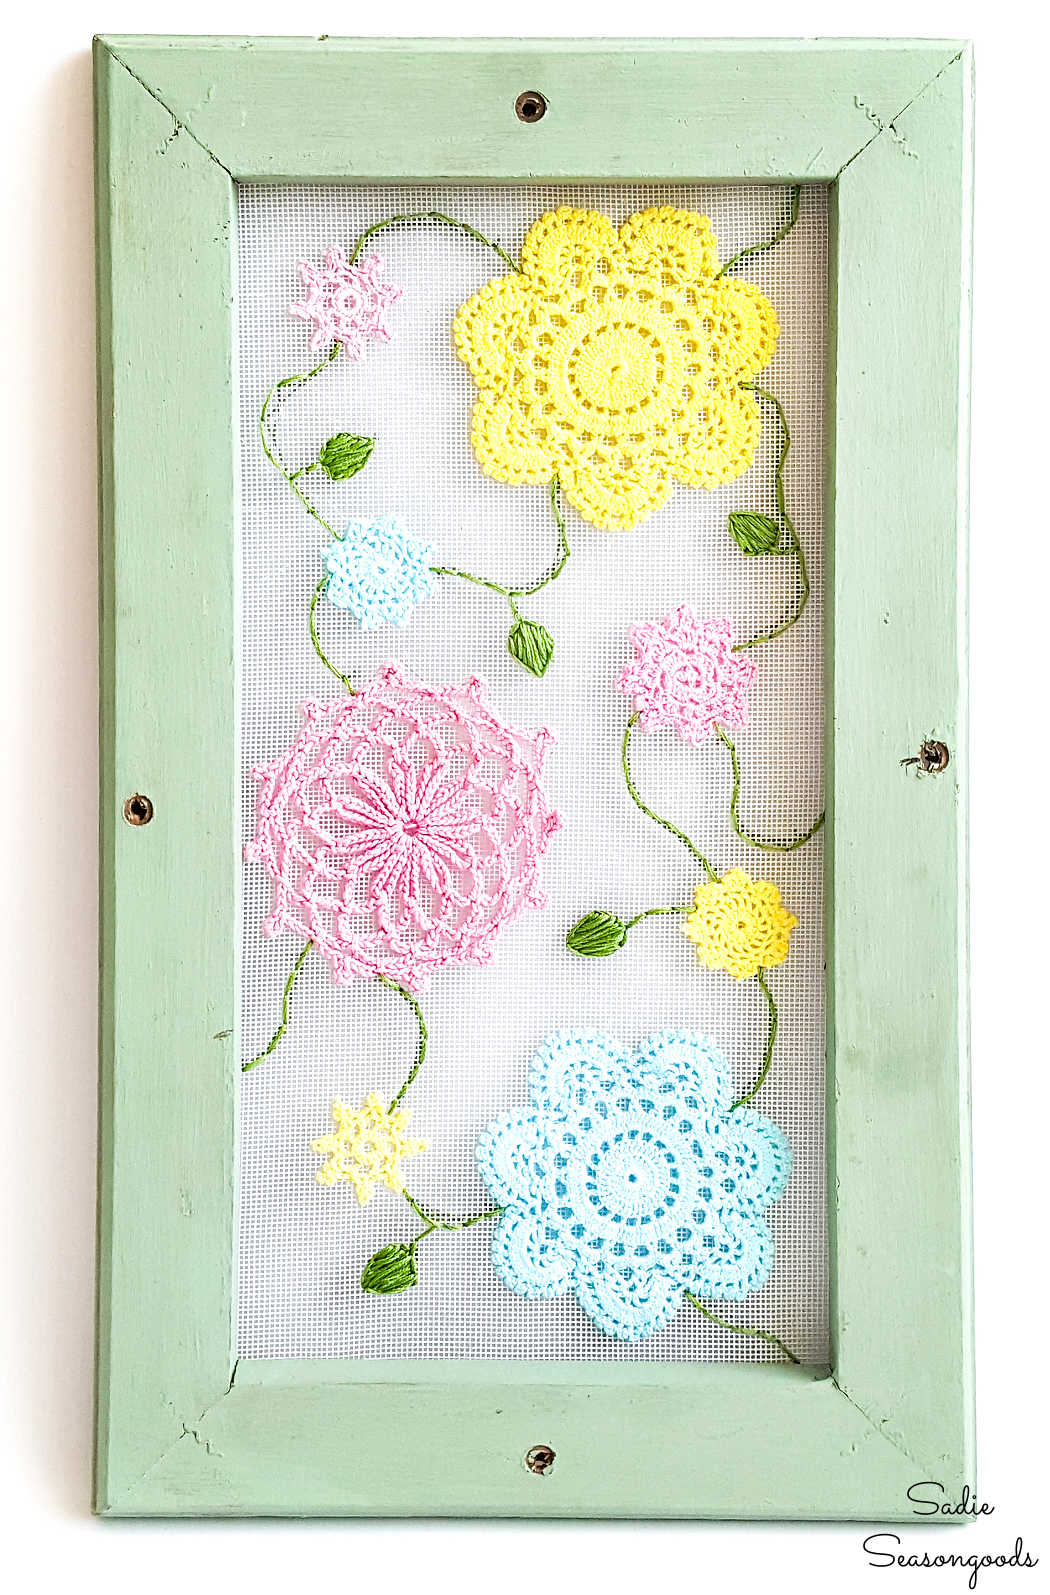
Image credit: Sadie Seasongoods.
It had all the elements of cottage style decor that I love: vintage doilies, pastel colors, and a sweet upcycling idea!
AND I used something that had been in my garage forever, which always makes me feel good.
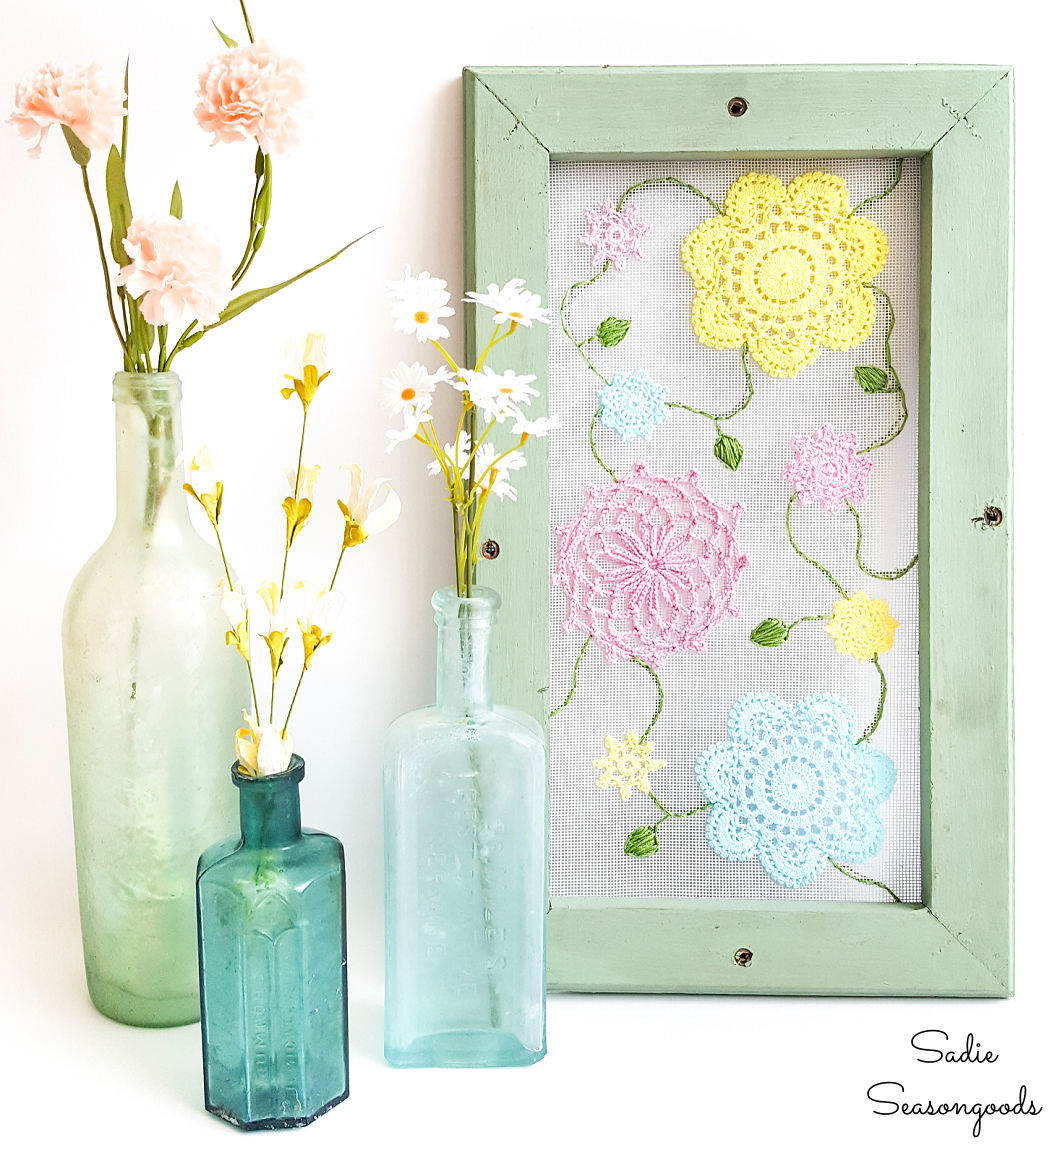
Image credit: Sadie Seasongoods.
I think it’ll be perfect as Spring mantel decor, don’t you? Either way, whimsical decor like this feels so fresh and uplifting as winter comes to a close!
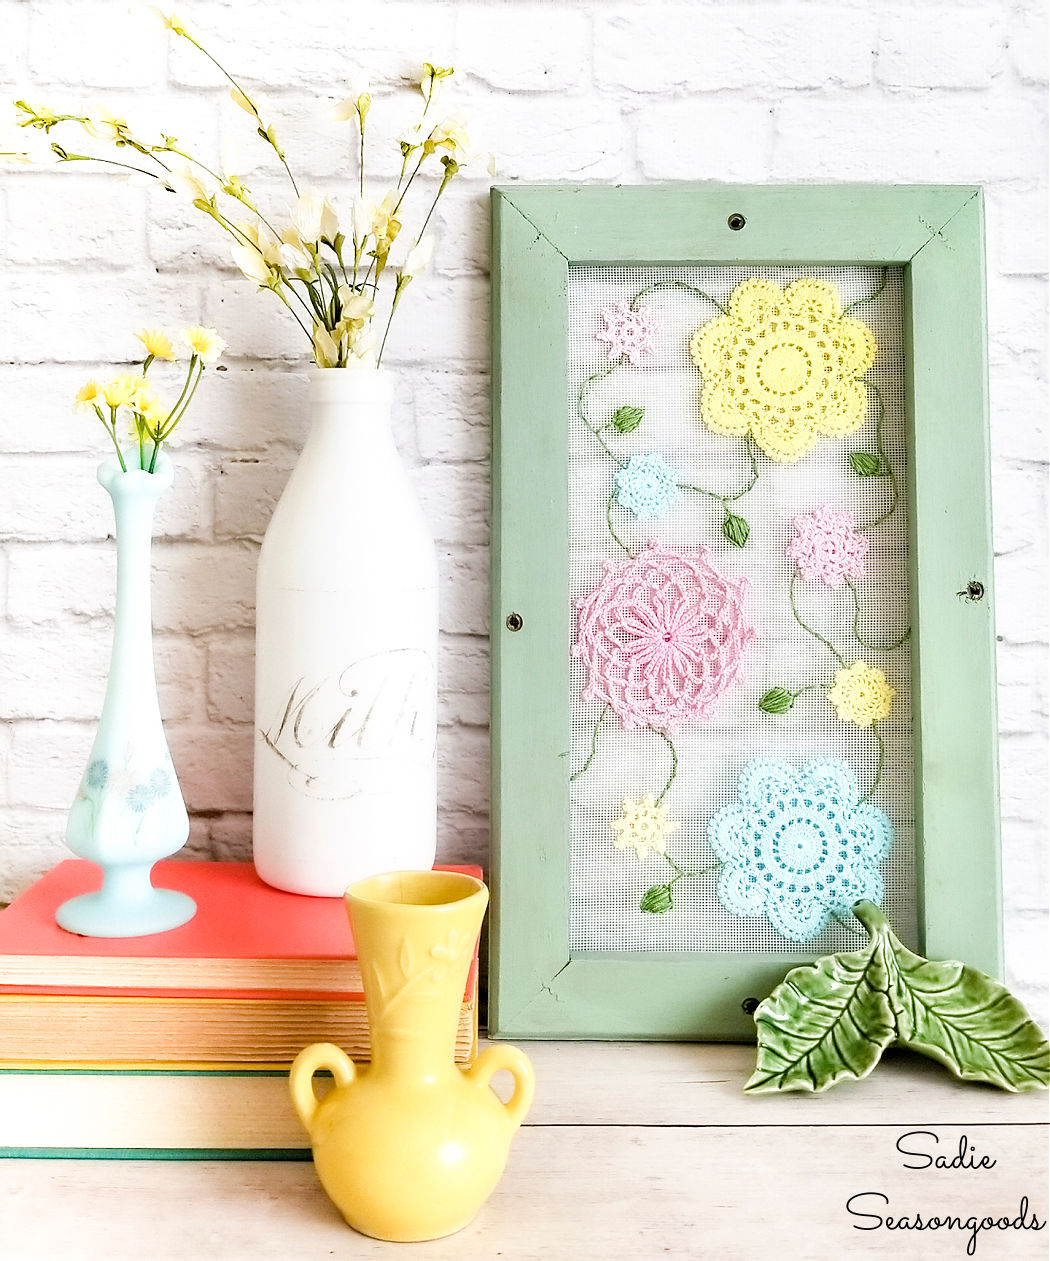
Image credit: Sadie Seasongoods.
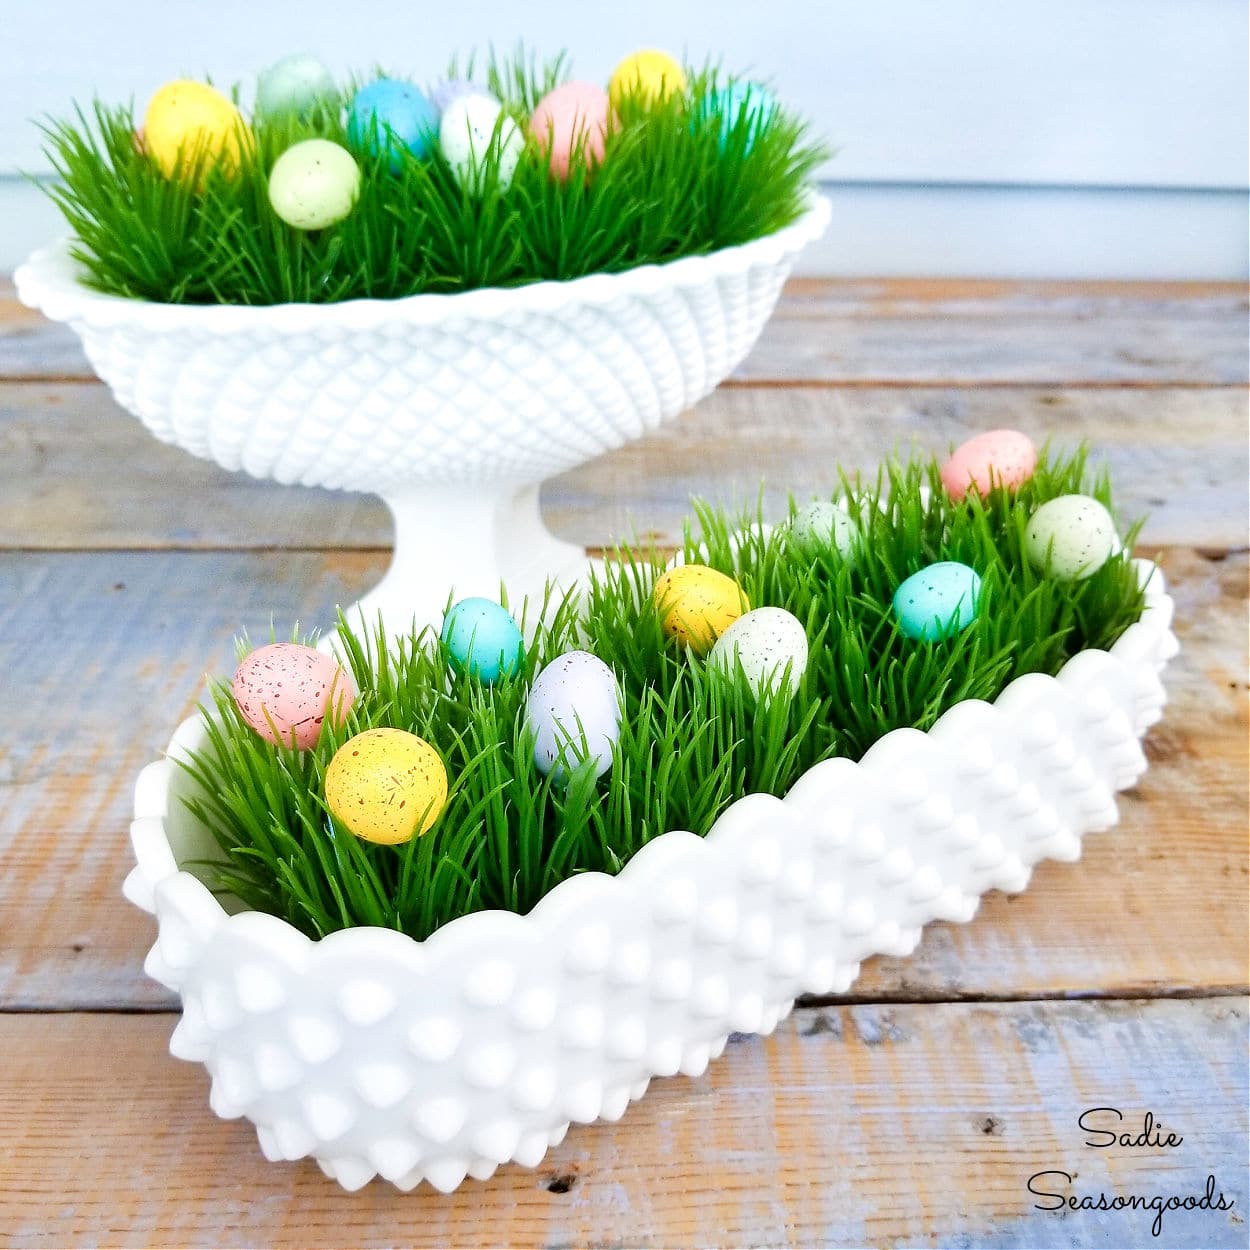
And if you enjoyed this upcycling idea for Spring decor, then you’ll love this simple craft project for Easter decor with hobnail milk glass!
Craft on!
S
Want to be notified when I publish my next upcycling project tutorial?
Join me on Social Media:
PIN ME!
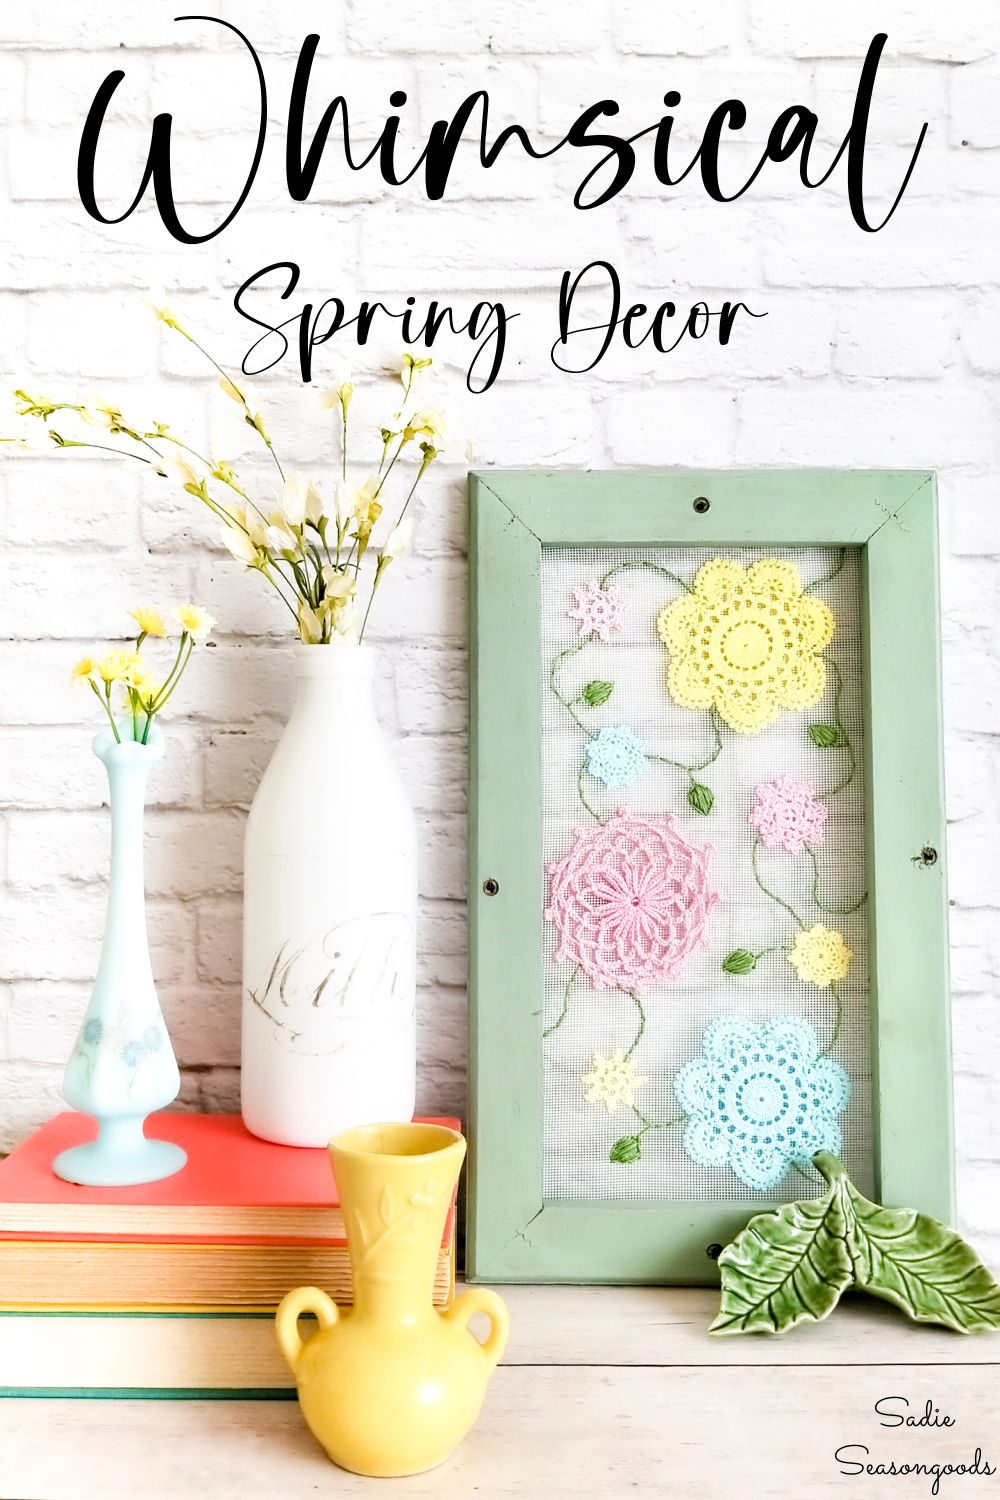
Image credit: Sadie Seasongoods.
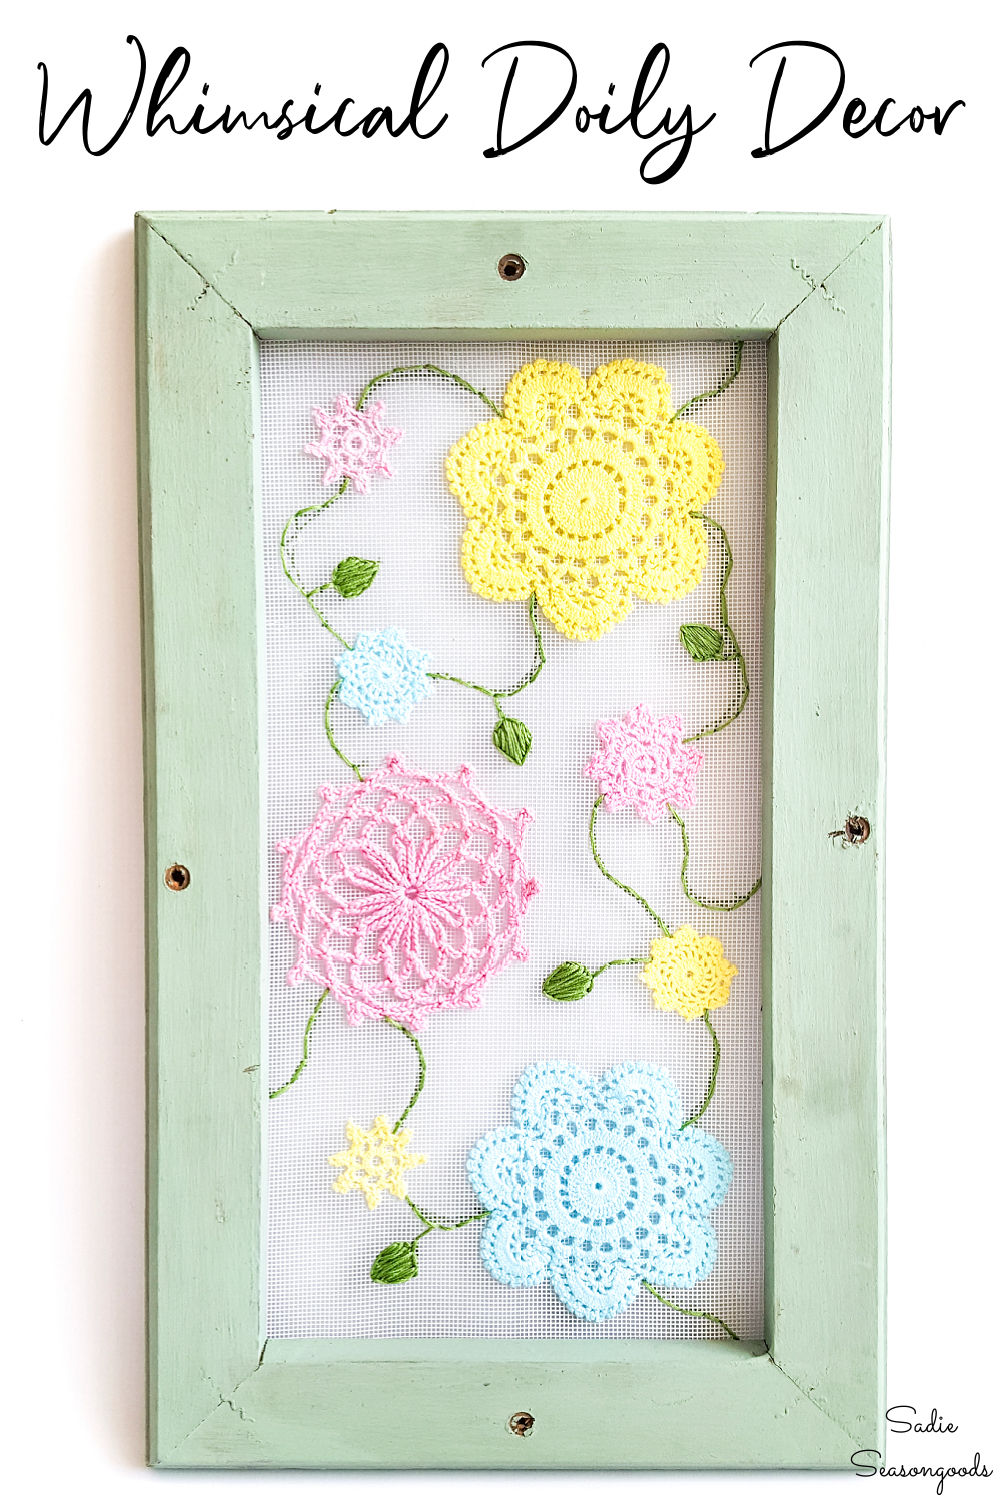
Image credit: Sadie Seasongoods.
Sarah Ramberg is the owner of Sadie Seasongoods, a website that celebrates all things secondhand. From upcycling ideas and thrifted decor to vintage-centric travel itineraries, Sadie Seasongoods is a one-stop shop for anyone who loves thrifting and approachable repurposing ideas. Sarah is also the author of “Crafting with Flannel” and has been featured in numerous media outlets and magazines.


This is why I follow your blog. You took something so random and made it so interesting and pretty. Such creativity. Thanks!
Thank you SO very much, Jen- I really appreciate hearing that! 🙂
Perfect! I have an old ugly screen that I have wanted to lighten up for awhile. Thanks for the inspiration!!
You are so very welcome, Sue!
Loved this, its very cute. Also inspired me to get my crafting organized as well I need inspiration. Checked out the Etsy Shop too, WOW tons of fun stuff. Thank you for sharing this wonderful idea.
Thank you, Kimberley!!
Girl, even in your so called dry spells you come up with the best ideas – love this!
Thank you, Marie!!! :*
wee doggies woman, i adore this so much i wanted to hug my pc xx
pinned xx
Hahaha!! I love that!! Thank you so much. :*
Thanks for the tutorial! I have a black frame and screen that I want to stitch with a tree of life pattern. What would be a good weather proof ‘thread’ to use?
Thanks, Mary! Unfortunately, I don’t know- I’ve never needed an outdoor or all-weather thread…hmmm…I’m sure that there are synthetics out there that are colorfast.
What a cute idea! I never would have thought of something like that. Now I need to find an old screen!
You can fake it with a distressed picture frame and new screen! Shhh, don’t tell anyone… 😉
LOVE this project! So pretty and perfect for spring.
Thank you, Rose!!
That is so pretty. Thanks for the instructions.
Marilyn
Thank you so much, Marilyn!
We’d love to have you share with us at #CCBG http://tryit-likeit.com/link-party-it
So cute! Love it!
Thank you, Lynn!!
Love love love love love!!!!!!!
Thank you so very much!!
Very pretty piece of artwork. I like how you showed step-by-step the process and how you put together the old frame, doilies, and new embroidery to create the piece. So creative!
Thank you, Carol!!
I’m truly shaking my head slowly from side to side, in the best way, just smilin’. SO. BEAUTIFUL. That is all.
Muah!!! Thank you so, so much!
This is so pretty and yes very spring like.
Thank you so much!
That is very cute and creative! Sure looks like Spring!
Thank you, Naomi!
Am so doggoned glad I clicked on your post in link party. This is such a great and lovely project. Will be out scrounging in my frame box tomorrow and seeing if we have some screening to be used for it. Also digging in my doily collection.
My decorating is quite cottagey, suits our little singe wide mfg. home well. Good thing it’s not bigger, already have too much stuff stuck out in shed and other places.
Love this incredible Springy project, gets my creative juices flowing which have needed for while. Am working on coming out of grief over losing our 22 yr.old grandson and after having shoulder replacement surgery/physical therapy, been long enuf, now it’s time to get with it, miss making things to refresh our little house. Have been inspired by you several times before, have gotten me going again with your wonderful projects..
Love that what your projects are, are doable and affordable and so inspiring.
Hope you and yours are having wonderful Spring weekend
Thank you so, so much- I always love your comments. They just make my heart swell with happy. 🙂
Well, have frame ready to paint, bugging hubs to get screening out, only thing left to do is clear a path to my doily box. that’s hardest part, lol. Can hardly wait to get started.
been working on figuring out what I want for new art, like to change out in Spring/Summer especially. Usually make my own from printables so generously shared by bloggers and Graphics Fairy. Go thru lots of ink but enjoy making own rather than buying. Paying for ink cartridges is my one luxury.
When people share their homes I like to see what art they have and how they display, then make what appeals to me. Have lots of thrift store frames plus frames we make with lathing strips and few other ideas. To me that’s half the fun and challenge.
When our daughter comes over she walks around looking for new art have made.
Have wonderful week
What a beautiful project! Love it. Pinning.
Thank you, Virginia!
I absolutely love this – and the way you displayed it!! Had to pin! Thanks for sharing on the Pleasures of the NW’s DIY party! (Checked out a few ads while I was here too!)
Thank you so much, Helen! And thank you for hosting. 🙂
Love it, so cute and perfect for spring! Visiting from Inspiration Monday party.
Thank you so much!
Oh I’m so glad you’re out of your crafty downer Sarah. We can’t have that at all, where would we find our inspiration 😉 Your doiley work of art is beautiful and super creative. Love it!!
Thank you!! I’m always worried that the ideas will just…stop. YIKES!
Just charming. The way you created the vine sets it off nicely. Thanks for sharing!
Thanks, Nancy!
Beautiful vignette – wish I had an old screen! Doily art is one my favorite crafts.
Thanks, Carol!
This is darling Sarah! I love how you painted the doilies to add some spring color! 🙂 Have a great rest of your week!
Thank you, Michelle!
What a lovely marriage! You’e given me ideas…
Thank you so much!
I have a couple of folding screens that this would be beautiful on. Probably I’ll just do one and if I love it as much as I expect to, I’ll be back to ask if I can make one to sell! You have such a fresh and whimsical outlook! <3!
It makes me smile too. It also reminds me that I should go through my stashes and see what treasures I’ve been overlooking. Thank you for sharing with us this week at Celebrate Your Story, and I hope your week is going great.
Thank you so very much, Sandra!
Adorable project. Thank you for sharing at Vintage Charm.
WOw, what a transformation, it’s so pretty!
Thank you so much!
I love everything about this project! I love doilies, but want to use them in fresh, new ways and sewing them to a screen is definitely that! I’ve got a few crusty, old little screens hanging around too and replacing the scary screen is a great idea. Kudos! Love your style!
Thank you so very much, Lora!!
Visiting from A Wonderful Thought party-I love how your spring decor frame turned out, the colors are perfect using the Rit Dye. Adding the leaves and vine with embroidery was genius!!! I would love to have your drop by and share on one or both of my weekly Linkup parties if you can make your way over. Pinned and Tweeted -:)
Hope you have a wonderful weekend! 🙂
Hugs
Karren 🙂
Thanks so much, Karren!
Ya gotta love “Pure Whimsey” . . .
🙂 Thank you, Mary!
I just love this project! You are so creative! I always purchase doileys when I am visiting antique shops and I can’t wait to go through my stash to begin assembling choices for this project. Thanks for sharing.
Thank you, Carolyn!
oh, so sweet and springy looking! I love this!
Thank you!!
Adorable and so stylish.
Your doily/embroidery craft looks just like a garden of spring flowers welcoming the sun and the birds. I just love it. You have done a wonderful job upcycling the screen and frame for a doily garden.
Thank you so much, Barbara!
Hello
I love that idea, thank you
have a nice week
Love your screen with the doily flowers.
Thank you so much, Nancy!
Omgosh! I am out the door looking for a small old window and doiles! This made me smile, so cute and clever!
Thank you so much, Scotty!
I follow a LOT of blogs and have begun loosing interest in many of them…becoming older and cranky LOL, BUT, you always, always come up with the most creative ideas!!!!! I am beginning to think of you as one of the powerhouses of the blogging world, up there with Martha (gasp!) You totally rock it, girlie
WOWOWOWOWOW, well you just made my day! I really do appreciate that, Susan, wish I could hug you in real life right now!
What a cute and fun way to brighten up an old screen. I never would of thought of this. Love how it turned out and how you added the vines and leaves connecting it all together. <3
I
Do
The same thing when I’m in a funk. I guess it good to be in one since you created such a gorgeous sign :))
Solo quiero decirle que es la primera vez que entró a su página y estoy maravillada de sus proyectos, que no solo son fáciles, sino bonitos y lucidores. Saludos.
Muchas gracias por las palabras amables. ¡Y bienvenido a mi blog!