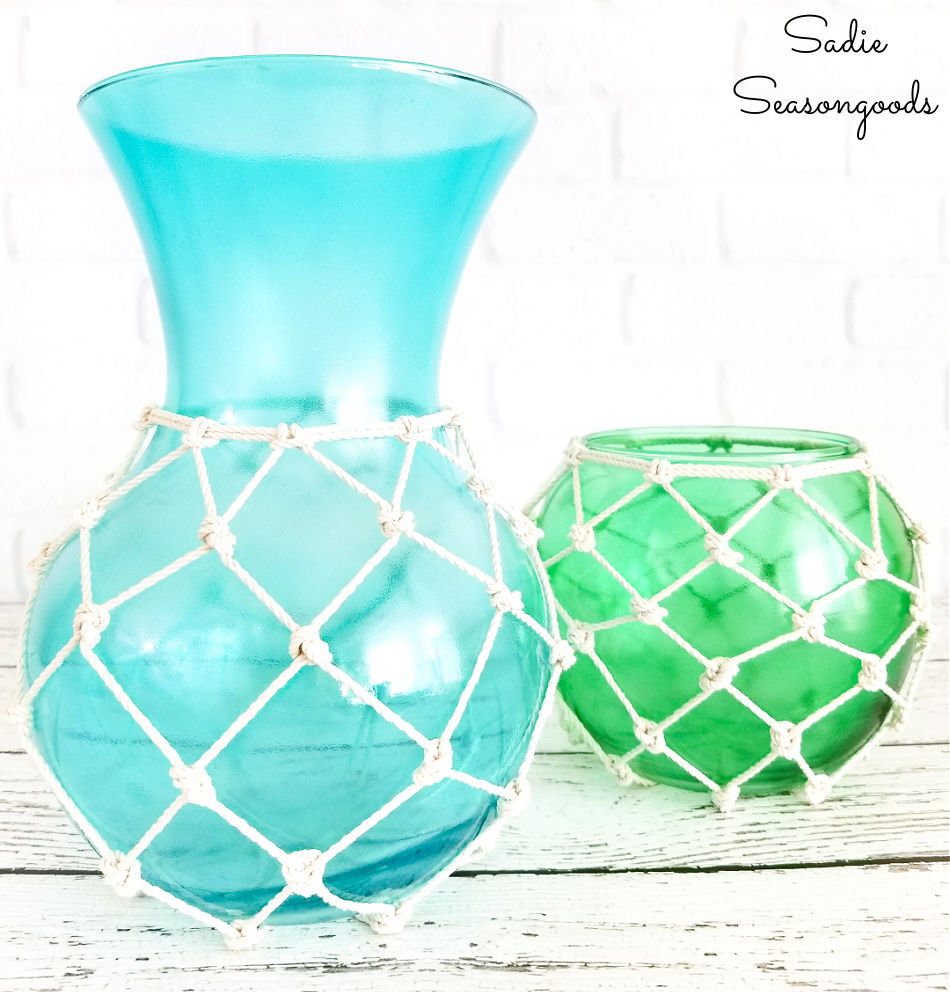
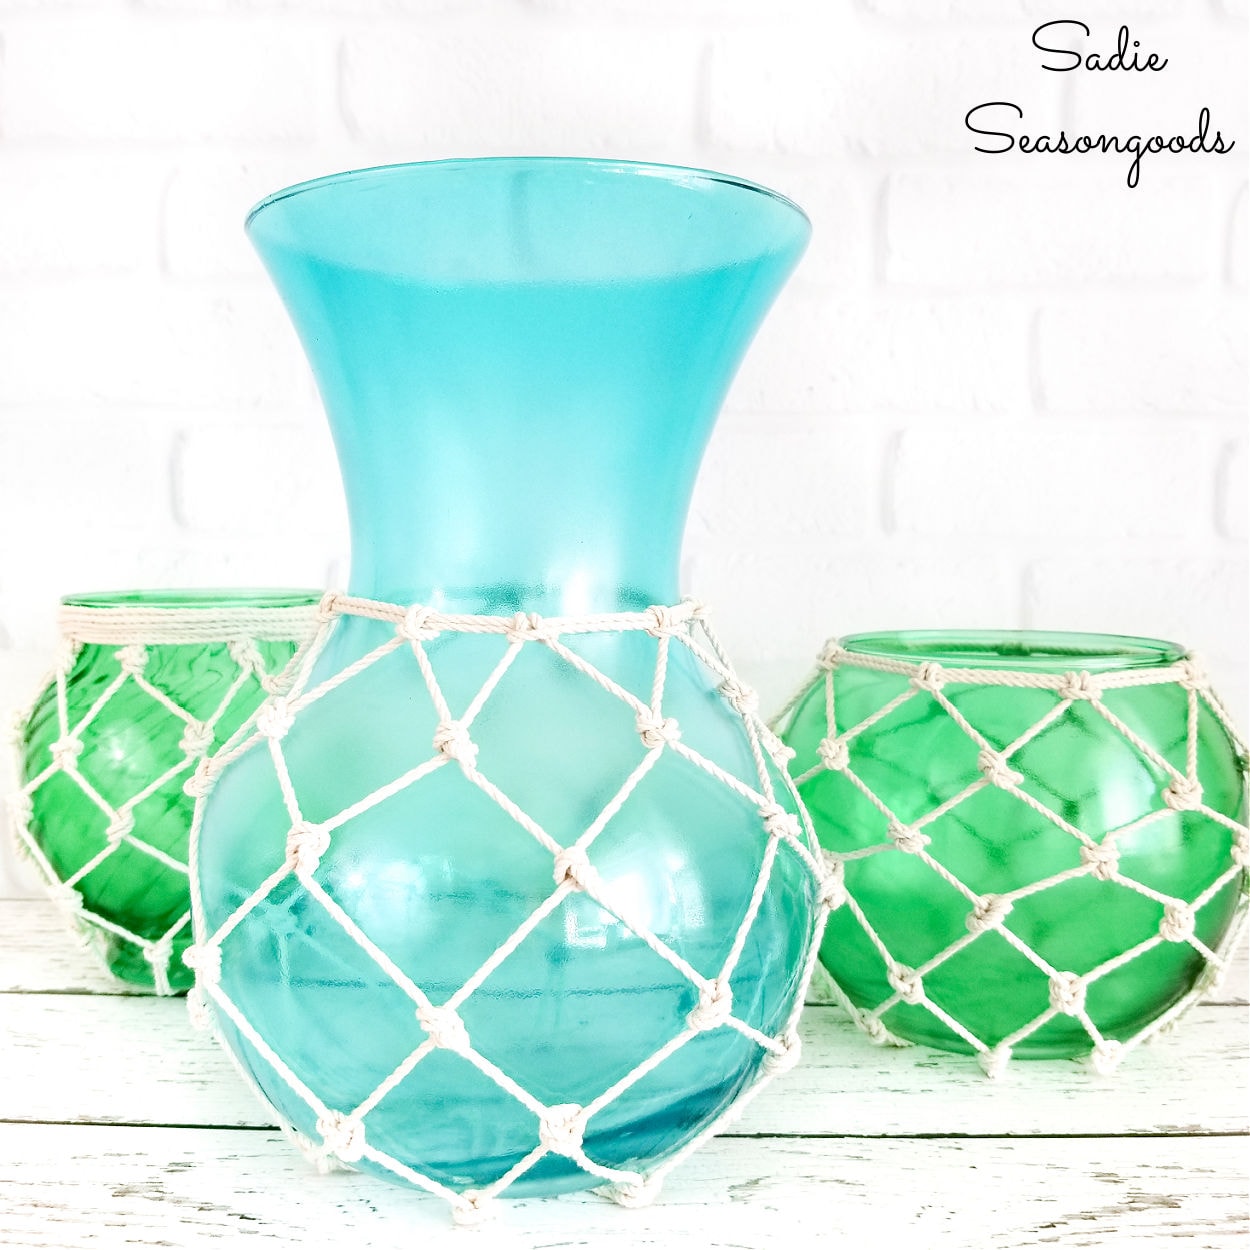
Many years ago, I published this project for glass fishing floats by upcycling some vases and bowls from the thrift store. But in the years since, the craft product I used to make these fishing floats went off the market. So, I decided to start from scratch with an even better craft paint to create a new set.
You see, I discovered a new kind of transparent glass paint when I made this demijohn vase project. It was different than the sea glass paint I had used before…
So, I gathered some more clear glass vases and bowls from the thrift store.
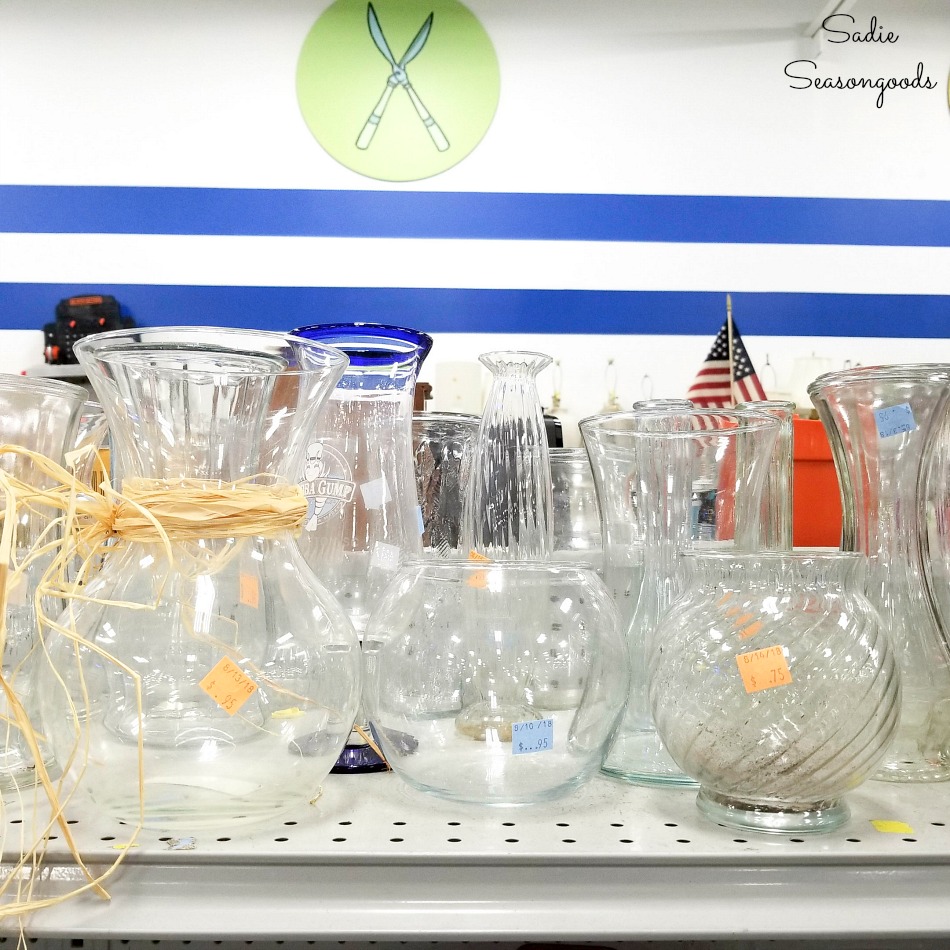
And just like that, I was ready to create a new set of glass fishing floats to use as coastal home decor!
This post contains affiliate links for your crafting convenience. As an Amazon Associate, I earn from qualifying purchases. All blue, bold, and underlined text is a clickable link, either to a product or to a related post.
Creating the Glass Fishing Floats and Making a Fishing Net
To give my glass bowls some rich, gorgeous color, I used a couple of shades of stained glass spray paint.
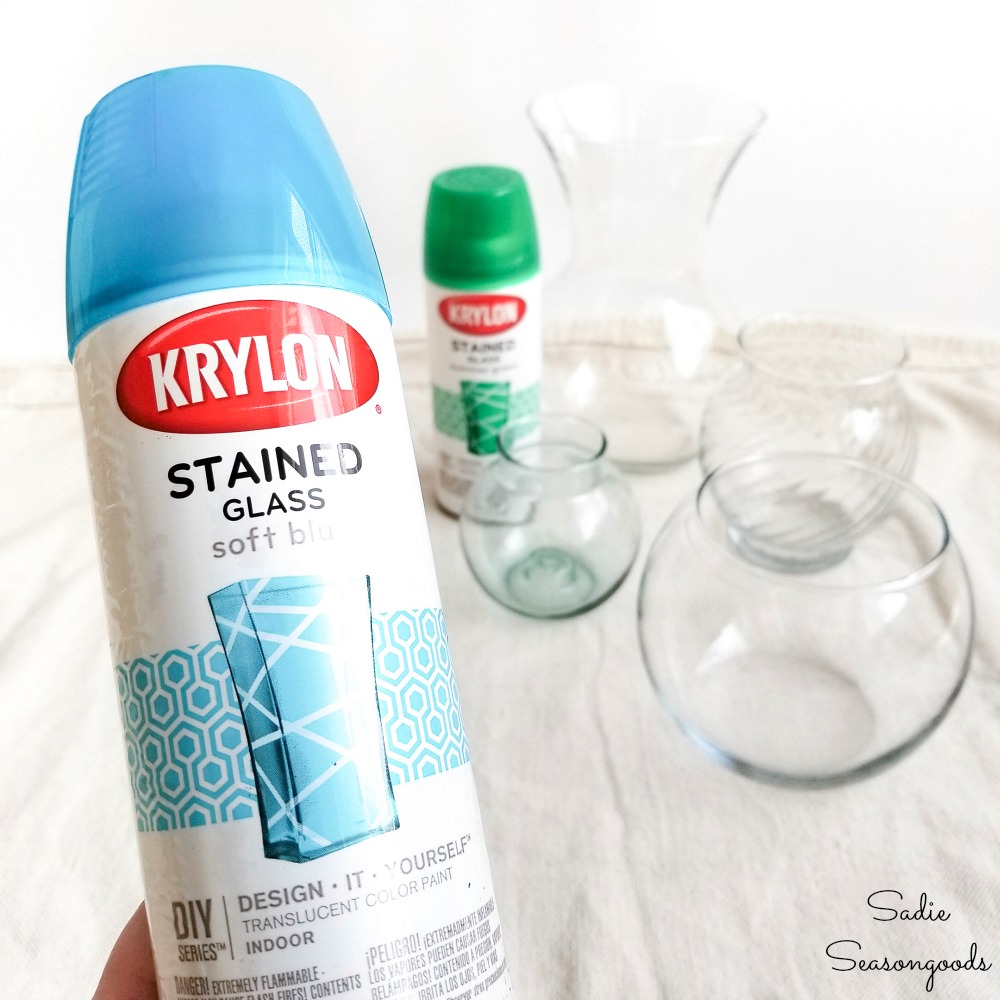
This stained glass paint was easy to use, but took several light coats to achieve rich color.
It was worth the effort, though, because look how gorgeous they look!
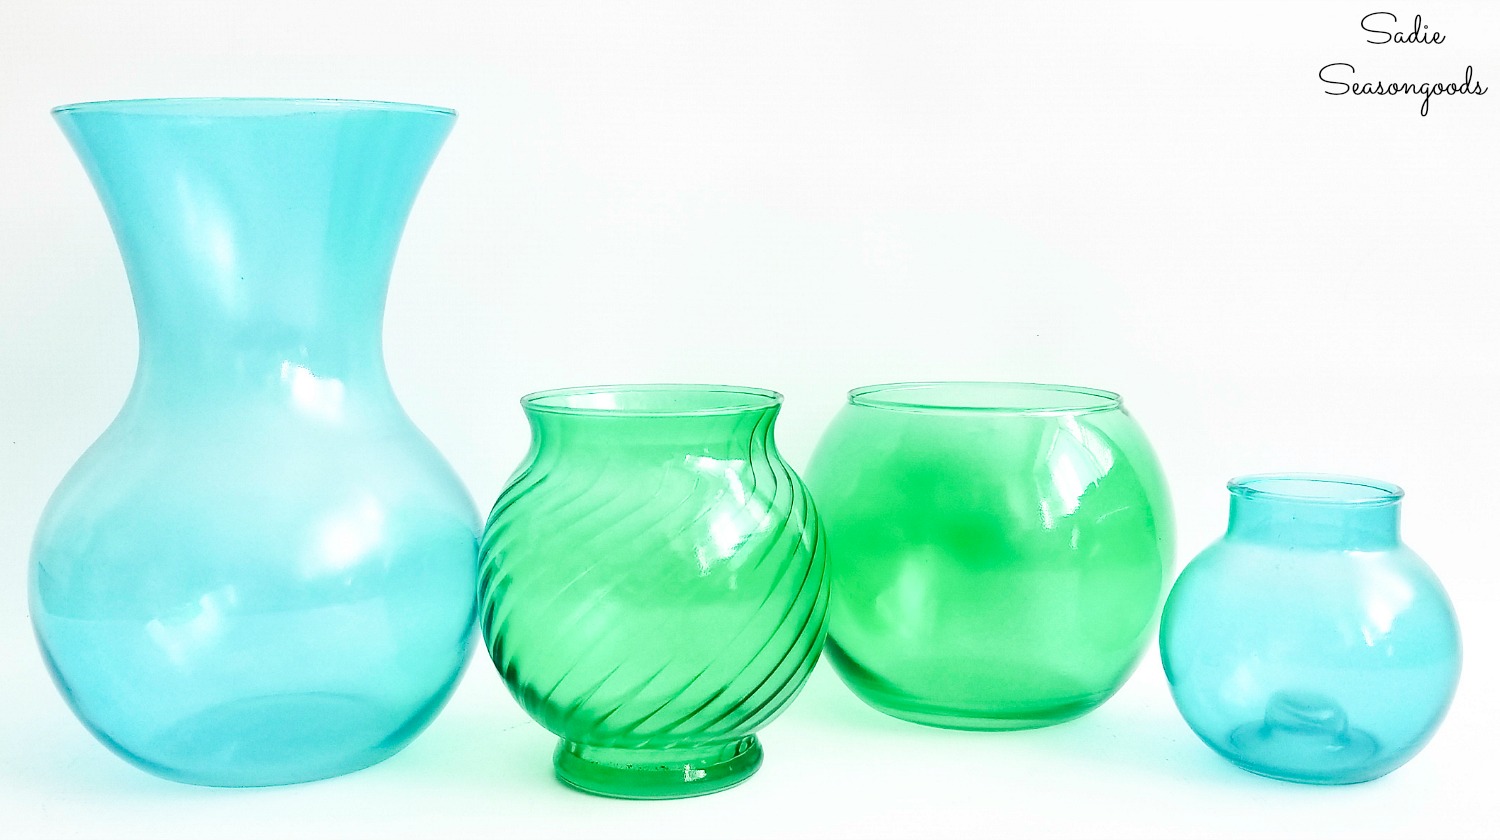
And, it’s really not that much effort- light coats dry very quickly.
Now it was time for the more tedious, but oddly satisfying, part: creating the fishing net around the glass fishing floats!
You could, I suppose, cut up existing fishing net (there are craft versions like this one).
But, I wanted to do it on my own, using household cotton twine from the hardware store.
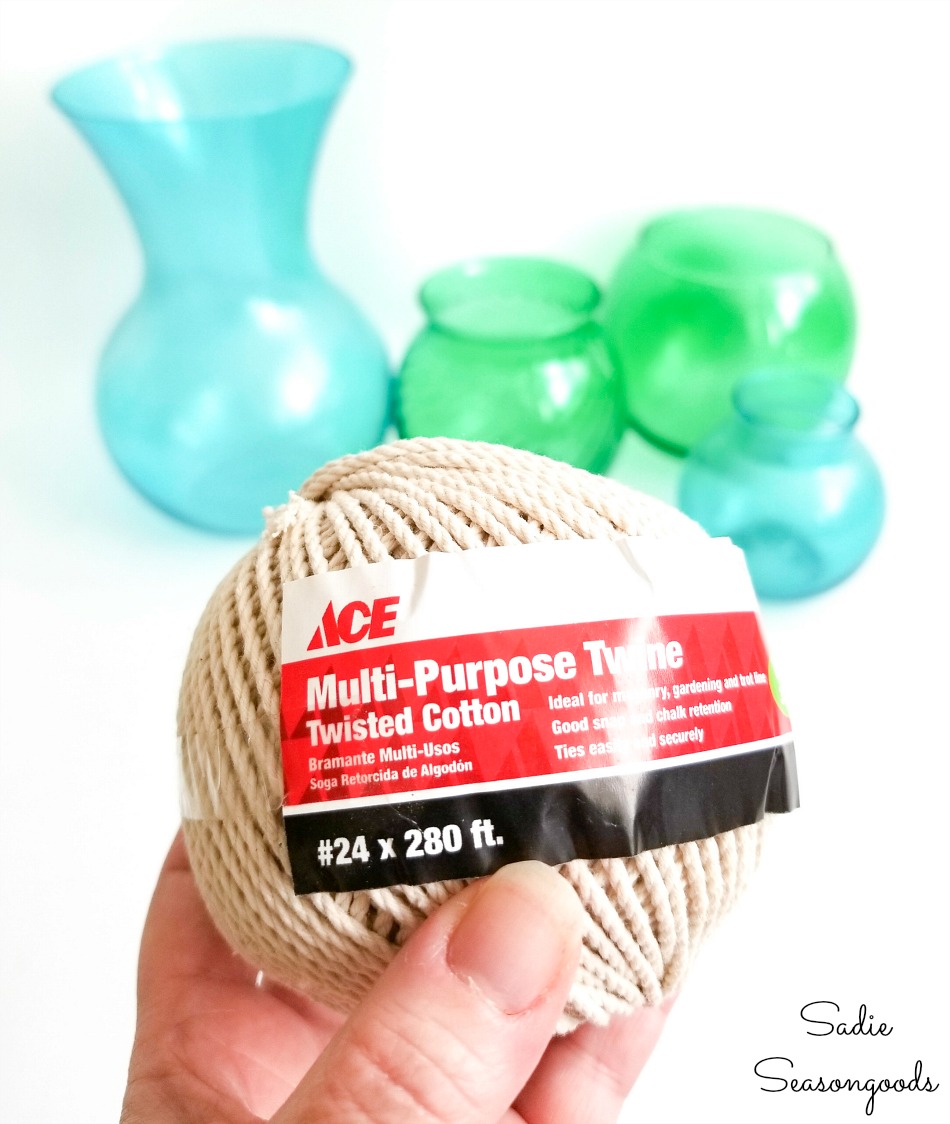
Here’s how I made the fishing net that holds the glass fishing floats. Beware, there will be LOADS of photos to show all the steps.
But I promise you, once you get the hang of it (and it really is easy), you’ll be a fishing net knotting champion.
First, I cut a long length of twine (several feet long). Then, I folded it in half, so that I had a loop end and a double-tail end.
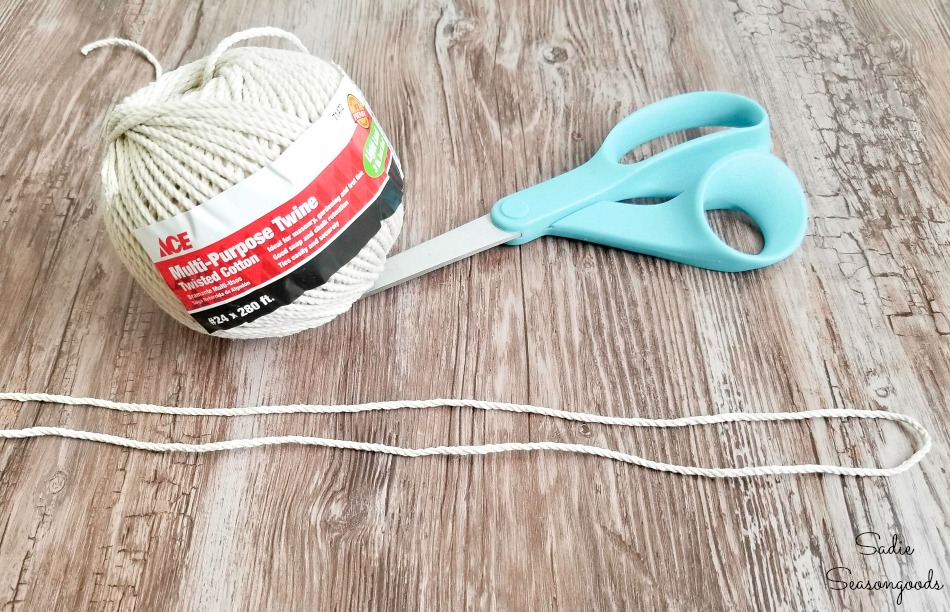
This is your “anchor”.
Next, I cut more long lengths of twine, folded them in half, and looped them around your anchor like this:
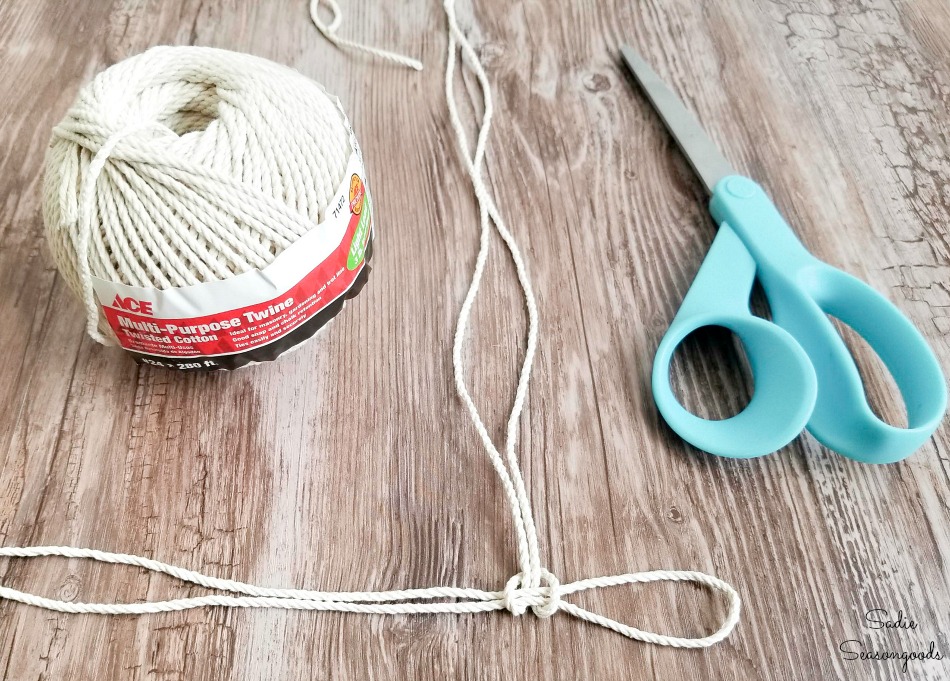
Starting the Fishing Net for Japanese Glass Floats
I did this 7 or 8 more times until I had a nice row of them along the anchor.
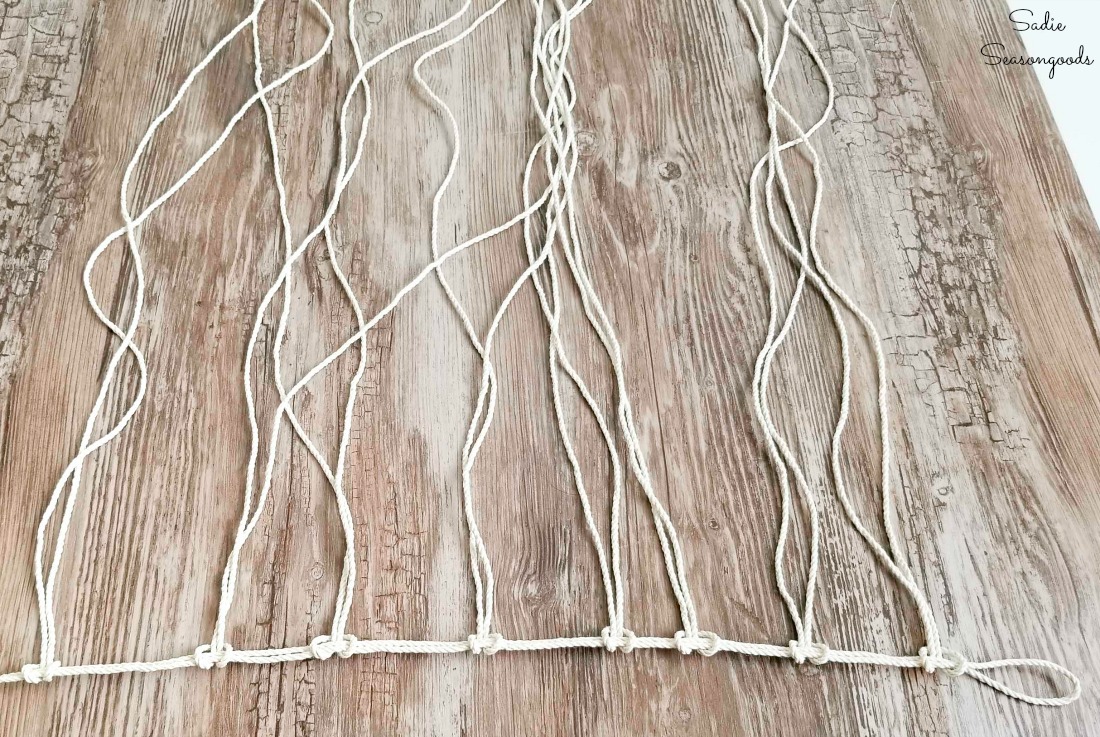
Next, I pulled the anchor tail through the anchor loop, eventually pulling tight so that the strings resembled a flower or a sea star.
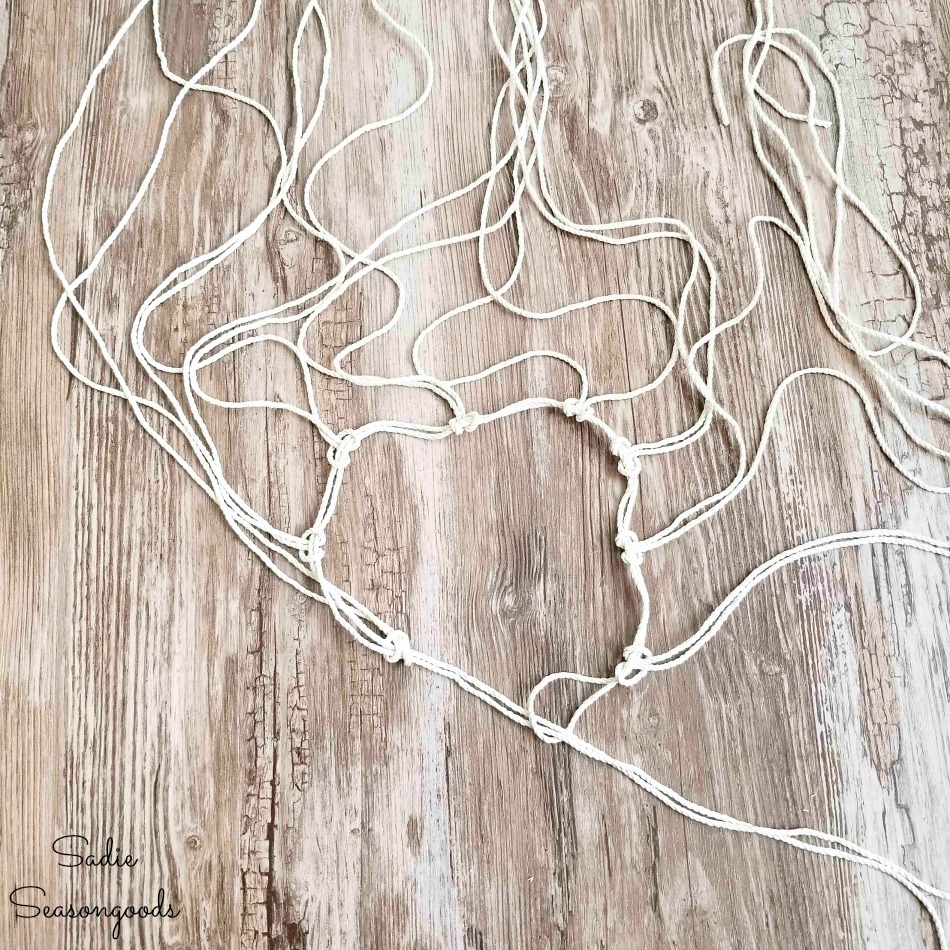
I also made sure that I didn’t pull the row of 7 or 8 tails through the loop.
This is what it should look like:
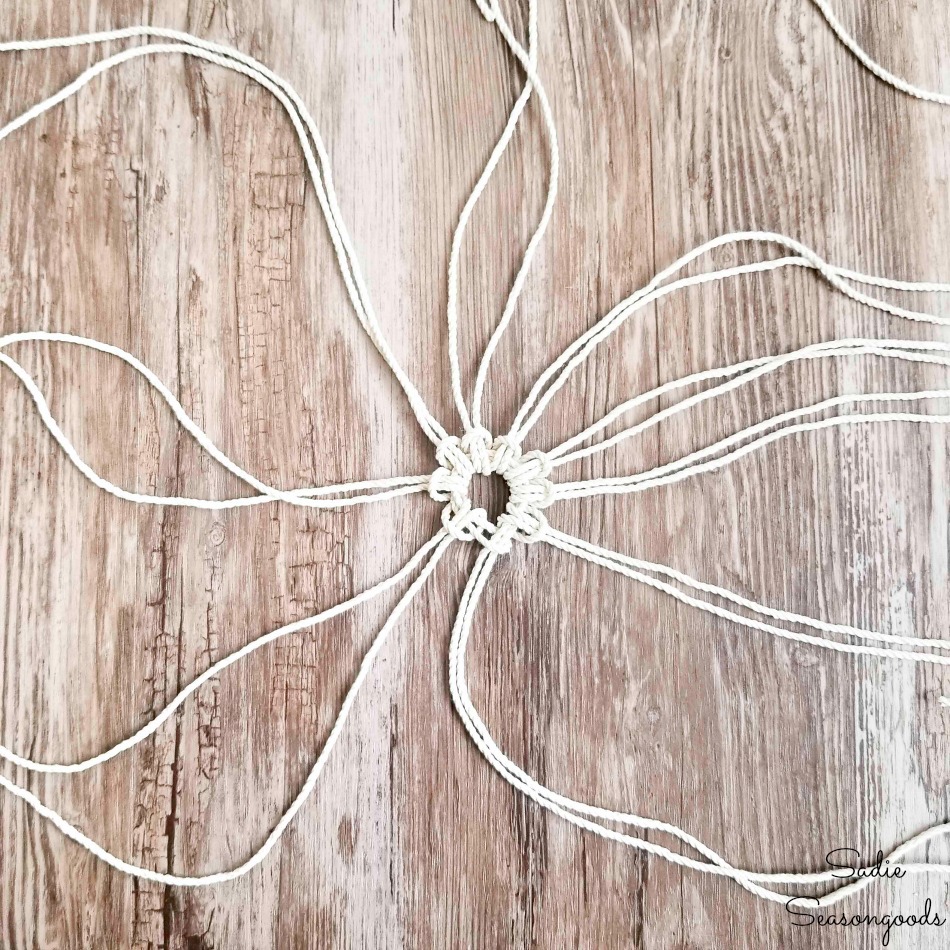
Now I was ready to start knotting the fishing net around the glass fishing floats!
First, I placed the “anchor flower” in the center of the bottom of one vase, and hot glued it in place so that it was nice and flat.
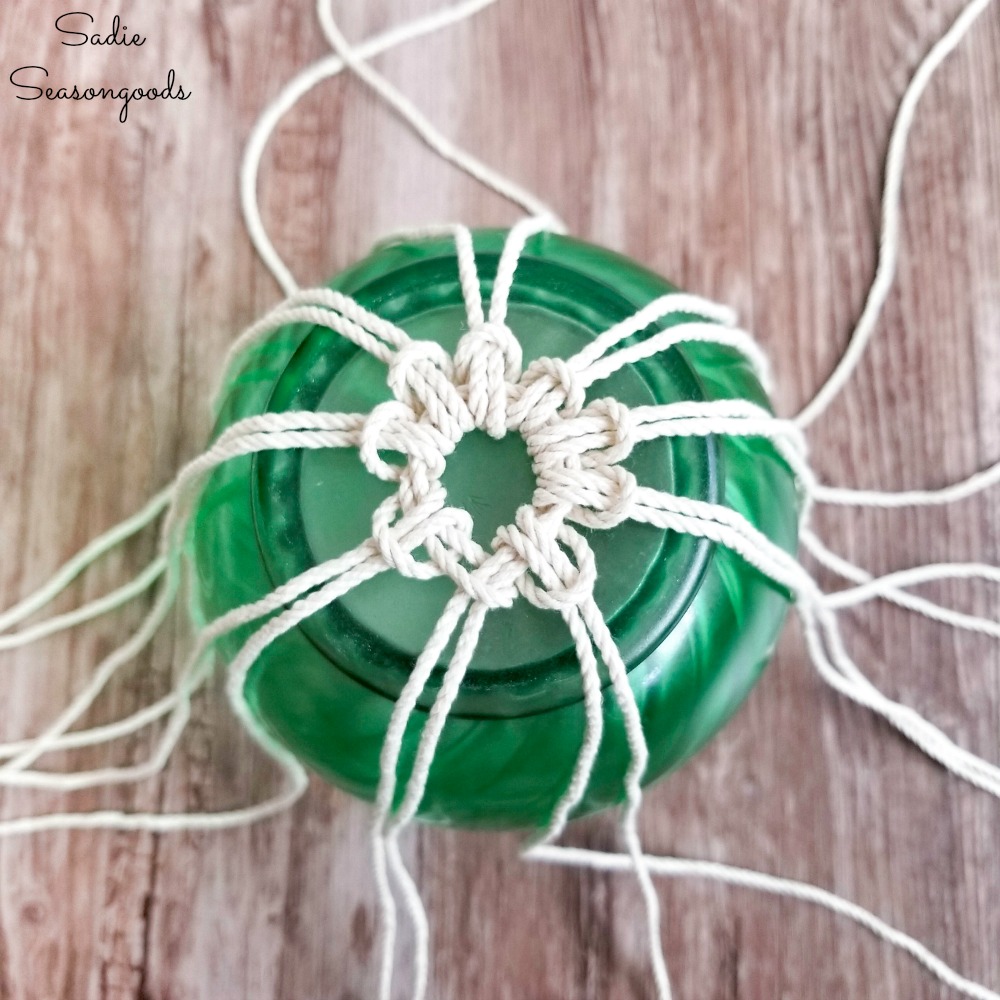
Net making required taking one tail each from two consecutive knots and knotting them around each other the way you’d tie off a balloon. So, I began doing just that.
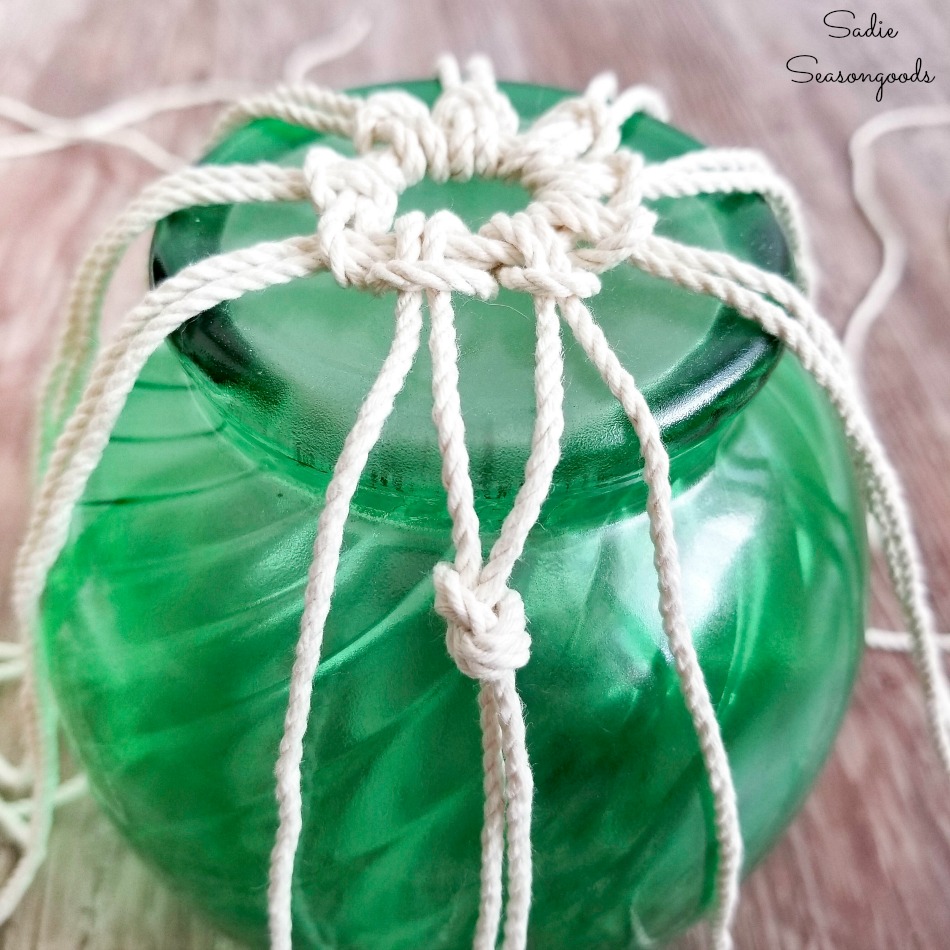
Nautical Decor with Glass Fishing Floats
I did that all the way around the vase, and then did it again with neighboring knot tails.
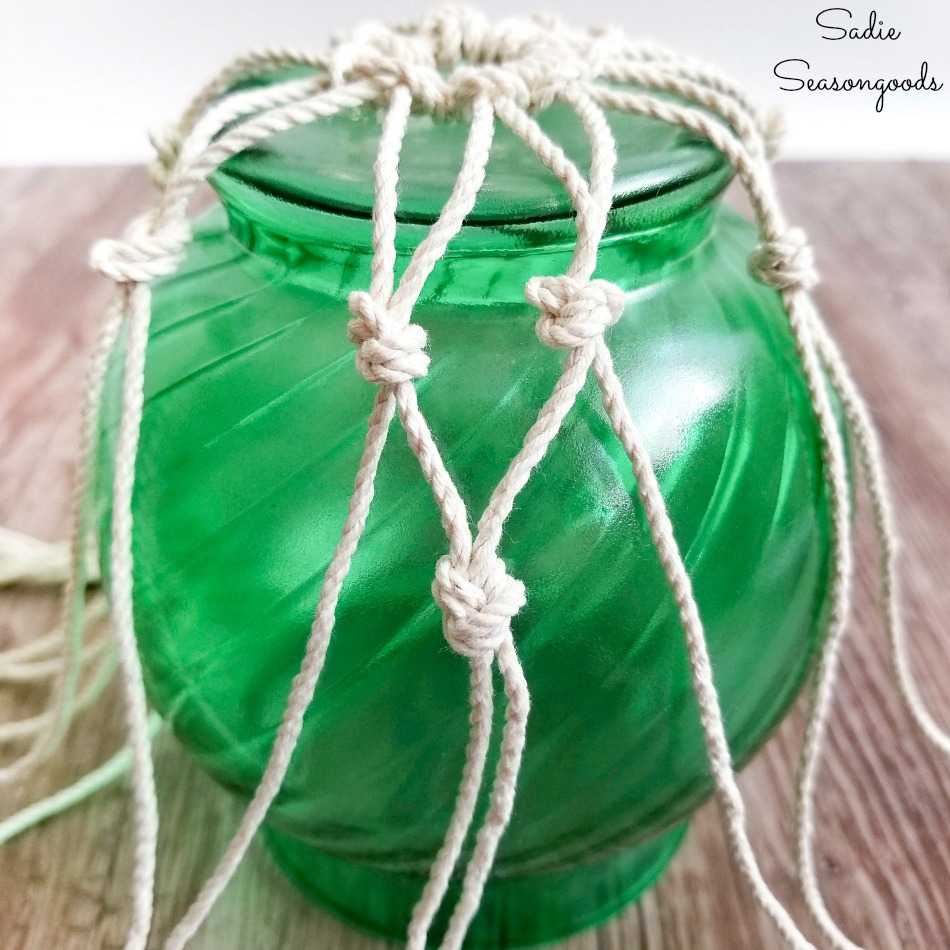
This forms the diamond pattern of fishing nets!
Very much like macrame, right? Anyway, the number of knotted “rows” depends on the size of your glass vase or bowl, but mine ended up looking like this.
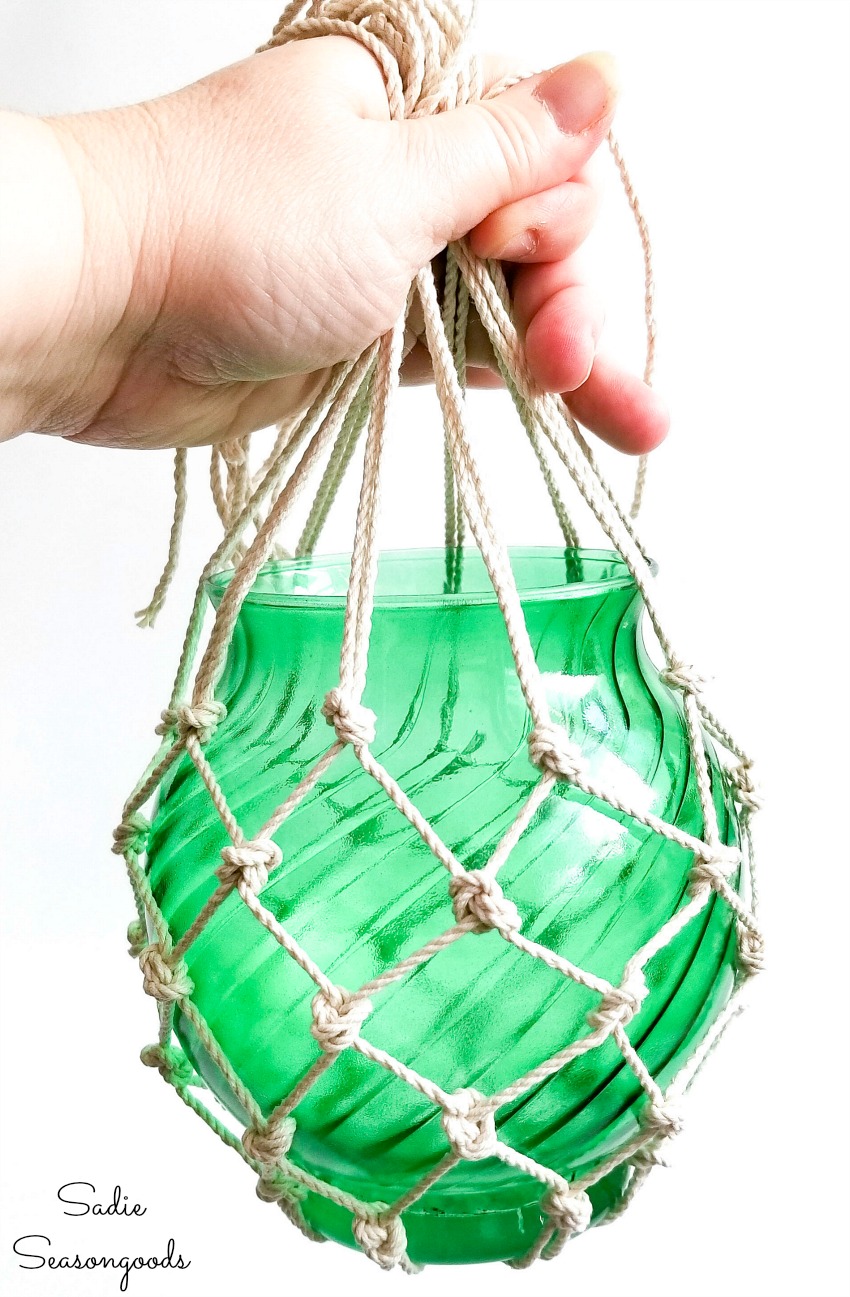
Then, I carefully added a drop of hot glue under each knot at the top of my fishing float.
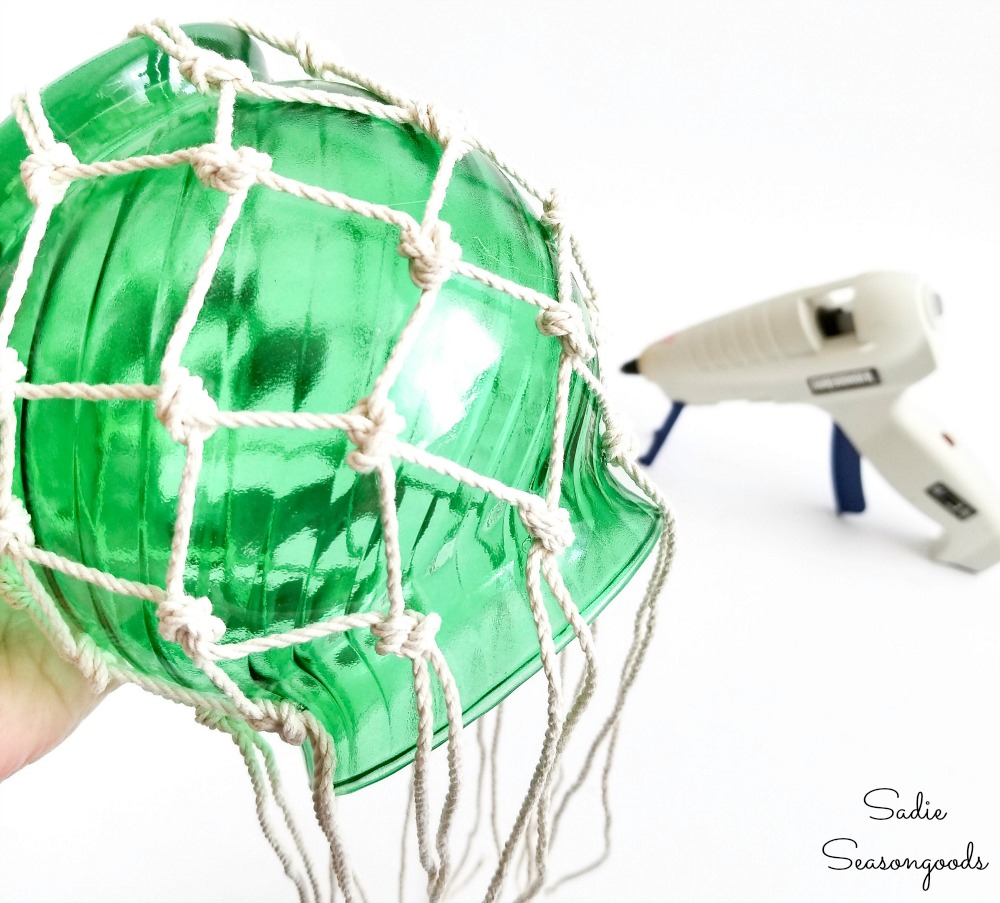
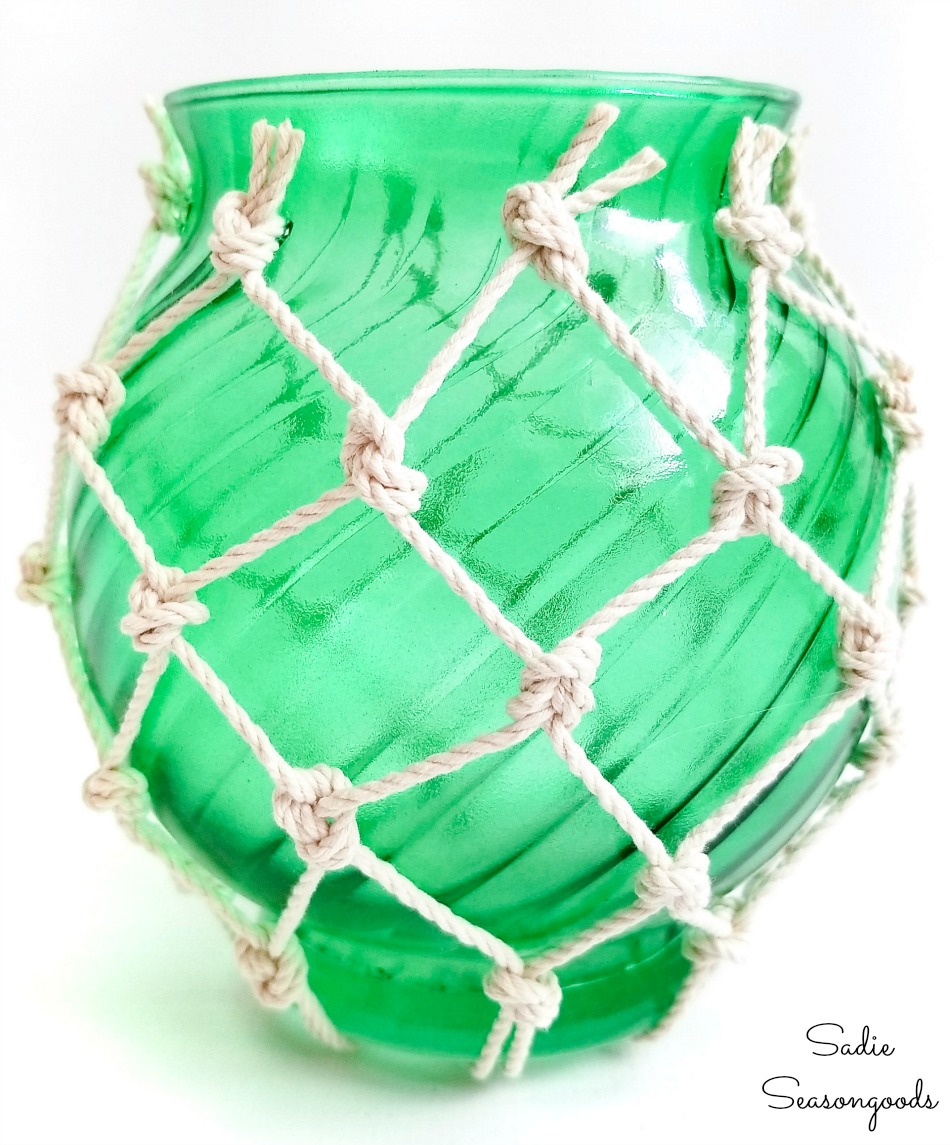
And trimmed off the excess tails…
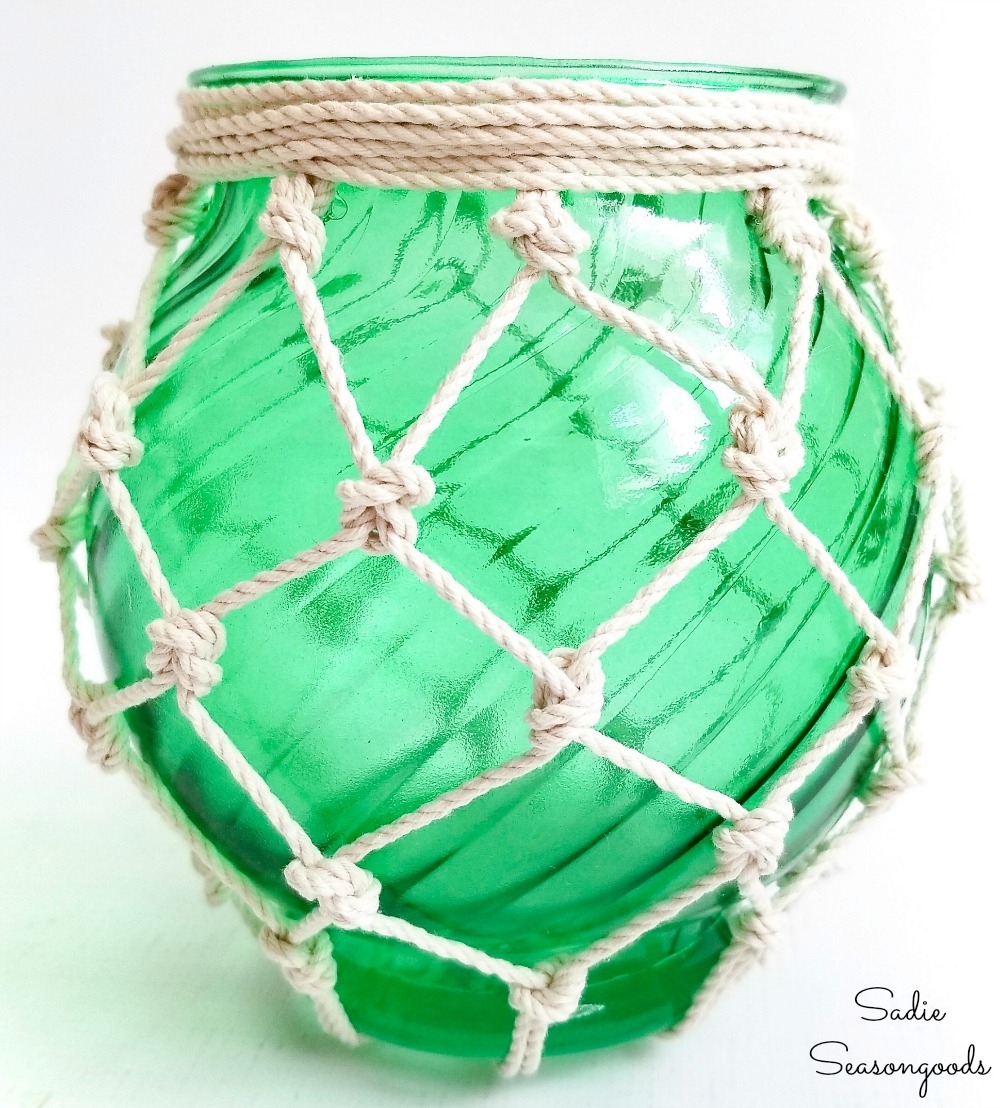
Finally, to cover up the little tails, I wound a long length of twine around the neck of my vase several times over. After that, I carefully hot glued the ends down flat and neat.
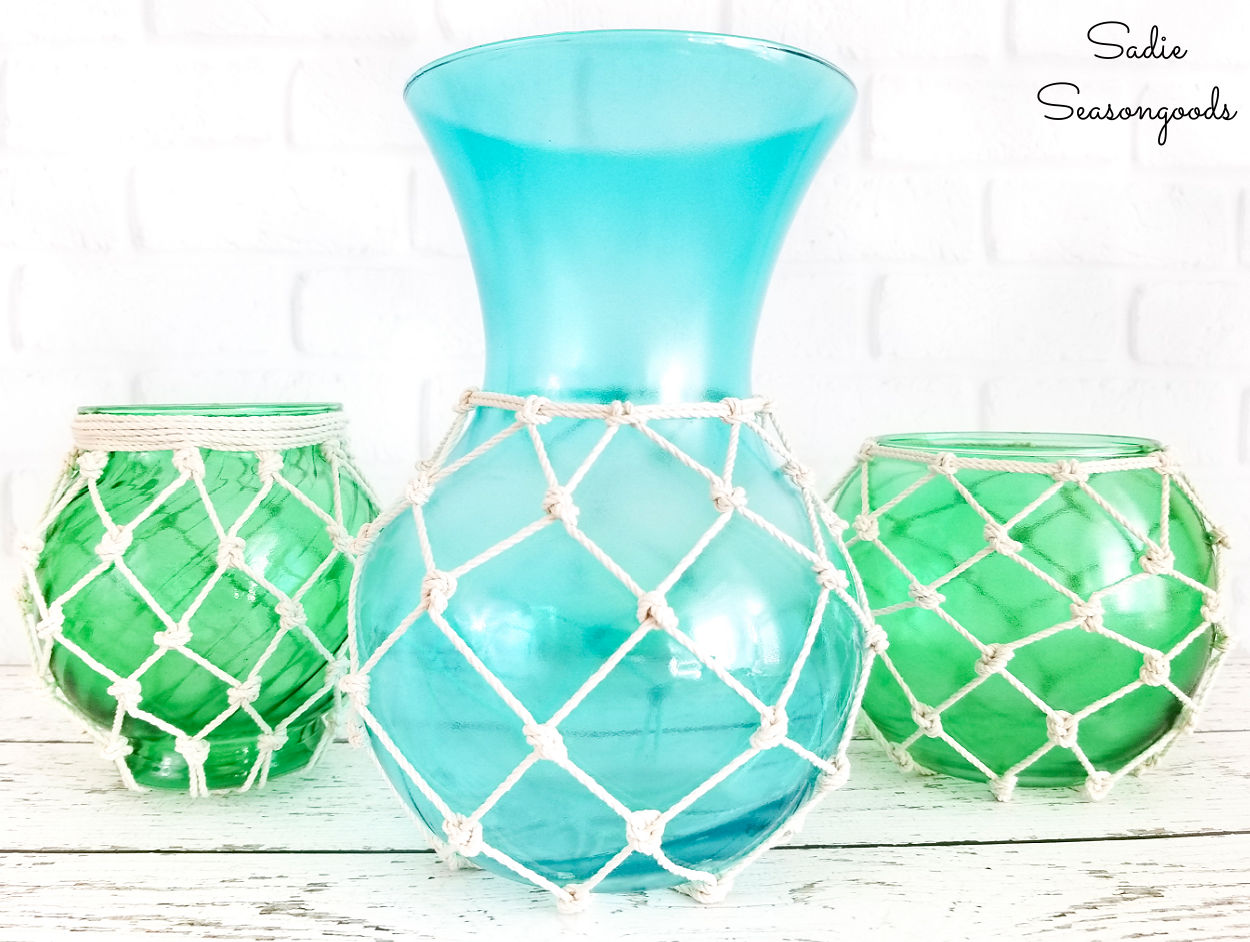
Doesn’t that look great?? Just like the glass fishing floats you see in antiques stores or home decor stores.
Fishing Floats from Thrift Store Vases
You can also alternatively wrap your anchor loop around the top of your vase, as I did with the tall turquoise one and the larger green one. It just depends on the vases and bowls you find at the thrift store!
Like I mentioned before, I found the knotting exercise to be oddly satisfying, they way embroidery is satisfying. But there may be easier work-arounds, like cutting up decorative nets.
I hope you don’t mind that I republished this- especially if you’ve been a long time friend and remember this original project post from four years ago. I just felt like it deserved a reboot once the product became obsolete!
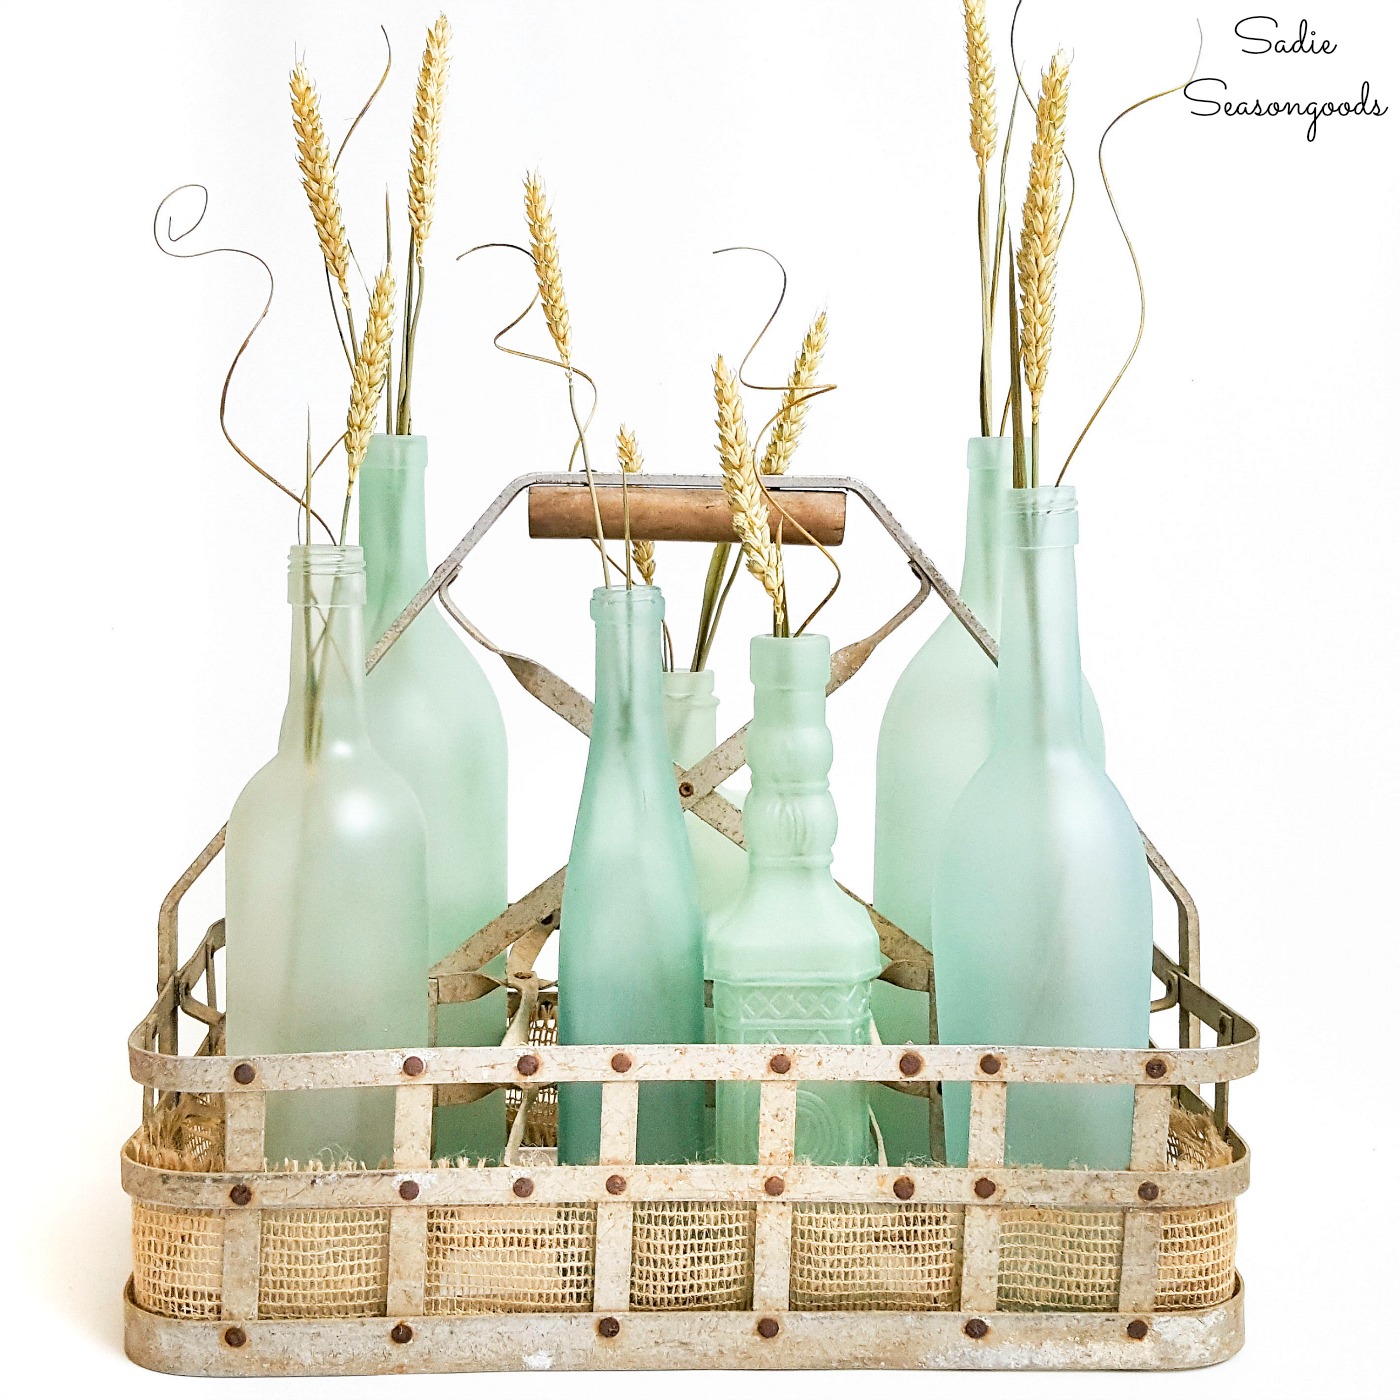
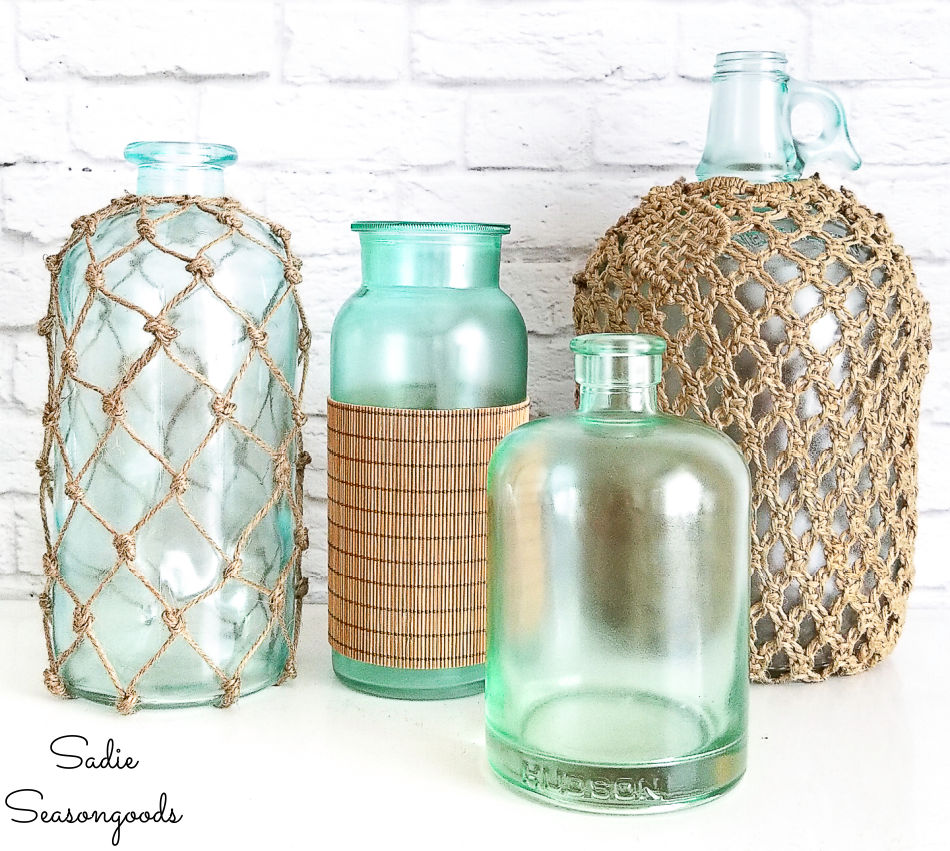
Plus, I’ve also made additional variations of coastal bottles, if you’re interested…
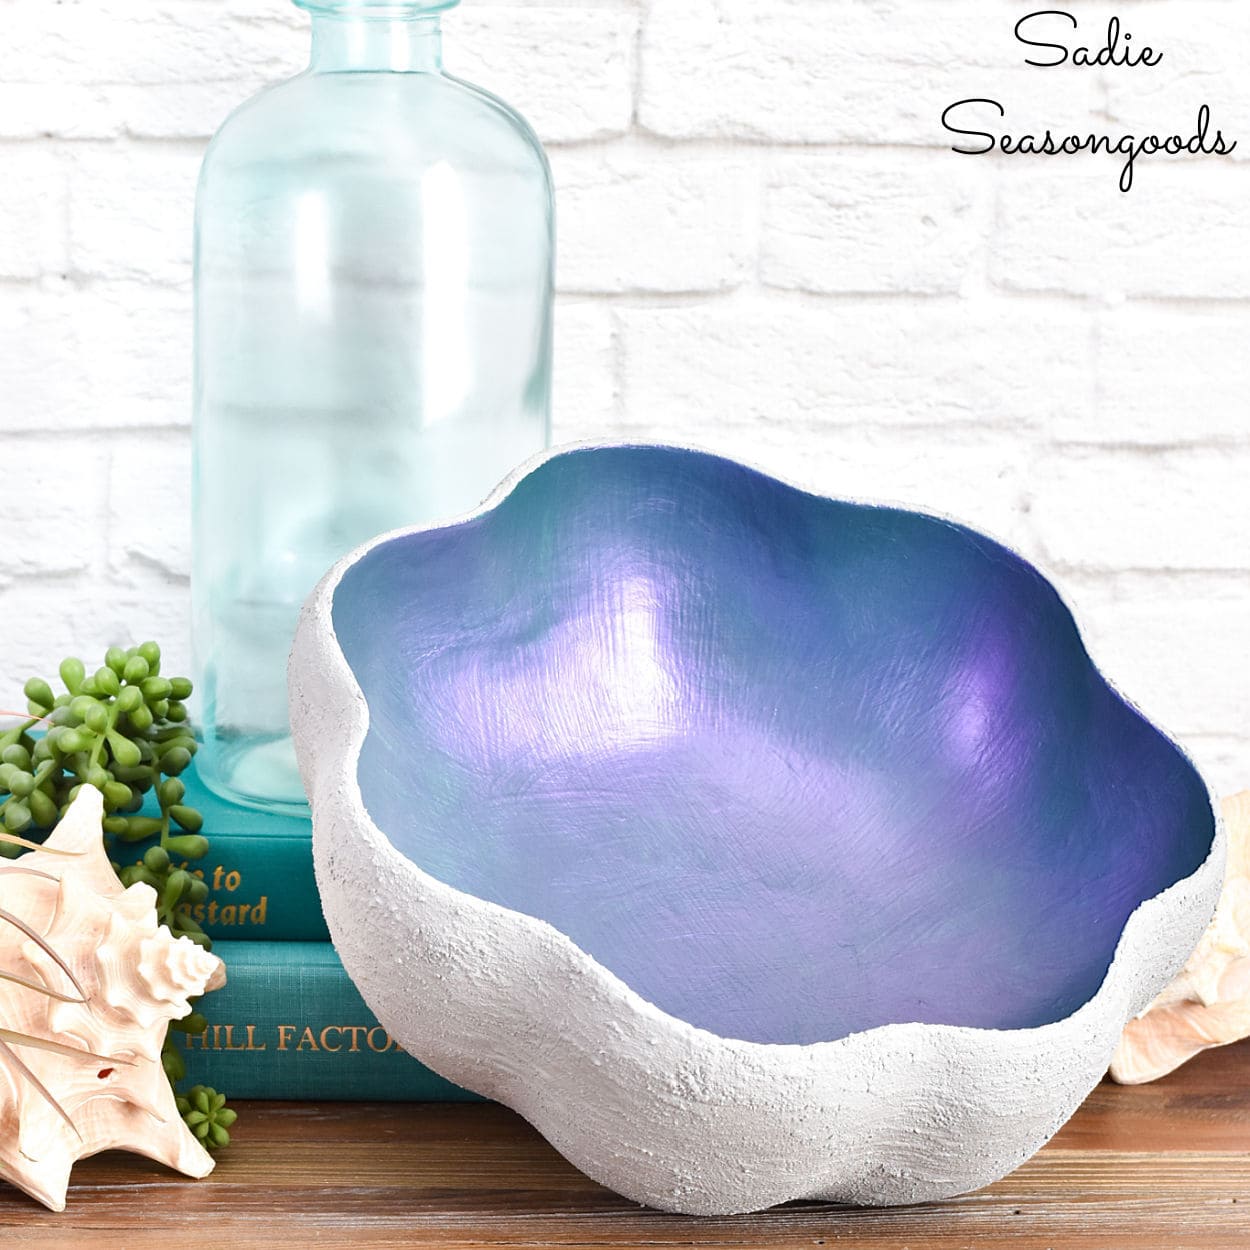
If you enjoyed this upcycling idea for coastal decor, then you may also be interested in how I made this large clam shell that started out as a wooden bowl:
And I’m also excited to announce that my first book is now available! If you love crafting with fabric, especially flannel, then you will love my book, “Crafting with Flannel”!
Craft on!
S
Want to be notified when I publish my next upcycling project tutorial?
Join me on Social Media:
PIN ME!
Sarah Ramberg is the owner of Sadie Seasongoods, a website that celebrates all things secondhand. From upcycling ideas and thrifted decor to vintage-centric travel itineraries, Sadie Seasongoods is a one-stop shop for anyone who loves thrifting and approachable repurposing ideas. Sarah is also the author of “Crafting with Flannel” and has been featured in numerous media outlets and magazines.


Nice. I managed to buy some real floats at an estate sale. They didn’t come with the netting over them.
Well, luckily it’s easily enough to DIY some fake netting over them if you want…although I’m sure they’re quite gorgeous on their own!
Love this! I am planning on trying this as I love the finished product!
Awesome, Michelle- let me know how yours turn out!
Super great idea! I love the color too! Super fun. They would also make cute little vases. They would look just perfect with fun flowers. 🙂 I am pinning this to my DIY for 2014 board!
Thank you so much!
How crafty and a great tutorial on how to do a mock fish net around the glass. Thanks for sharing on Merry Monday. Pinned.
Thanks for the shout-out and feature!! I grabbed a button. 🙂
This is such a cute craft! I love it!
-Lara
Well, I didn’t know you in 2014, so I appreciate this!! THANK YOU! I absolutely love your blog!
Thank you so, so much, Heidi!!
I have a jar on my table (that I received as a gift) that is this style. I’ve been studying the netting for ages trying to figure out the best way to do it myself. You’ve solved that for me! Thanks for the tutorial!
You are so very welcome, Hope!! Let me know how it goes for you- it’s not as intimidating as it might appear, I promise!
I do remember this project, but how could we possibly mind that you republished this? It’s better than ever, so THANK YOU 🙂 I’ve always wanted to try my hand at fish net and never got around to figuring it out so you’ve saved me so much time – lol! I can think of so many other applications!
Haha, thank you, Sara!
These are so pretty and they don’t look to awfully hard to make. Perfect for making some pretty beachy decor!
I tried this with some glass bottles, I put little fake flowers in them and hung them up, they look like lovely little terrariums in my room
Ohhh, I bet they are ADORABLE, Sophie!!
What a fabulous upcycle so pretty
I’ve made these dozens of times since your post….I use pretty liquor bottles that I clean and paint with coastal colors. I net them with different cords, jutes or yarn depending on the color of the bottle. I give them as presents to people and everyone loves them. I’ve become quite the “netter” and you’re right; it is wonderfully satisfying! Thanks for your posts!
Krista
I absolutely LOVE hearing that, Krista!! Thank you for sharing that with me- made my day!