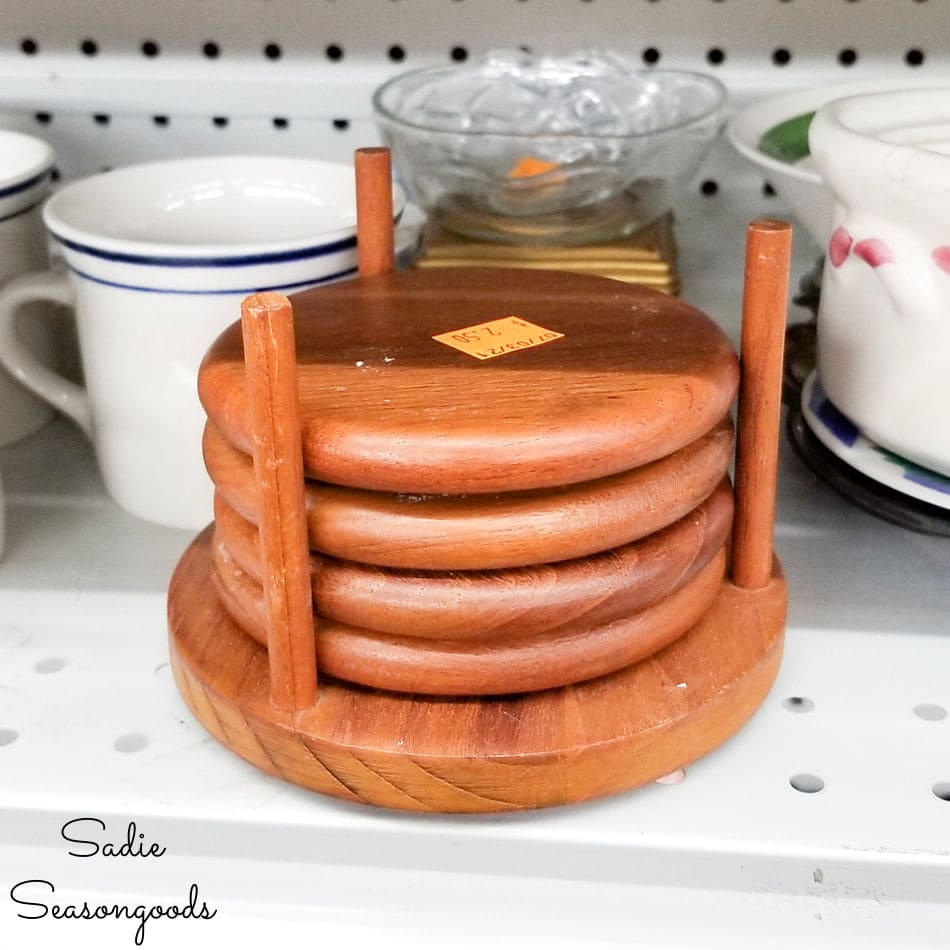
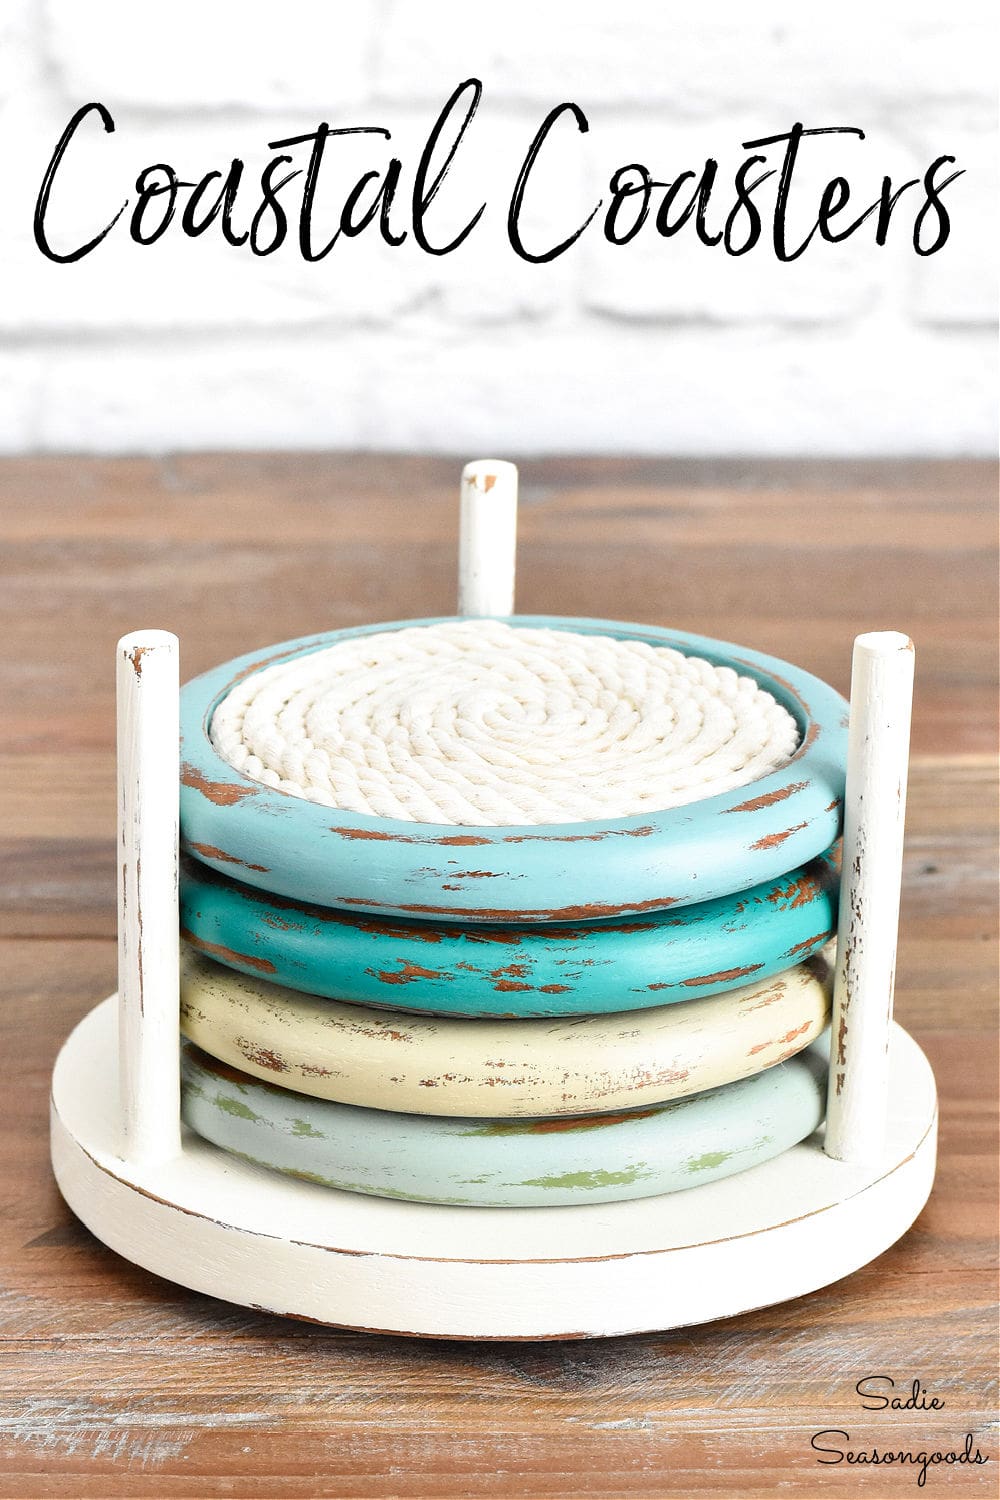
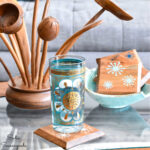
Even though it’s mid-August and all things pumpkin are on my mind, I thought I’d squeeze out another summer-inspired project this year. When I spotted these vintage coasters at the thrift store, I immediately envisioned giving them a beachy makeover. Besides, the idea of using the term “coastal coasters” in a blog post was too cute to pass up.
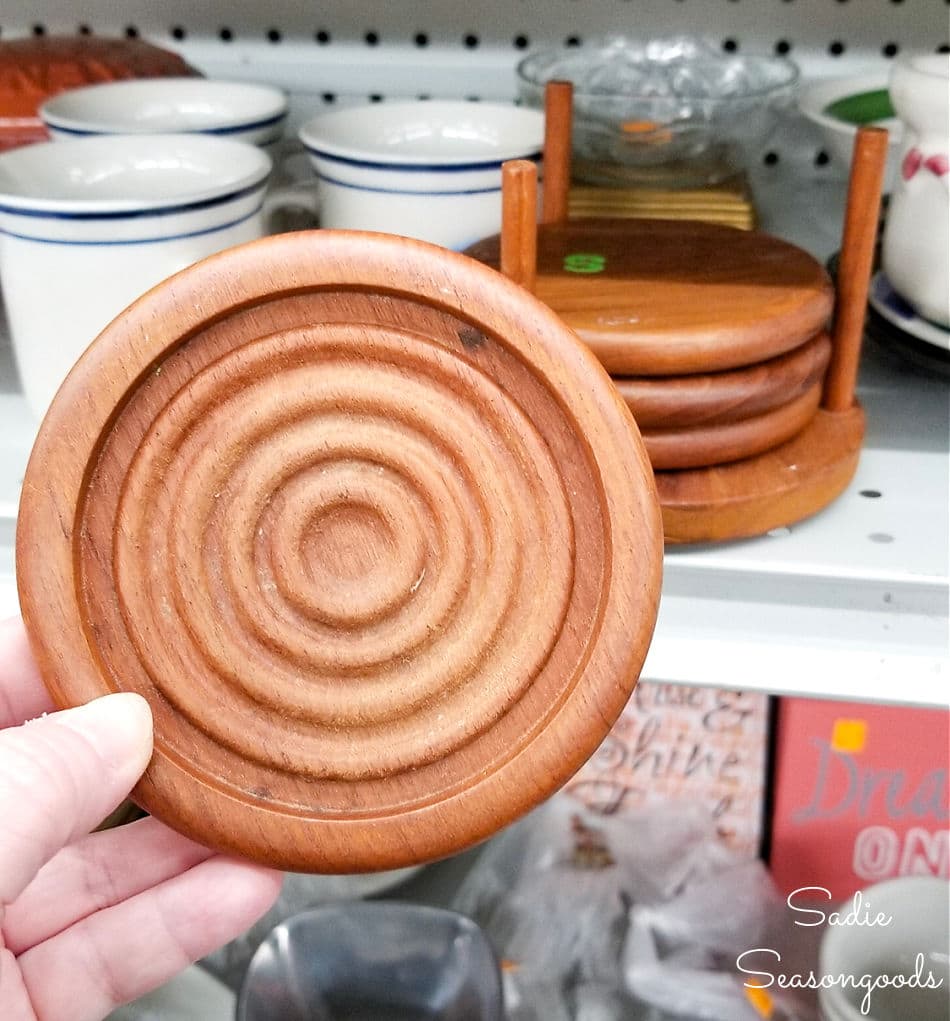
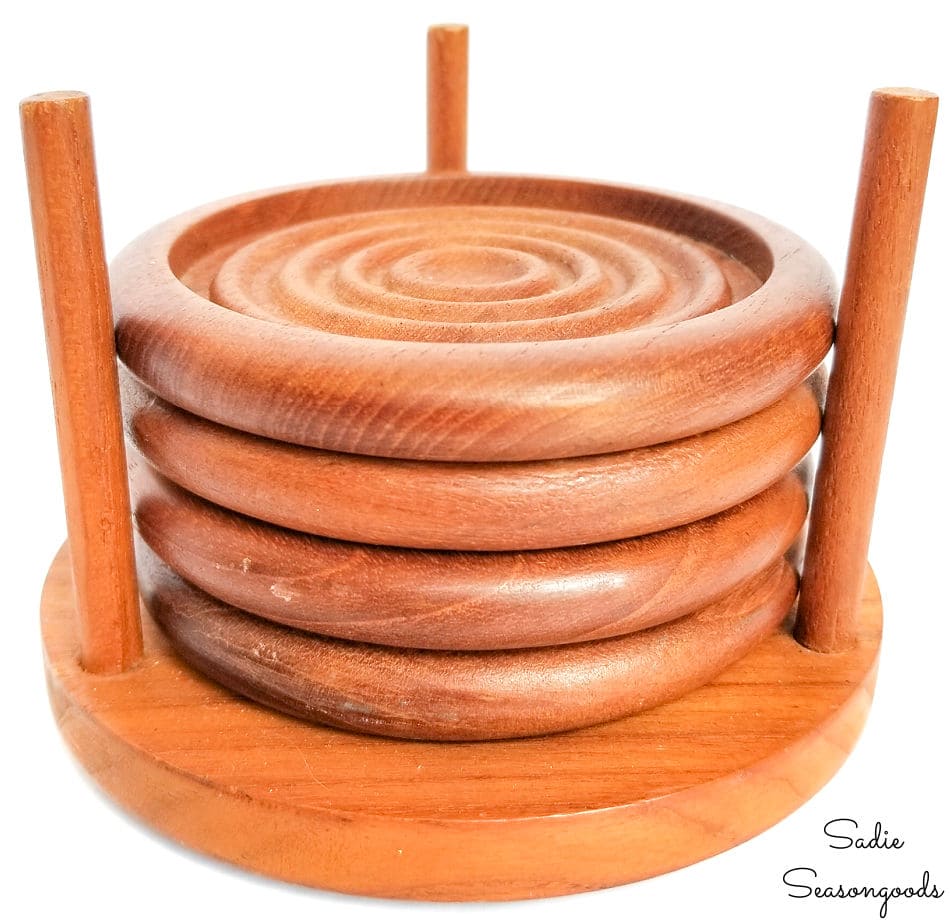
When I picked up one of the coasters, it had this great bull’s eye design on it. The carved-out space was begging to be filled in somehow, and I had an idea that I decided to try out.
This post contains affiliate links for your crafting convenience. As an Amazon Affiliate, I earn from qualifying purchases. All blue, bold, and underlined text is a clickable link, either to a product or to a related post.
Chalk Paint Makeover with Coastal Paint Colors
I love the look of heavily distressed paint on coastal items. Having lived near the coast for a big chunk of my life, it’s a very realistic finish on painted items.
Plus, since this set of vintage coasters seemed to be missing a coaster or two, I really didn’t have any qualms about painting them.
And if I wanted to heavily distress a paint job, my regular latex or acrylic go-to paints wouldn’t cut it. Chalk paint in coastal colors (and this color, too) made the most sense, so I bought a few of them to play around with.
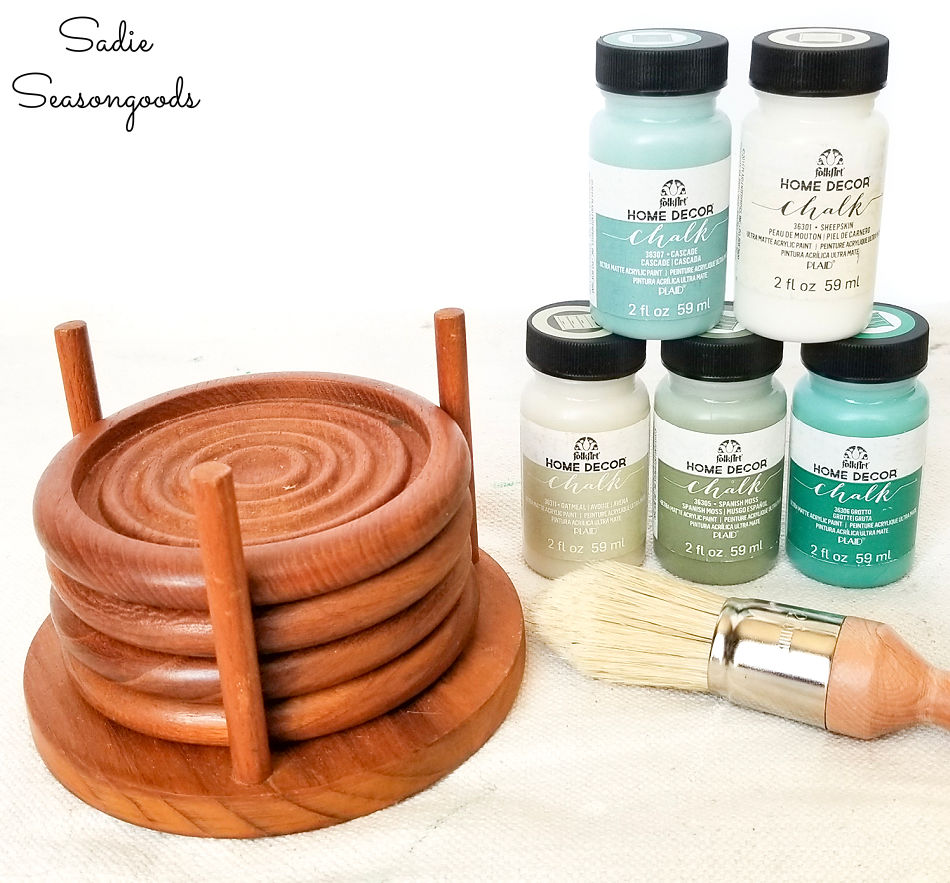
And yes, chalk paint can be expensive! But the craft paint brands make their own versions in small, 2-ounce bottles. Inexpensive AND perfect for non-furniture makeovers like this.
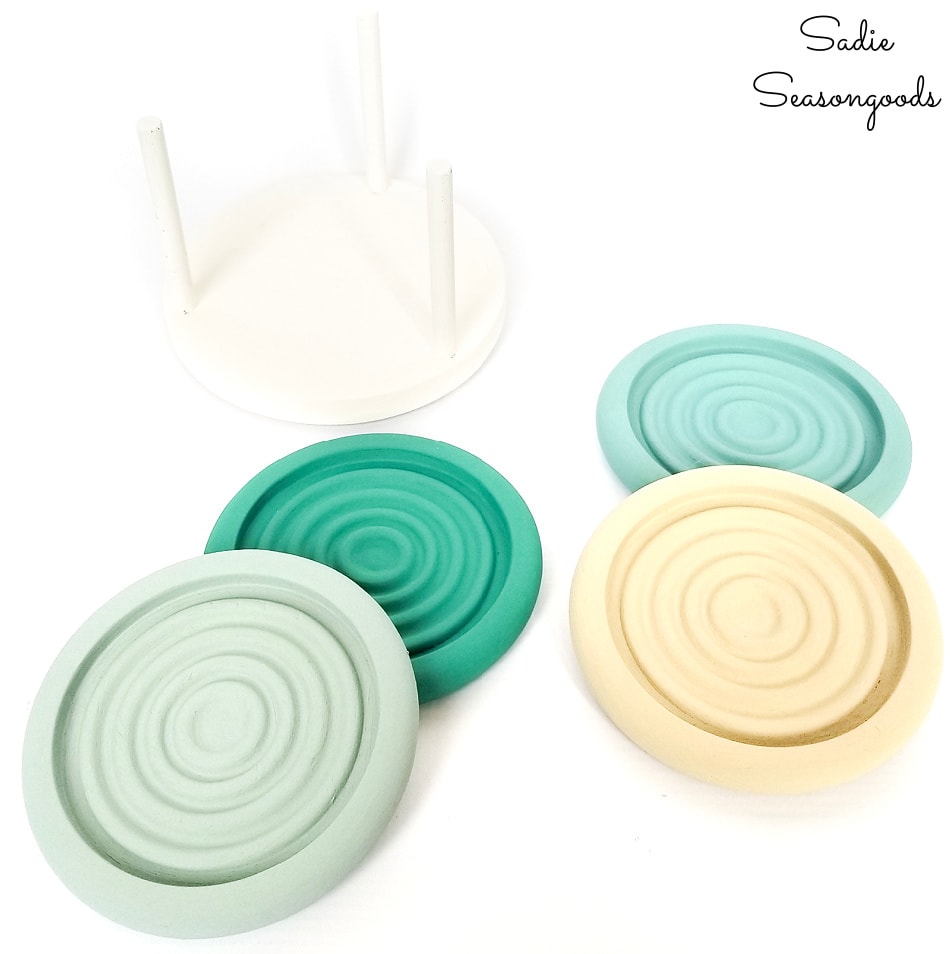
First, I gave each coaster and the holder two coats of chalk paint.
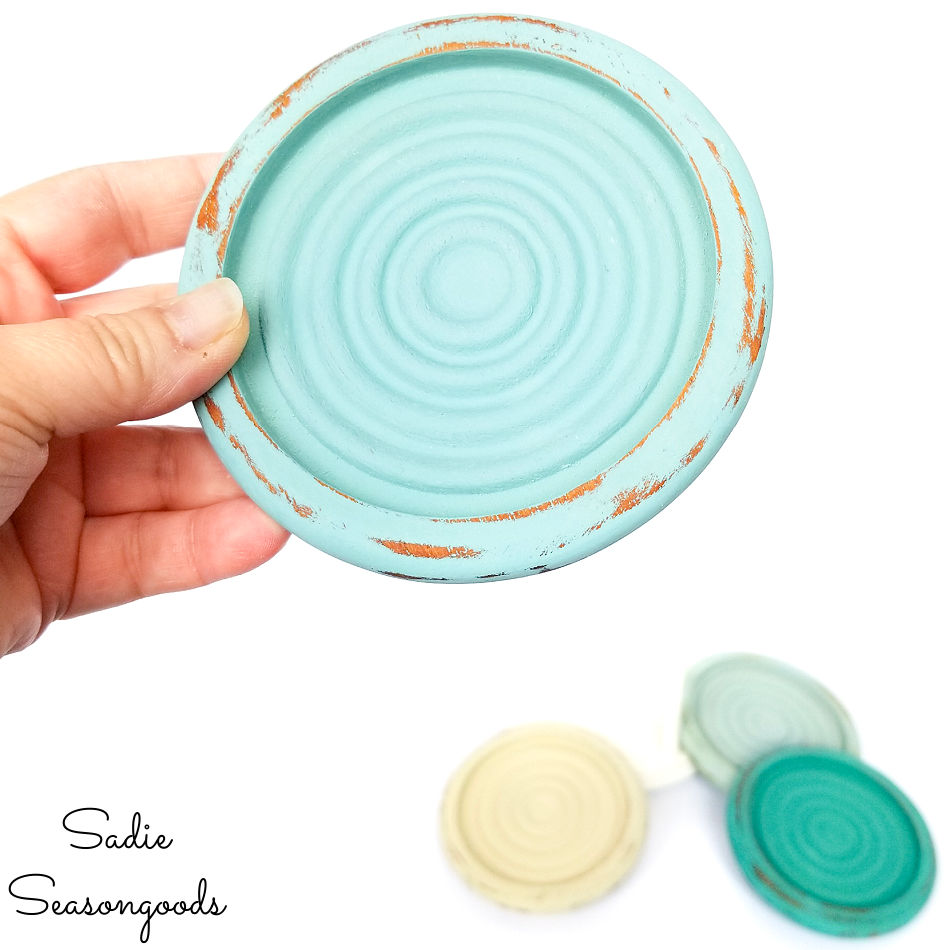
Then, I distressed everything with 220-grit sandpaper. This removed the gritty texture of the paint and allowed the natural wood to peek through.
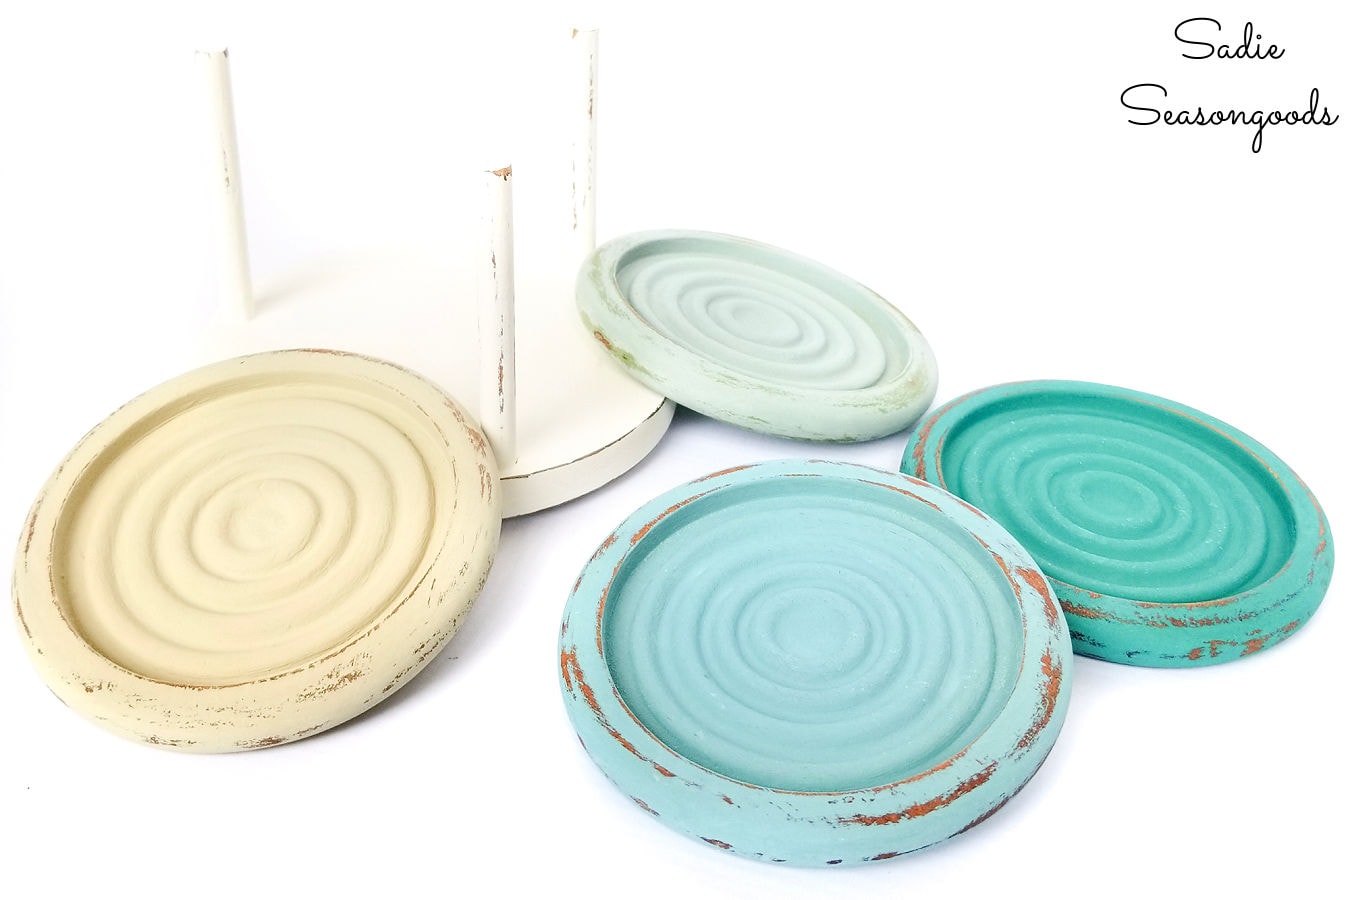
I didn’t, however, worry about distressing the “bull’s eye” interior, since I planned to cover it up!
Adding Twine to Coastal Coasters
Next, I wiped away any chalk dust from the sanding and buffed on some clear wax (to the entire coaster) to seal the chalk paint.
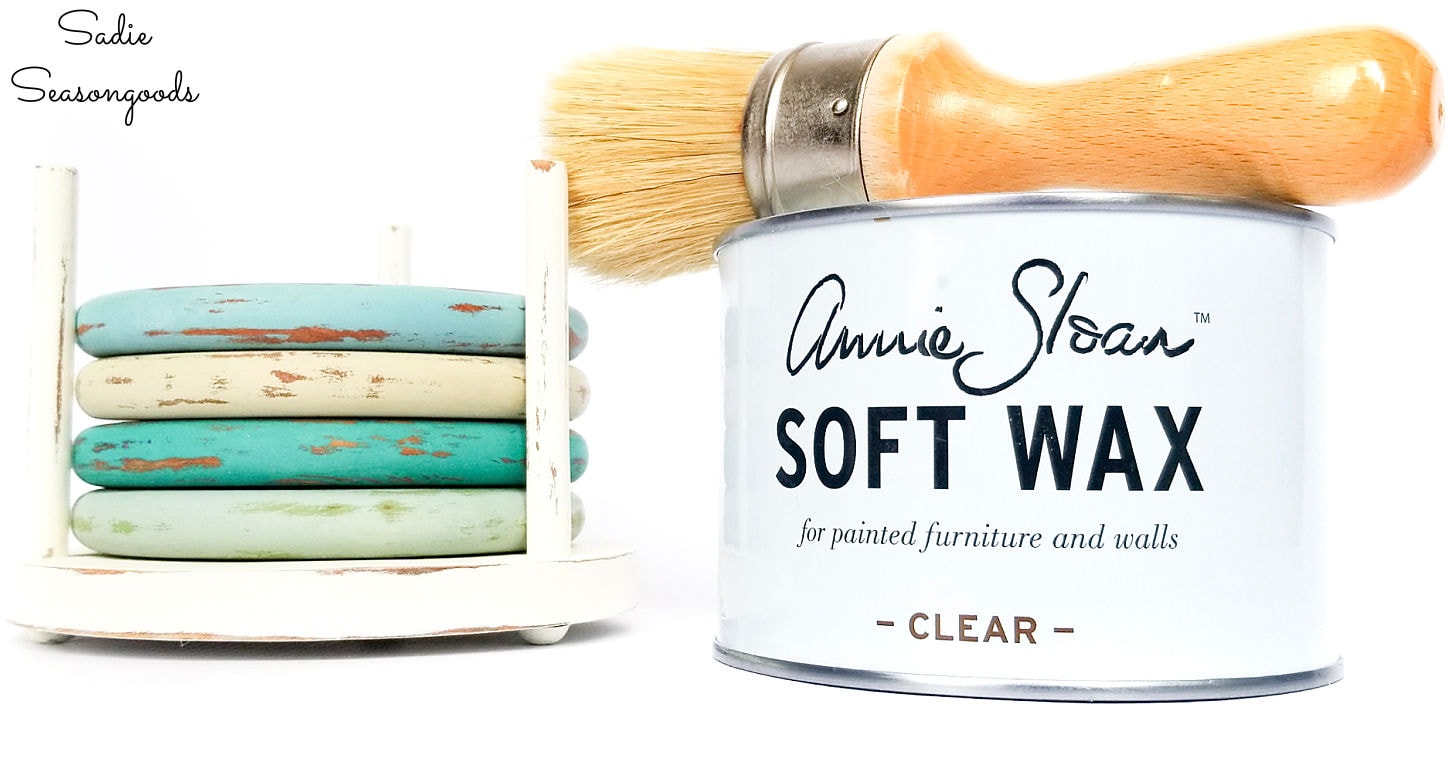
I love using wax on many of my projects, even over latex or craft paint- mostly because I love how it feels afterwards. But it’s an absolute must for chalk paint projects to seal the porous chalky paint.
Now for the final step- adding a nautical touch to the interior of each coaster.
With twine!
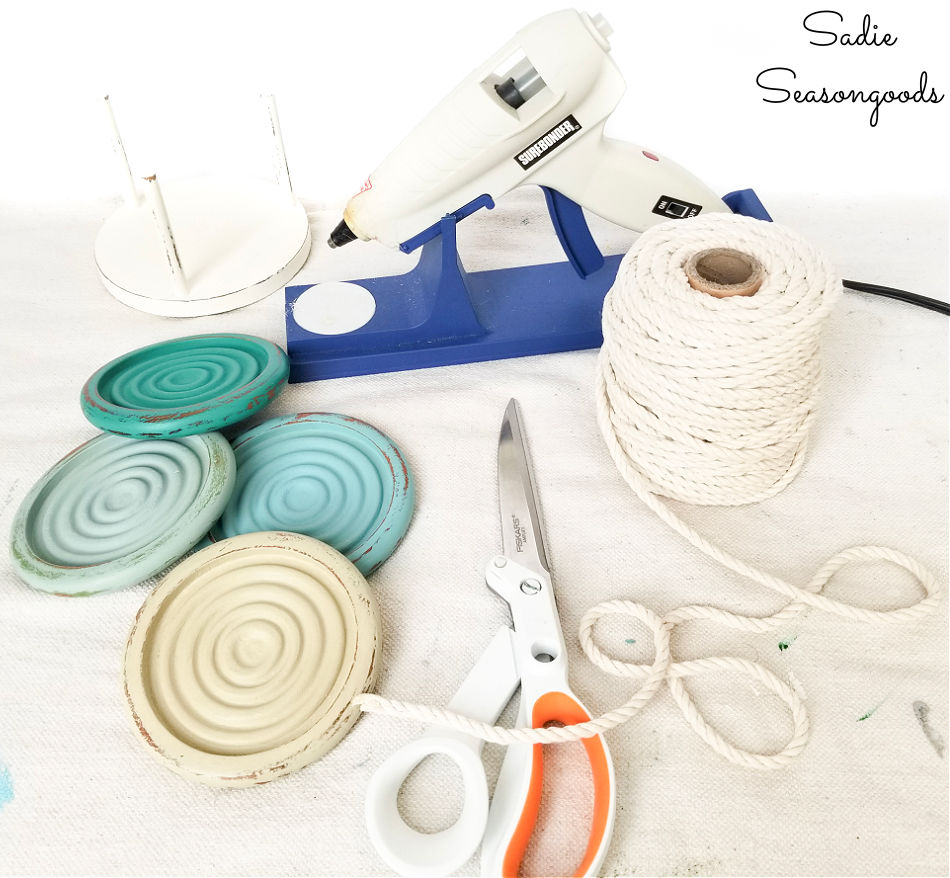
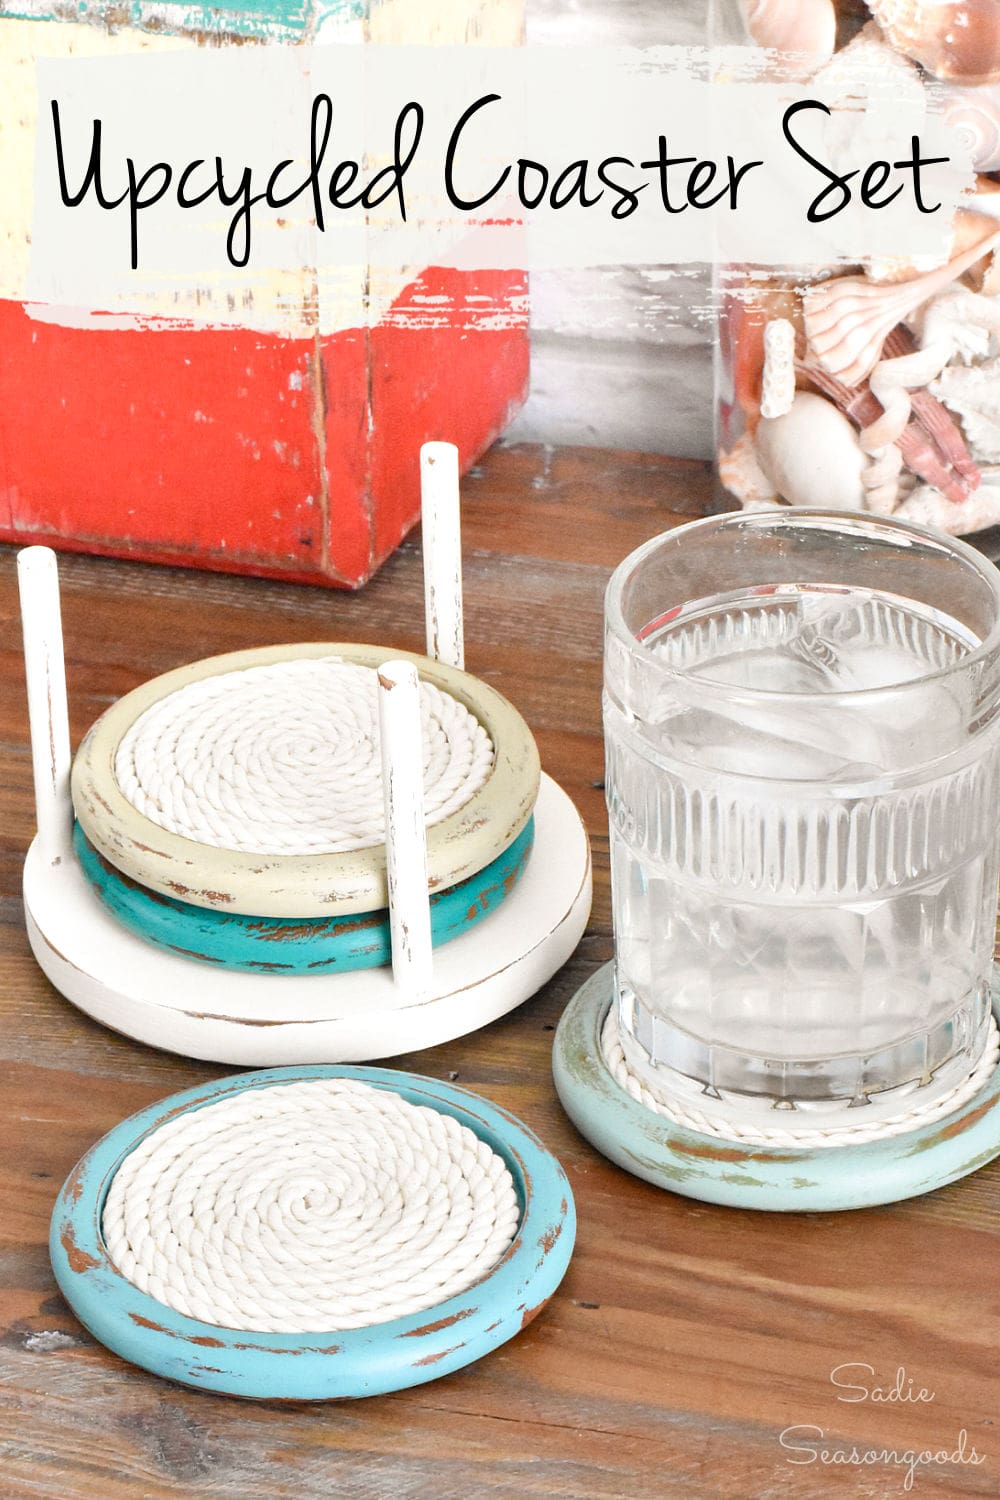
My plan? To coil some twine (almost like a stand-alone rope coaster) to place in the center of my coastal coasters!
First, I trimmed an end of the twine at an extreme angle to give it an almost flat pointy edge (think like the tip of a recently sharpened pencil). Then, using a scant amount of hot glue, I turned the angled tip in on itself and began the coil-and-glue process.
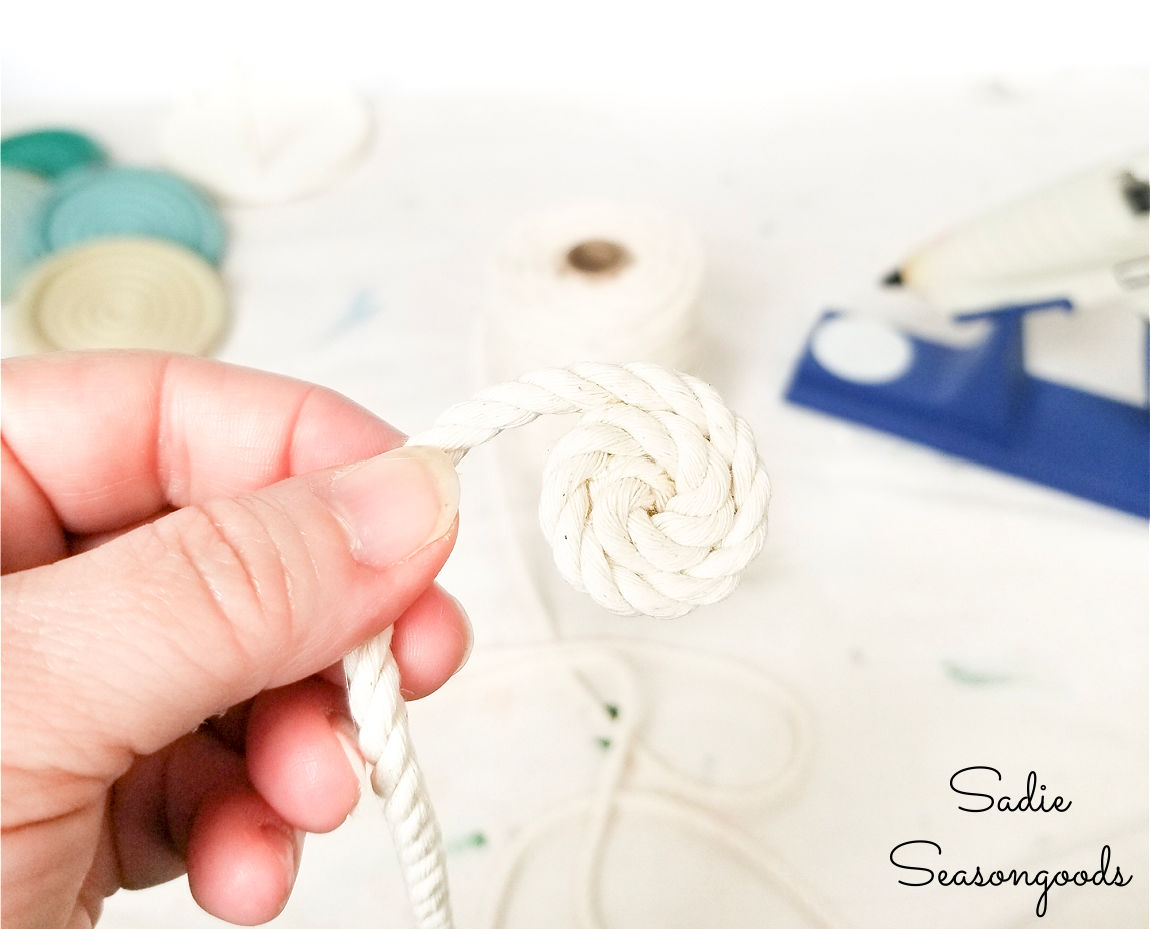
Cutting the end at that angle made the coiling easy and mess-free on one side (aka, the visible side). And there’s no awkward twine “bump” on the underside, either. You want to avoid any “bumps” like that in a coaster…for obvious reasons!
I continued going around and around. The secret was using very little glue in a LOT of spots. And I checked the size periodically by placing it in a coaster as I worked.
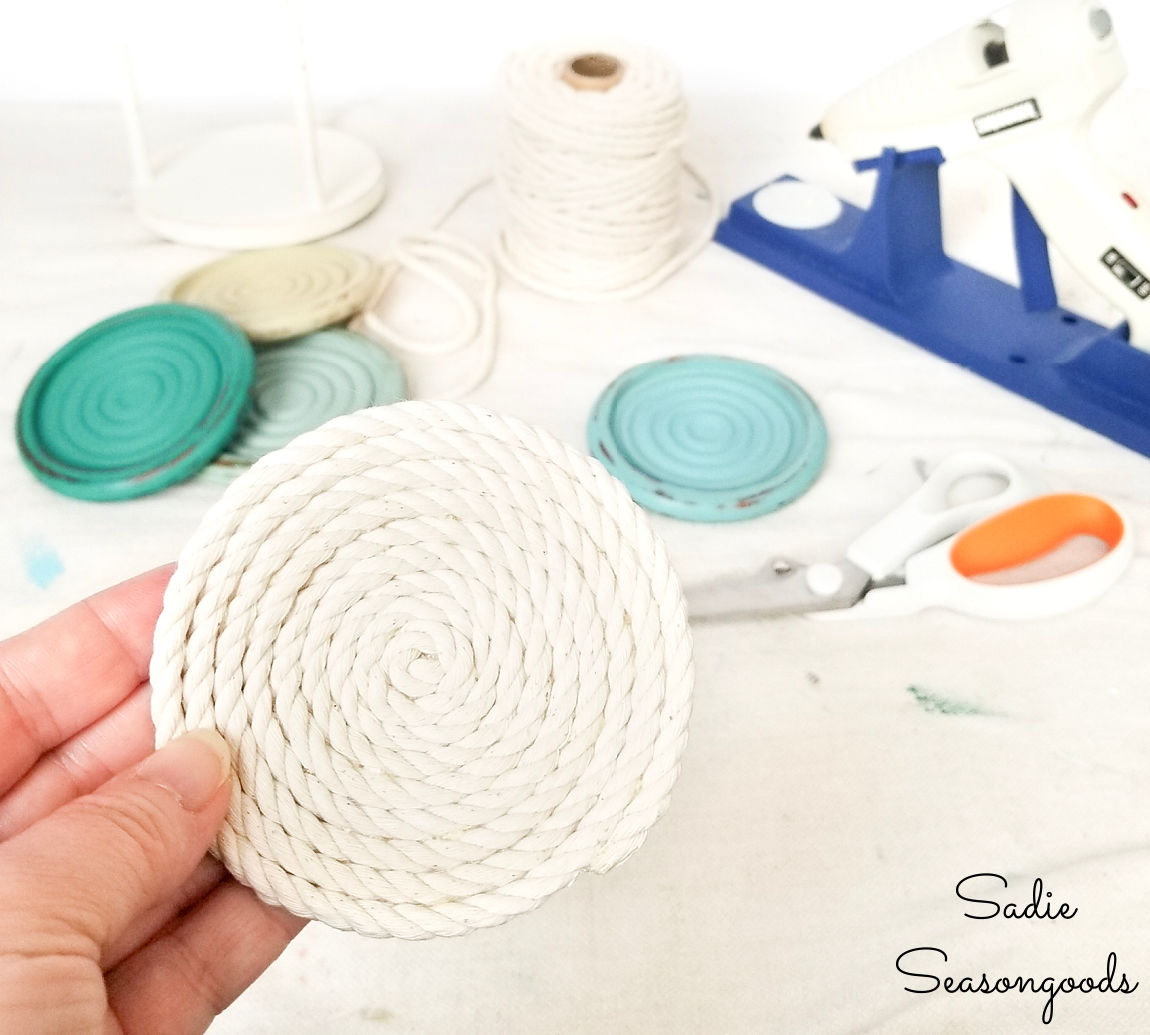
Lastly, I used a touch more hot glue to adhere the coiled twine in my coastal coasters and that was it!
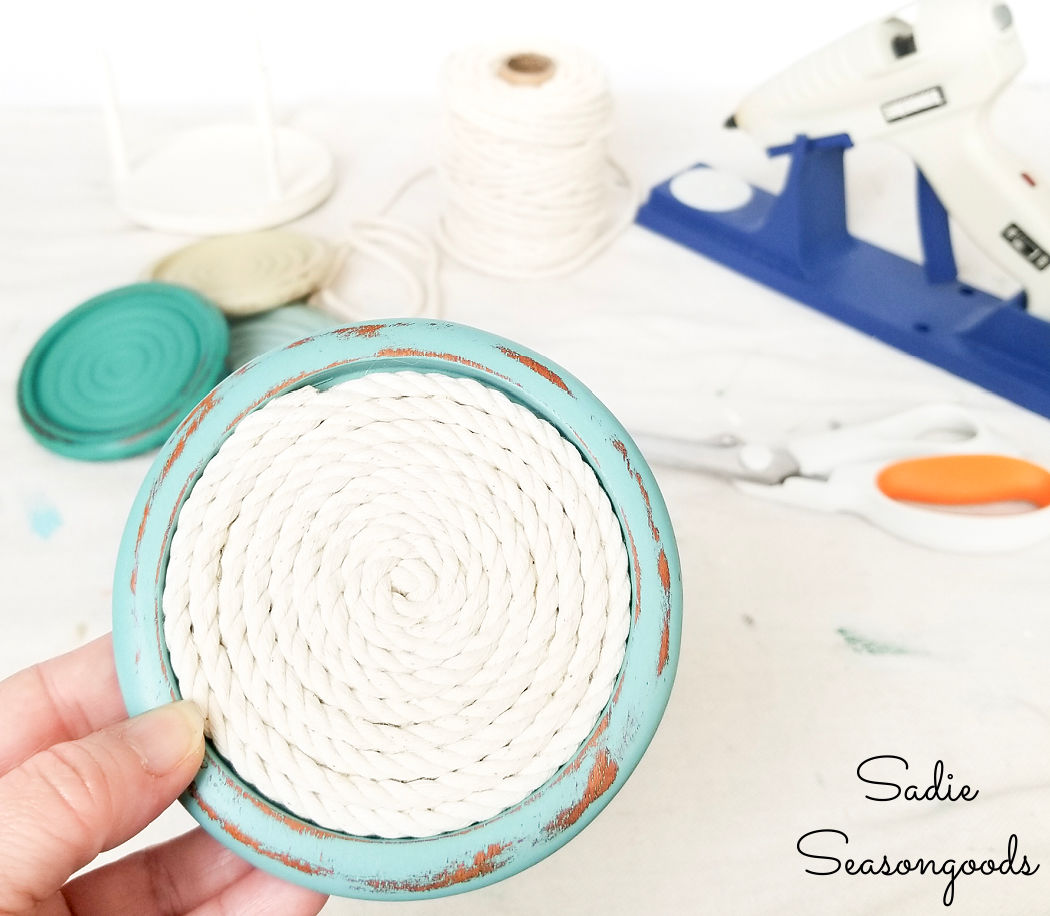
Coastal Coasters
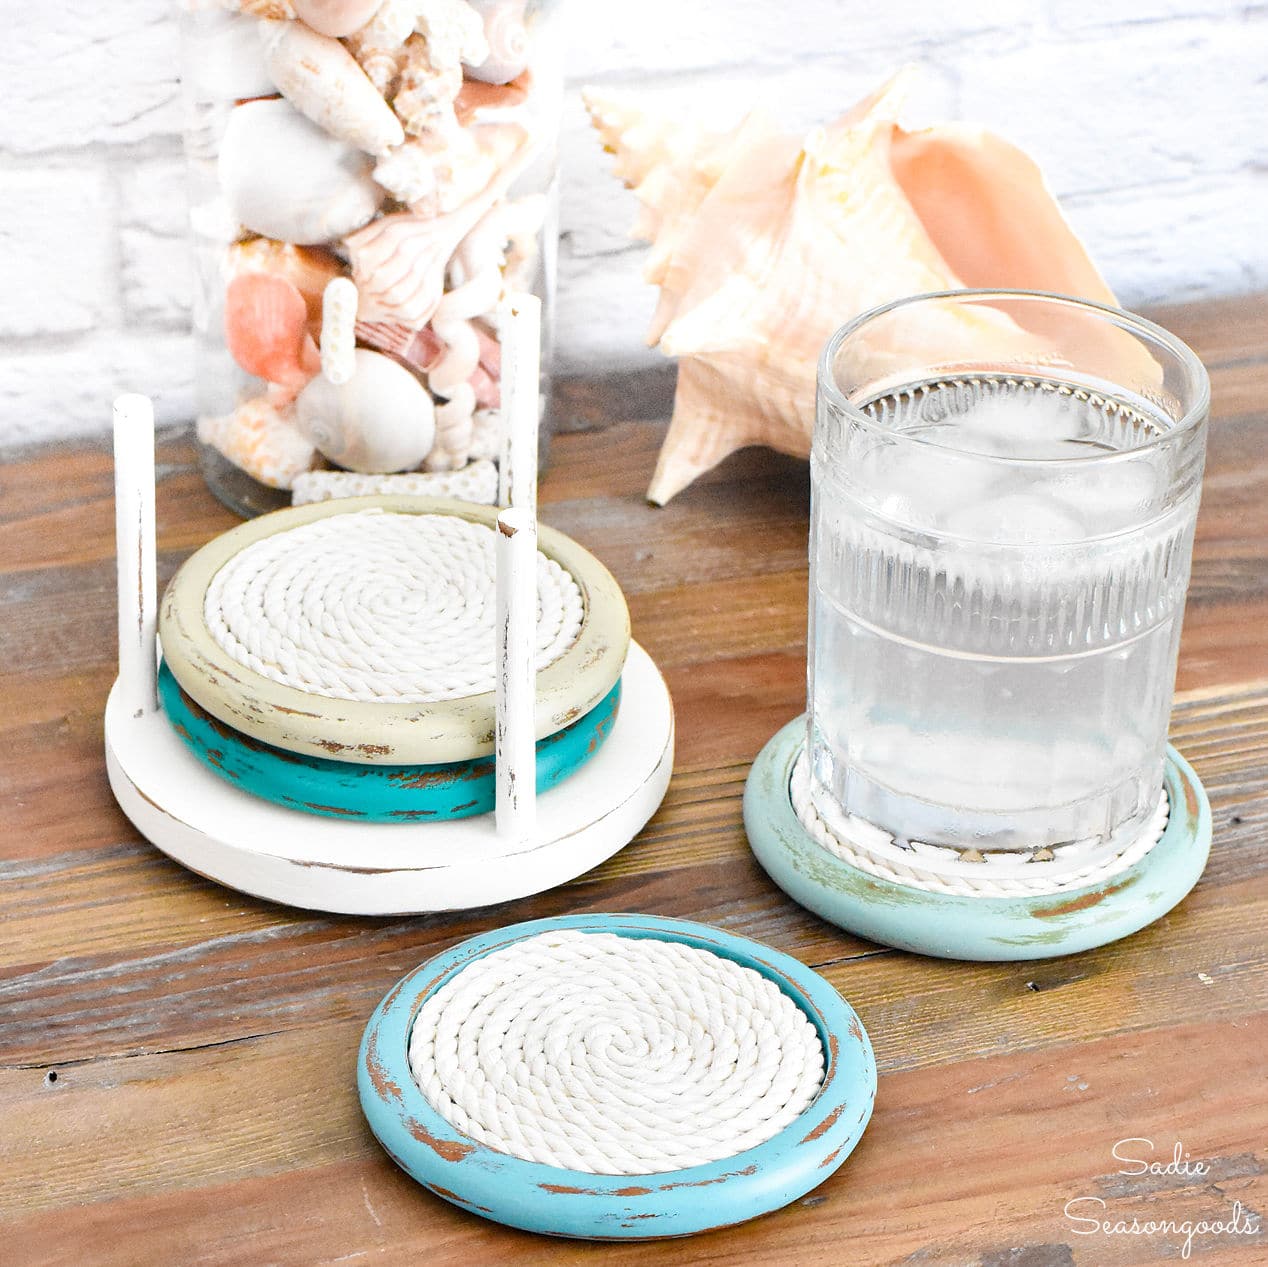
And just like that, I had a delightful set of coastal coasters. They seriously remind me of the decor items I’d see at beachy boutiques when I lived in South Florida!
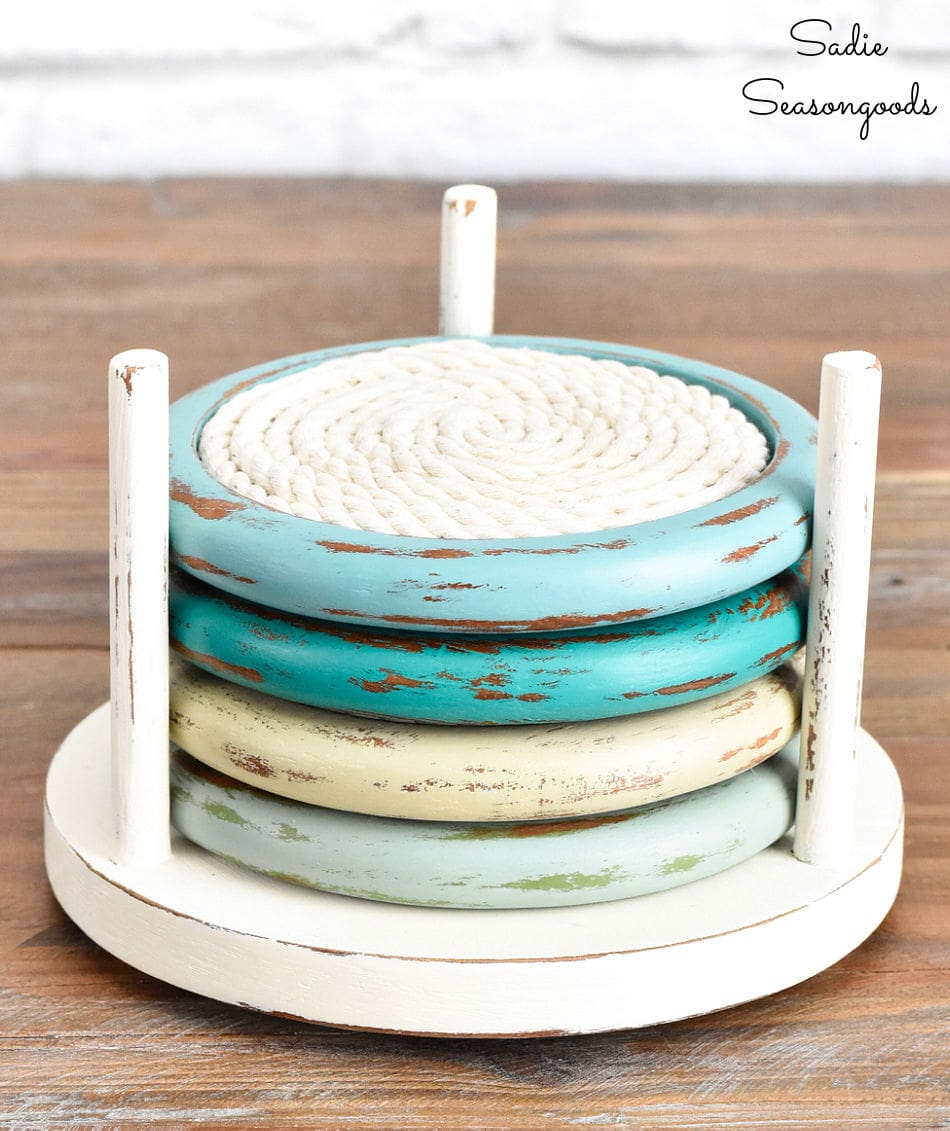
I love that it was a pretty simple and straightforward makeover, but really looks like a high-end cohesive set. Perfect for cold drinks on a hot summer day!
*****
Guess what today is? It’s the second Wednesday of the month which means my friends on the Thrift Store Decor team have ALSO been making things over! Plus, we have three new members joining us, so there’s even more makeovers to enjoy.
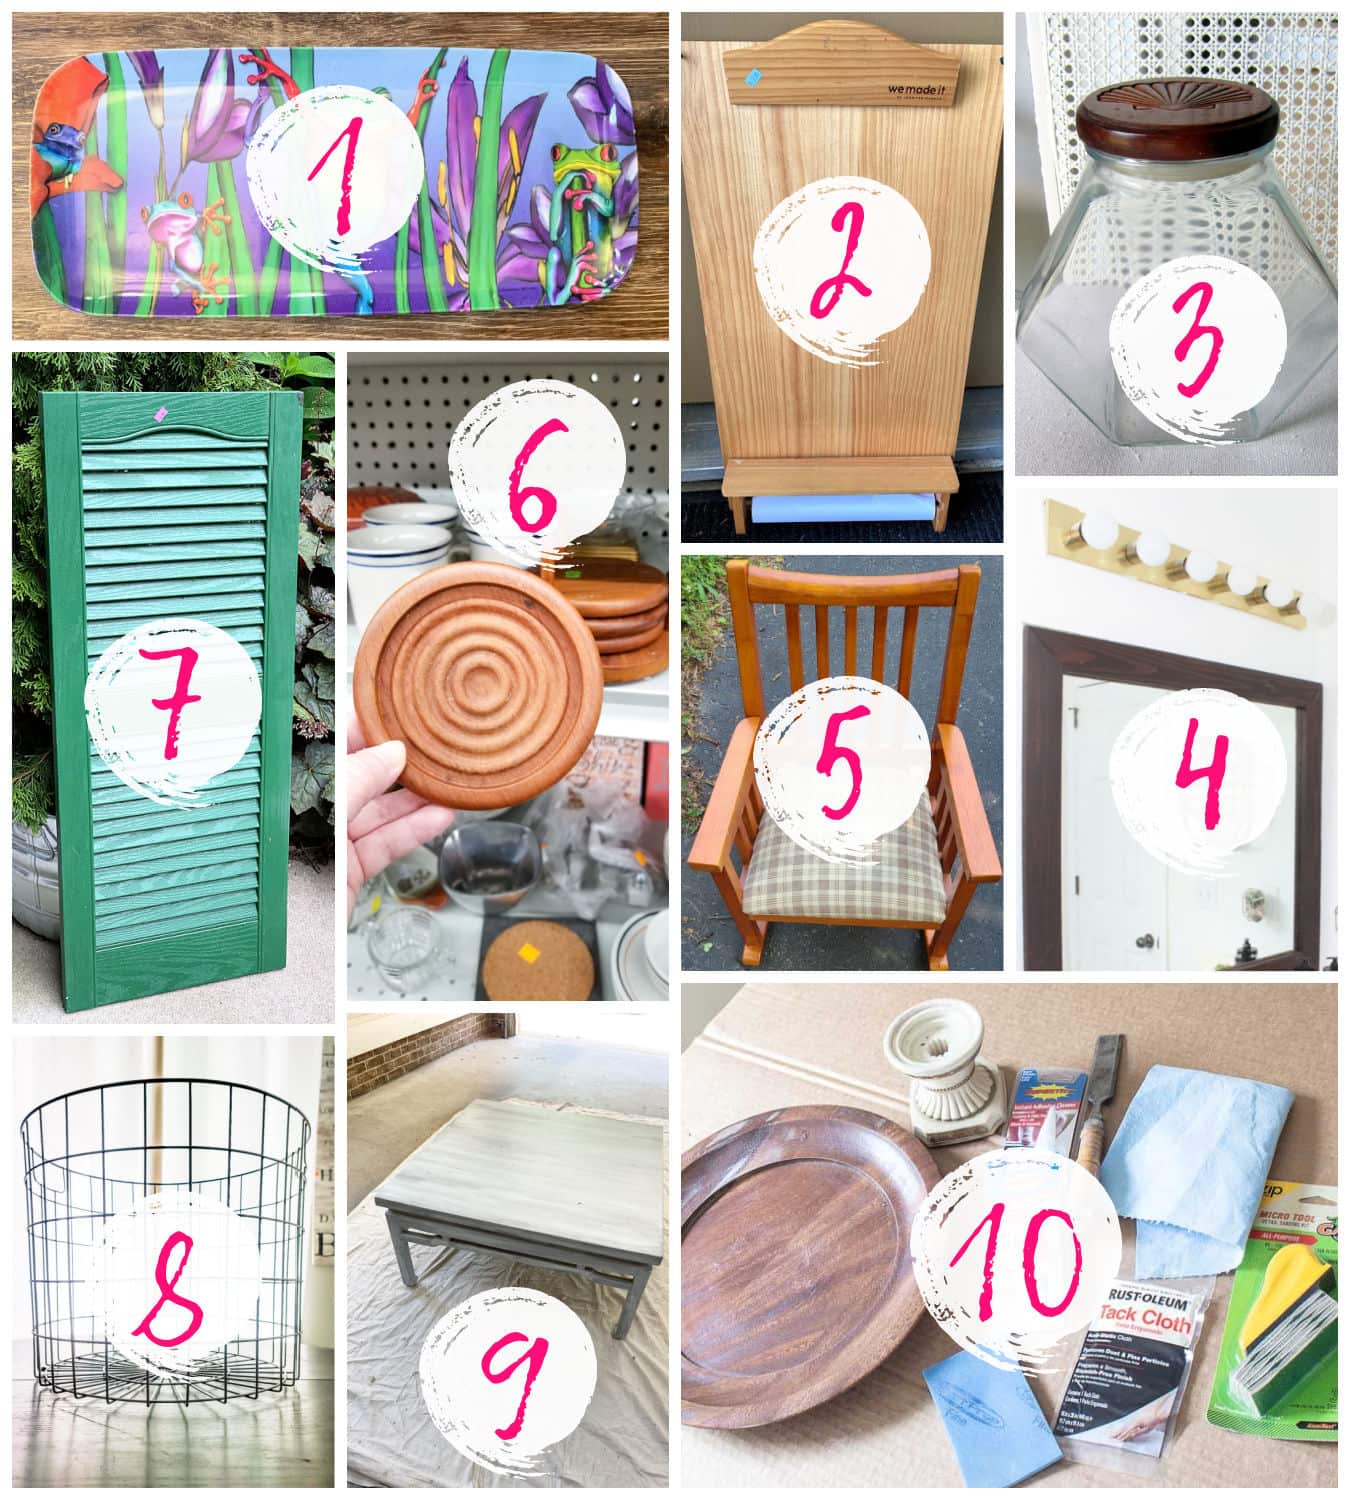
1. Boho Chic Jewelry Tray – My Uncommon Slice of Suburbia
2. Thrifted Child’s Wall Easel to Wall Decor – Organized Clutter
3. Sand and Seashells Beach Jar Idea – Petticoat Junktion
4. Refresh Bathroom Vanity Light – Shop at Blu
5. Boys Rocking Chair – My Repurposed Life
6. Coastal Coasters – Sadie Seasongoods
7. Upcycled Shutter Angel – House of Hawthornes
8. Large Farmhouse Metal Basket – Domestically Speaking
9. Outdoor Coffee Table Makeover – Our Southern Home
10. Easy Cake Stand – Reinvented Delaware
*****
Even though Fall is my favorite season, I do love me some coastal-inspired projects in the summertime!
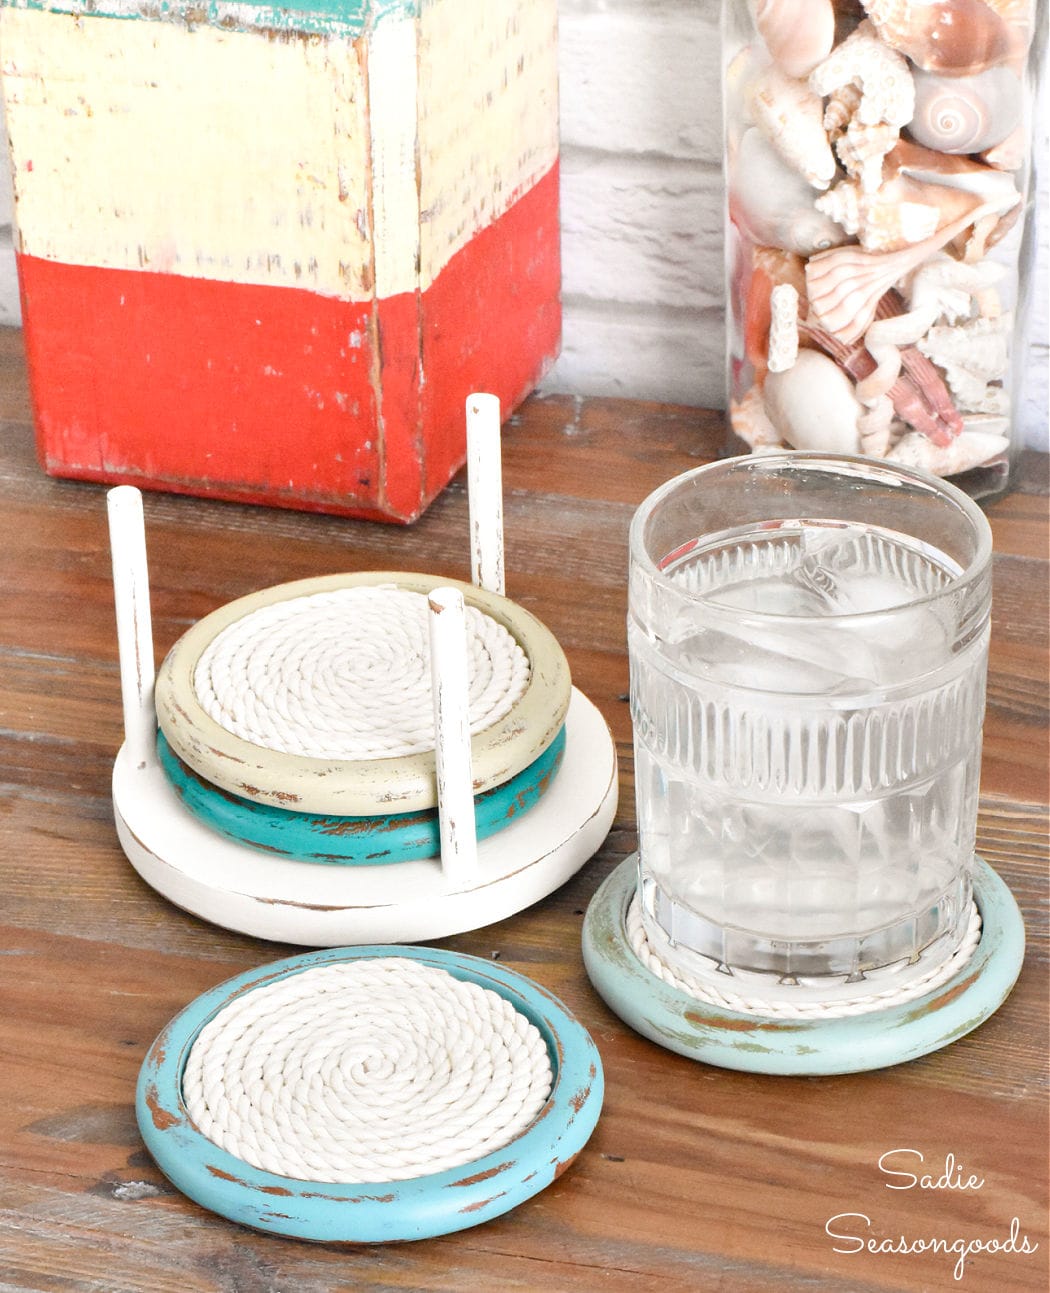
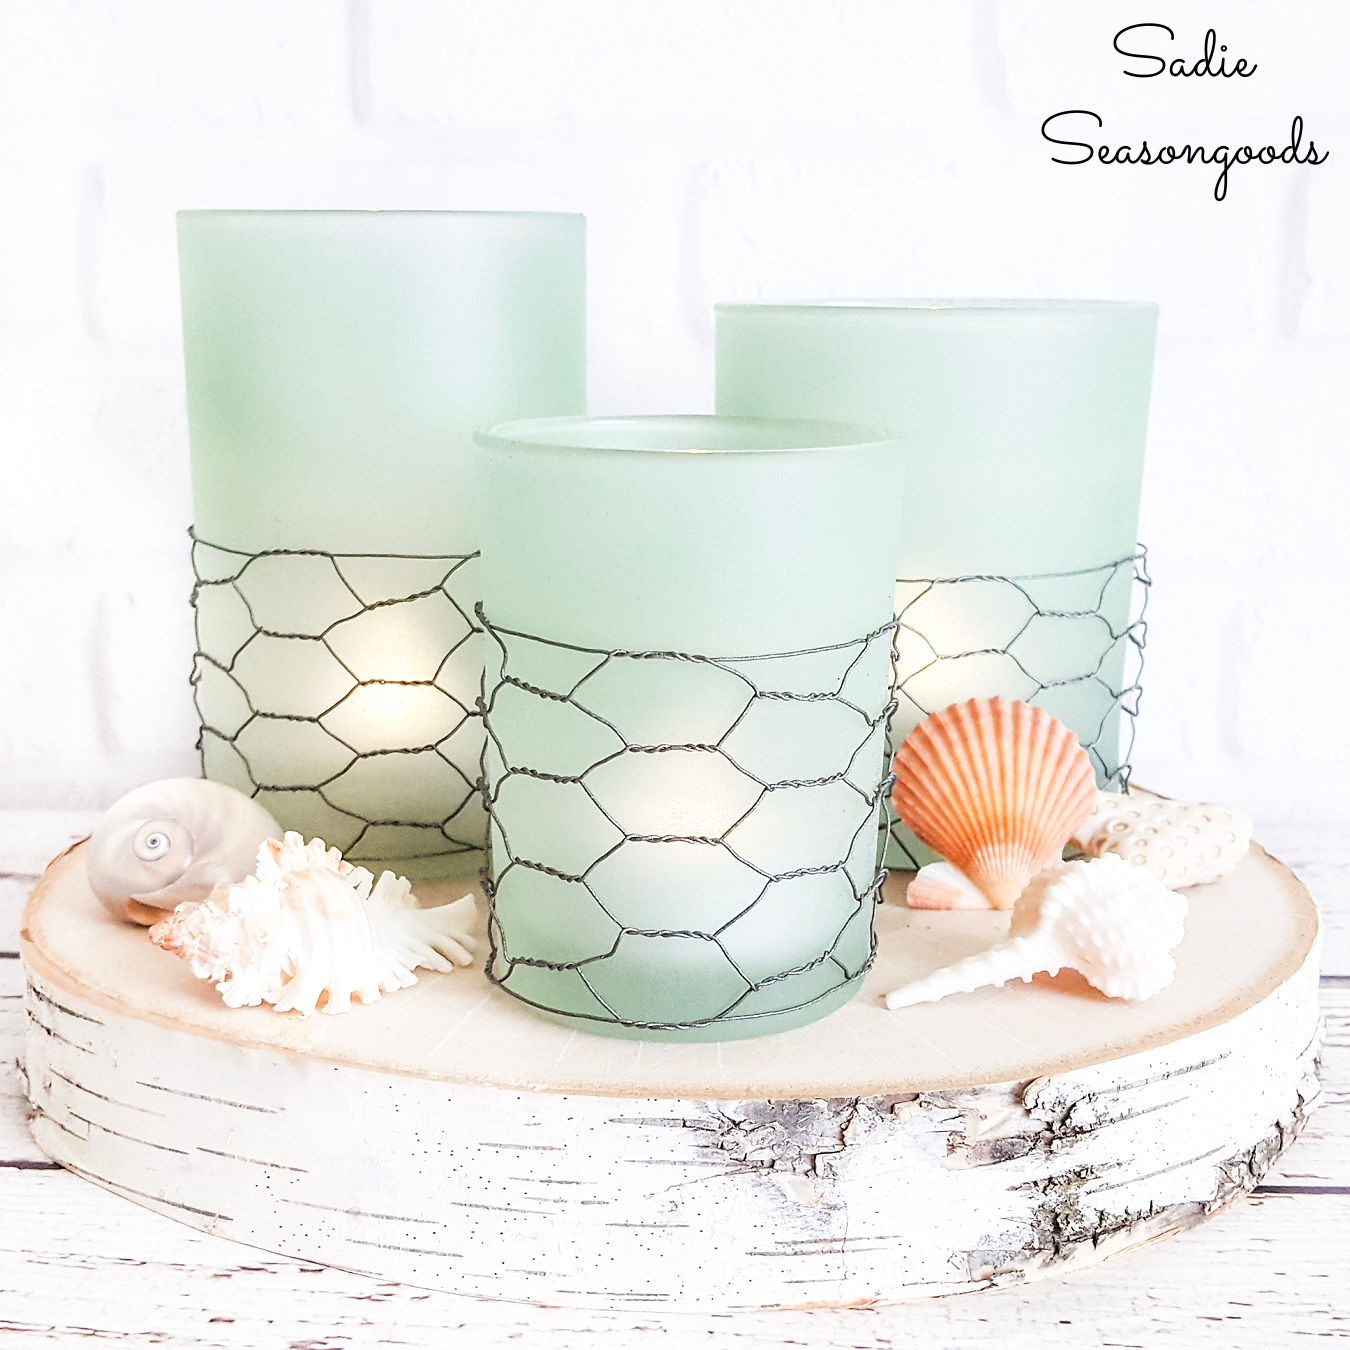
If you enjoyed this upcycling idea for coastal coasters, then you may also be interested in these coastal candle holders, as well!
Craft on!
S
Want to be notified when I publish my next upcycling project tutorial?
Join me on Social Media:
PIN ME!
Sarah Ramberg is the owner of Sadie Seasongoods, a website that celebrates all things secondhand. From upcycling ideas and thrifted decor to vintage-centric travel itineraries, Sadie Seasongoods is a one-stop shop for anyone who loves thrifting and approachable repurposing ideas. Sarah is also the author of “Crafting with Flannel” and has been featured in numerous media outlets and magazines.






Very pretty beachy colors!
Thank you!
That rope fit that groove perfectly! Great idea!
Thanks so much, Carlene- welcome to the TSDT, too!
Great project. Loved the coastal colors and the twine insert. Great to see one of your projects again. I would love for you to share it at Tuesday Turn About Link Party.
Thank you, Carol! Yes, I’ve definitely been pumping out a lot less content these days…focusing on refurbishing those old, long-forgotten posts instead! 🙂
Great project, but you probably get tired of me saying that since ALL YOUR PROJECTS are awesome! Love the addition of the rope in them!
Ha, you’ll never hear me complain about kind words, that’s for sure!! Thank you so much, Pam!
I love your coaster makeover.
Thanks, Rebecca!
Such a cute idea! I love the different colors, gentle distressing with the rope detail. Your photos are fabulous!
Thank you so much, Christy! Coasters are such a bear to photograph, especially when you want to see the sides AND the top!
I live in Florida, and those coasters look just like something you would see in a boutique in Anna Maria Island or Sanibel. Well done!
Thank you so much! I had Sanibel/Captiva in my mind as I made them!
These are adorable and I love the addition of the rope!!
Thank you so much, Kristin!
Great find & great paint color choices – love them!
Thank you!!
As always you are an inspiration, thank you 🙂
Thank you so much!!
Oh my gosh Sarah, what’s NOT to love about these adorable coastal coasters (just rolls off the tongue, eh?)
Love the colors and the twine.
pinned!
gail
Thank you, friend! Happy camping to you!
This is the cutest project! Adding the rope looking twine was so smart and really adds another beachy touch to the coasters. The paint colors are spot on!! Pinned!
Thanks so much, Cindy! Welcome to the crew!
These coasters were MADE for this treatment! Gorgeous Sarah, and your distressing technique is totally on point!
Thank you so much, my friend!
Hi Sarah, I am doing tile coasters and wanted to ask how to seal to keep the cup from sticking to the coaster?
If you have access to Rustoleum’s crystal clear enamel spray, I’d give that a try. It’s my favorite sealer to use.