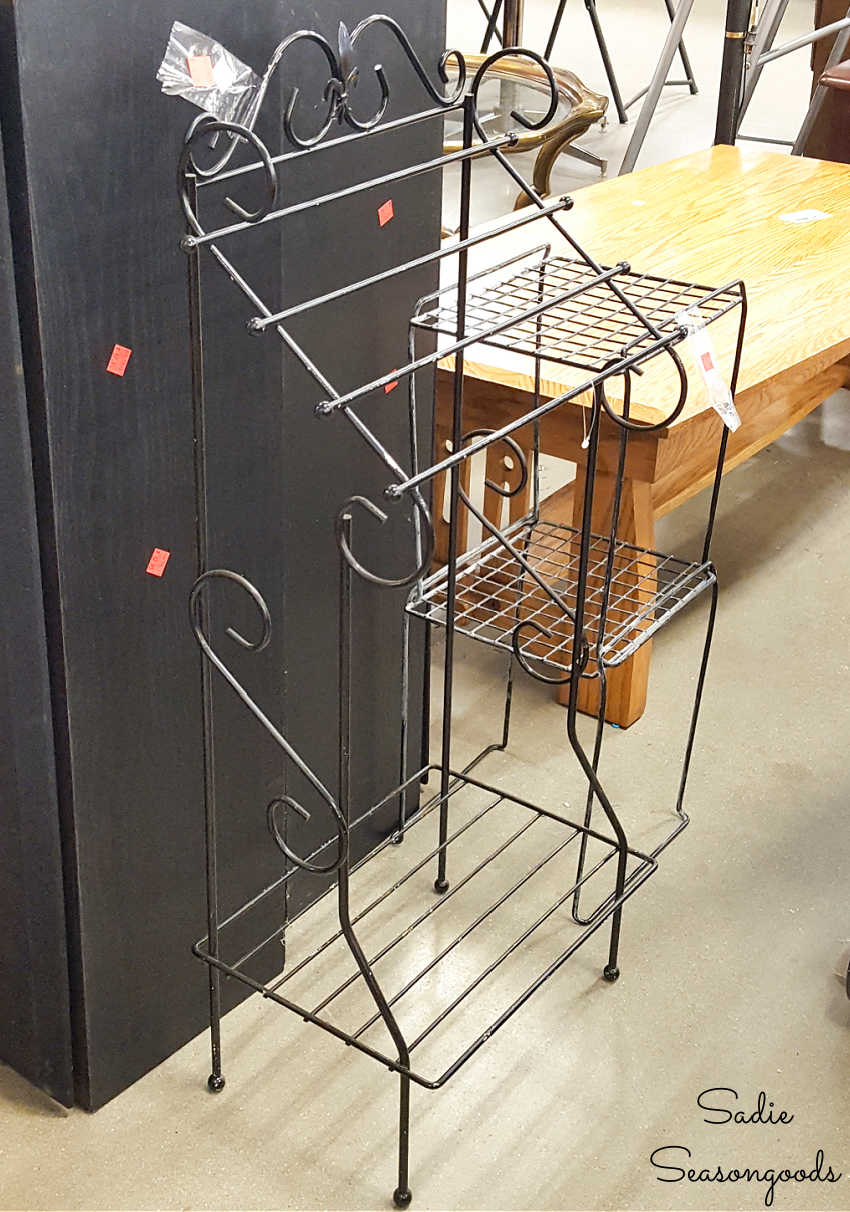
One of the curses (or blessings) of falling into the “short and round” category of human shapes is our love of accessories. Scarves, bags, hats, and jewelry tend to be more fun than our clothing choices. So, when I spotted this wire rack (for towels?) at the thrift store, I decided it would be ideal as a closet organizer for some accessories.
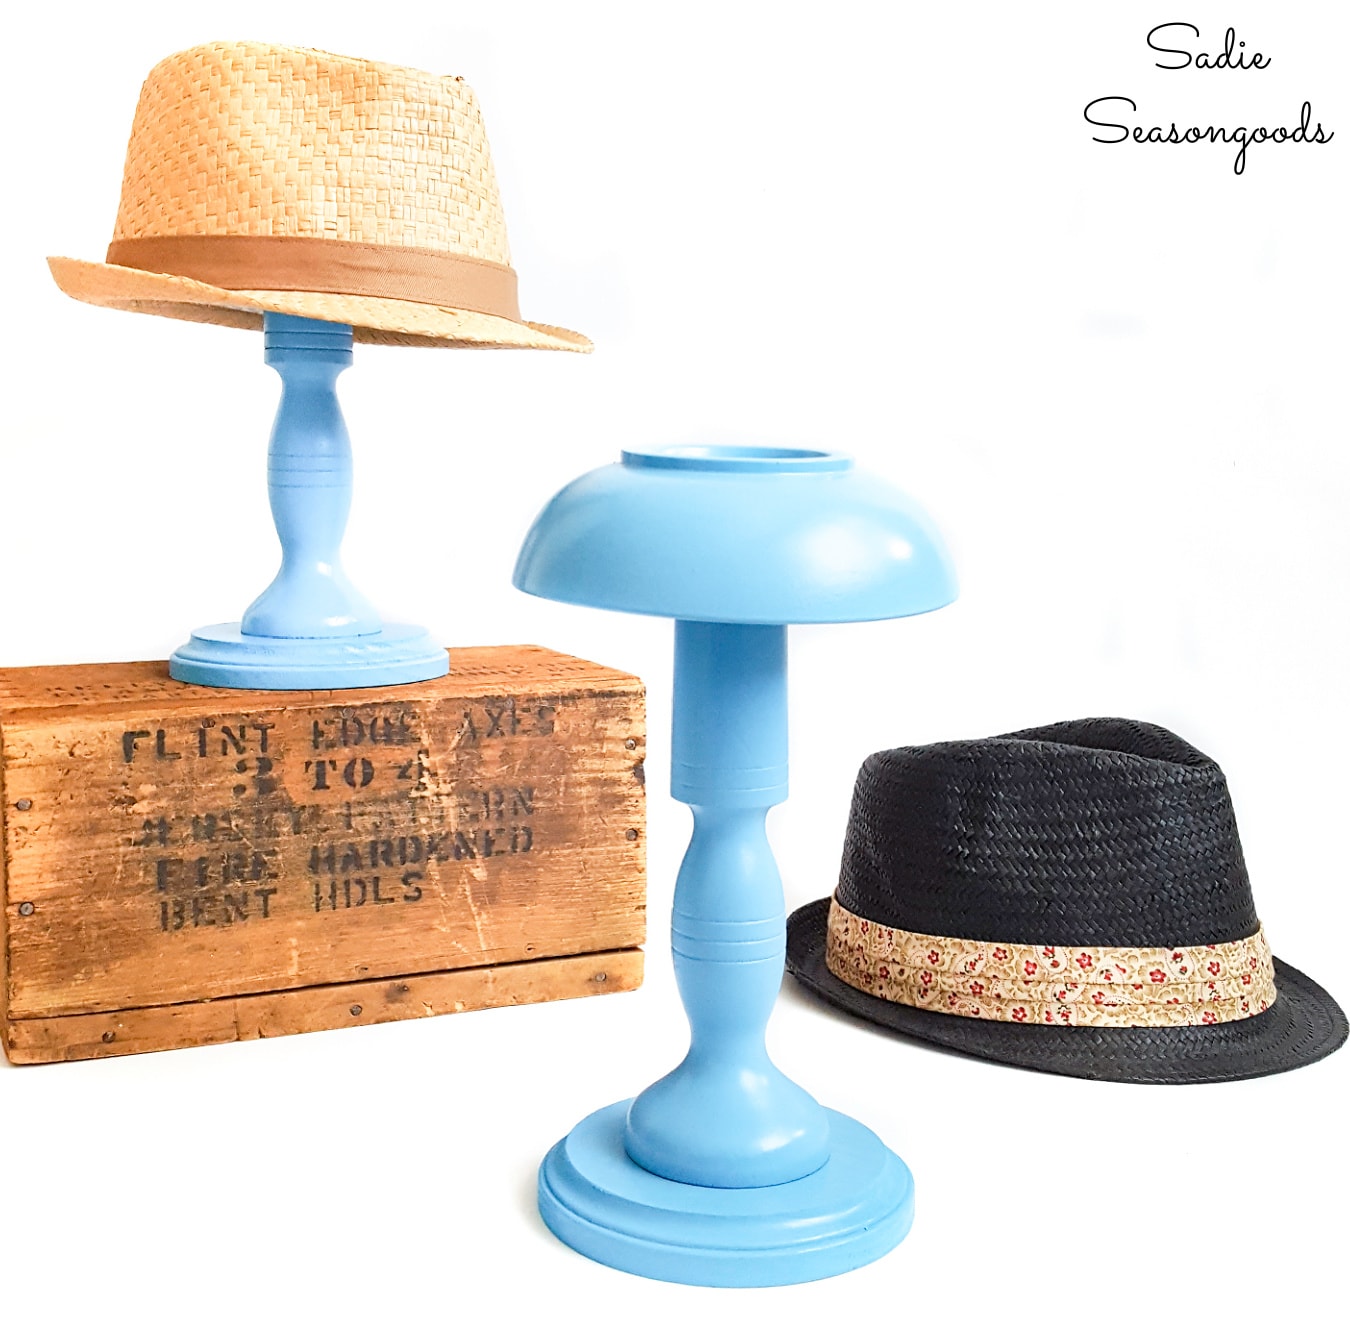
Upcycling items into accessory holders or organizers is nothing new to me. Remember these hat stands that I made from thrifted finds?
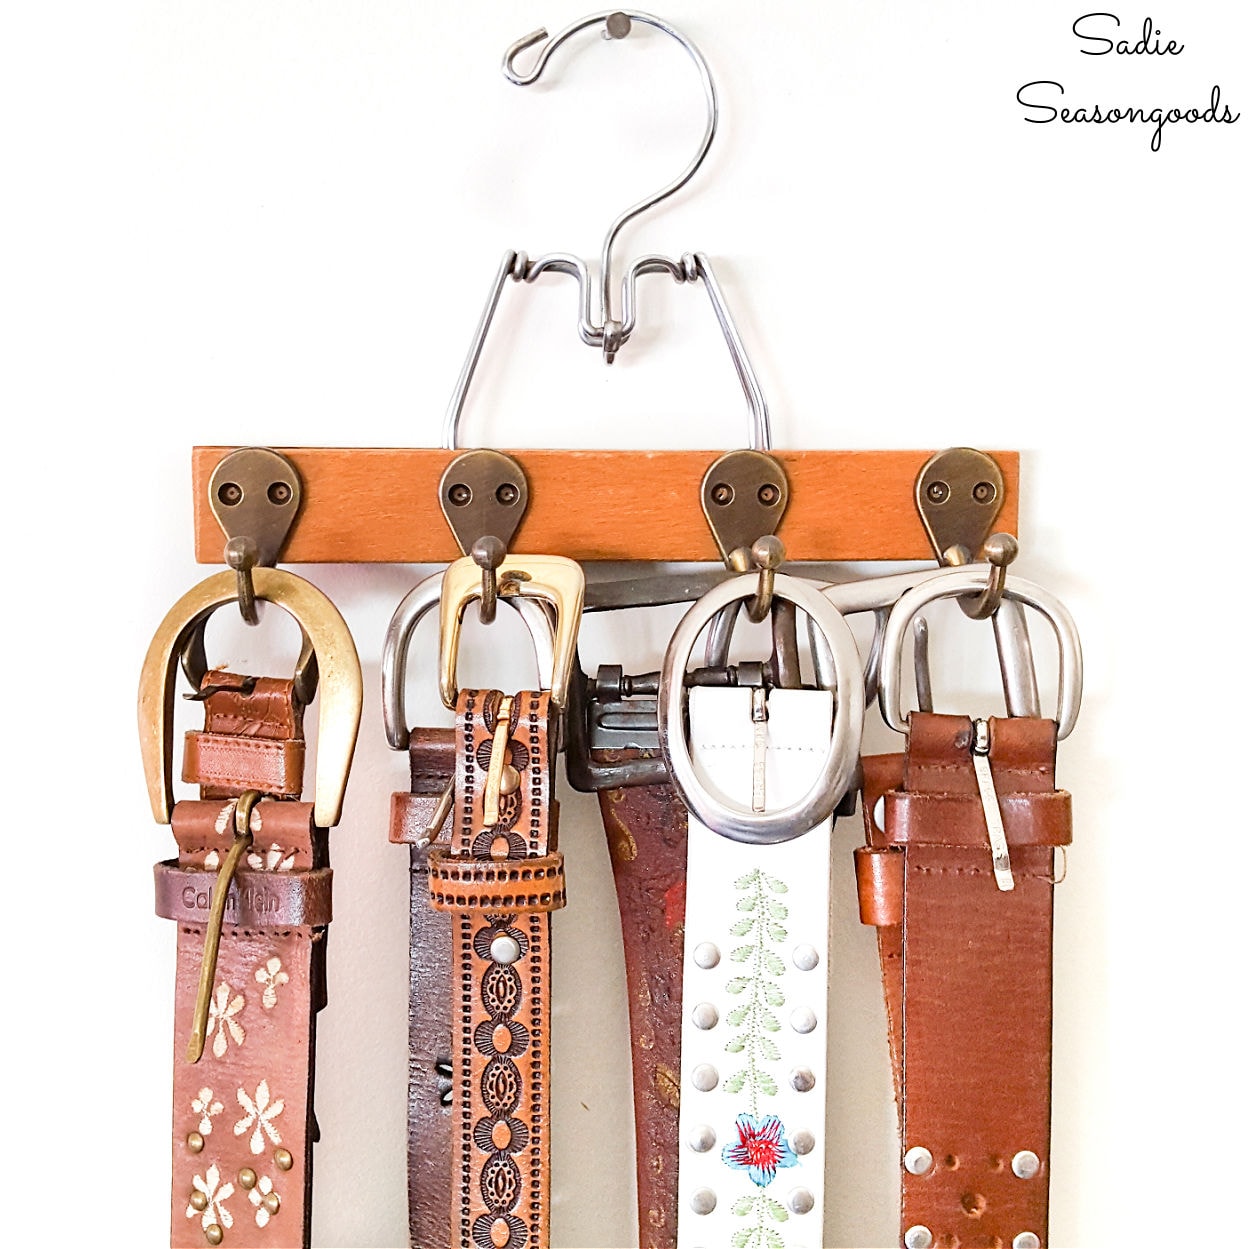
Or this belt organizer that I made from a vintage hanger?
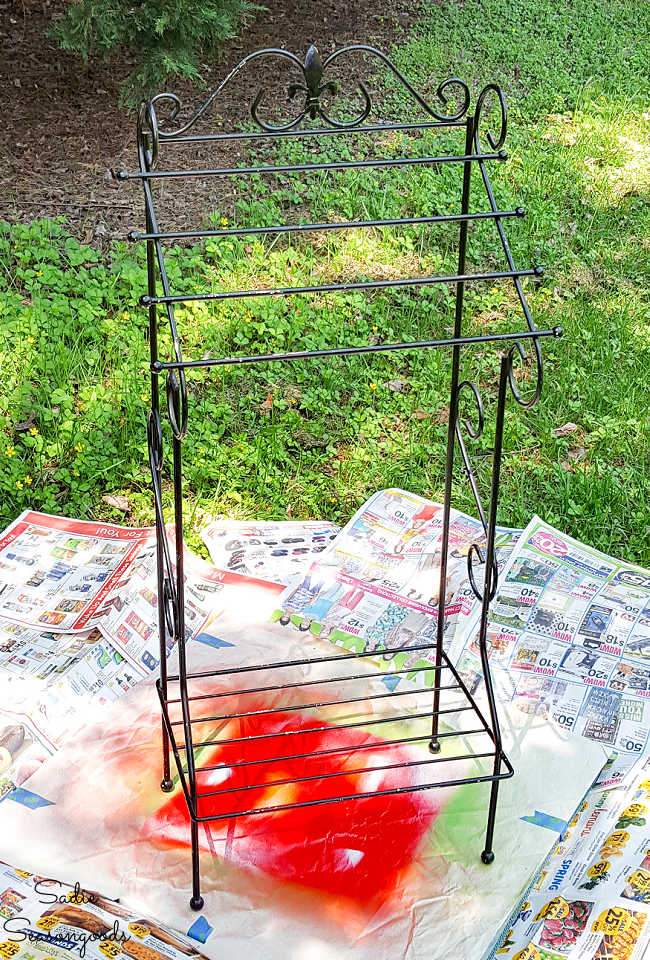
Anyway, you get the gist! And now with this wire rack, I could do a little more organization in the closet. With its cracked and flaking paint, it was prime for a makeover and a new purpose in life!
This post contains affiliate links for your crafting convenience. As an Amazon Affiliate, I earn from qualifying purchases. All blue, bold, and underlined text is a clickable link, either to a product or to a related post.
Making It a Closet Organizer
First, I needed to dust it (hello, cobwebs!) and remove as much flaking paint as possible. To do so, I used a wire brush to slough off paint chips along each length of wire.
After gathering the paint chips on newspaper and dumping them in the trash, I wiped the rack down with a slightly damp cloth and grabbed a bottle of turquoise spray paint and my favorite trigger handle.
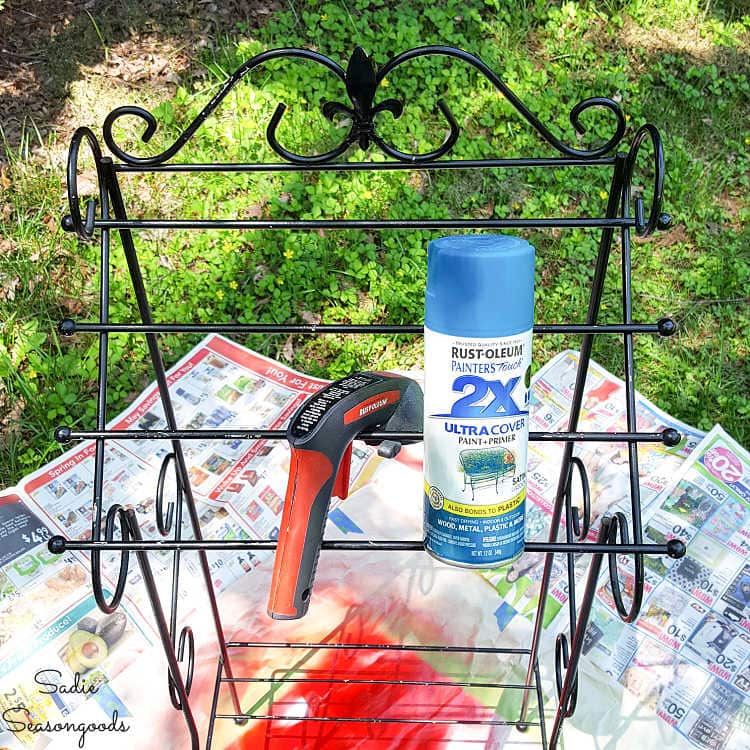
I suppose I could have just gone with black again- nothing wrong with that. But there’s also nothing wrong with a burst of color, either, right?
After making sure I’d covered every nook and cranny, I had quite a colorful wire rack!
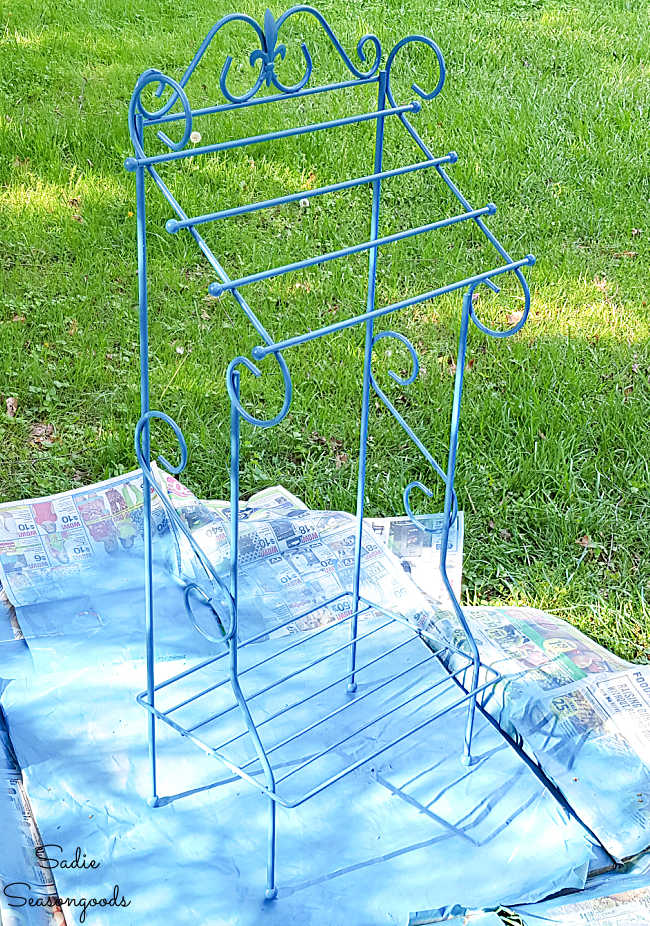
Next, I sprayed the wire rack with a clear top coat to help protect the finish of the paint.
Then, I decided that a few more hooks could be added to my closet organizer for more storage options. And they wouldn’t have to be attached in any permanent way!
S hooks from the hardware store to the rescue.
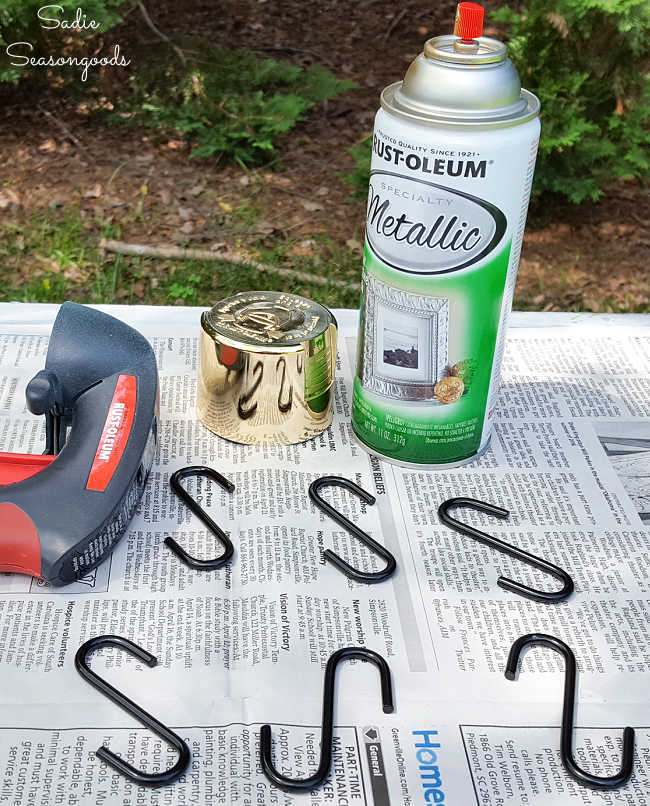
And, well, because I love turquoise and gold as a color combo, I painted the hooks with gold spray paint.
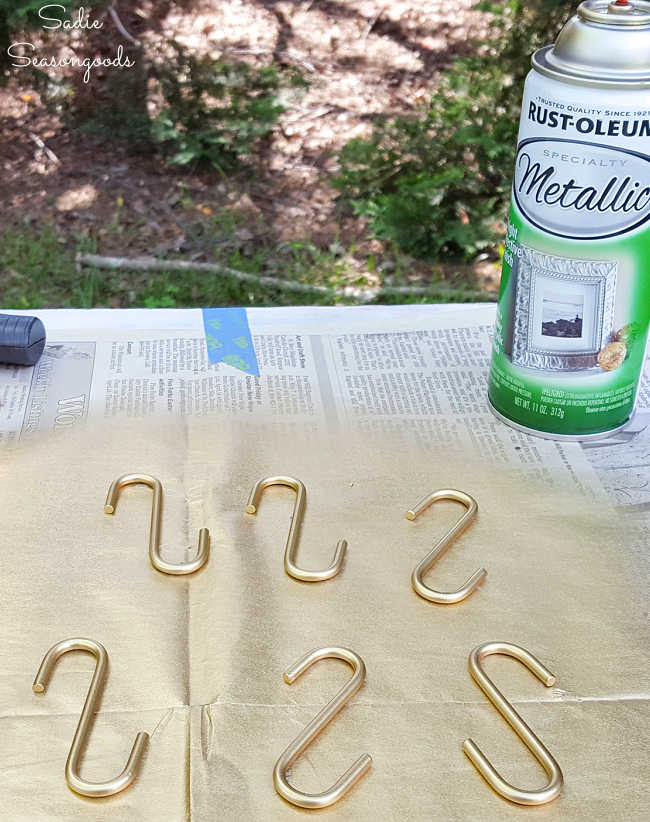
Now I had hooks I could hang anywhere on the wire rack! (I used a clear top coat on these once the paint dried, as well.)
Last but not least, I decided that protecting floor surfaces from the metal feet might be a smart idea. They weren’t rough, per se, but it would be cheap and easy to ensure nothing got scratched up.
I found some turquoise felt at the craft store, cut out tiny circles, and hot glued them to the underside of each ball foot.
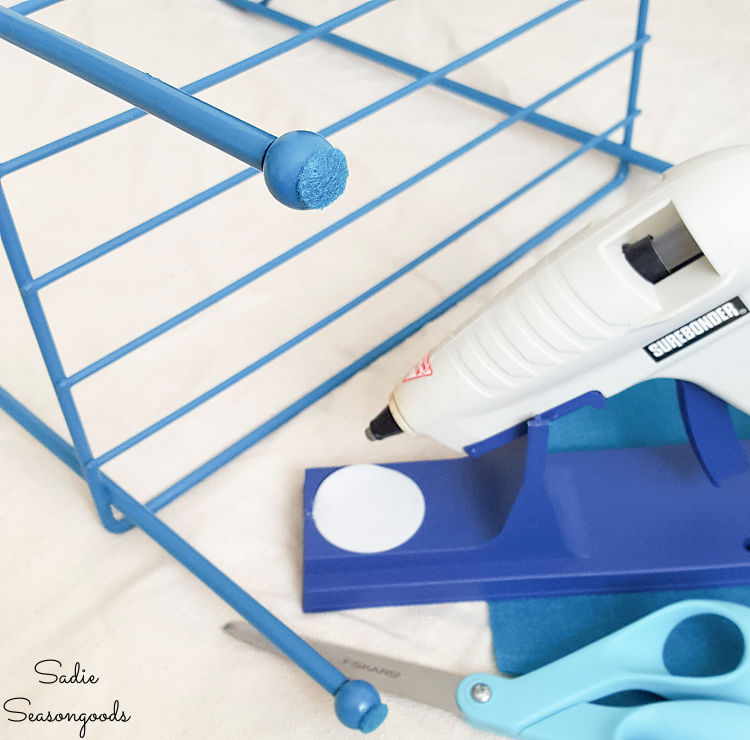
And, with that kind of color match, you’d never even see the felt, really!
Closet Organizer for Accessories
And that was it- a super easy makeover that will come in handy in our primary closet.
I gathered the rack and the painted S hooks before grabbing some scarves and bags. (The best part about S hooks is that I can move them around, as needed, depending on how everything fits!)
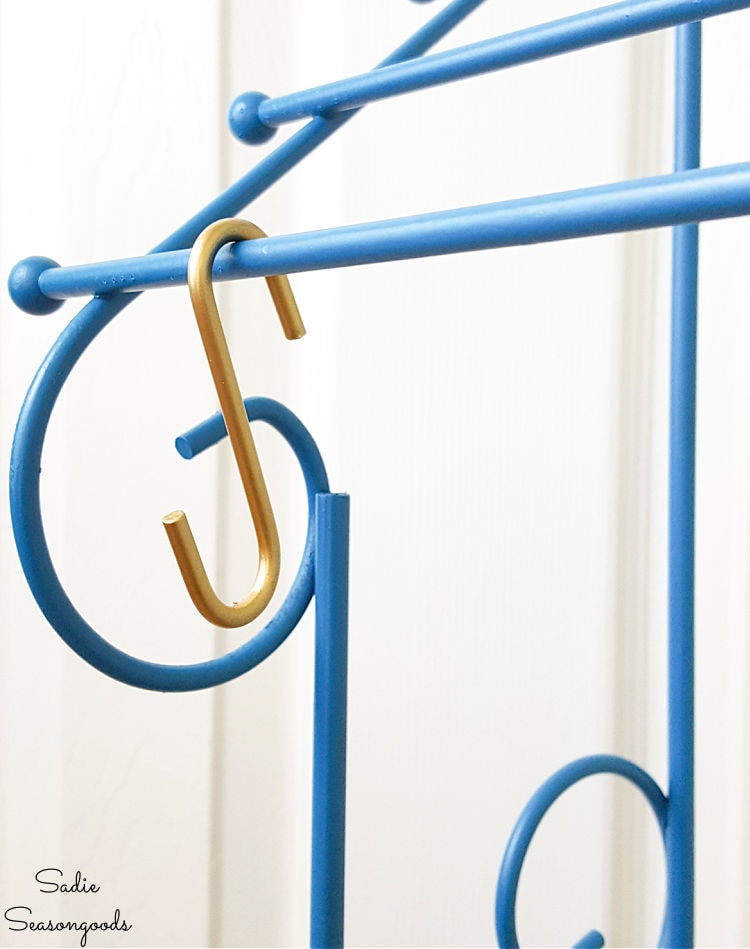
Truthfully, I probably could use another one or two of these to really free up some space in our closet! But isn’t that terrific? It holds all sorts of accessories- scarves, bags with straps, clutch bags (laying on the bottom shelf), etc.
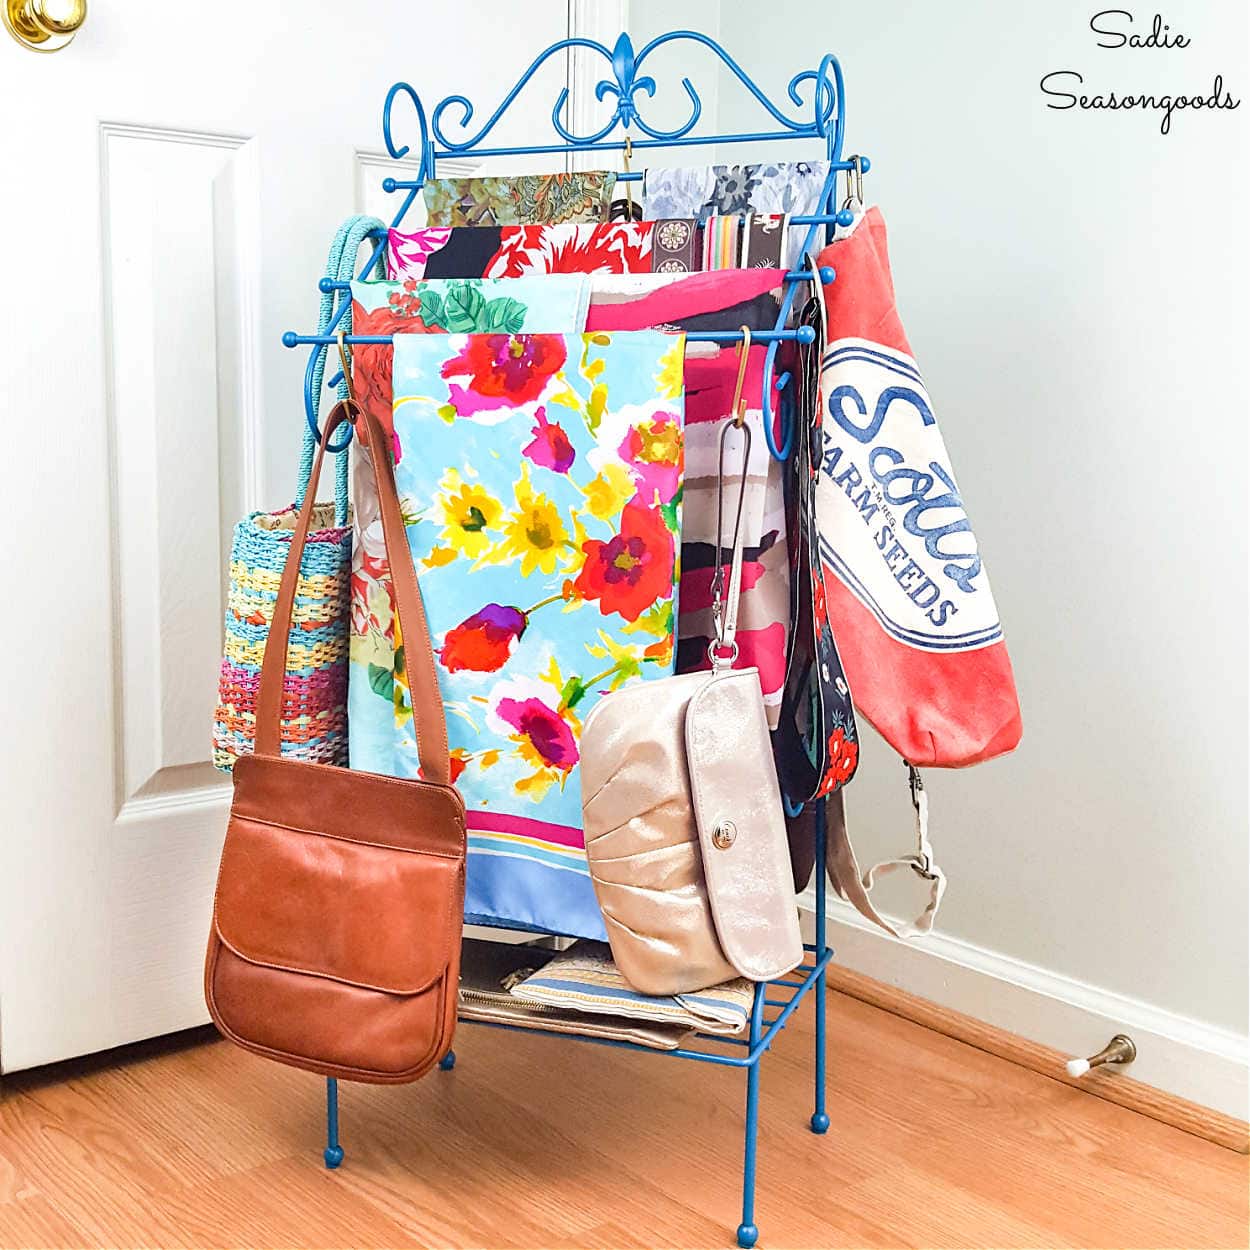
I hope you enjoyed this VERY simple but oh-so-handy closet organizer project of mine. Full disclosure- it’s a really old project that I made for a now-defunct Goodwill blog. But since it never made it to my own blog back then, I’m putting it on here now!
AND today is Thrift Store Decor Team day. My blogging galpals have been upcycling their thrift store finds, as well- check out their projects below.
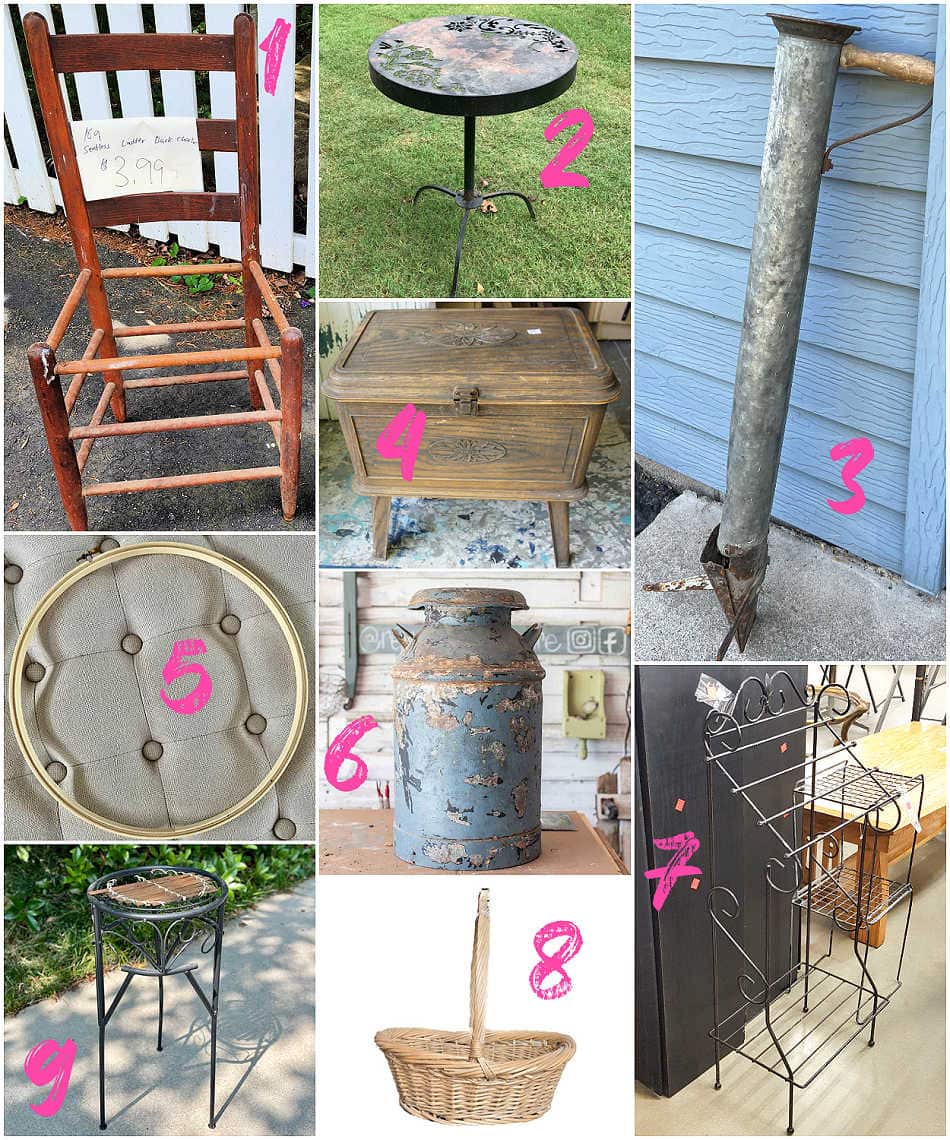
1. Planter Shelf and Garden Chair – My Repurposed Life
2. Updated Metal Garden Decor Table – Shop at Blu
3. Vintage Potato Planter Flower Pot – Organized Clutter
4. Paint Plastic Furniture with Krylon White Wash – Petticoat Junktion
5. Boho Wreath Using an Embroidery Hoop – My Uncommon Slice of Suburbia
6. DIY Repurposed Old Milk Can – Reinvented Delaware
7. Closet Organizer for Accessories – Sadie Seasongoods
8. DIY Coastal Starfish Basket – Domestically Speaking
9. Turn a Thrift Store Plant Stand into a Drink Table – Our Southern Home
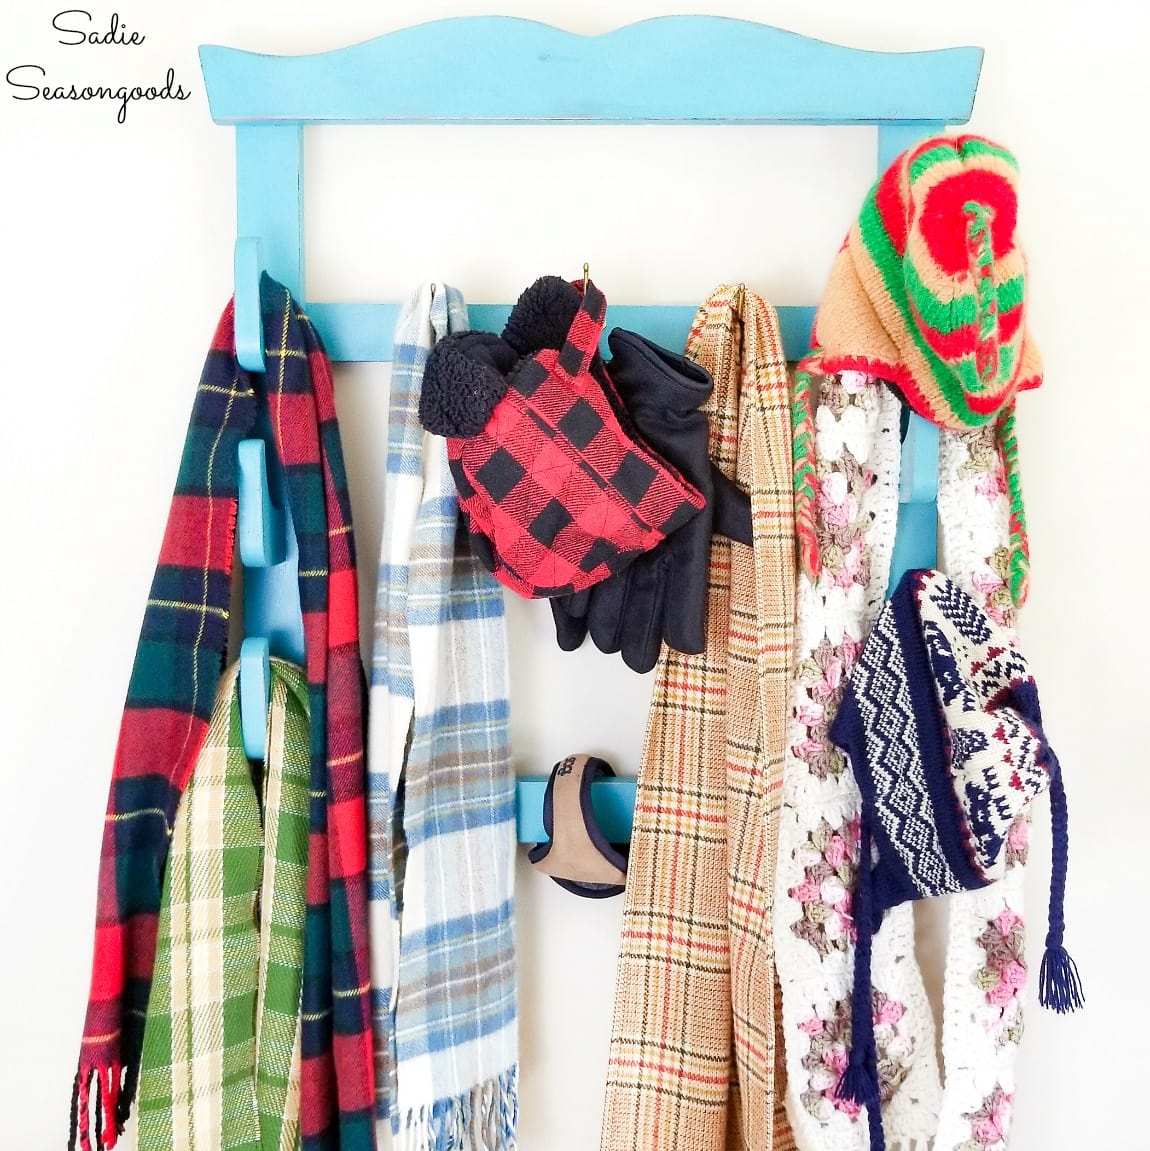
If you enjoyed this repurposing idea for a closet organizer for accessories, then you might also get a kick out of this winter weather gear hall tree I made, as well! Can you guess what I upcycled to make it before clicking over to see?
Craft on!
S
Want to be notified when I publish my next upcycling project tutorial?
Join me on Social Media:
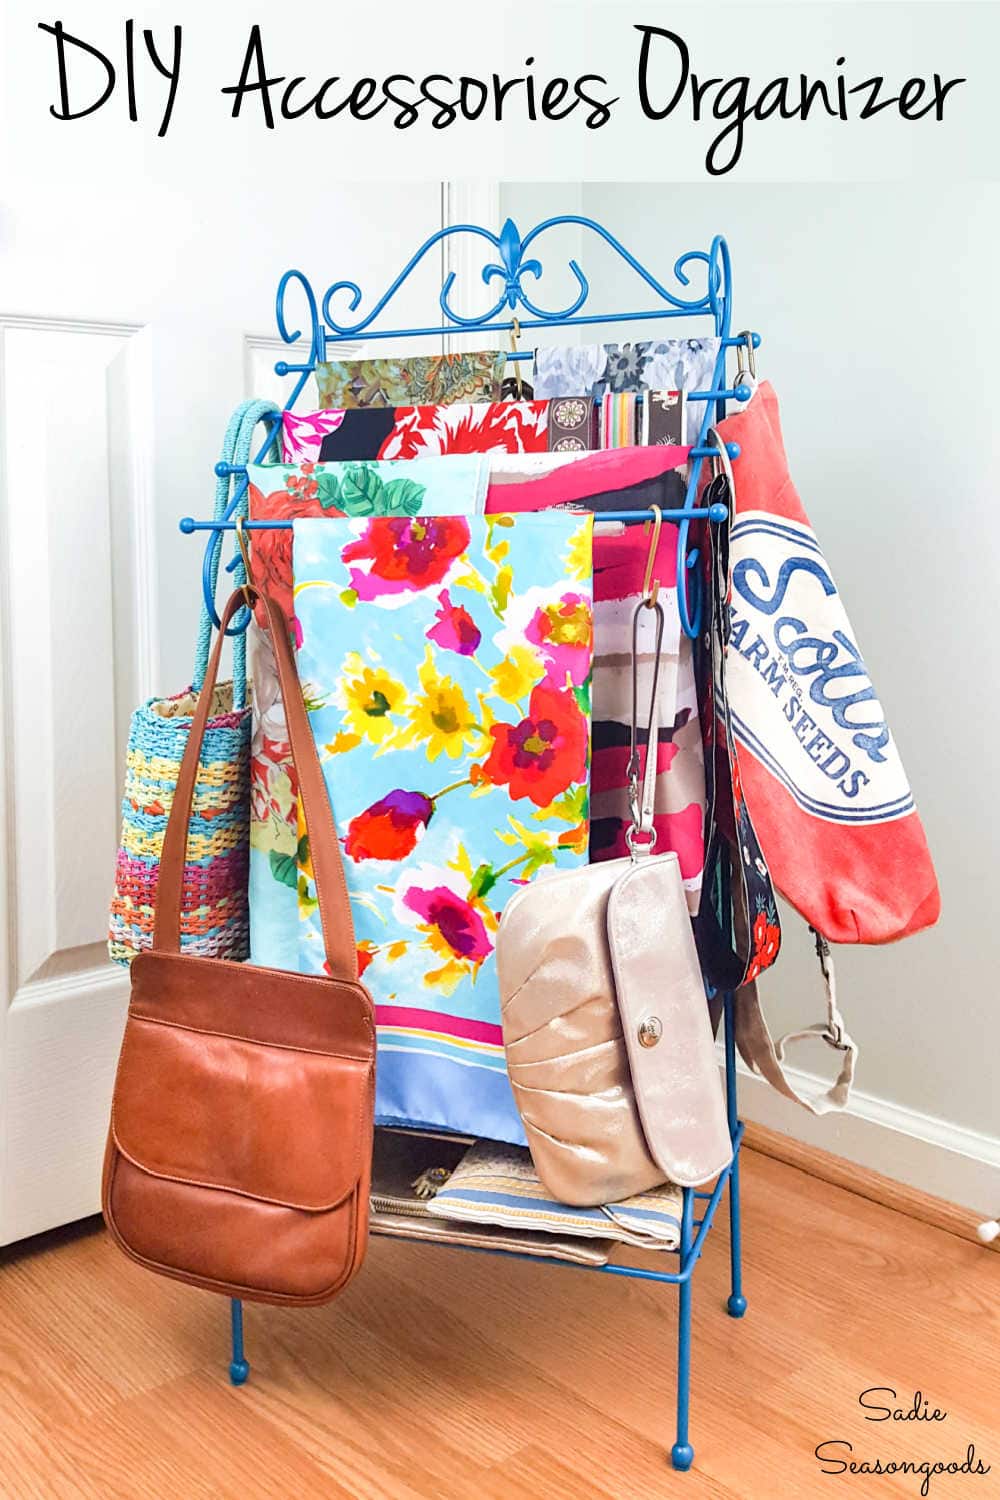
PIN ME!
Sarah Ramberg is the owner of Sadie Seasongoods, a website that celebrates all things secondhand. From upcycling ideas and thrifted decor to vintage-centric travel itineraries, Sadie Seasongoods is a one-stop shop for anyone who loves thrifting and approachable repurposing ideas. Sarah is also the author of “Crafting with Flannel” and has been featured in numerous media outlets and magazines.







This is such a great idea. Loved what you did with it.
Thanks, Gail!
Great way to repurpose that piece! Love the color blue you picked.
Thanks, Maryann!
Hey! first, is that Gail me? I don’t remember leaving a comment earlier in the week. lol
Second, it cracks me up how often “we” buy stuff and the thrift store without knowing it’s original purpose! 🙂
In any case, I love the color, and “s” rings? My favorite way to organize random stuff at home, in the camper, and when I travel!
pinned!
gail
Haha, I’m lucky enough to have TWO Gails commenting on my posts!
Such a brilliant organizing idea Sarah! Pinned 🙂