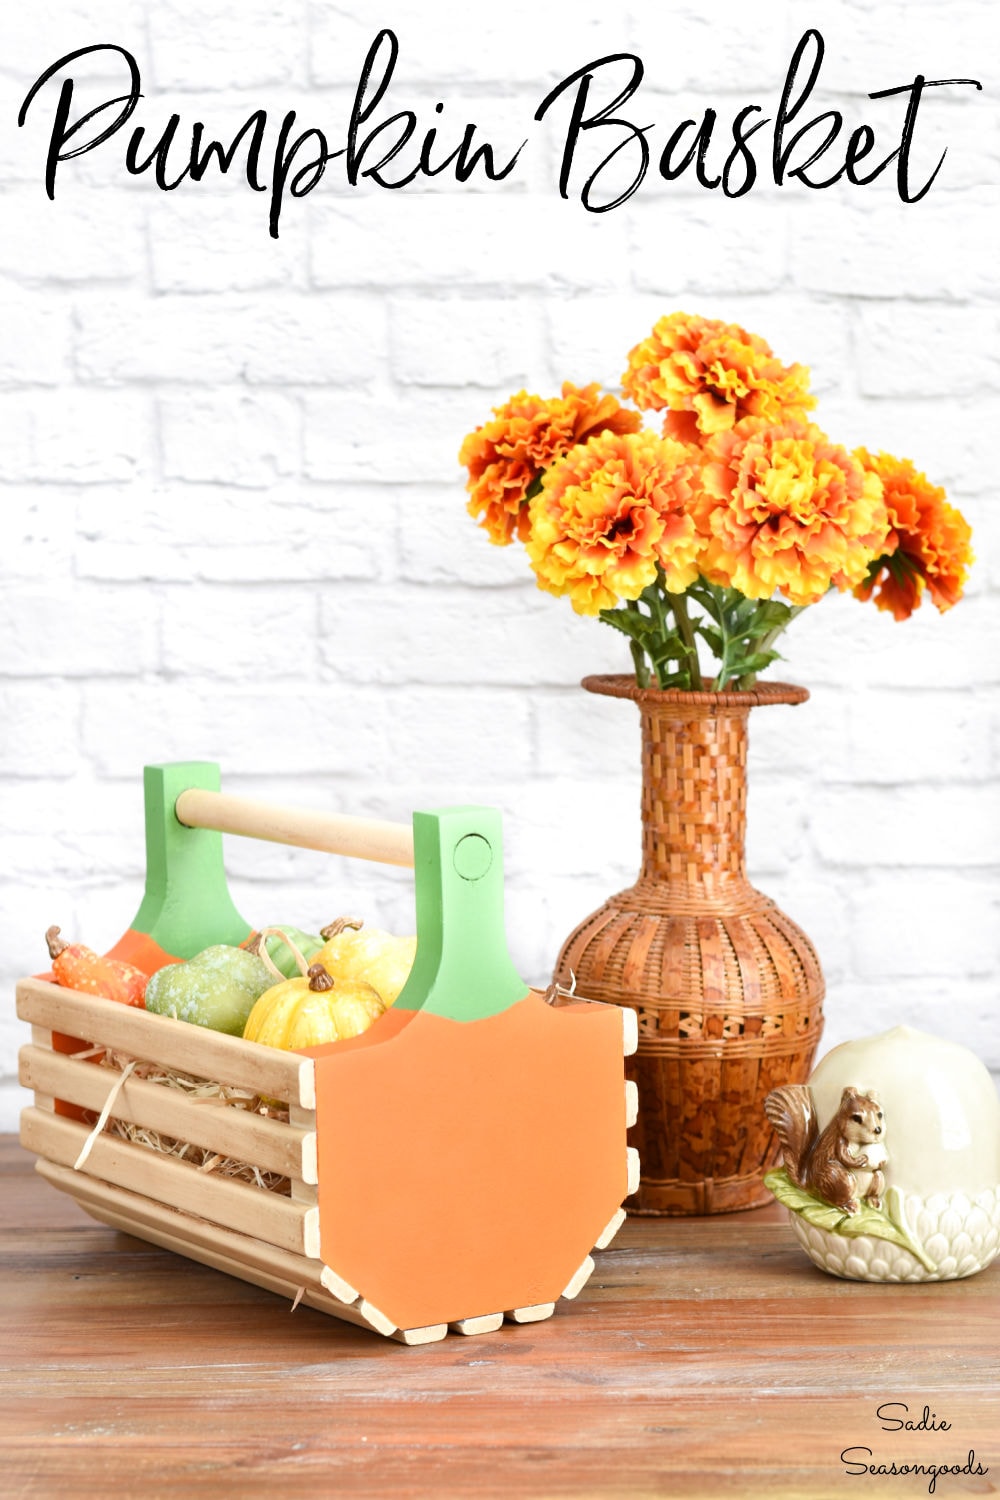
Truth be told, I didn’t know that this kind of small wooden basket was called a Clam Hod when I first spotted it. All I knew was that I spotted a certain shape that I could tease out and turn it into a pumpkin basket. After buying it and bringing it home, I figured out its name (i.e., clam hod) (with a little help from my friend, Maliasmark).
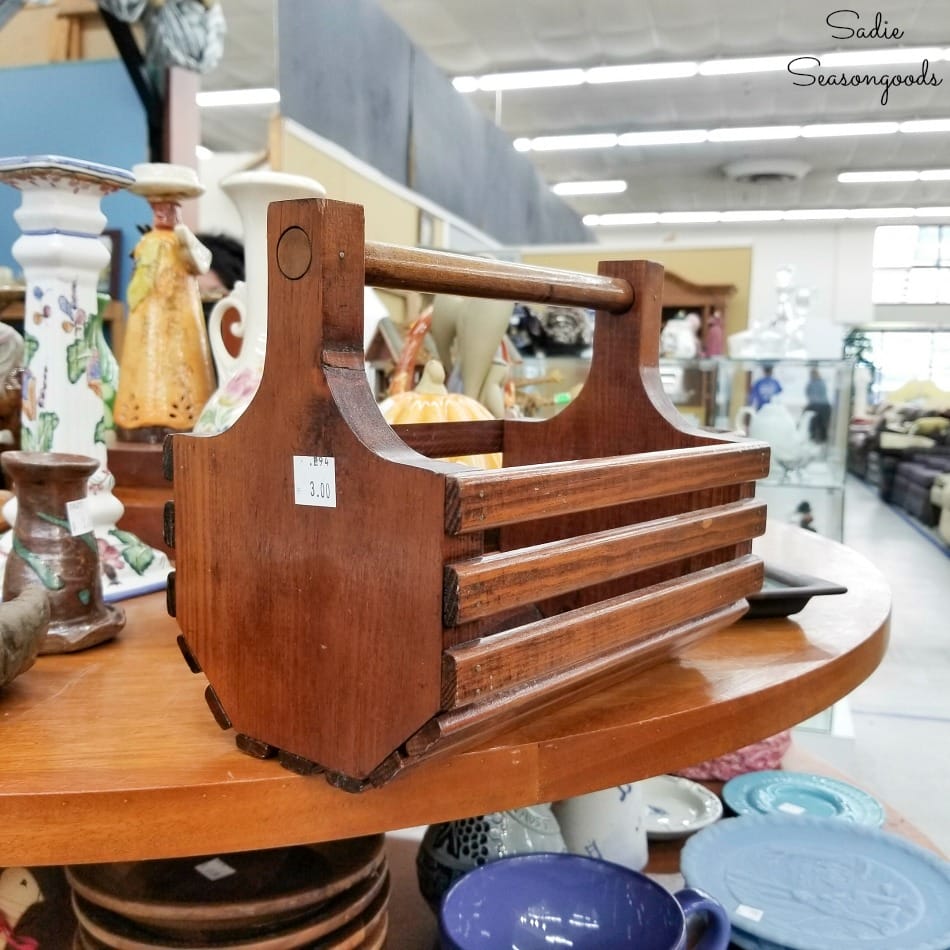
Either way, it was in decent shape but primed for a makeover, and I knew exactly what I wanted to do.
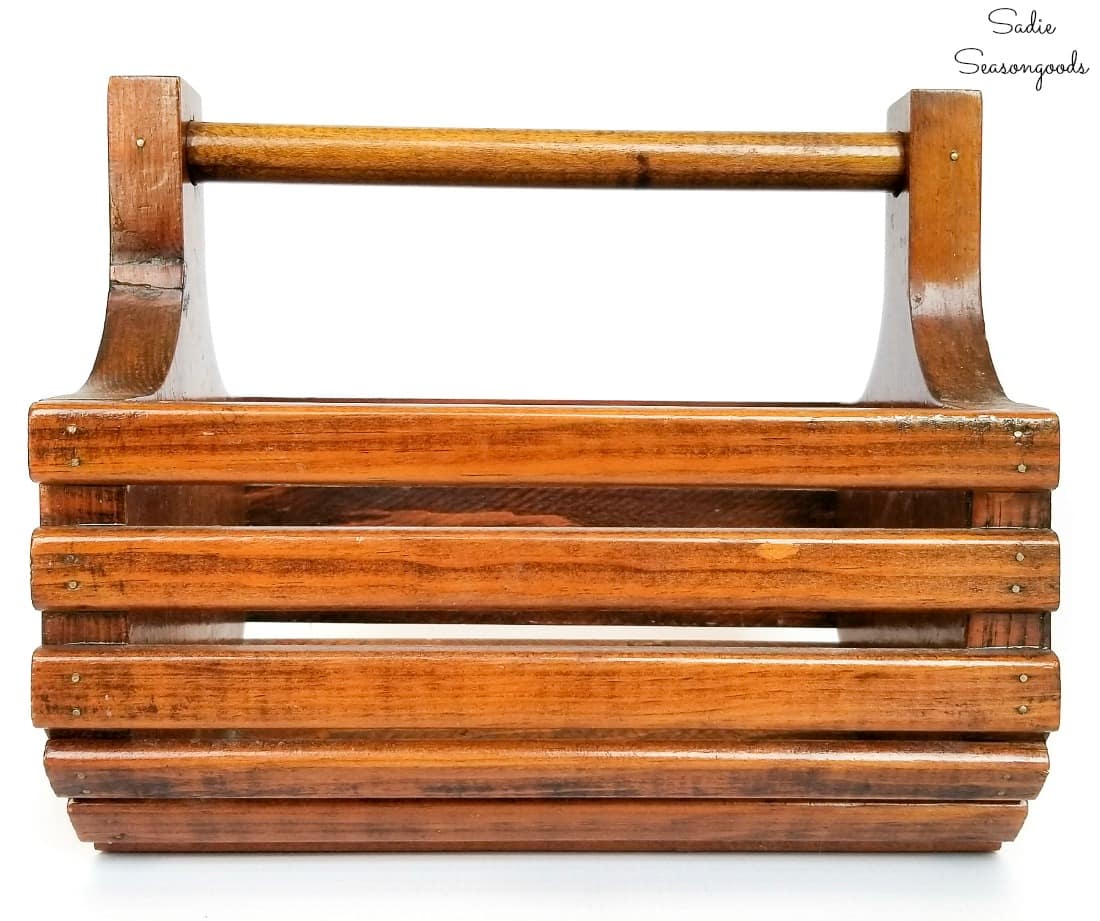
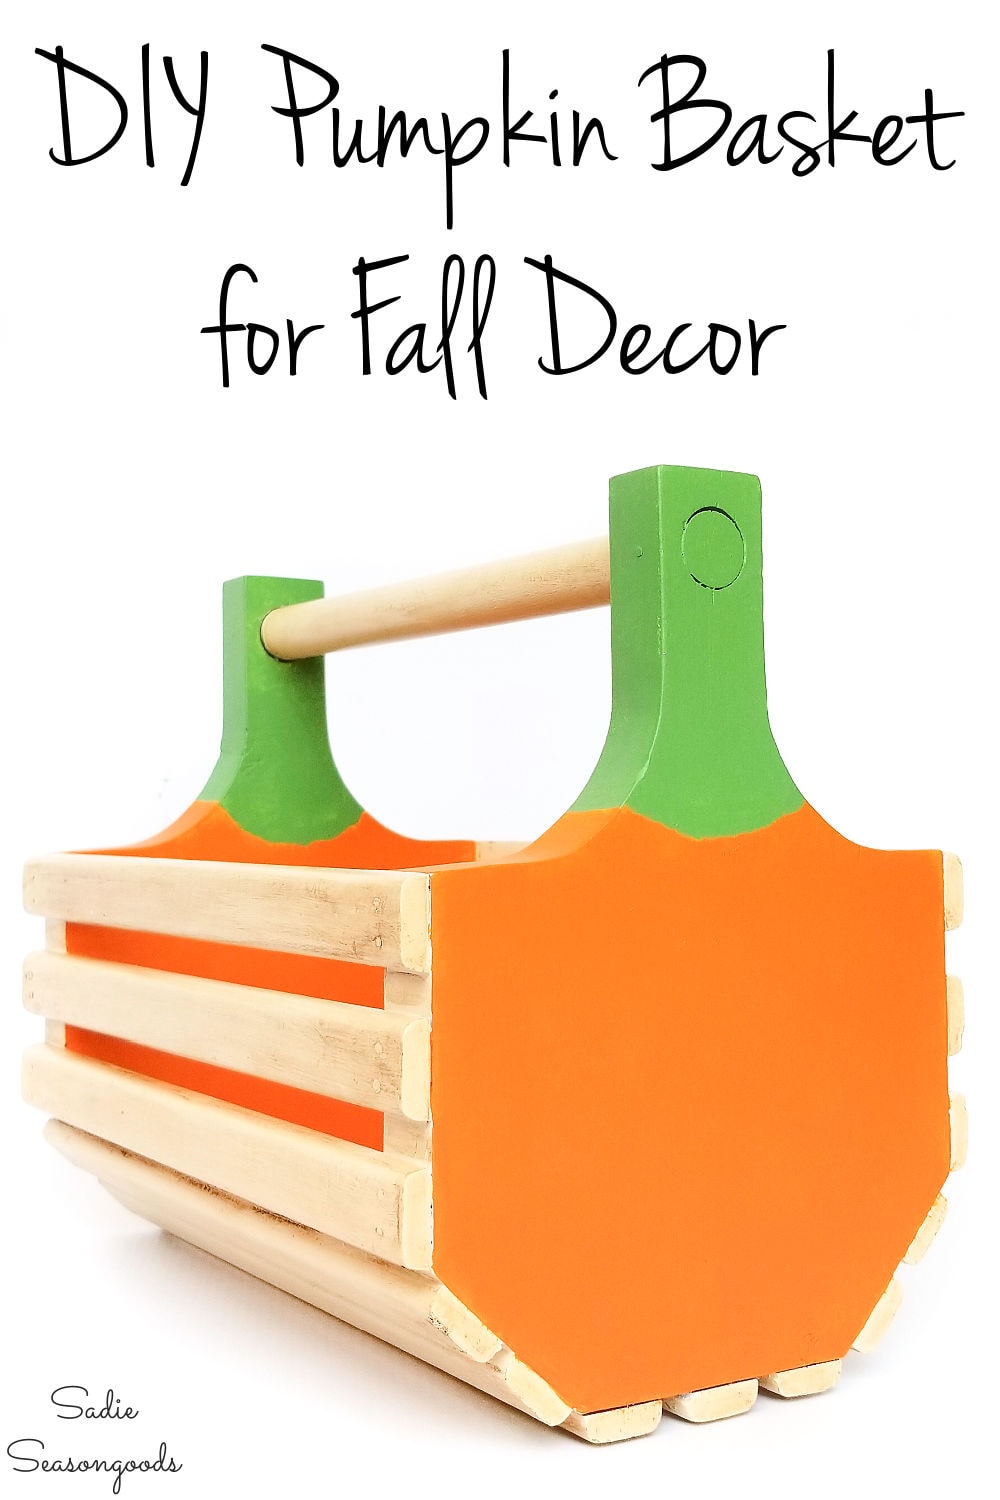
You see, the ends of the clam hod looked like pumpkins to me. And not an abstract pumpkin in a weird shape, but rather perfectly plump pumpkins with perfectly shaped stems.
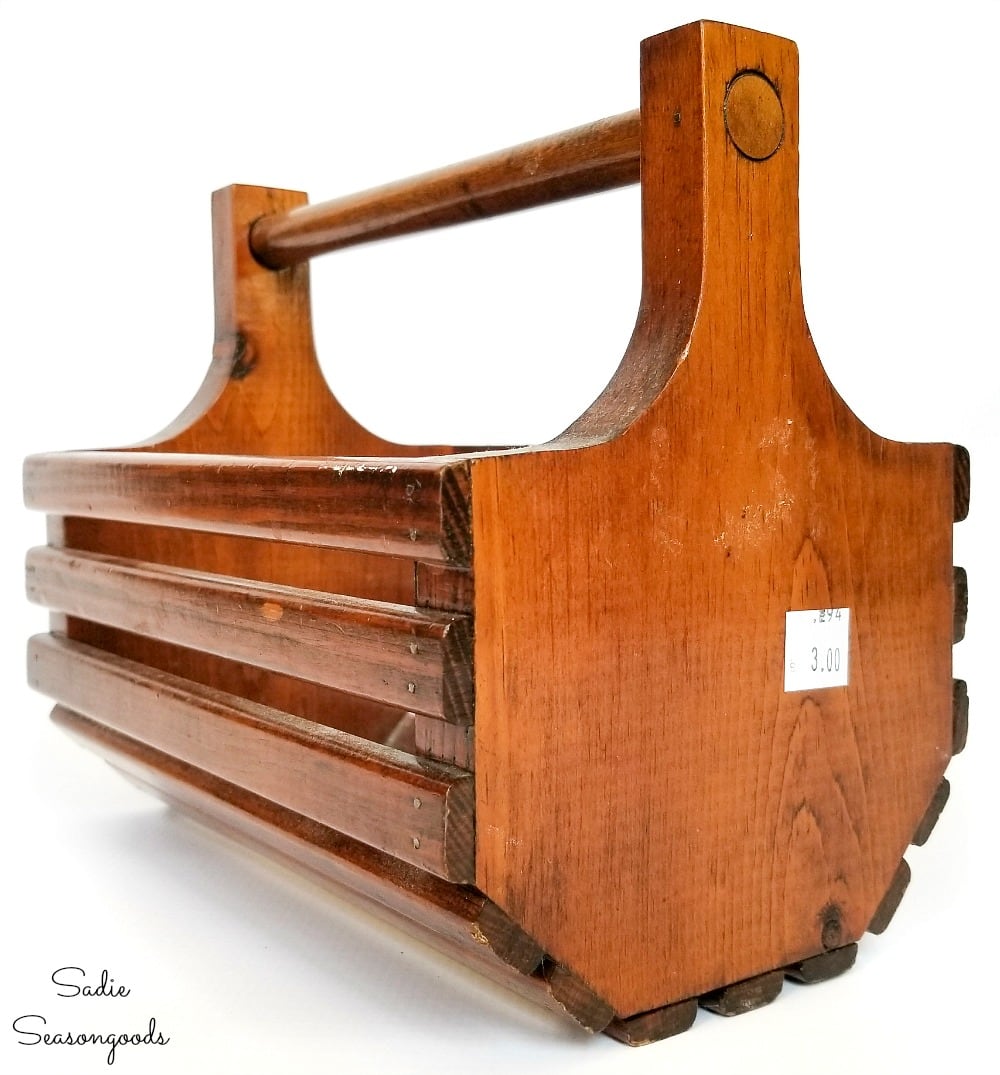
And I planned to highlight those ends and transform the entire thing into a fall centerpiece or pumpkin basket!
This post contains affiliate links for your crafting convenience. As an Amazon Affiliate, I earn from qualifying purchases. All blue, bold, and underlined text is a clickable link, either to a product or to a related post.
Faking the Look of Bleached Wood on a Small Wooden Basket
I hemmed and hawed about the approach to take. The dark wood wasn’t in bad shape, but it really detracted from the look I was going for.
So, after hemming and hawing a little more, I decided to first spray the entire thing with flat white primer.
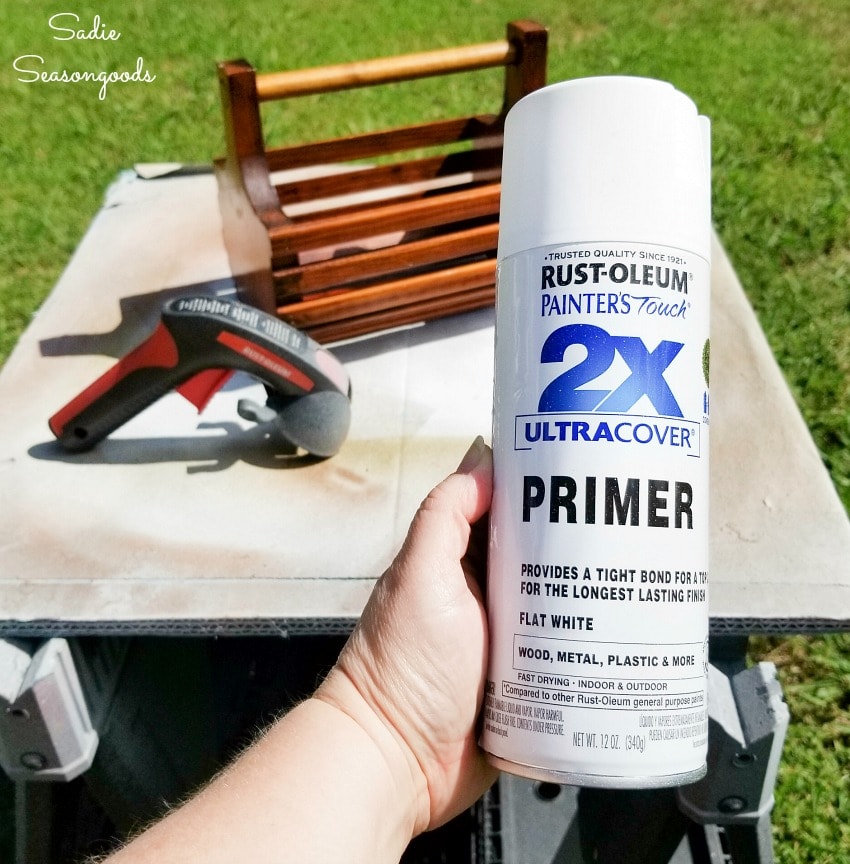
After the primer dried, I gathered a series of craft paints. Orange and green for the pumpkin ends, and a couple of shades of cream/beige.
I’ll explain why the tan-colored paints in a moment.
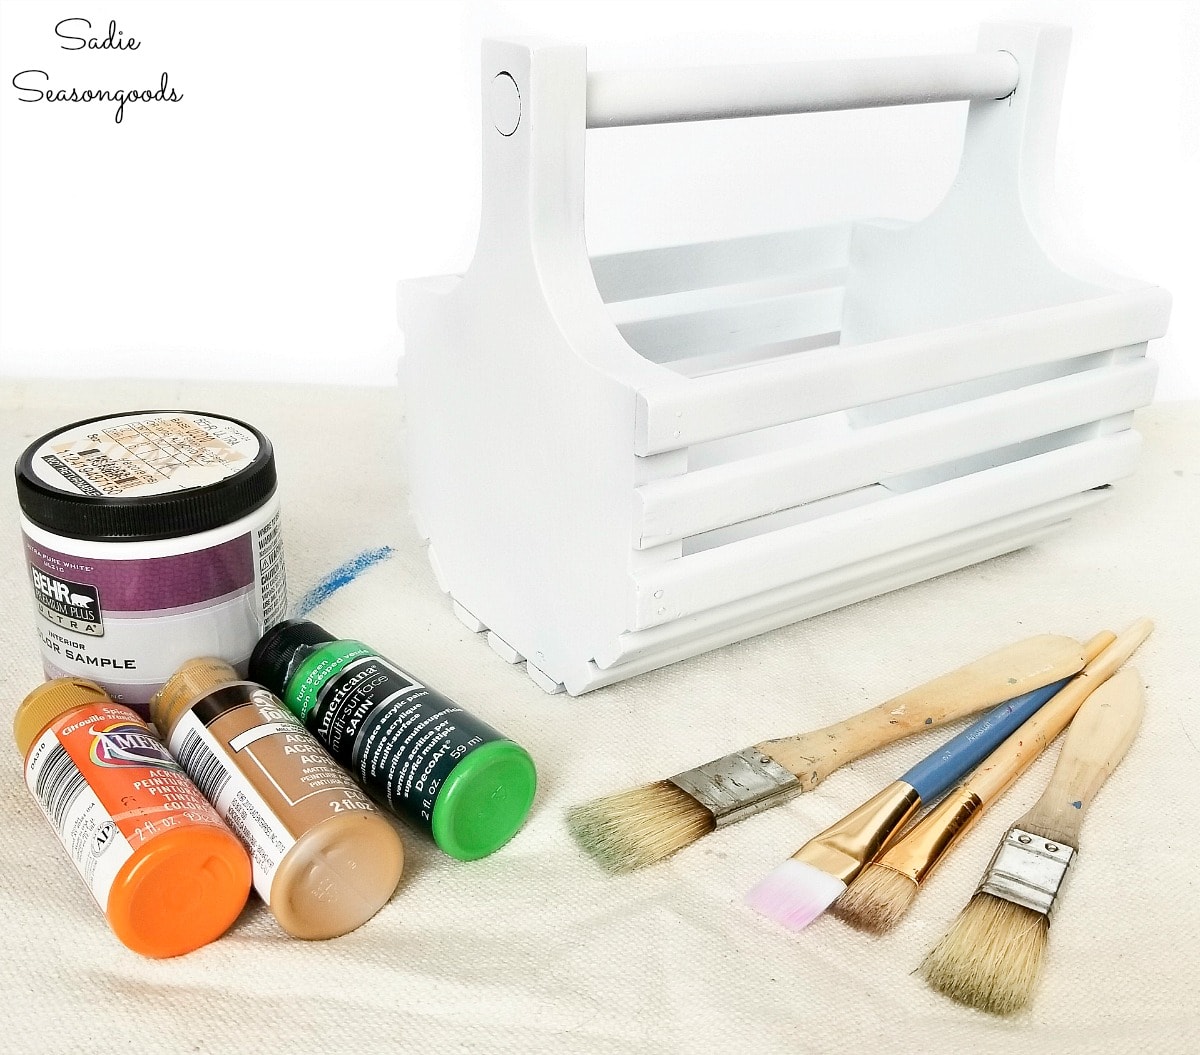
I wanted the slats and handle of the clam hod to look like pale or bleached wood. But faking it with just paint and wax- no sanding or stripping involved.
So, next, I painted the slats a buttercream color (mixed from the cream and beige paints that I had).
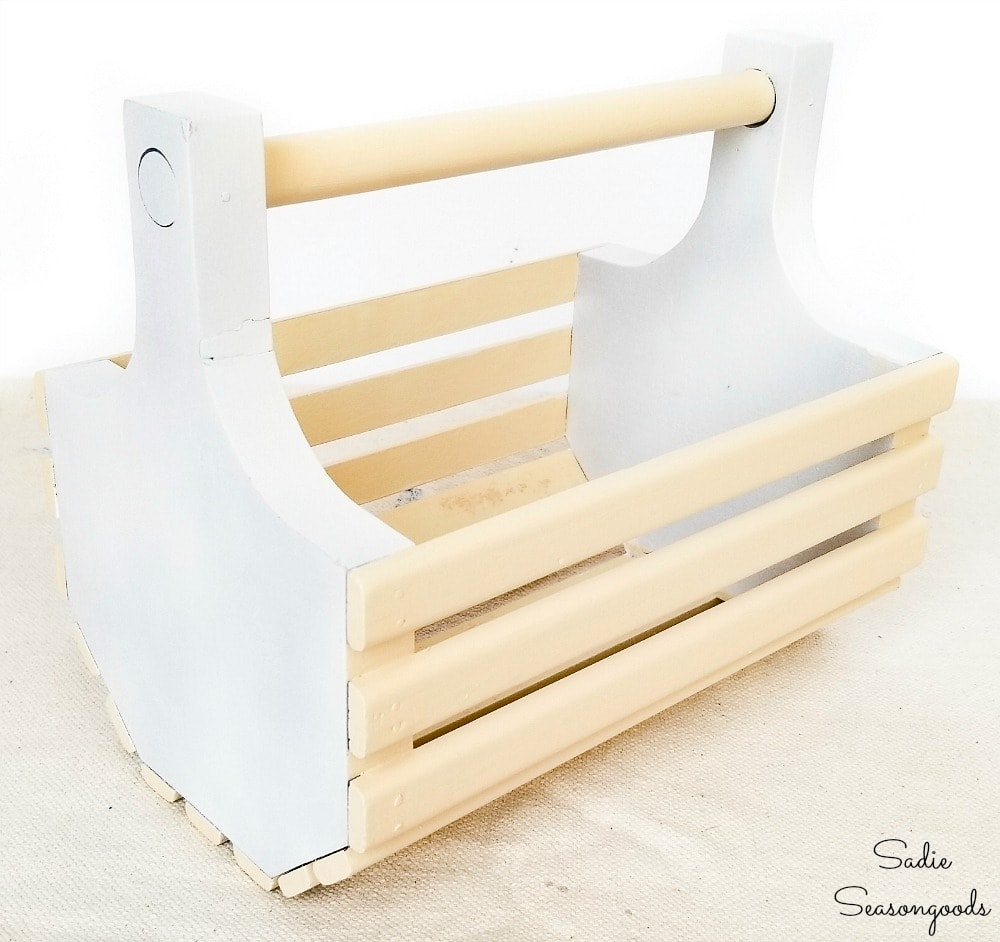
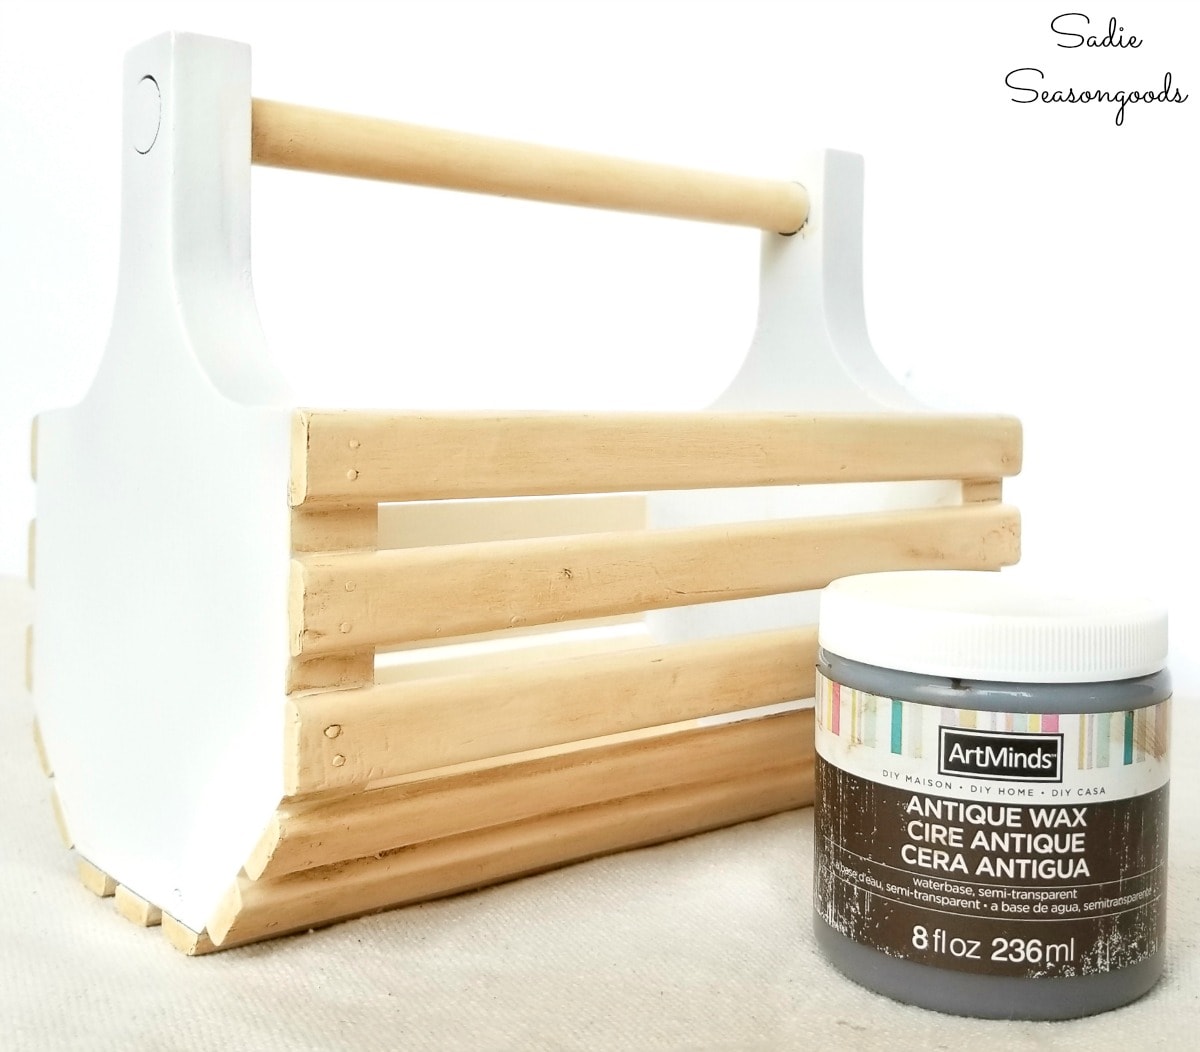
Then, I used my fingertip to rub some dark wax over the buttercream.
I finger-painted the wax on carefully (as to not get dark fingerprints on the pumpkin ends) and wiped off the excess with a clean white rag.
Transformation into a Pumpkin Basket
Now I could focus on the pumpkins! I used a flat, straight edge craft paint brush to paint a quick coat of orange on the body of the pumpkin.
The flat brush allowed me to get right up to the slats of the clam hod. But it left brush strokes that I didn’t like.
So, I went over the first coat of orange paint with a stencil brush to give me an opaque pumpkin.
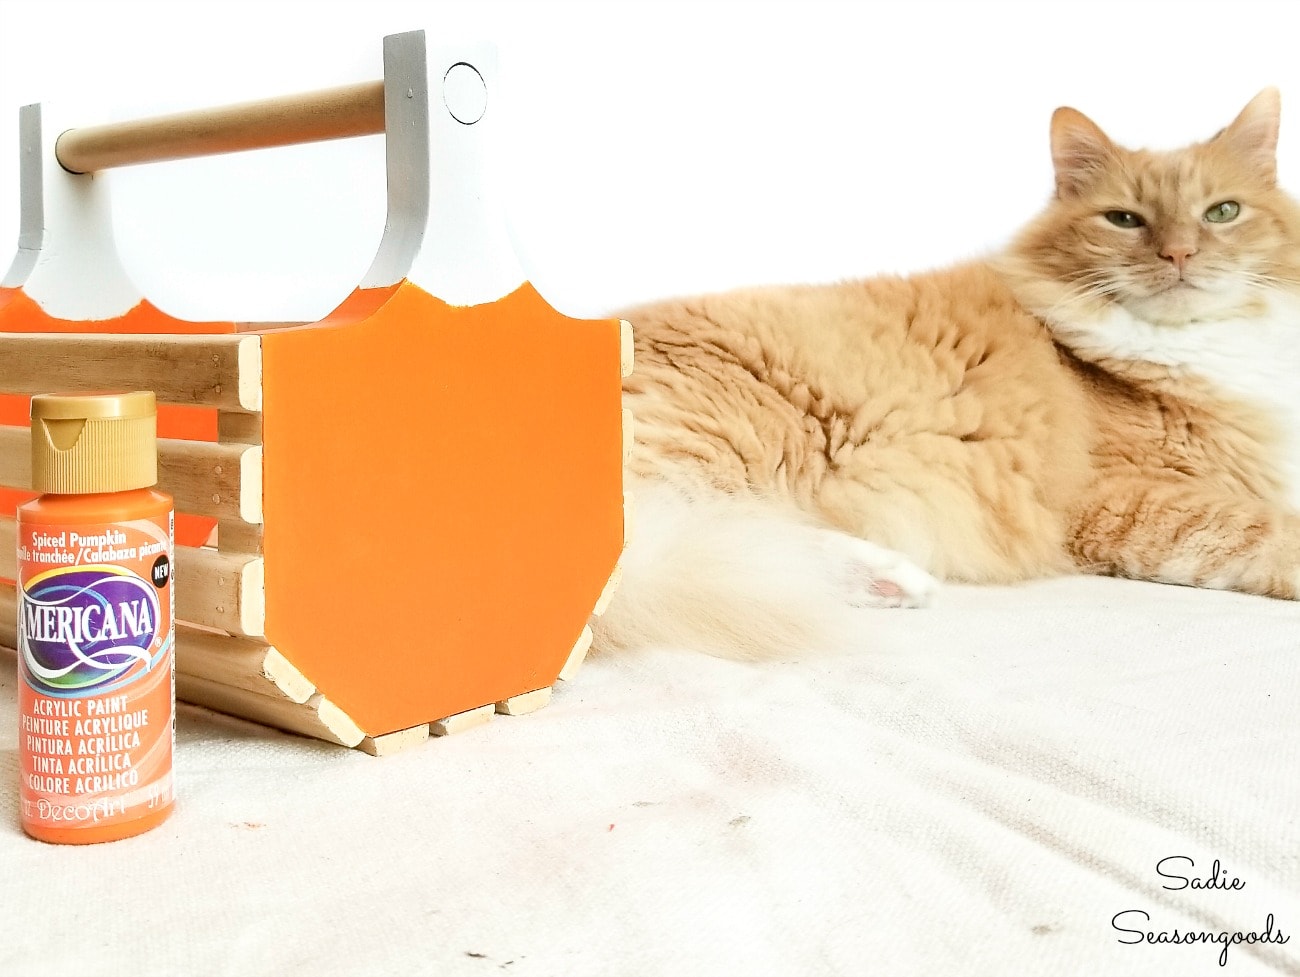
The stippling effect worked perfectly over the brushed-on coat! Even Cottonball approved.
Next, I custom-blended a celery-green color for the stem and used the same process. First, a coat with a paint brush, then stippling over the brush marks.
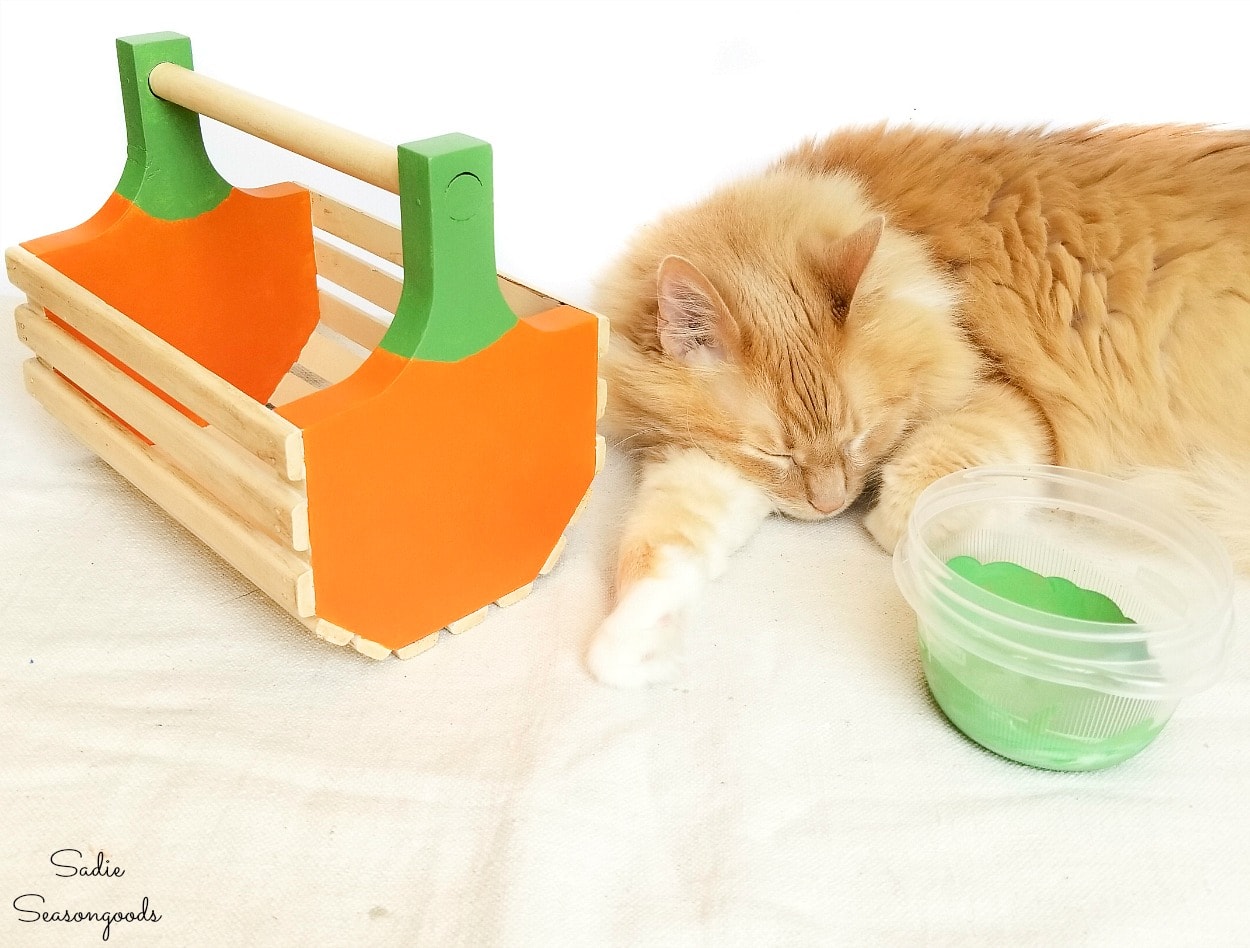
Lastly, I sprayed the pumpkin basket with a clear topcoat to protect the fresh new look!
I could have decorated it further- maybe some twine around the handle, or some distressing. Or even some stenciling on it like an old fruit crate.
But I kind of liked it just like this.
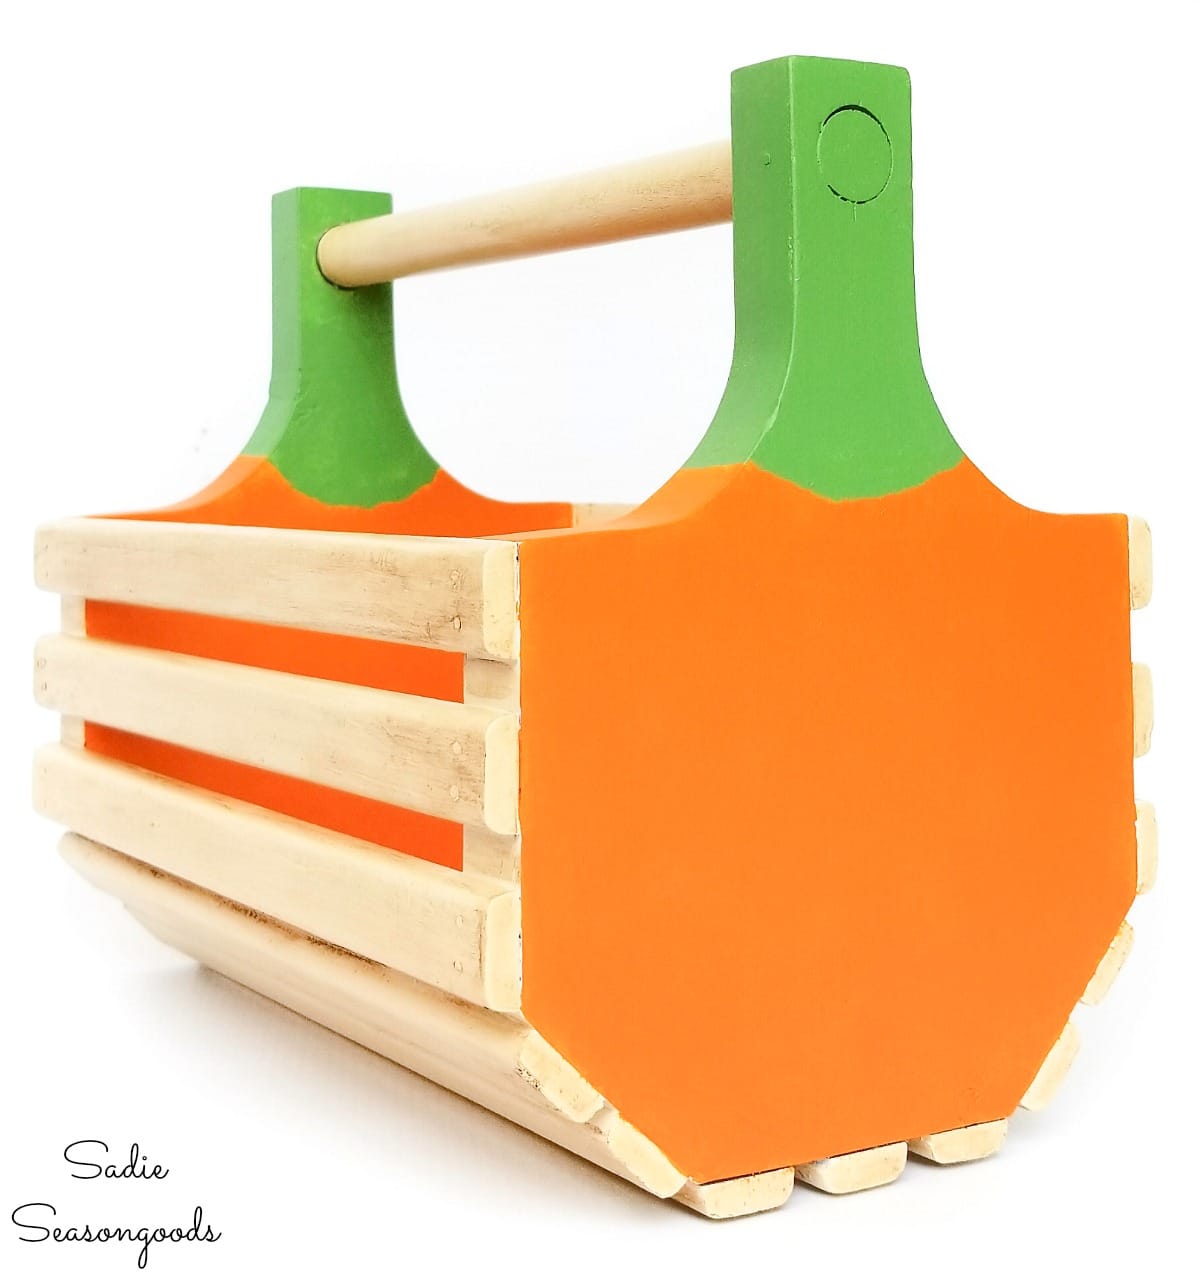
All that was left to do was to fill it and use it as a fall centerpiece!
Pumpkin Basket for Fall Decor
Some straw and mini gourds later, my pumpkin basket was truly complete!
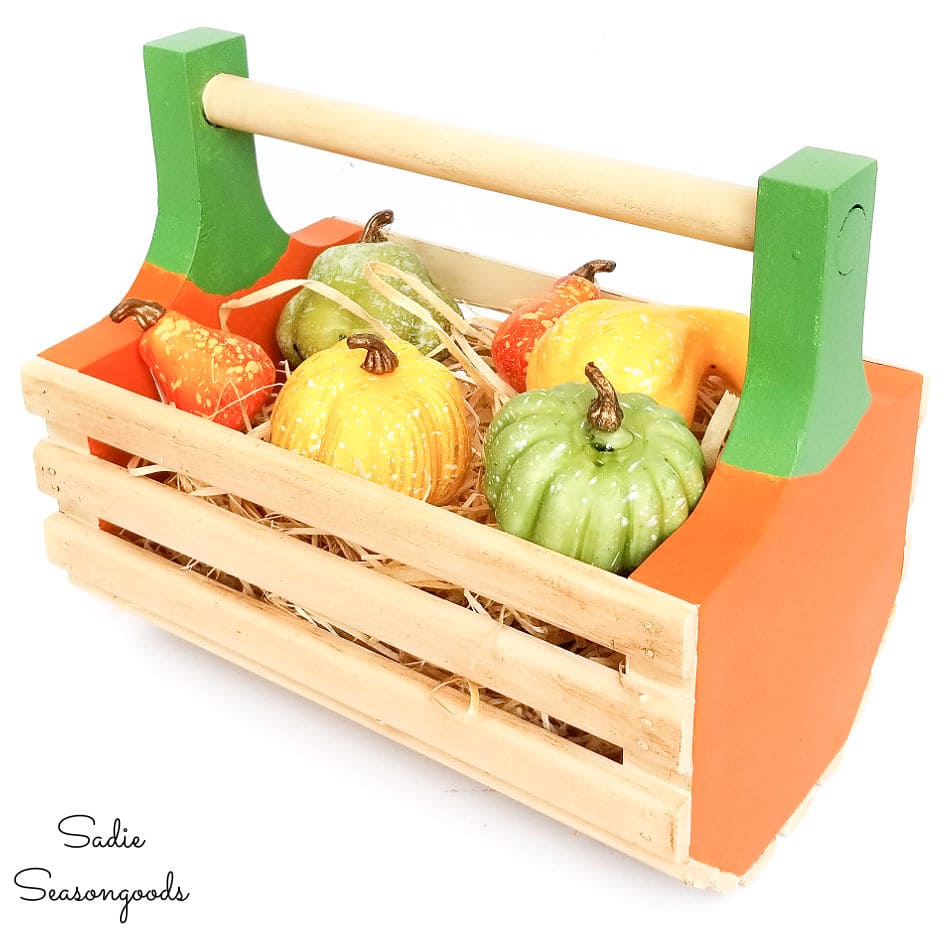
And now I can use it as a fall centerpiece on our table or coffee table. I mean, those ends were truly meant to become pumpkins, don’t you think?
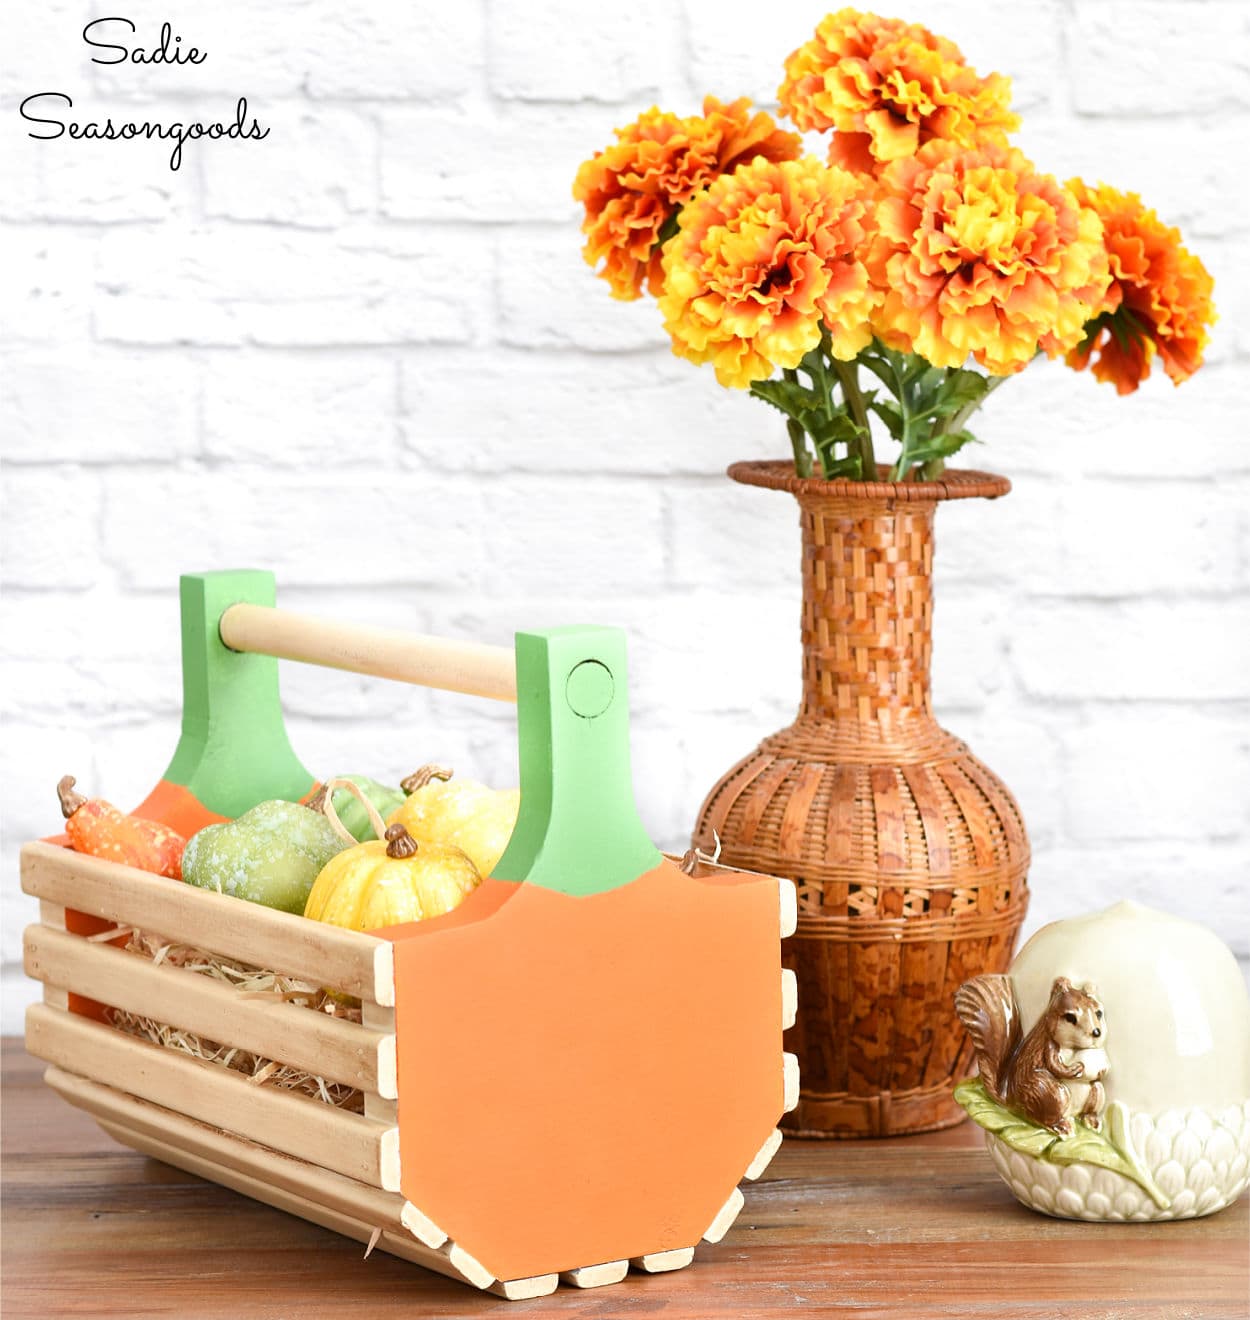
*****
And guess which day it is? Thrift Store Decor Team Day! Check out what my upcycling friends have been up to.
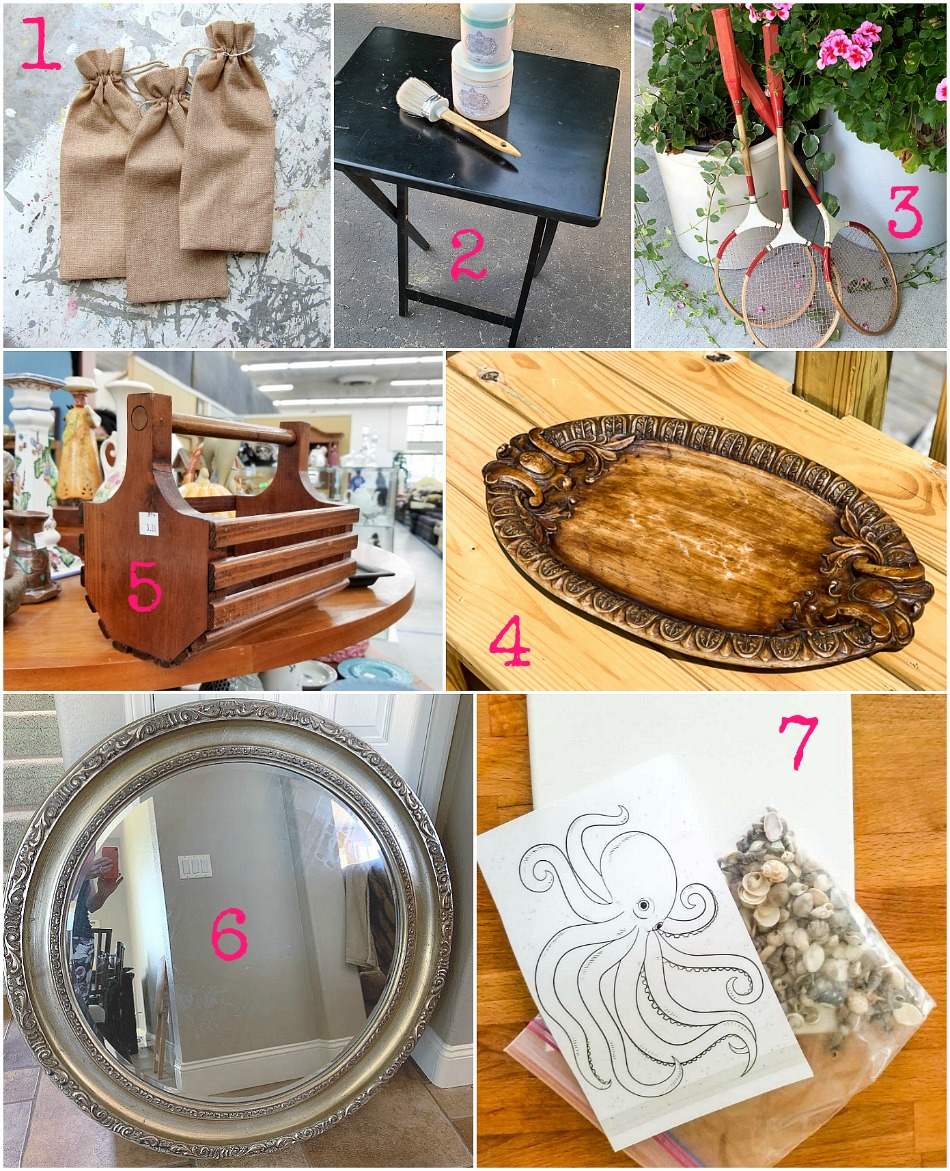
1. Burlap Gift Bags – Petticoat Junktion
2. TV Tray Table Makeover – My Repurposed Life
3. Badminton Racket Repurpose – House of Hawthornes
4. Carved Tray Makeover – Our Southern Home
5. Upcycling a Clam Hod as a Pumpkin Basket – Sadie Seasongoods
6. Mirror Makeover – My Uncommon Slice of Suburbia
7. Octopus Shell Art – Domestically Speaking
*****
Well, think you’ll look at those baskets differently now? And see pumpkins on the ends? What can I say- at this time of year, EVERYTHING starts to look a little gourd-y to me.
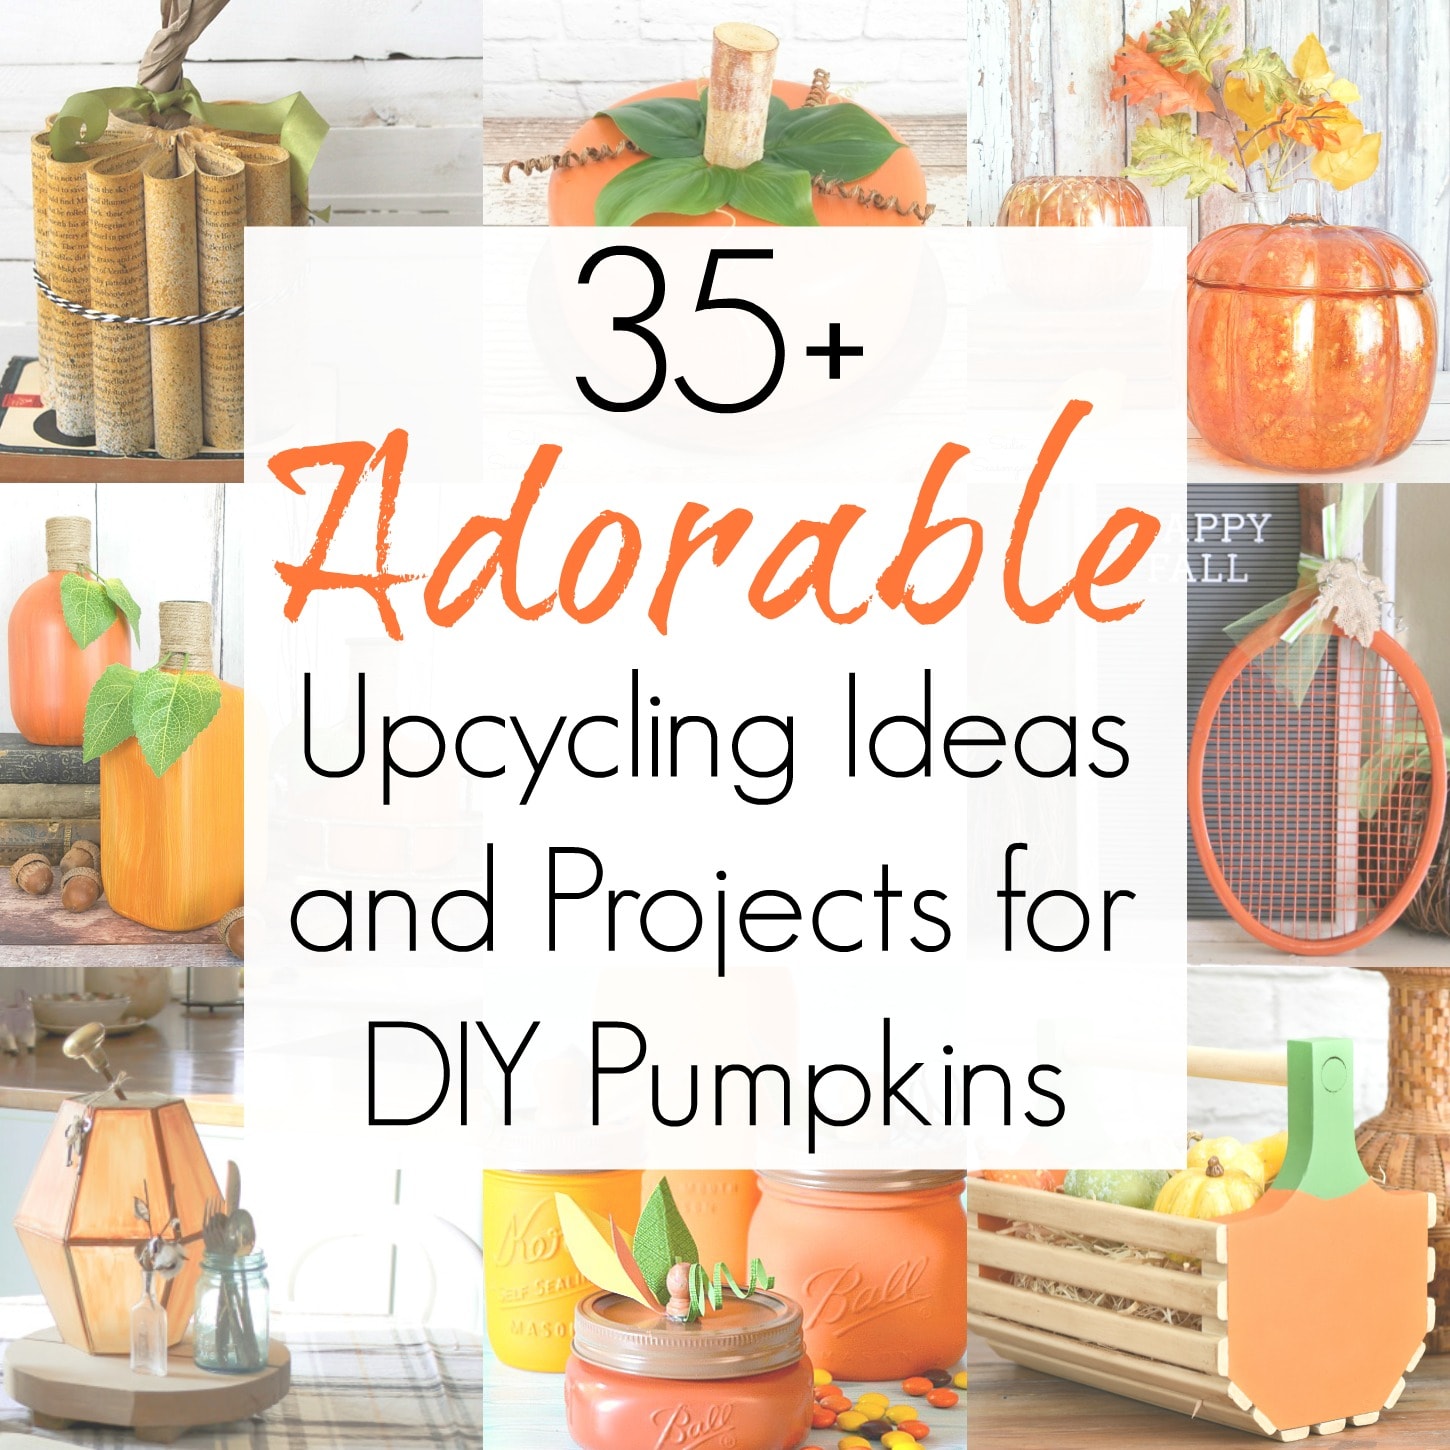
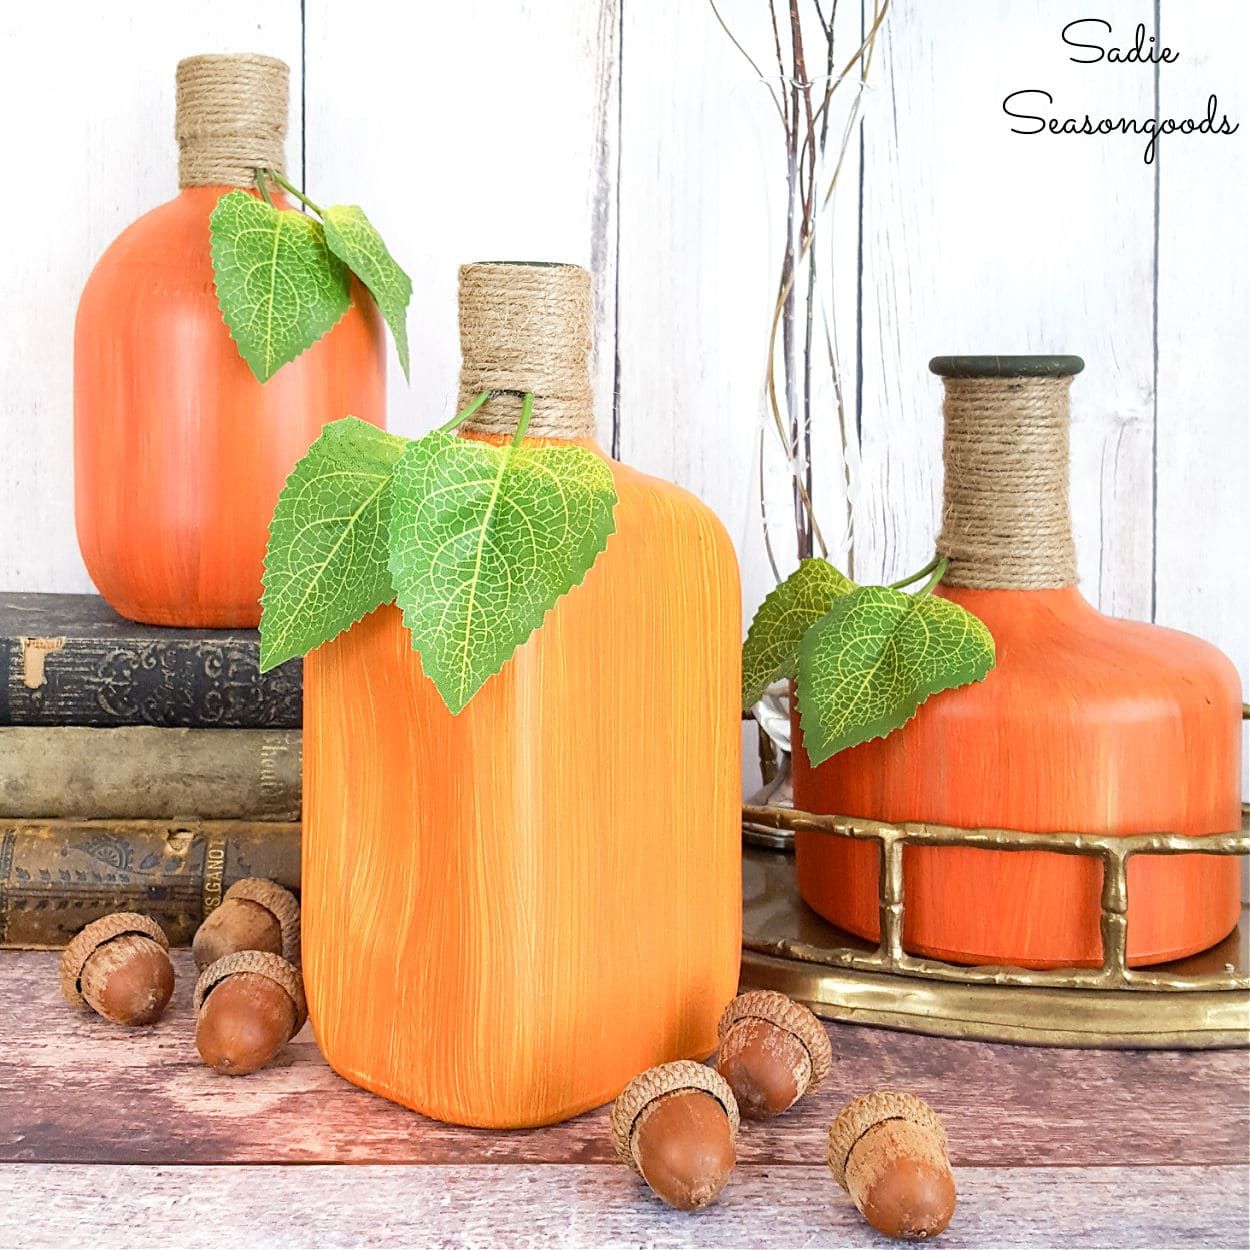
If you enjoyed this upcycling idea for a pumpkin basket, then you’ll love the painting technique I used on these glass bottles to create painted gourds, too!
Craft on!
S
Want to be notified when I publish my next upcycling project tutorial?
Join me on Social Media:
PIN ME!
Sarah Ramberg is the owner of Sadie Seasongoods, a website that celebrates all things secondhand. From upcycling ideas and thrifted decor to vintage-centric travel itineraries, Sadie Seasongoods is a one-stop shop for anyone who loves thrifting and approachable repurposing ideas. Sarah is also the author of “Crafting with Flannel” and has been featured in numerous media outlets and magazines.





Isn’t that the cutest pumpkin basket. I have seen that type of basket in many thrift stores and never knew it had a specific name./purpose. You learn something every day.
One of the best side effects of blogging is all the little tidbits like that I learn along the way!
Super cute, my problem is always a place to store seasonal items as we live in a condo. As I looked at this I was challenging myself to ways it could be changed seasonally so you didn’t have to put it away. 😉 Like cutting and adding a block to each end, maybe a Christmas Tree, Heart, Rabbit or bunch of Carrots, Wreath of Flowers, etc. I could go on and on for seasonal ideas to add to the ends, my brain never stops, LOL!
I am in awe that you can run a blog out of a condo! Our first house (that we just moved out of) was only 1400 square feet, so blogging stuff was absolutely everywhere. The saving grace was our massive oversized garage which honestly was probably another 1000 square feet. How do you do it???
Your imagination and creativity is so refreshing
You are so sweet, Marilyn- thank you!
WHat a perfect craft for fall, so cute!
Thank you so much, Kristin!
Sarah,
What a cute pumpkin project. You always find the best stuff. I love that the slats look like raw wood because of the way you painted them. Great job!
pinned!
gail
Thank you so much, Gail!
Wow I have seen them so many times at thrift stores and yard sales. GREAT idea! You are truly creative! Thanks for sharing
Thank you, Angie!!
I love how the cream paint and wax looks like raw wood. And being a lighter color is going to be a great contrast for whatever you put into the basket! I love making vine tendrils out of wire curled on a pencil or even something of smaller diameter. When I make my cloth pumpkins, I often add a leaf from a grapevine bouquet or garland; they are similar enough for me to be a pumpkin leaf! My area in Maine has had almost no yard sales; I have hit GW several times, As a non-New Englander, I don’t know why you would be expected to know what a clam hod basket was! I didn’t realize I had missed seeing Cottonball as a photobomber!
I love you pumpkin basket
Thank you so very much!
Yep, I’m seeing pumpkins everywhere too! Super cute!!!
Thank you!
Very cute repurpose for Fall. Love how Cottonball photobombs your project shots just like my Rexy used to do.
I think about you and your Rexy all the time, Marie! <3
Excellent hack for creating wood with paint! I thought you had stripped the stain off the basket. I’d love for you to share your projects over at our Creative Crafts Linky Party https://creativelybeth.com/creative-crafts-linky-party-2-join-in-the-fun/
Have a great weekend!
Creatively, Beth
Thanks, Beth, and will do!
That is super cute! I had no idea in the world what that type of basket was called before!
I love learning little factoids through my projects!
Your Fall craft has inspired me. It’s just hard to look past this heat, lol.
Oh I know!! I get excited about Fall as soon as August 1 rolls around, but it really is tough in this southern heat.
We are so excited that you participated! Thank you for sharing your creativity! This is so cute!
Thank you very much, Laura!
Thank you for participating in our linky party!
Thank you for the invite, Beth!!
What a great addition to our linky party! We are so happy to have you!
Thanks, Meg! I’d love to get there earlier next time- what day/time/time zone does it open up?
Thank you so much for sharing! Your project is absolutely darling!
Thank you, Ann!
I was thinking apple theme too. Great for fall or for a teacher’s classroom.
That would have totally worked, too!!