Many years ago, I published this post about a set of Christmas tree baskets that I had thrifted. The project itself was not, admittedly, overly amazing. But I included a quick discussion on how I made some Christmas ornament hooks for the mini ornaments that I hung on the baskets.
And that part of the blog post was INCREDIBLY popular. Far more so than the baskets themselves.
So, I decided to publish a stand-alone post about those mini ornament hooks!
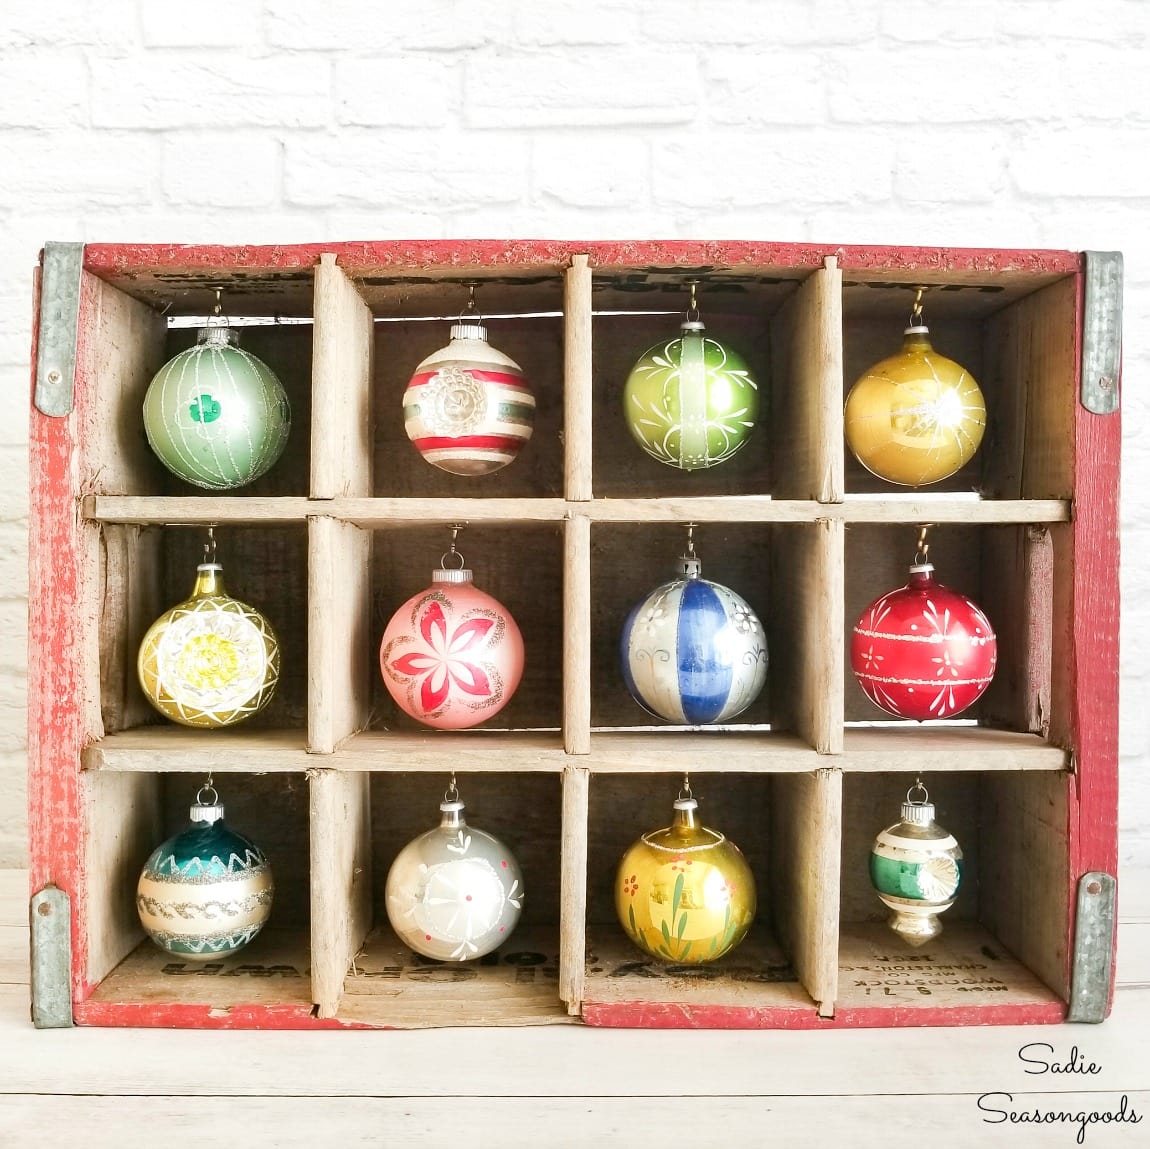
My love affair with Shiny Brite ornaments (or similar vintage Christmas balls) is well-documented…what with this cola crate project…
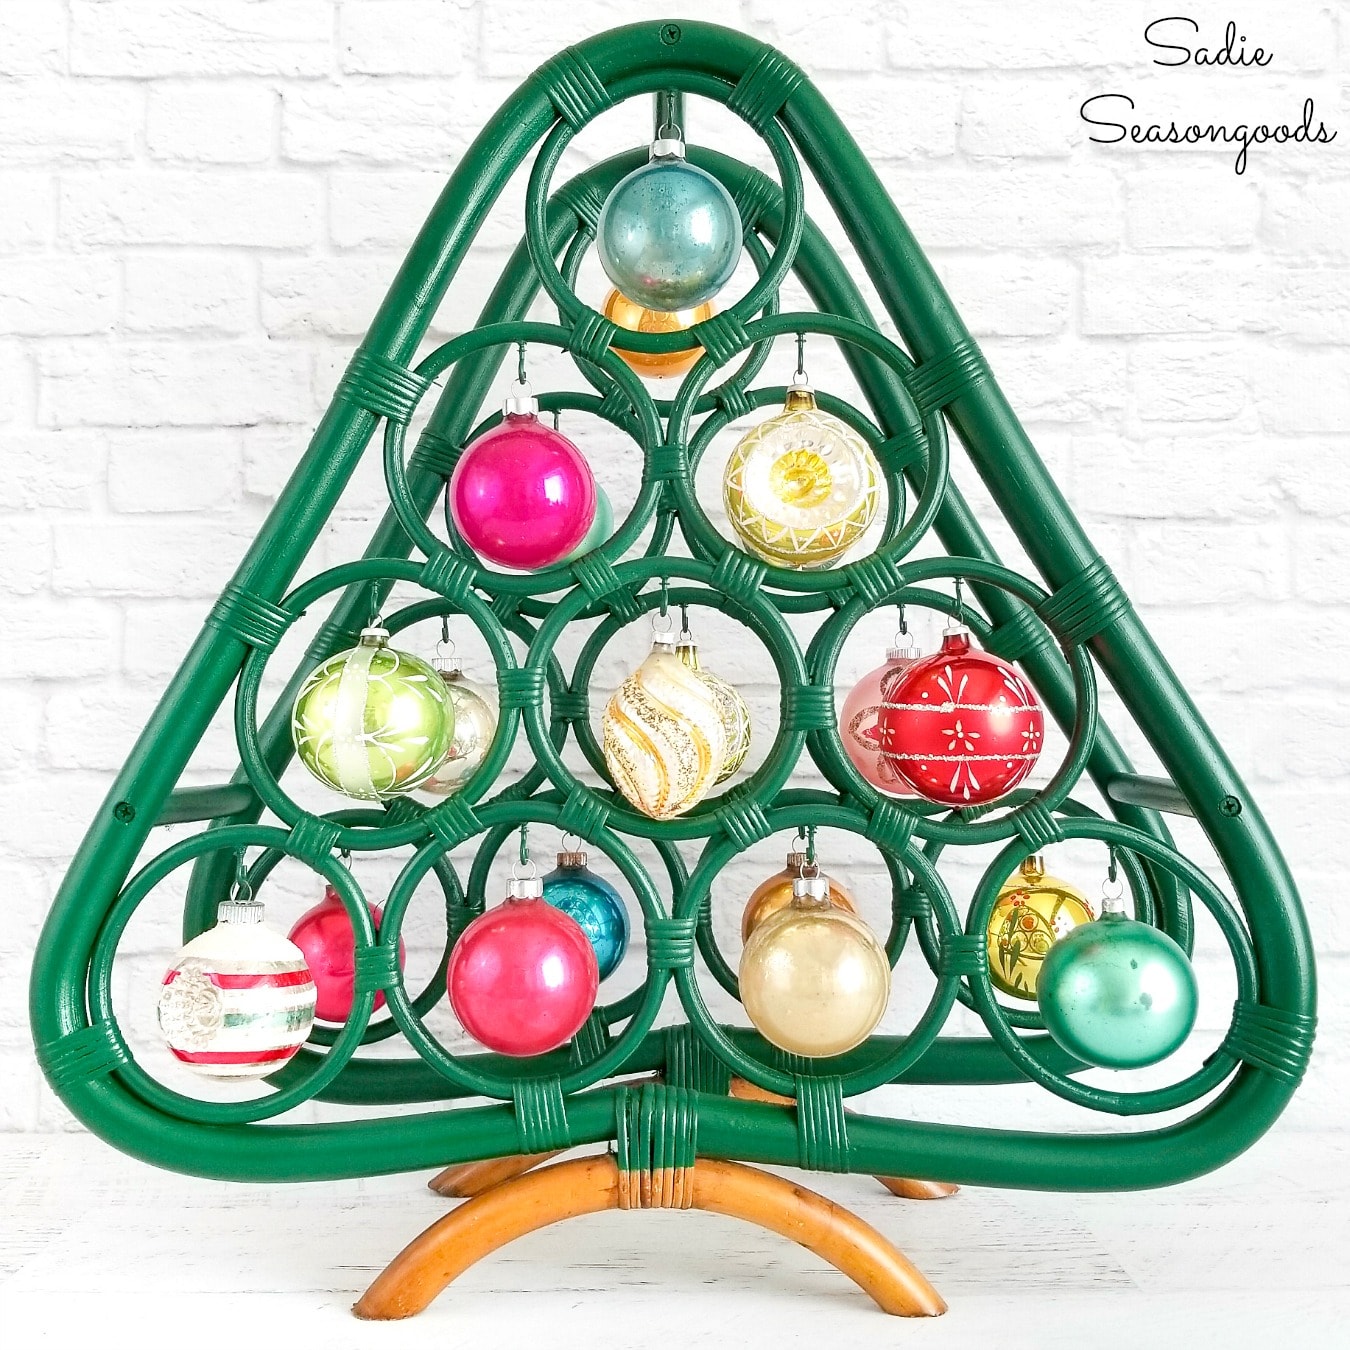
And this upcycled wine rack project, too…
But I also have quite a few itty-bitty vintage ornaments, as well. And when I say itty-bitty, I’m not exaggerating!
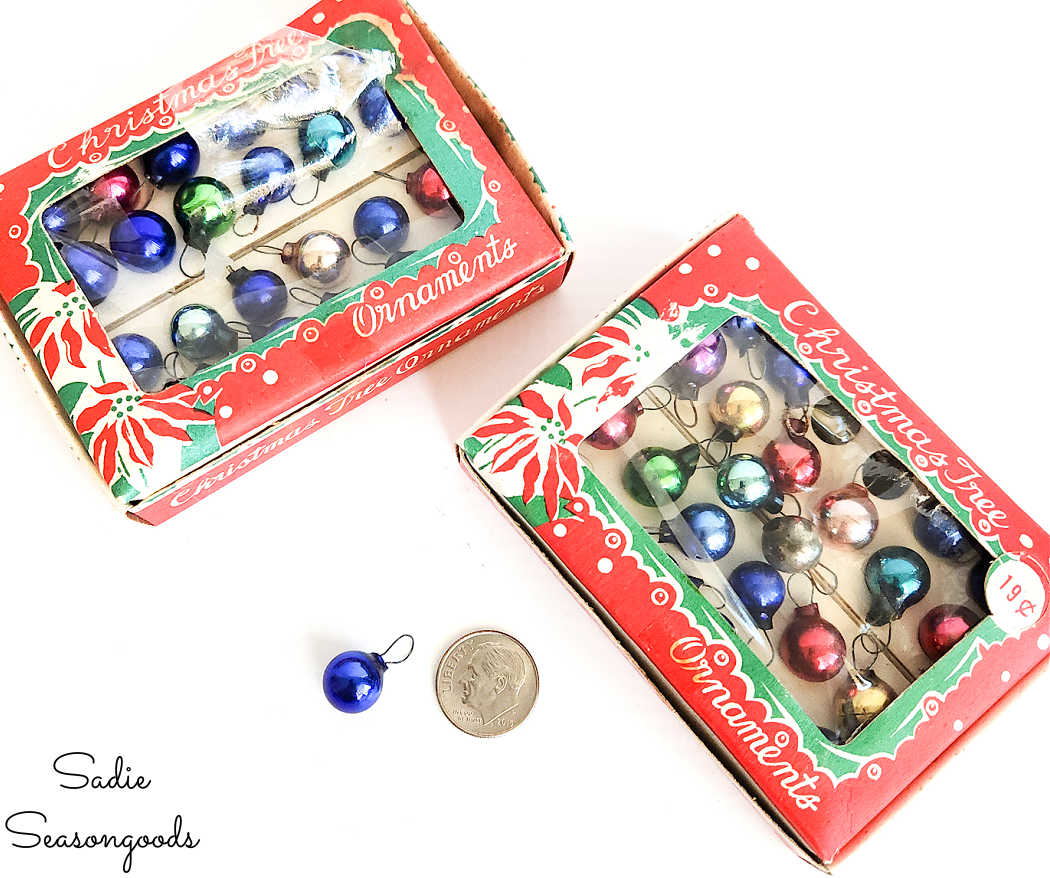
Image credit: Sadie Seasongoods.
But as you can see, a regular hook just looks silly on such a miniature ball! So, I had to remedy that problem with an easy DIY, and well…here we are.
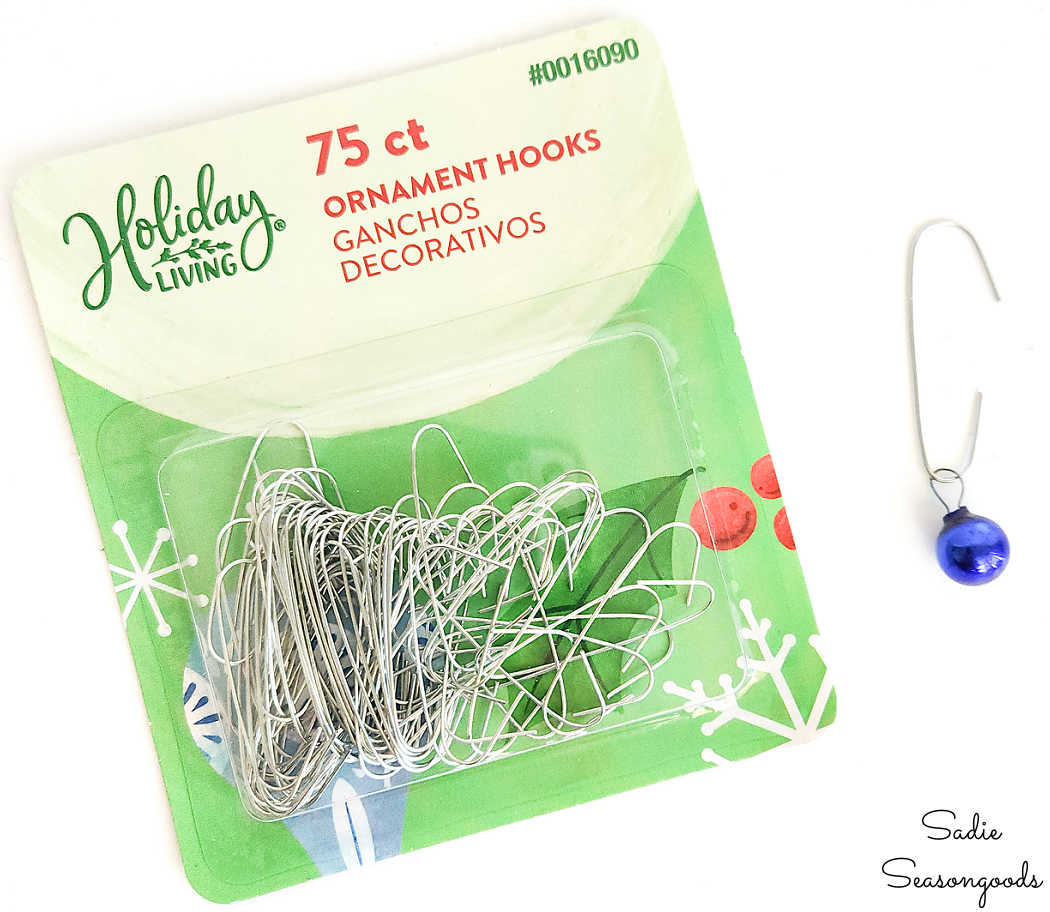
Image credit: Sadie Seasongoods.
This post contains affiliate links for your crafting convenience. As an Amazon Affiliate, I earn from qualifying purchases. All blue, bold, and underlined text is a clickable link, either to a product or to a related post.
Making the Mini Christmas Ornament Hooks
Because I had a tabletop tinsel tree in silver, I wanted a lot of silver ornament hooks to match and blend in. So, I started with the most basic kind of Christmas ornament hooks you can find.
First, I snipped a regular hook in half with a pair of dainty wire cutters.
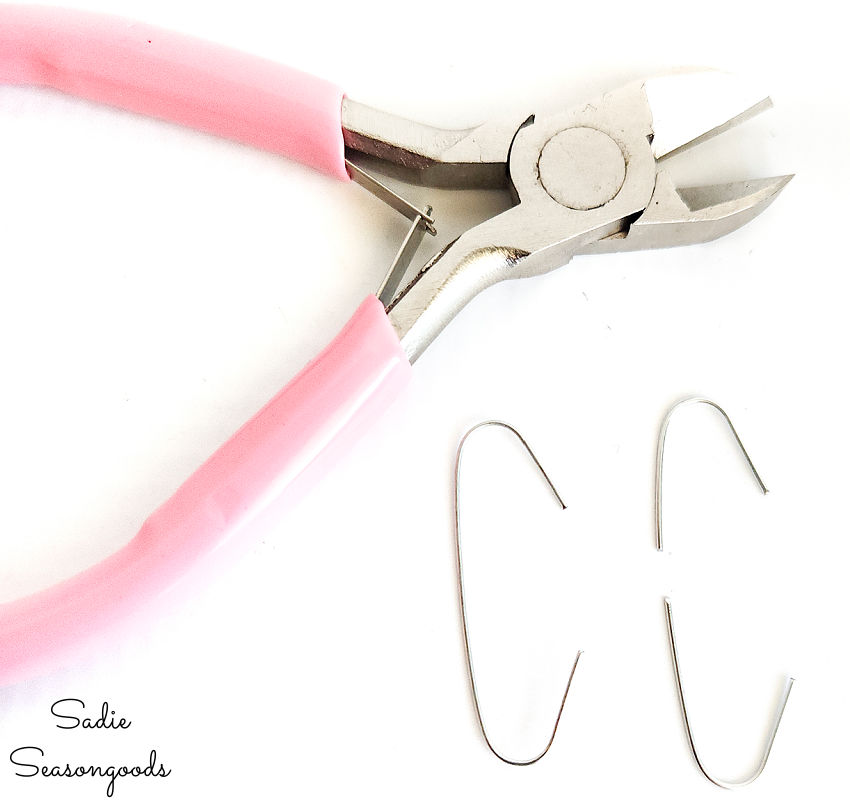
Image credit: Sadie Seasongoods.
Then, and this was optional, I snipped off a tiny extra piece from the curved end. Just an ⅛” or so, because my tinsel tree arms were not that big. But again, this is optional and personal preference, depending on your tabletop tree.
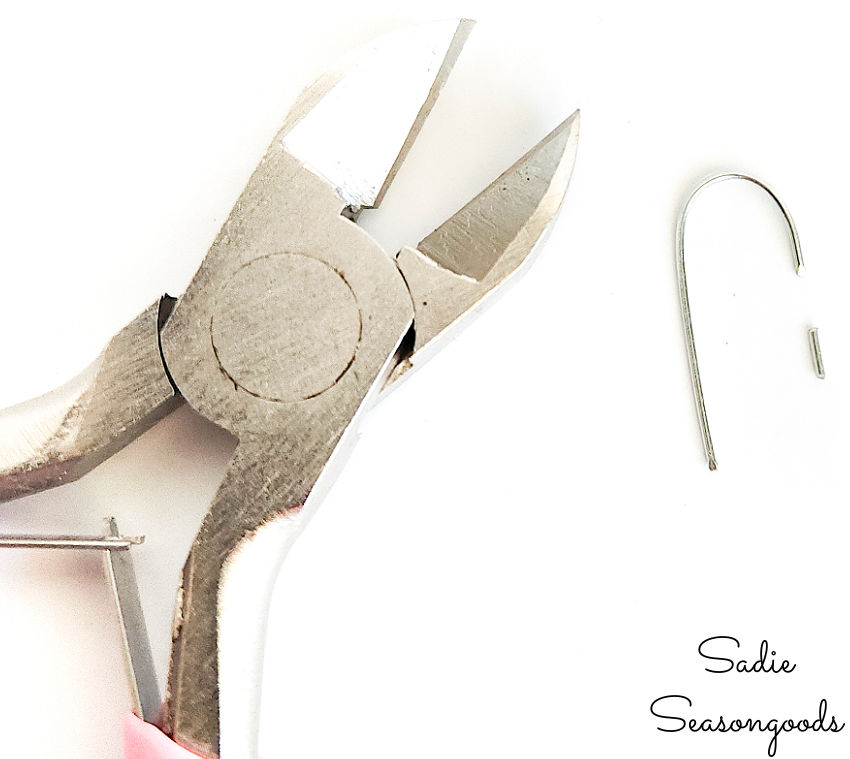
Image credit: Sadie Seasongoods.
Next, I used some dainty round pliers to curve the straight end into a tiny spiral. Ultimately, the mini Christmas ornament hook looked like a lopsided or top-heavy “S”.
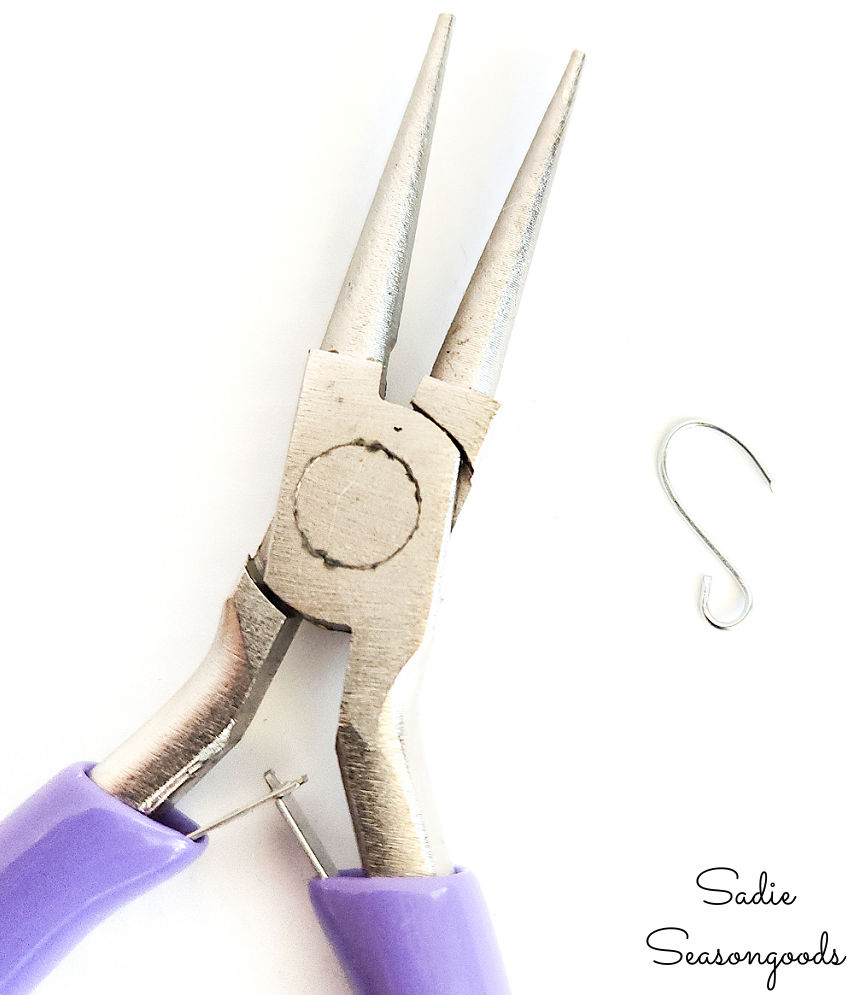
Image credit: Sadie Seasongoods.
And that, my friends, is literally the extent of it (minus, maybe a little flattening or straightening out, as needed, with the pliers)! It takes just a few moments to do, but makes a huge difference for your tiny ornaments.
I mean, doesn’t that look so much better?
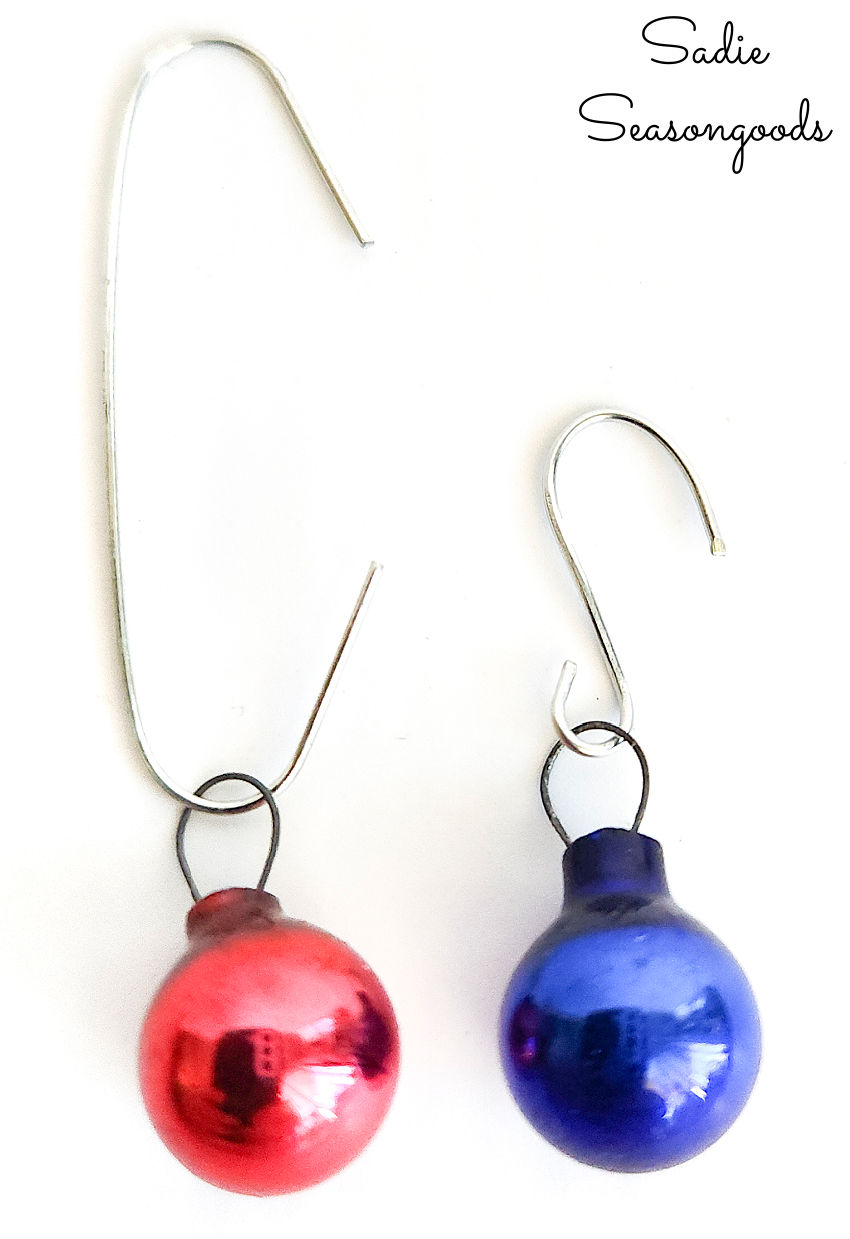
Image credit: Sadie Seasongoods.
Not all of mine turned out perfectly, some are definitely wonkier than others. But, trust me when I tell you that it really won’t matter once your ornaments on hung on your little tree.
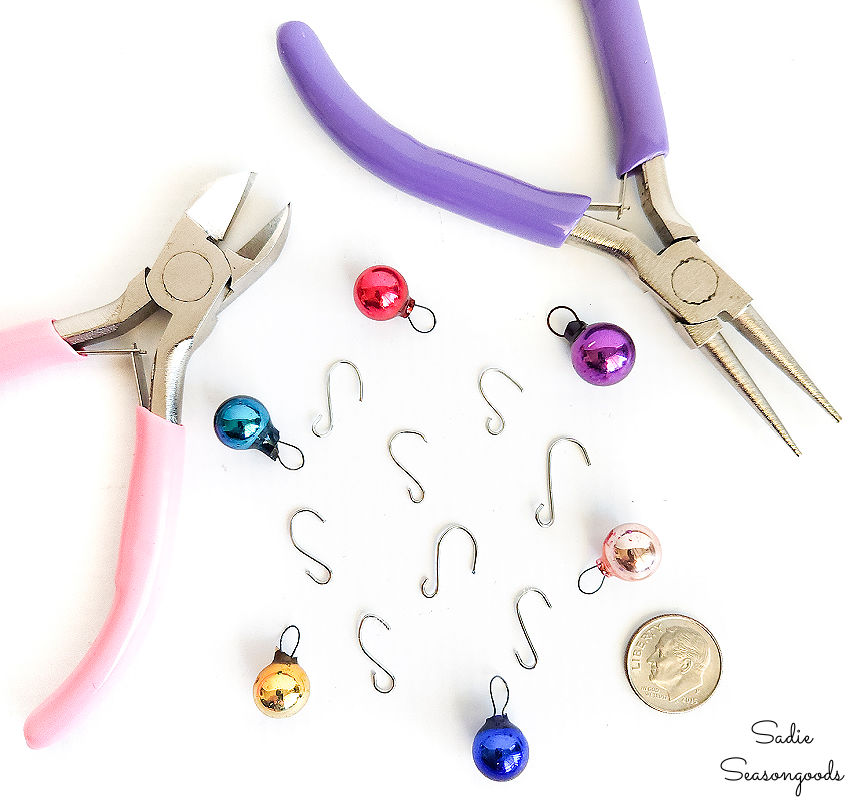
Image credit: Sadie Seasongoods.
Christmas Ornament Hooks for Mini Ornaments
Did this little DIY idea warrant a separate blog post? Maybe, maybe not. But it did give me reason to post new pictures of my darling little tinsel tree.
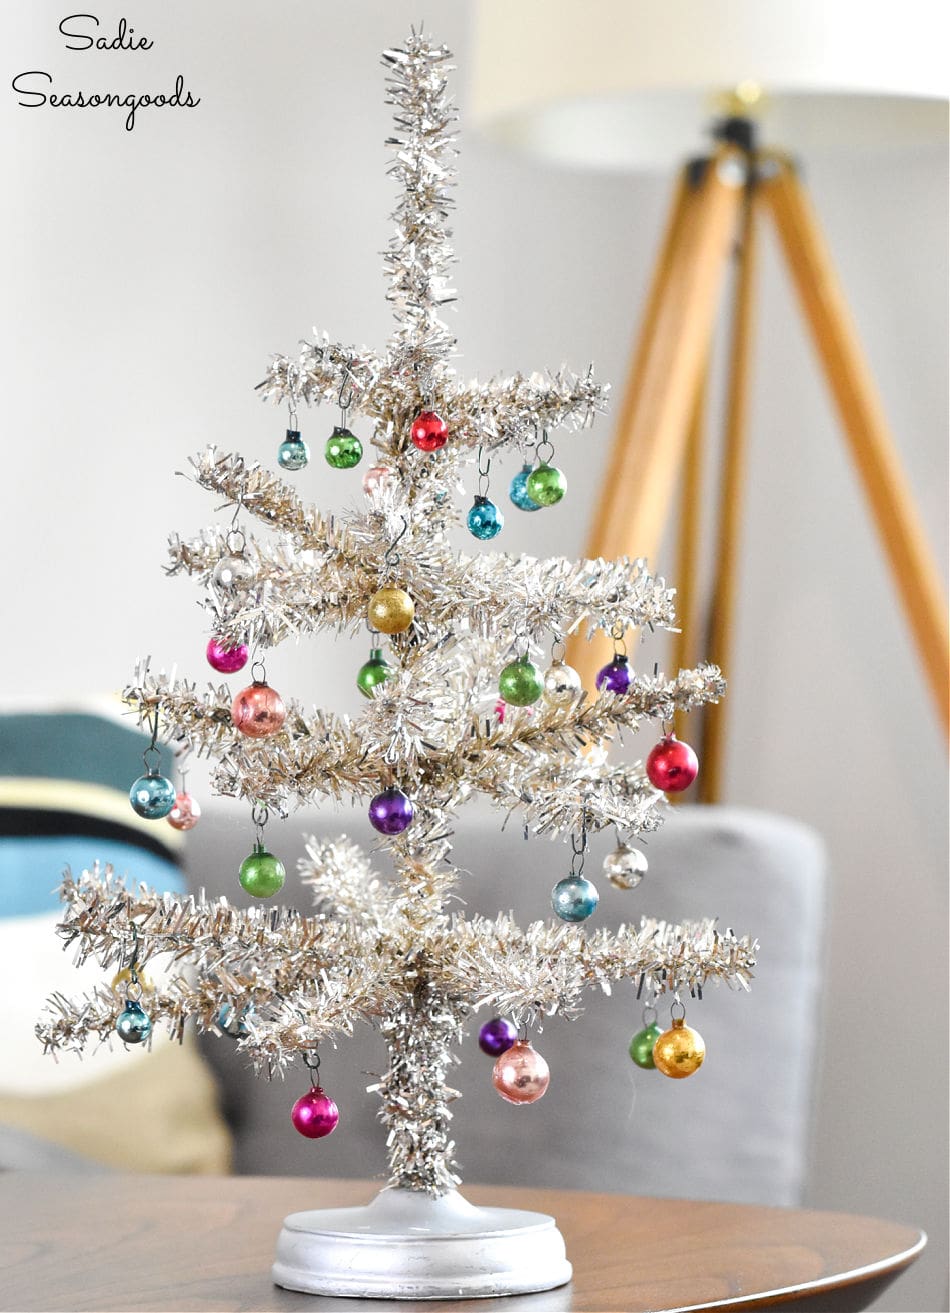
Image credit: Sadie Seasongoods.
Because let’s face it, mini ornament hooks make a BIG DIFFERENCE on tabletop trees!
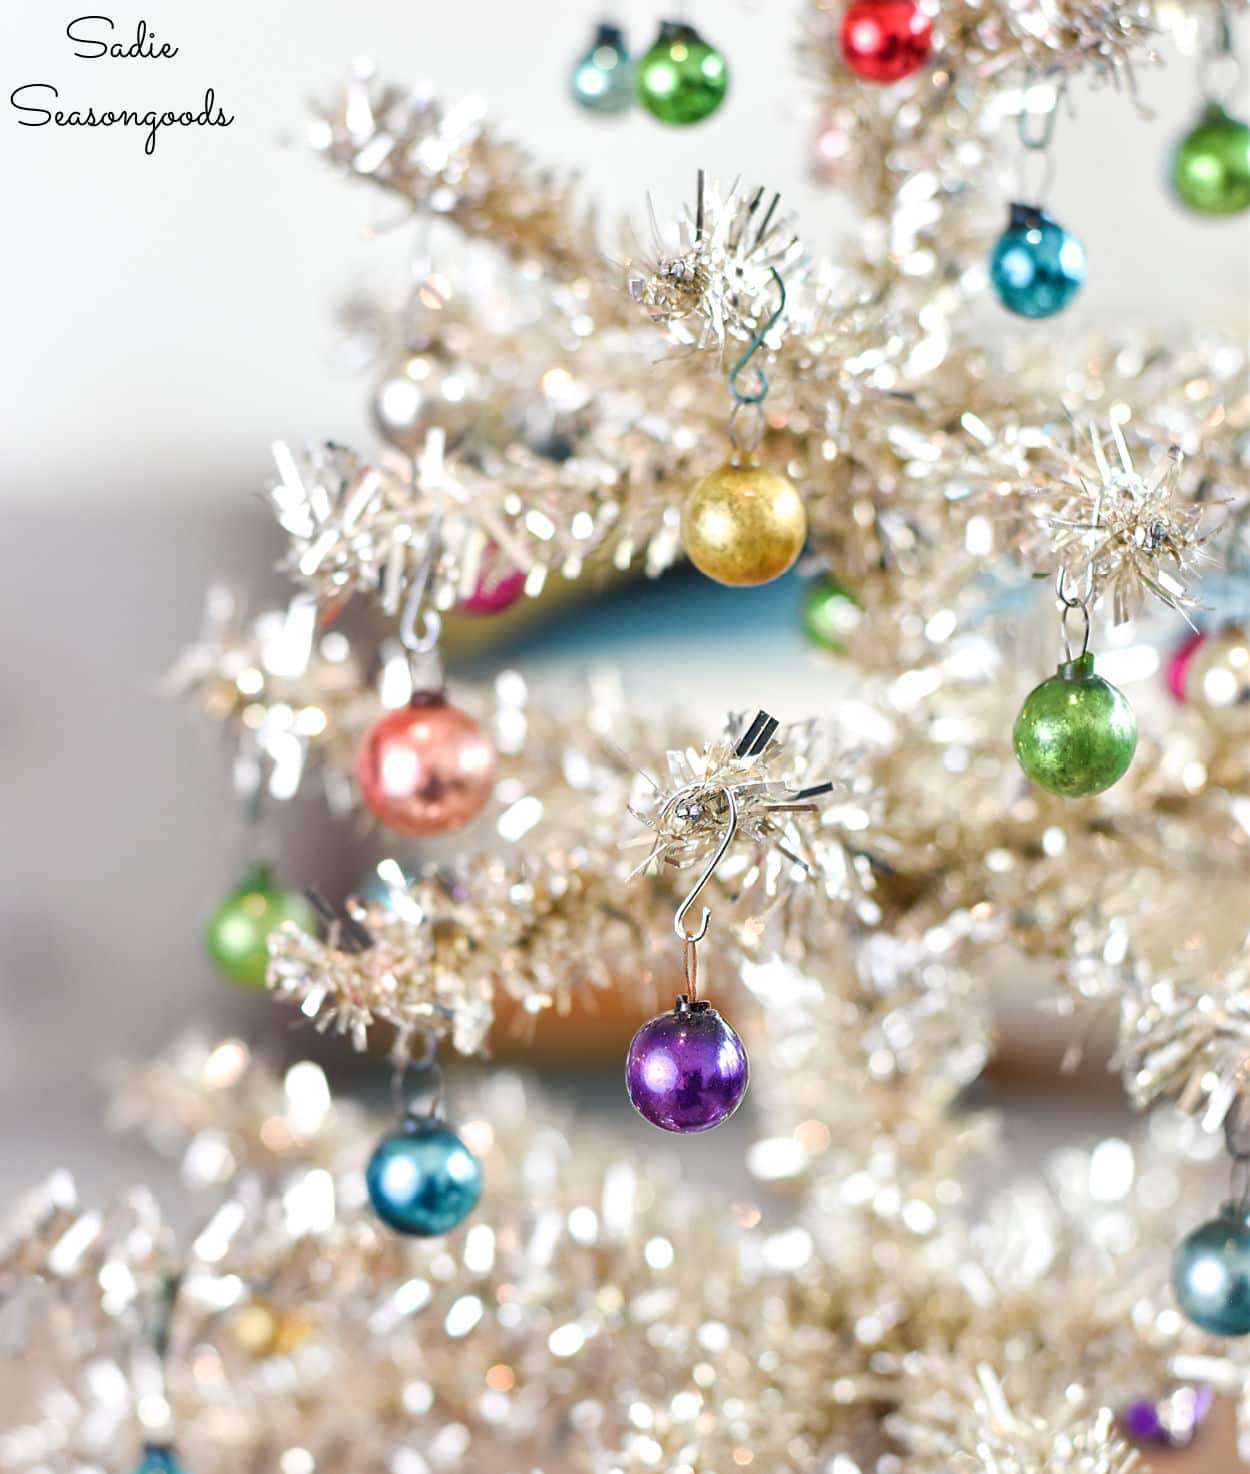
Image credit: Sadie Seasongoods.
Did y’all get into the mini Hallmark ornaments that they had in the 80s and 90s? I remember those came with small gold hooks, but finding replacement hooks was not easy (or inexpensive). My mom ended up using small paperclips when the matching hooks got lost over time.
But paperclip hooks didn’t work nearly as perfectly as these DIY ornament hooks, believe me!
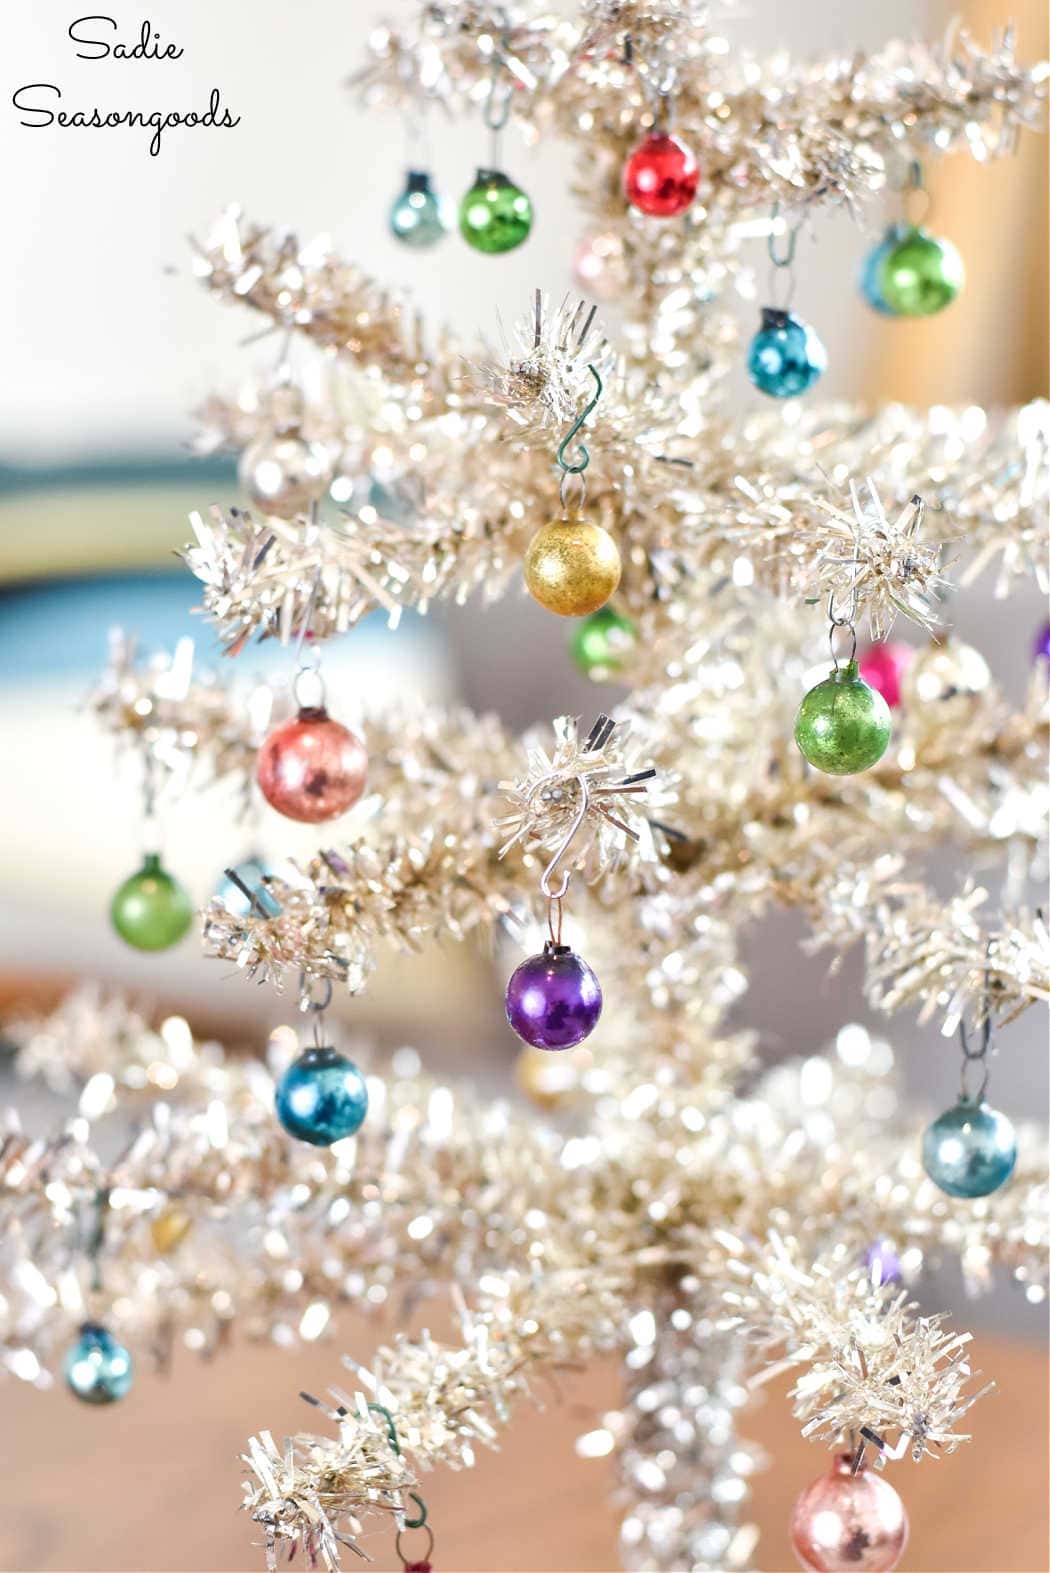
Image credit: Sadie Seasongoods.
Thank you for humoring me as I created this stand-alone post that maybe…wasn’t warranted. But hopefully some of you benefit from this idea for your own tabletop trees and mini ornaments!
Of course, it goes without saying that these are small (as are the ornaments), and should be kept away from children and pets.
And while your glass balls are in use this month, use the empty boxes as a different kind of tree, too! I topped mine with one of my grandmother’s cookie cutters.
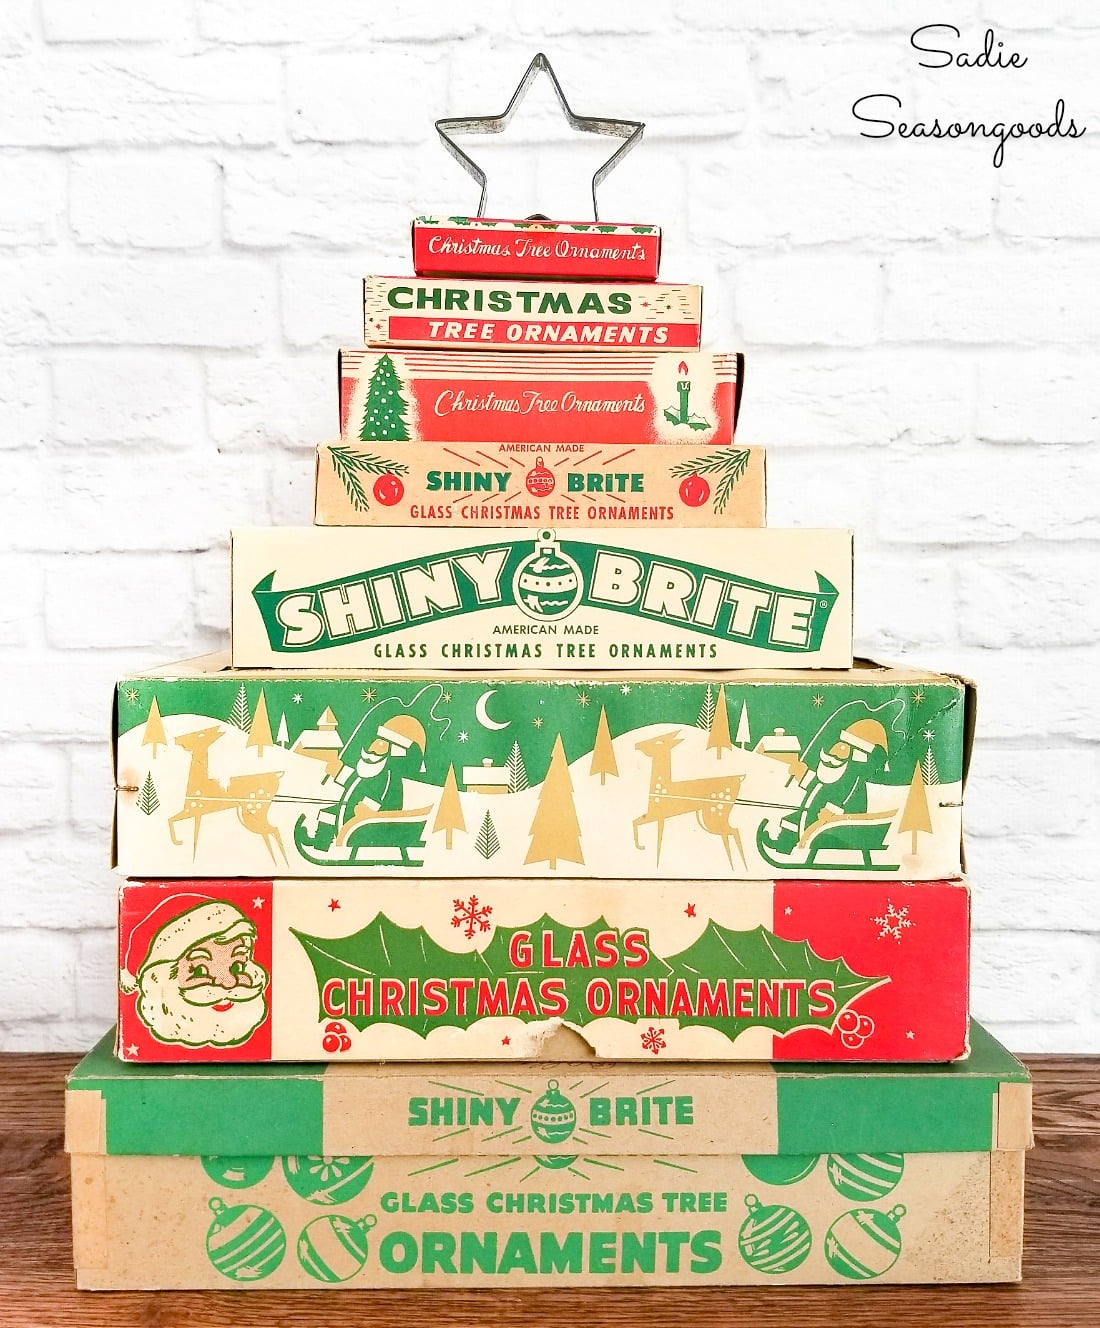
Image credit: Sadie Seasongoods.
Plus, here’s another way to display a tabletop tree, especially if it doesn’t have a reliable base. And it doubles as a candy dish, too, which is always a bonus during the holidays.

Image credit: Sadie Seasongoods.
Craft on!
S
Want to be notified when I publish my next upcycling project tutorial?
Join me on Social Media:
PIN ME!
Image credit: Sadie Seasongoods.
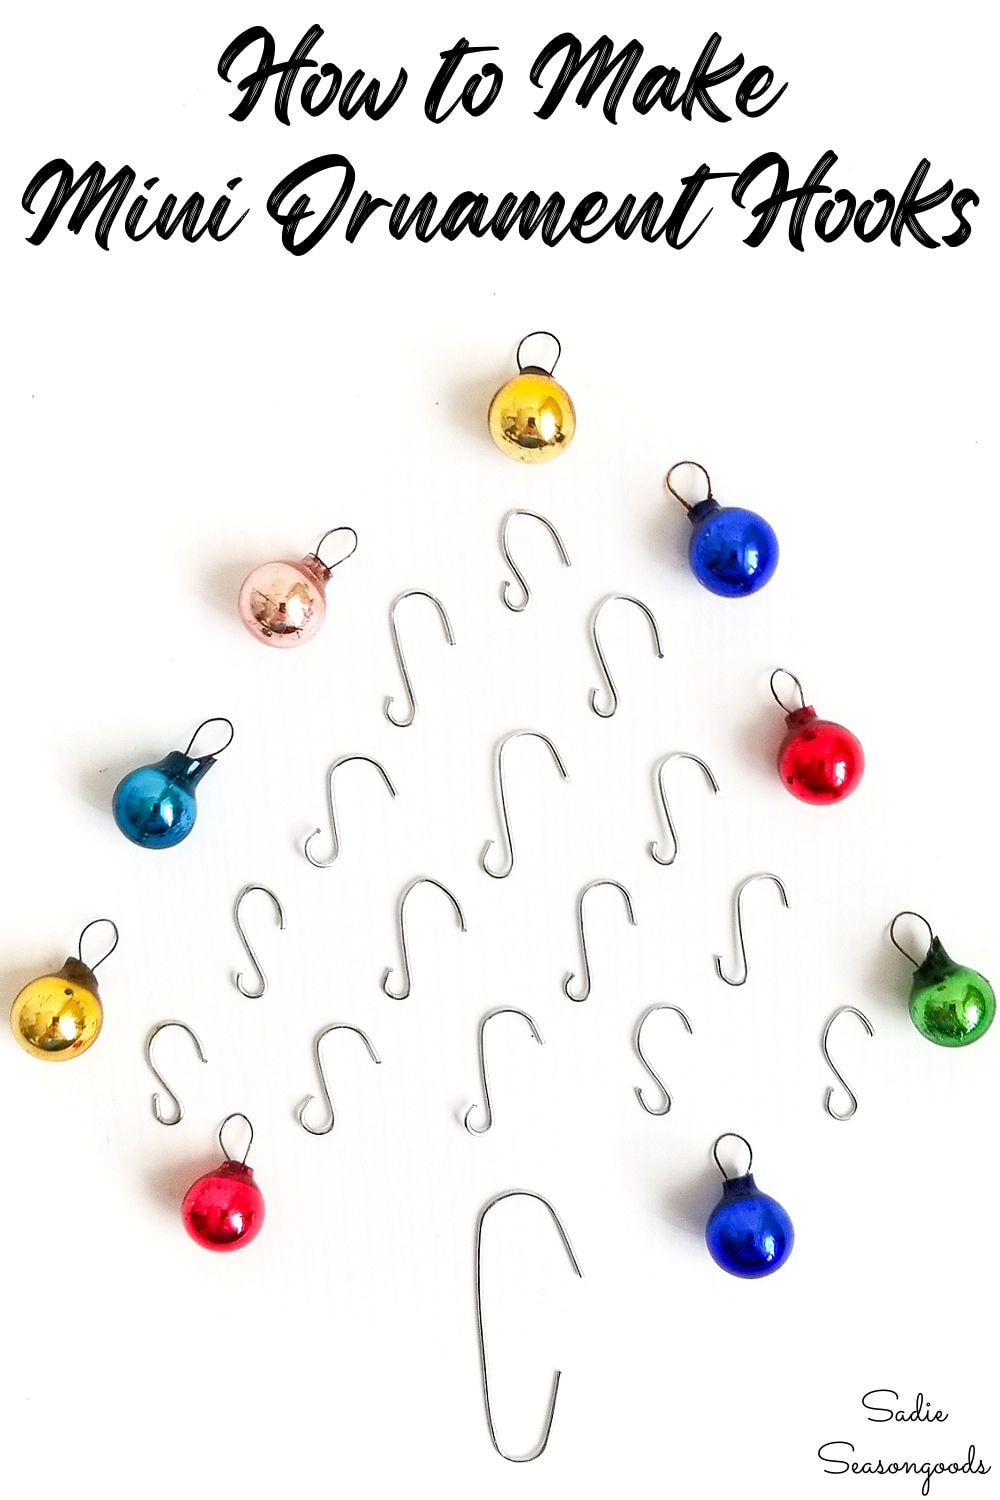
Image credit: Sadie Seasongoods.
Sarah Ramberg is the owner of Sadie Seasongoods, a website that celebrates all things secondhand. From upcycling ideas and thrifted decor to vintage-centric travel itineraries, Sadie Seasongoods is a one-stop shop for anyone who loves thrifting and approachable repurposing ideas. Sarah is also the author of “Crafting with Flannel” and has been featured in numerous media outlets and magazines.








OMG how cute 🙂
Thanks, Tania!
Miss Sadie,any reason is good for a post from you.! I think I may have missed this post,spool,all’s good. Enjoy your blog very much. Have a very Merry Christmas.
I so appreciate that, Charleen- thank you and Merry Christmas!
I bet that little curly part at the end keeps the ornament from falling off as easy, too! I might do this with ALL of my hooks!
Totally! And you can control how tight you want that spiral to be, so you could make variations for different sized ornaments!
Love this simple idea. Now I want a tiny tinsel tree !!!
Thanks, Susan!
I Believe your post was both informative and beautiful and I needed to hear it. Thank you. Mini ornaments Wonderful. Smart idea for making smaller ones!
Thank you, Pamela!
Great instructions. I’m glad you posted it. I have that cookie cutter and I am a grandma. 😀🎄
Yay!! Thank you, Amanda!
Thank you for all you share. Happy Holidays.
Merry Craftmas, Marie!
Mercy! The hooks are so simple…so brilliant!
Right?! And they make a huge difference on those little trees.
EVERY TIME I go into a thrift store, I look for that rattan wine holder because I want to make that ‘Christmas tree!’ One day, I’ll find it!
Argh!! I understand that frustration VERY well, Tracy!!
Your cute little hooks reminded me very much of French ear wires for earrings which I have been puttting 3/4″ and 1″ Clhristmas bulbs on–great earrings to go with Ugly Sweaters! Your way is a lot more economical, though! Love your little tinsel tree!
I am delighted that you shared this! I am preparing to donate homemade ornaments to a local nursing home and this will be the extra added touch to say that I care. Thank you!
Oh, hurray! So glad this helped you for such a heartwarming gesture, Torry.
What a good and practical idea! So simple, yet a big impact on h ow those tiny ornaments look when they are hung. Thanks so much!
You are very welcome, Naomi! Merry Craftmas.
Great idea!
Need those “dainty” wire cutters!
They’re so handy!! Hopefully you saw the product link in the post!
What a cute idea
Thank you, Jill!