Christmas mantelscapes are all the rage and can range from simple to bodacious, depending on the decorations you choose. But if you’re looking for a thrifty way to fill up a mantel easily, then let me show you these Christmas gift decorations that I made using cabinet doors from the Habitat ReStore.
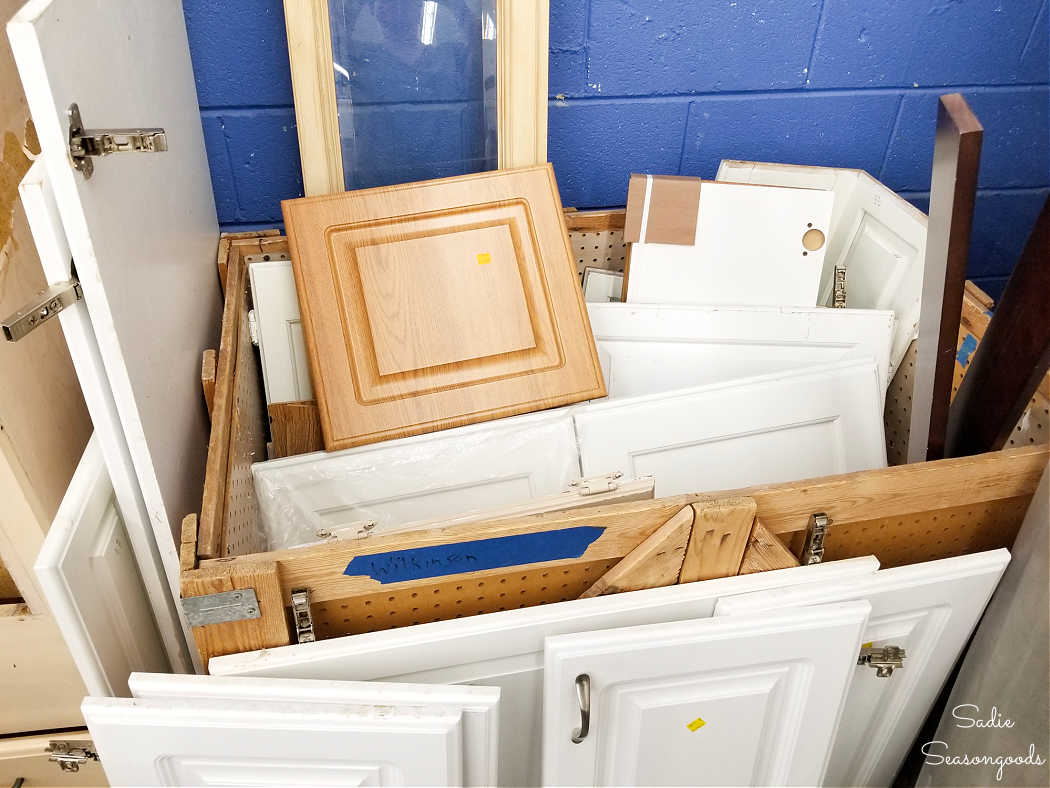
Image credit: Sadie Seasongoods.
Now admittedly, these gift decorations that I made are very similar to these that I made many moons ago. But those were (slightly) more involved and certainly more dangerous to make- ha!
And they were made with picture frames, not cabinet doors! So…similar but different. Anyway, these are the cabinet doors I selected to craft with- let’s get right to it!
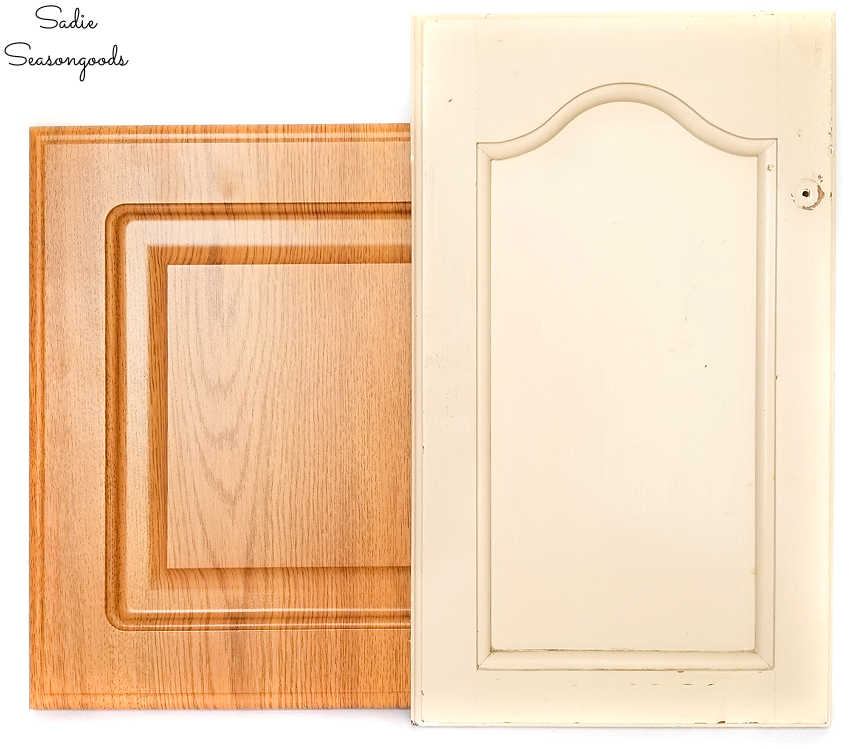
Image credit: Sadie Seasongoods.
This post contains affiliate links for your crafting convenience. As an Amazon Associate, I earn from qualifying purchases. All blue, bold, and underlined text is a clickable link, either to a product or to a related post.
This post was also originally sponsored by the Charlotte Region ReStores.
Making the Christmas Gift Decorations
First, I assembled a few craft supplies. This included paint, gift wrap, and coordinating Christmas ribbon.
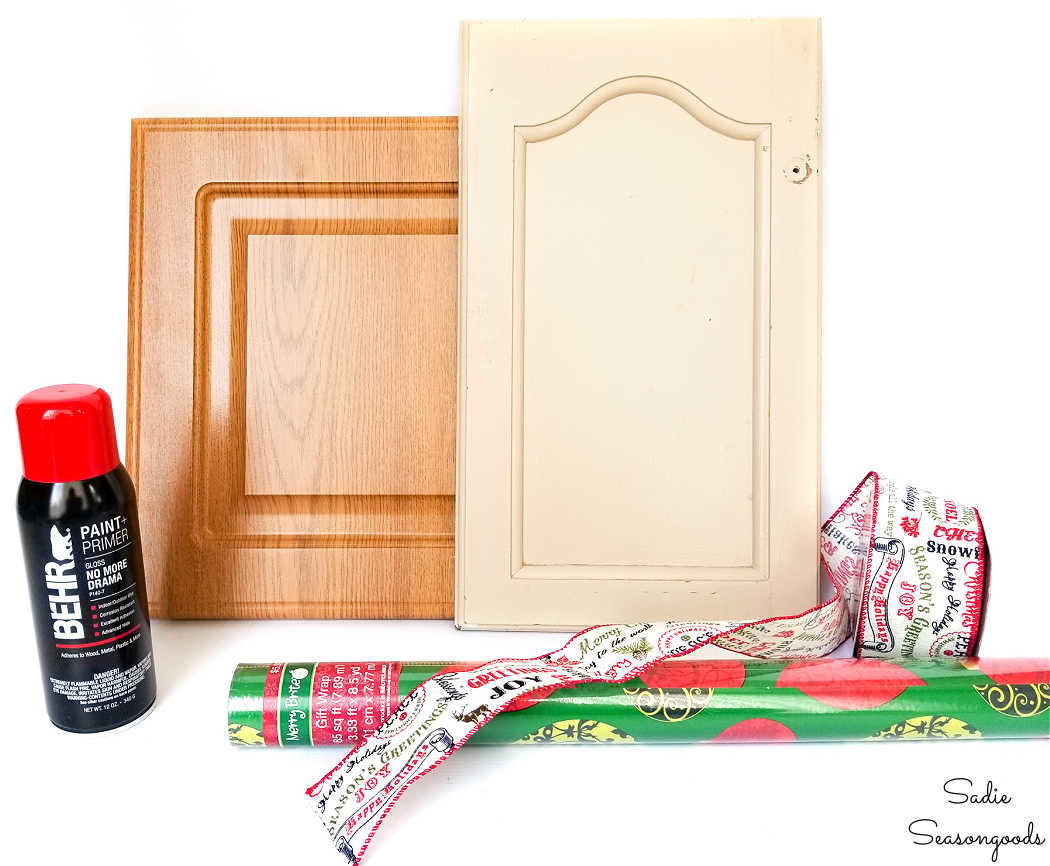
Image credit: Sadie Seasongoods.
The truth is, you could use any number of things to decorate your doors: spray or regular paint; stencils; holiday stickers; fabric; etc. The sky really is the limit here!
Next, I selected the square cabinet door to spray paint outside. Interestingly enough, it didn’t have any pre-drilled holes for hardware of any kind- which made my job easier.
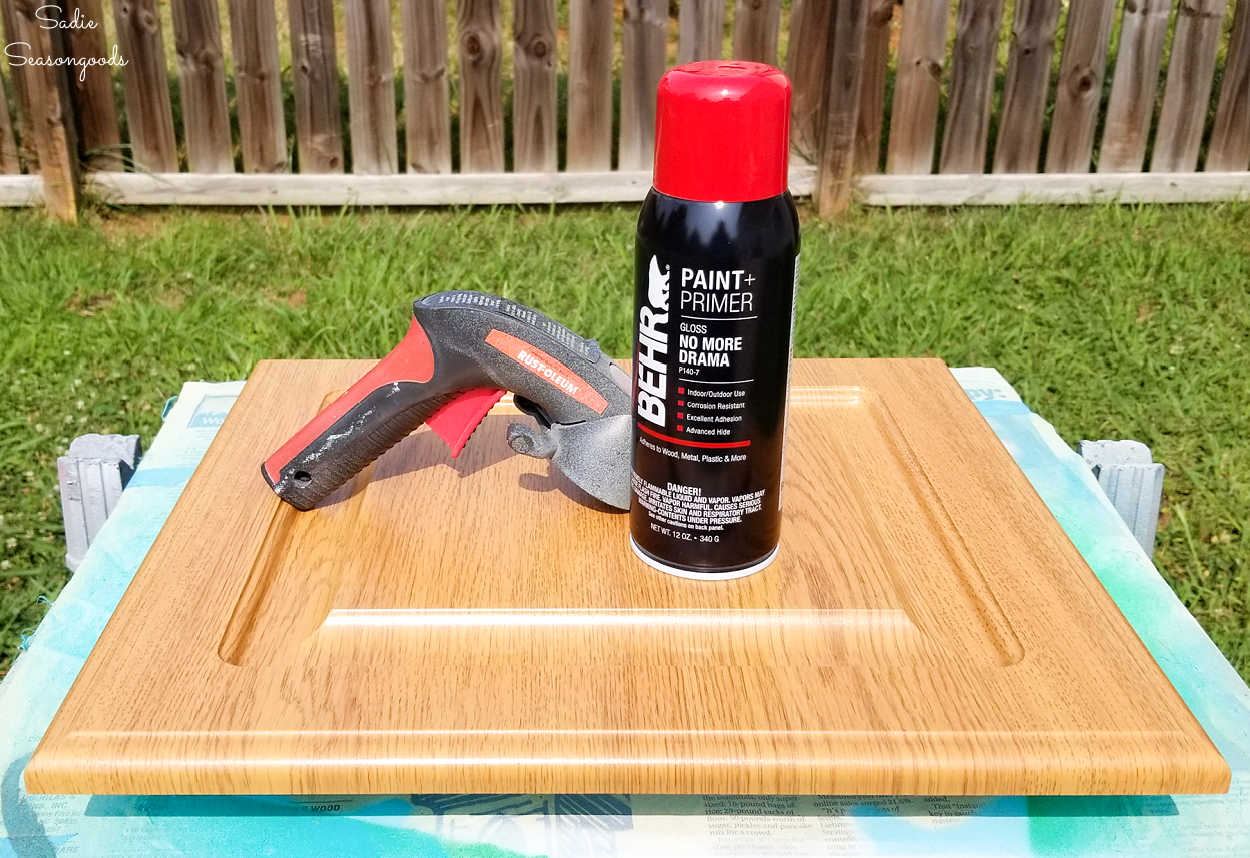
Image credit: Sadie Seasongoods.
If there had been any pre-drilled holes, I would have simply filled them with wood putty and sanded them down before painting. Not dissimilar from what I did for this cabinet door project that I use in our garage.
Anyway, after the paint dried, I gave the door a spritz of topcoat to seal the paint. Then, I grabbed the roll of Christmas ribbon I had set aside, as well as my mixed media shears and hot glue gun.
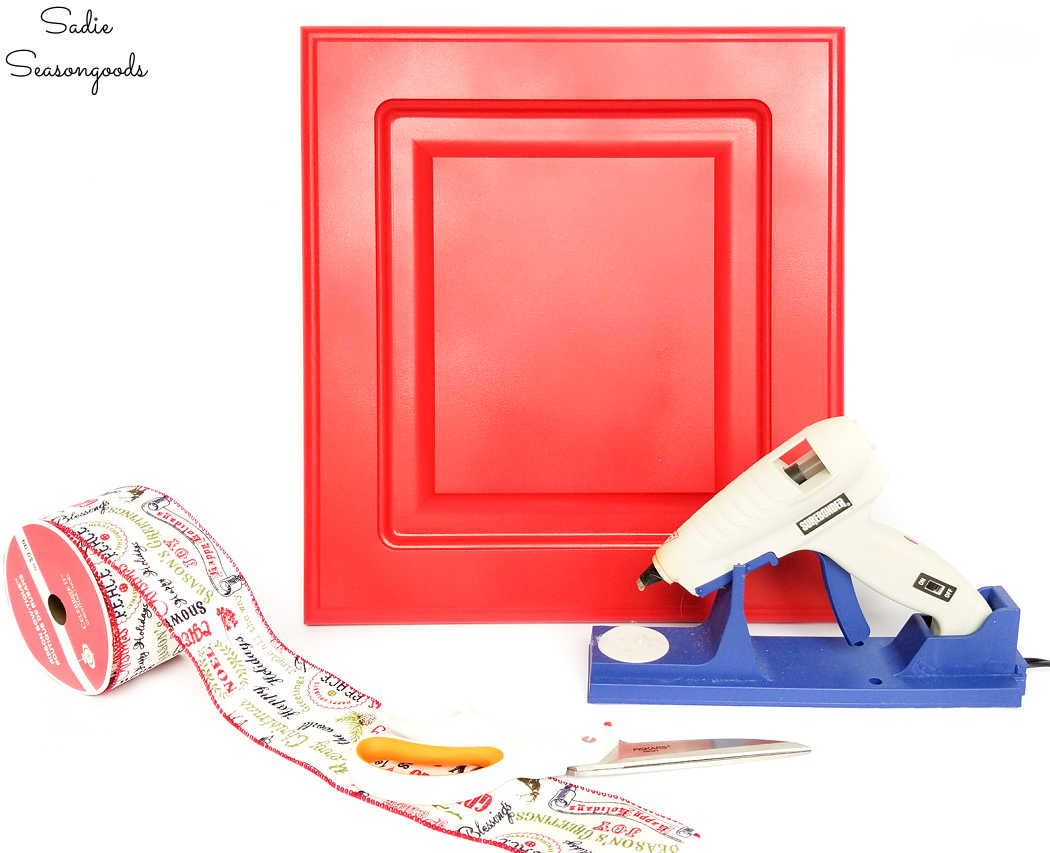
Image credit: Sadie Seasongoods.
From there, I simply wrapped ribbon around the painted cabinet door (like I would a gift box) and attached the ends with hot glue. I also made a separate but simple bow which I hot glued to the center cross of my ribbon.
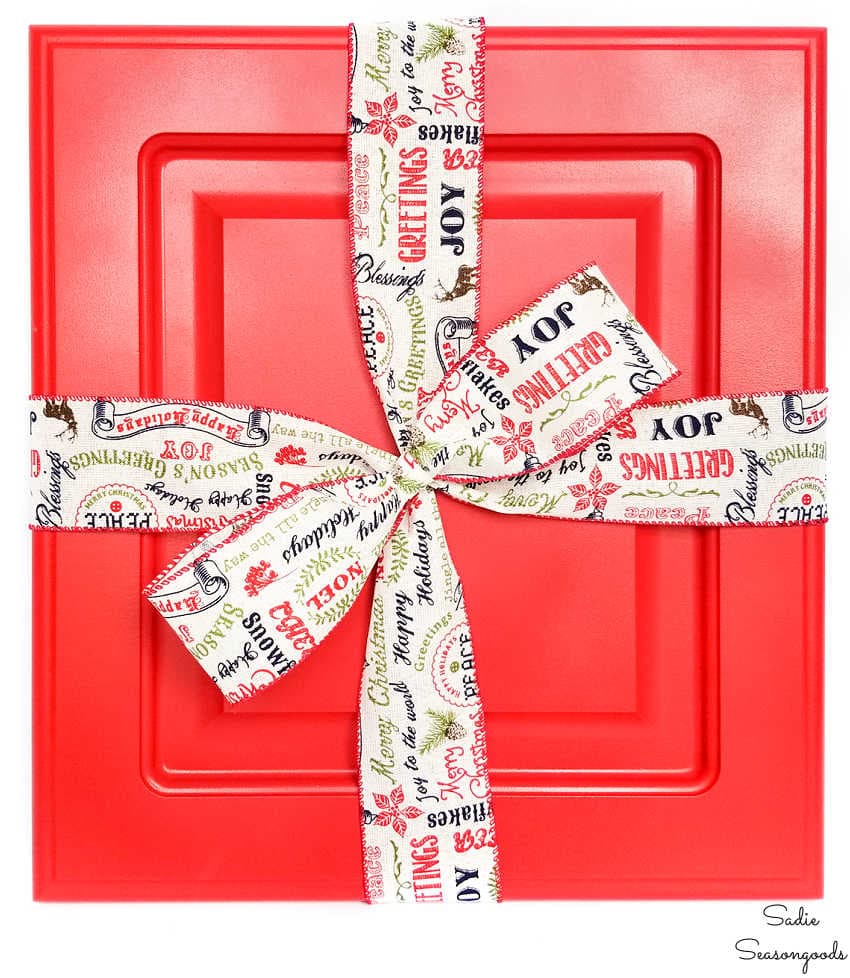
Image credit: Sadie Seasongoods.
But that’s just one of the Christmas gift decorations I made. And believe it or not, but the second one is even easier. Since it had some hardware holes and was a little beat up, I simply planned on wrapping it.
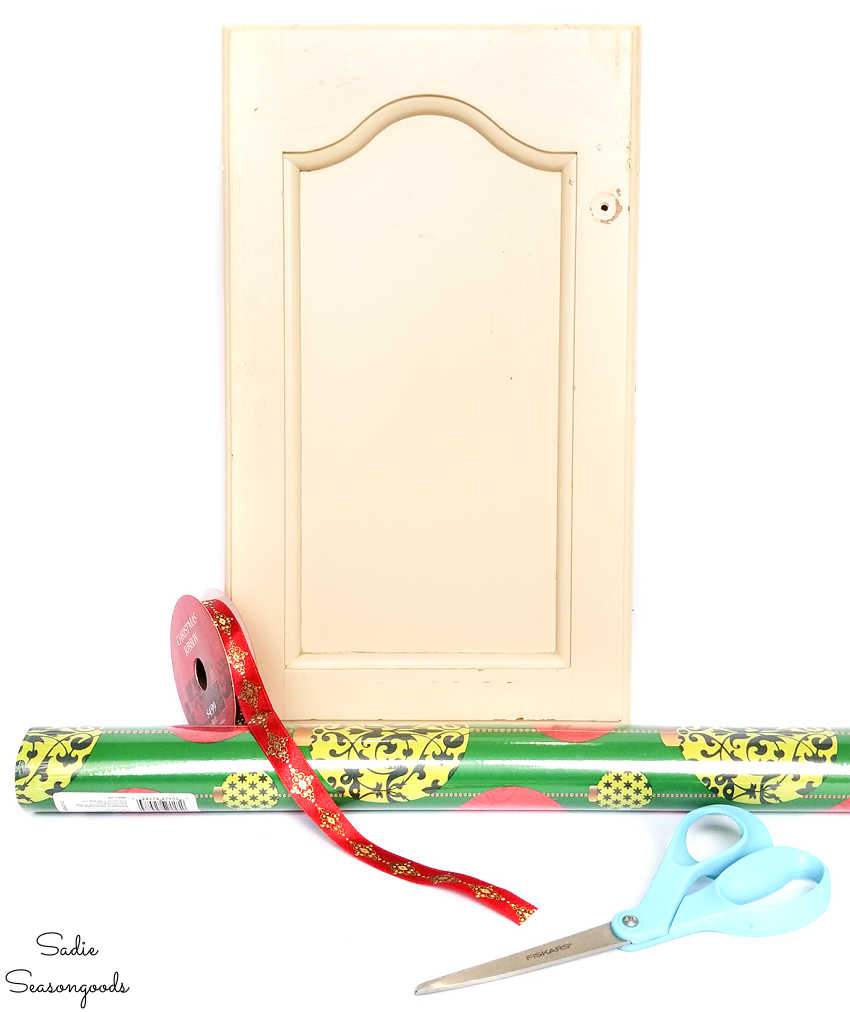
Image credit: Sadie Seasongoods.
Now, in retrospect, I wish I’d thought of using Christmas fabric instead of wrapping paper. It’d be more sustainable and wouldn’t tear while being stored throughout the year. But anyway, I did indeed wrap the cabinet door with paper and embellished it with with ribbon and a bow.
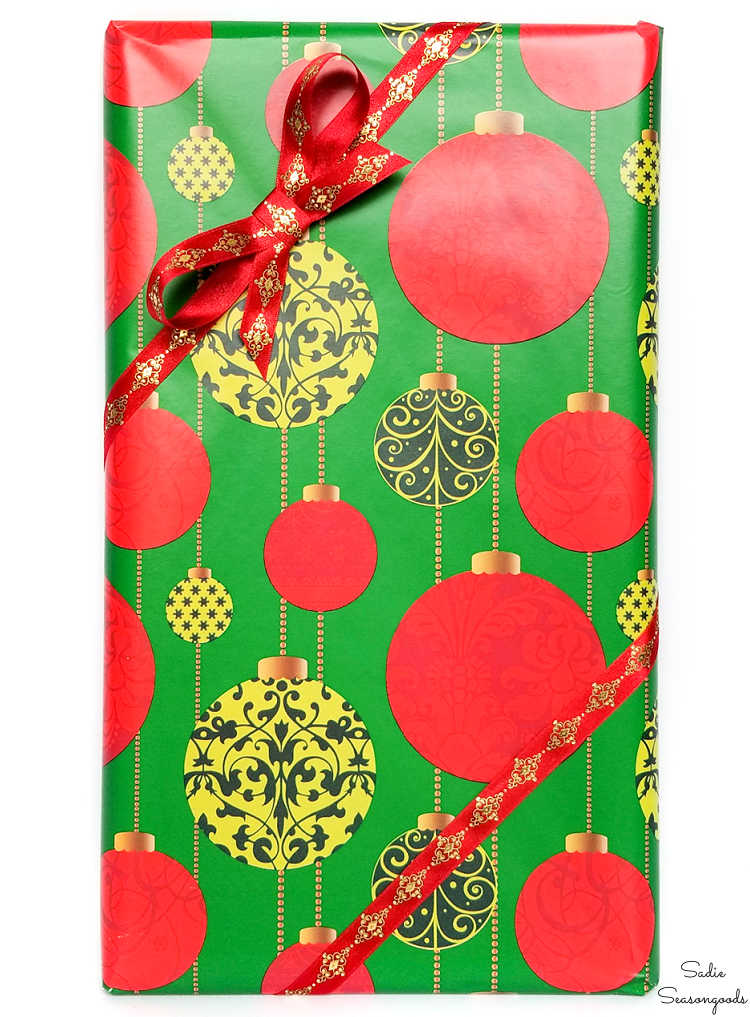
Image credit: Sadie Seasongoods.
Christmas Gift Decorations from Cabinet Doors
And just like that, two cabinet doors were quickly and easily transformed into Christmas gift decorations. Can’t you see an entire mantel lined with these in different sizes and heights?
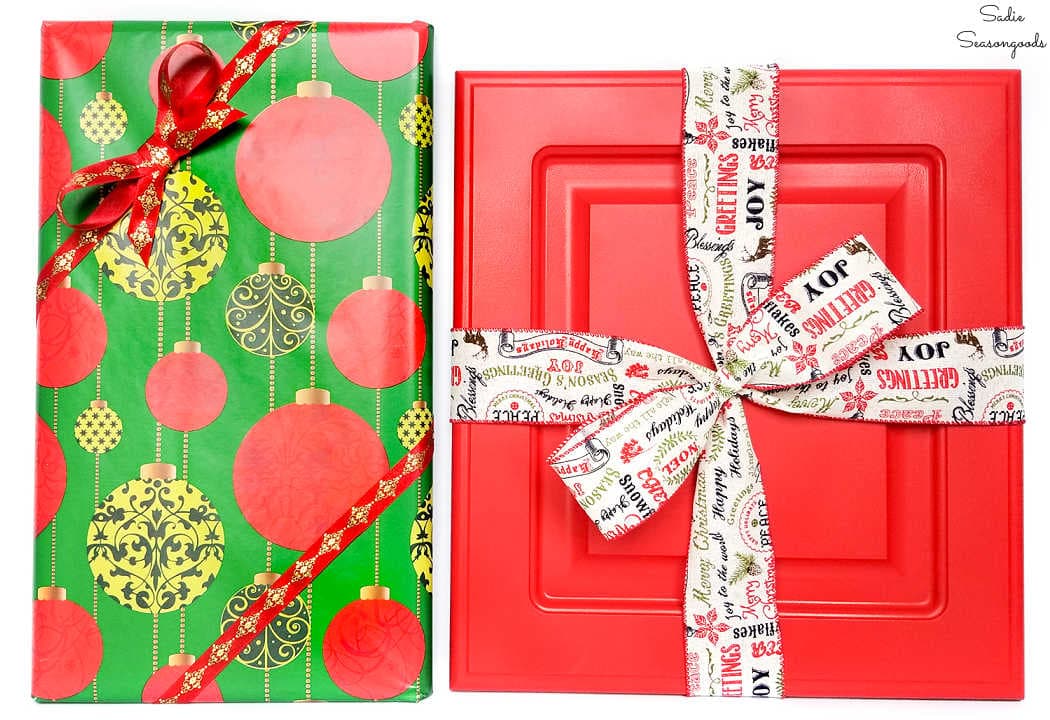
Image credit: Sadie Seasongoods.
I obviously went with a classic red and green color palette for these gift decorations. But I think if I make any more of them, I’ll go with a more mid-century modern look. Lots of silver, accented with blues and pinks. Goodness knows, my Charlotte Region ReStores ALWAYS have plenty of cabinet doors in stock.
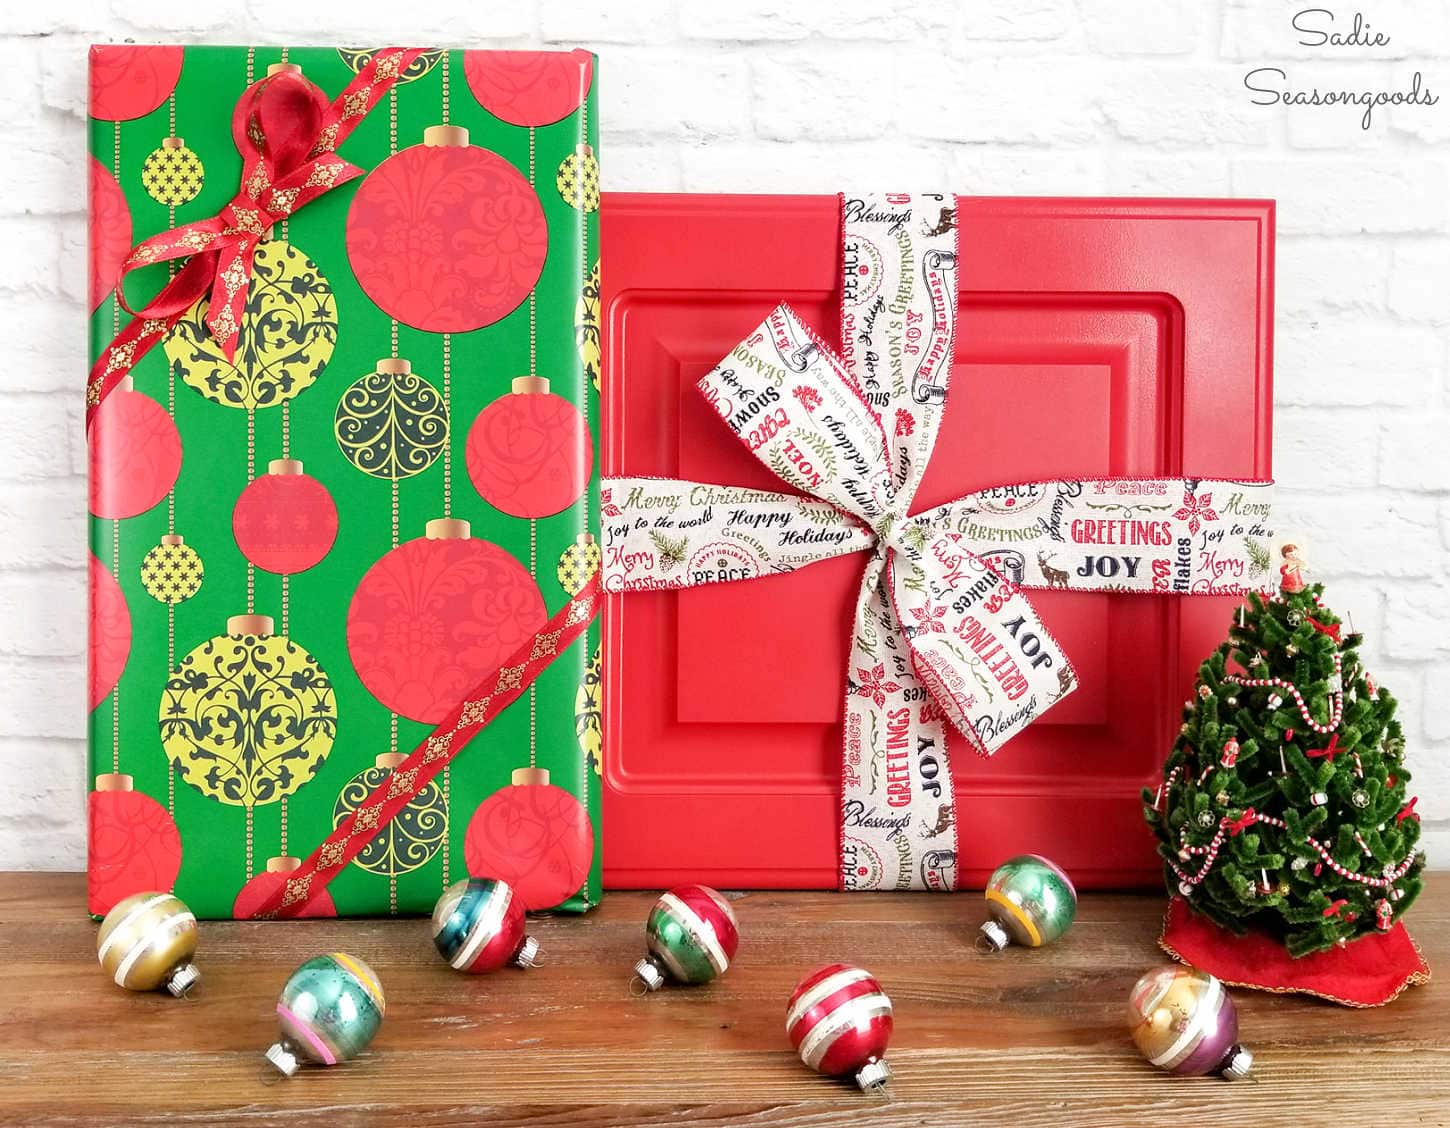
Image credit: Sadie Seasongoods.
I hope you enjoyed this incredibly simple, but thrifty and effective upcycling idea for Christmas gift decorations. They really do look fabulous leaning against the wall on top of your mantel. And you can really fill up space with them without spending much money at all.
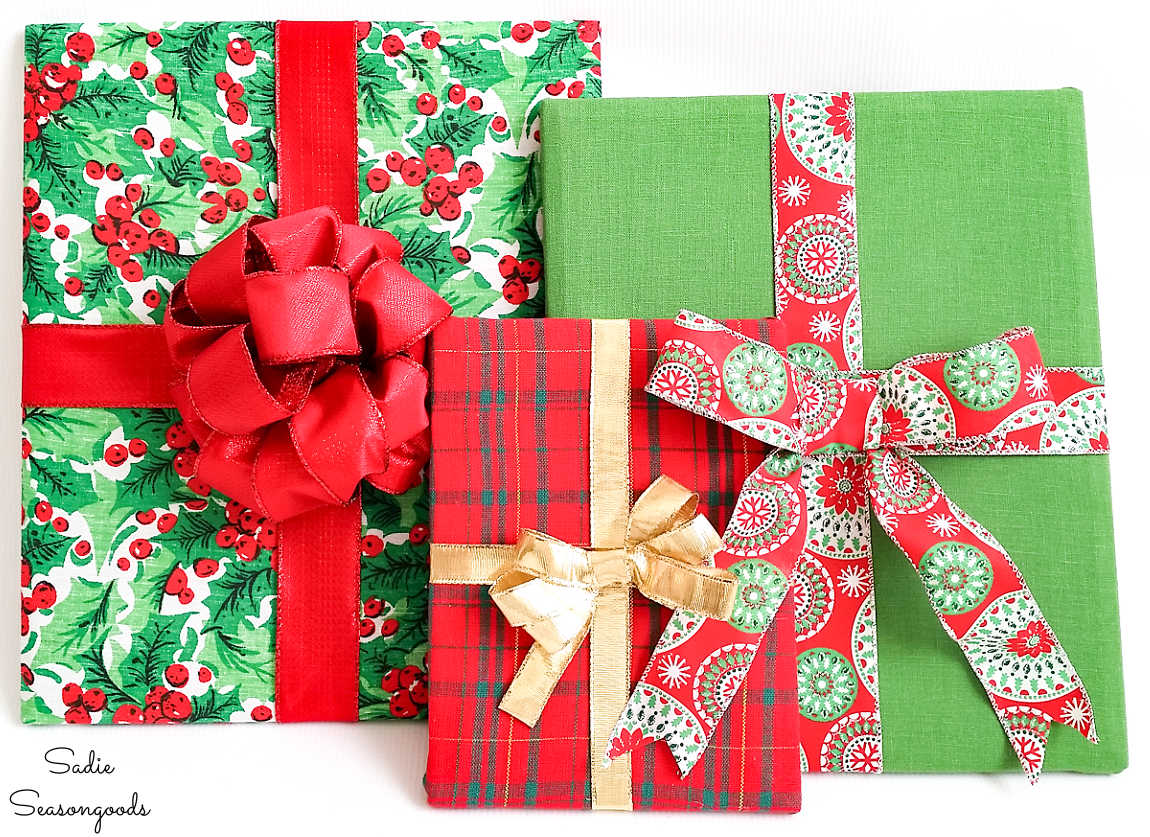
And using fabric or paint and stencils is a great way to make this Christmas craft project even more sustainable throughout the years. You could even decoupage fabric on cabinet doors that were more flat, without the decorative ridges.
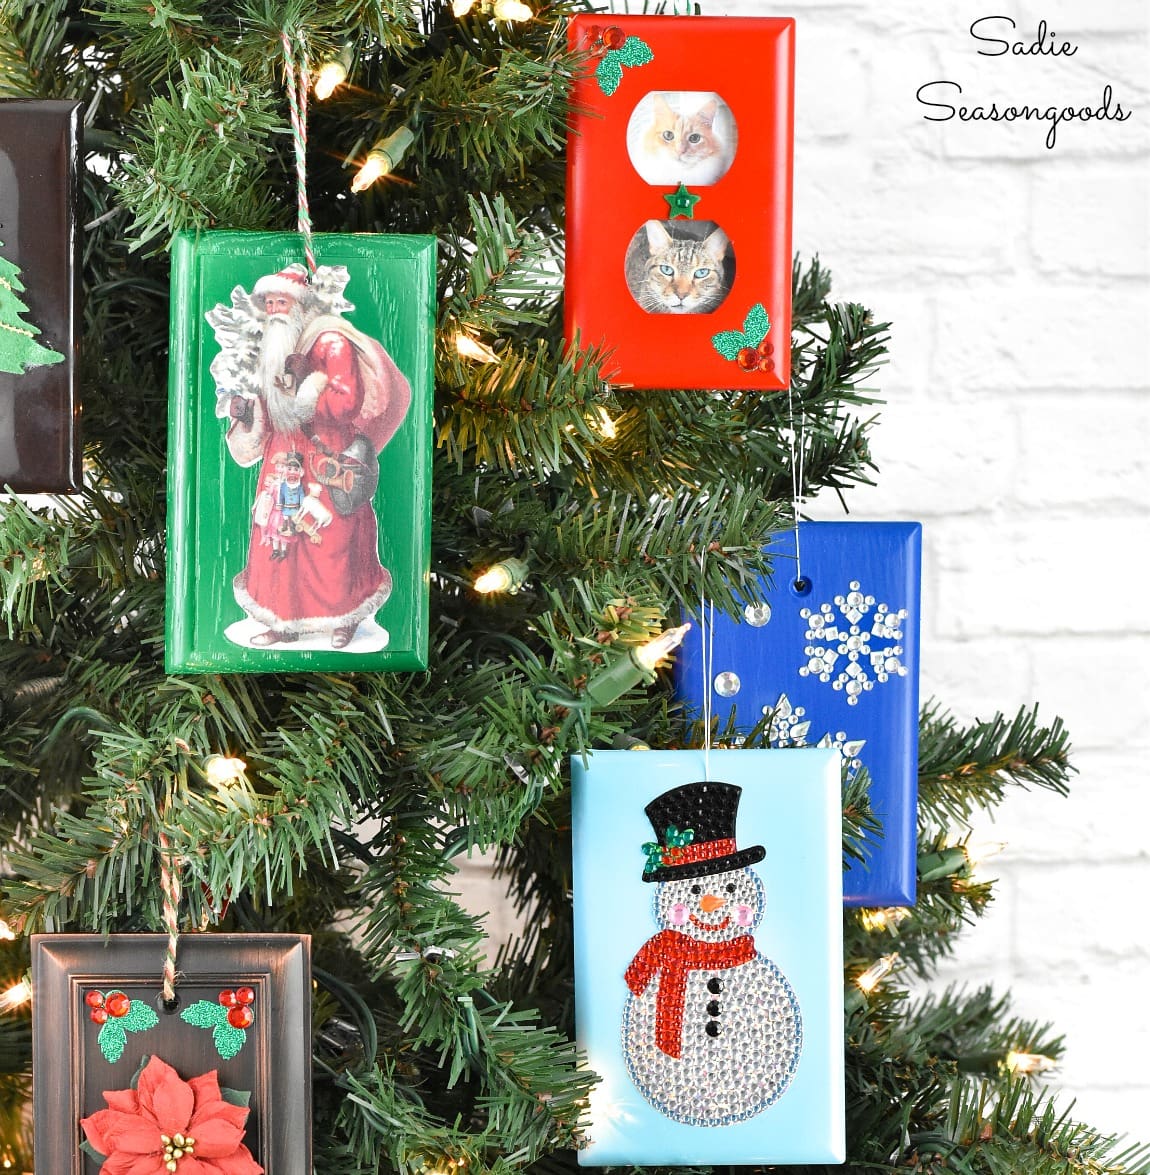
Want a little more festive inspiration for Christmas crafts that start at Habitat ReStores? These ornaments were made from switch plates and outlet covers, believe it or not…
Those switch plate ornaments are a great craft idea not only for kids but for larger groups, too. So, if you’re in charge of coming up with a thrifty project to work on at a Christmas party, keep this one in mind.
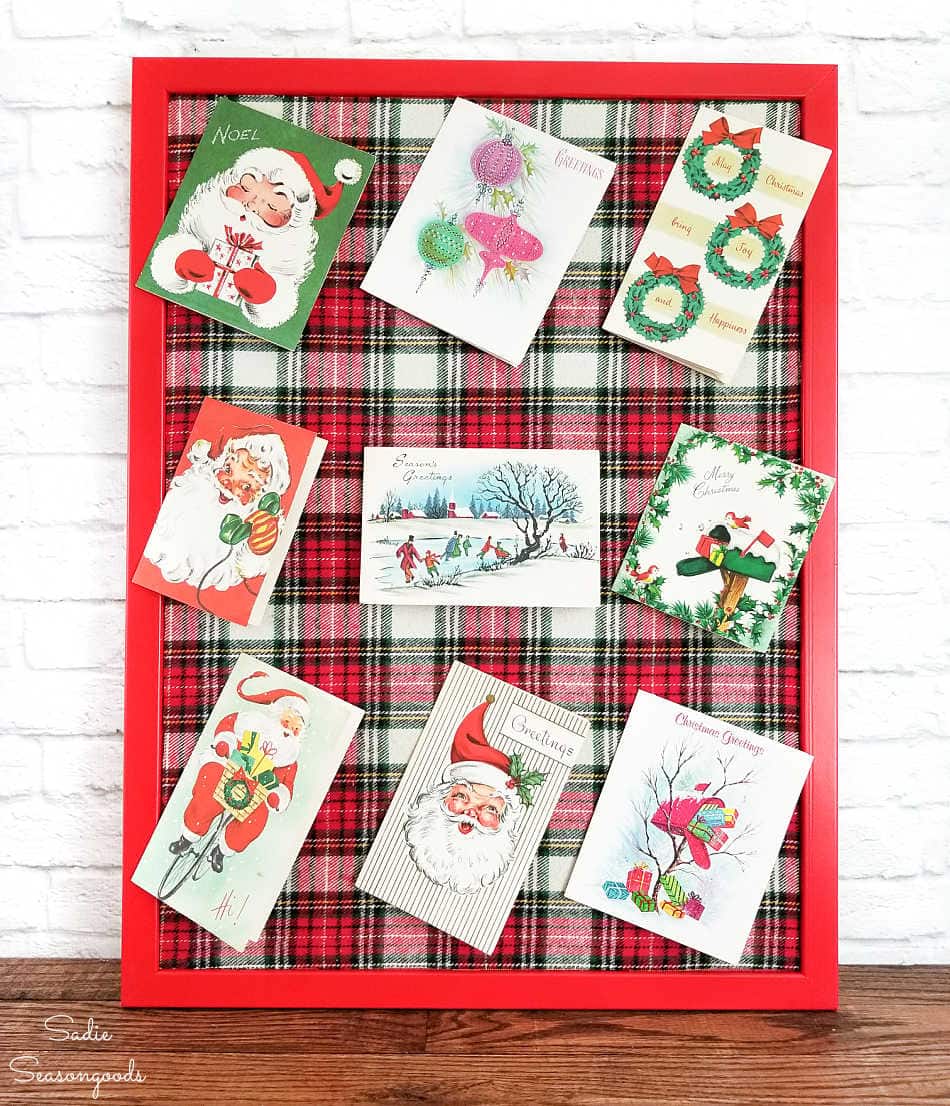
And this fun Christmas card display started out as a cork board from Habitat ReStore, too! The tutorial for it can be found in my book, “Crafting with Flannel”, by Sarah Ramberg (yours truly).
Craft on!
S
Want to be notified when I publish my next upcycling project tutorial?
Join me on Social Media:
PIN ME!
Image credit: Sadie Seasongoods.
Sarah Ramberg is the owner of Sadie Seasongoods, a website that celebrates all things secondhand. From upcycling ideas and thrifted decor to vintage-centric travel itineraries, Sadie Seasongoods is a one-stop shop for anyone who loves thrifting and approachable repurposing ideas. Sarah is also the author of “Crafting with Flannel” and has been featured in numerous media outlets and magazines.







Have a question or like what you see? Please let me know!