I’ve always loved finding sets of book coasters at thrift stores. Sure, I don’t see them as frequently as I used to. But I have a hard time leaving them behind whenever I do. And when I recently spotted this set while thrifting, I decided to make them over into Christmas coasters for the holiday season.
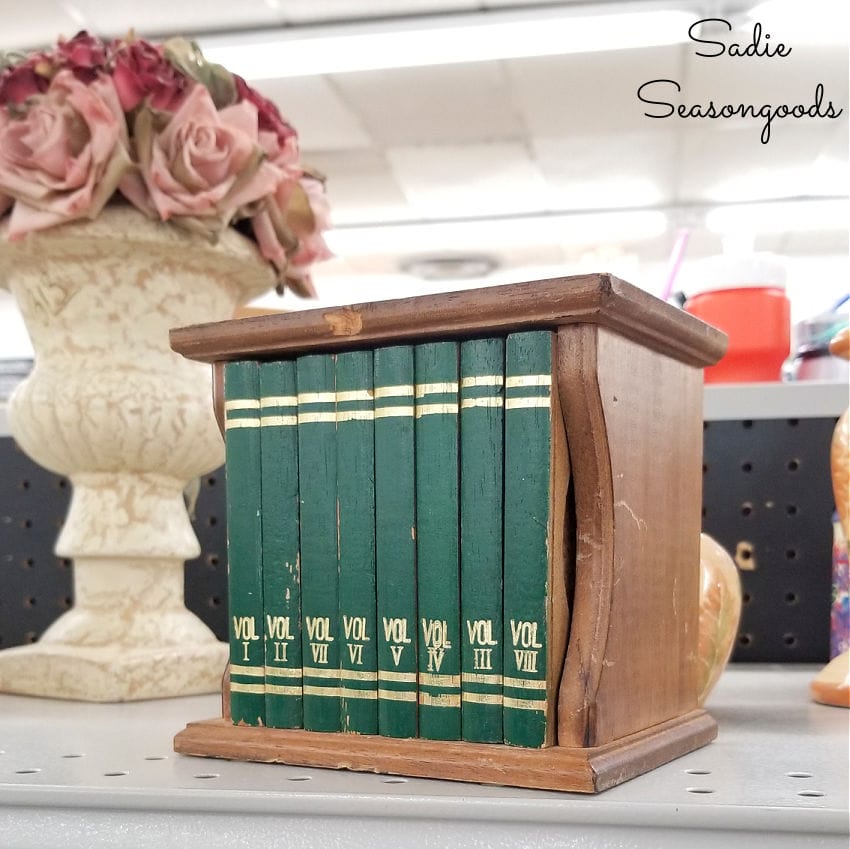
Image credit: Sadie Seasongoods.
Why Christmas coasters, in particular? The green and gold coloring of the book coasters gave me a holiday vibe! I thought that a touch of red and more gold embellishments would make for a fun and festive project.
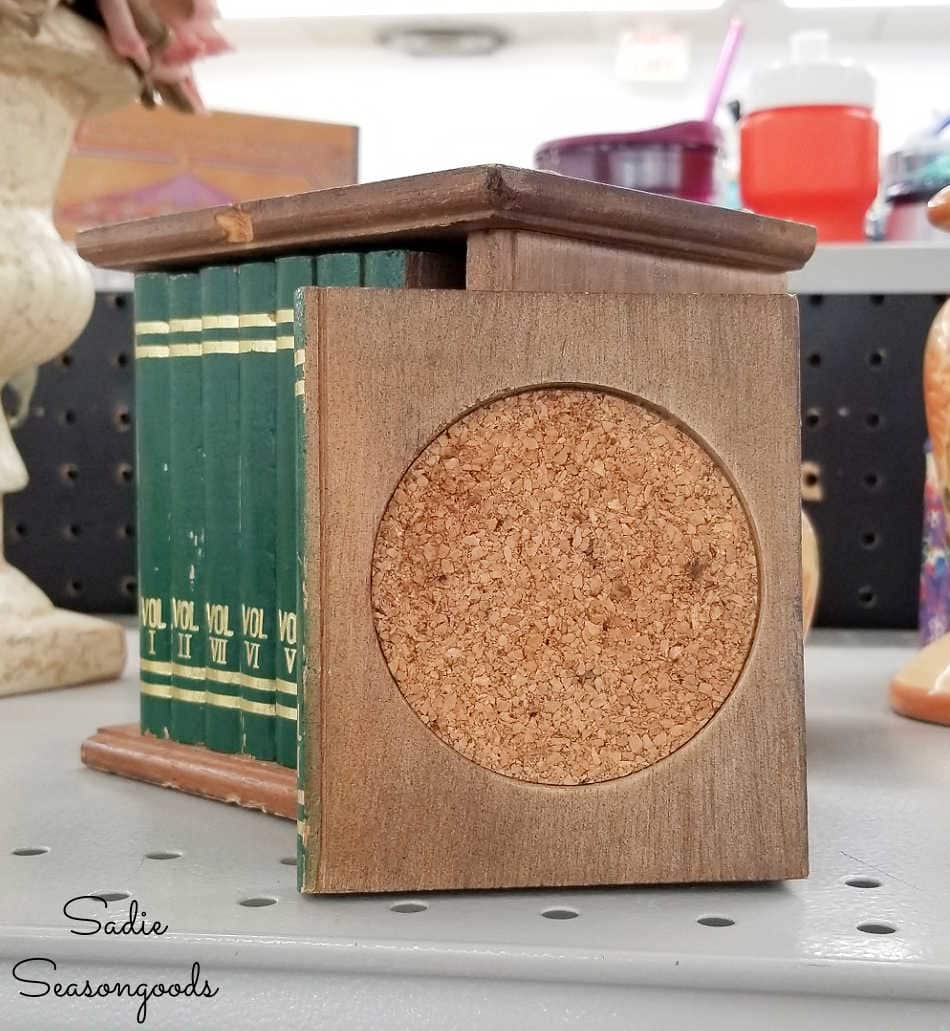
Image credit: Sadie Seasongoods.
The set was well-loved, but the cork insets were still in really good condition! So I snapped them up and got straight to (upcycling) work.
This post contains affiliate links for your crafting convenience. As an Amazon Affiliate, I earn from qualifying purchases. All blue, bold, and underlined text is a clickable link, either to a product or to a related post.
Wooden Coaster Set Gets Festive
First things first, I needed to prep the coaster holder for paint. And to do so, I needed to remove the upholstery tacks (or so I thought) from the top.
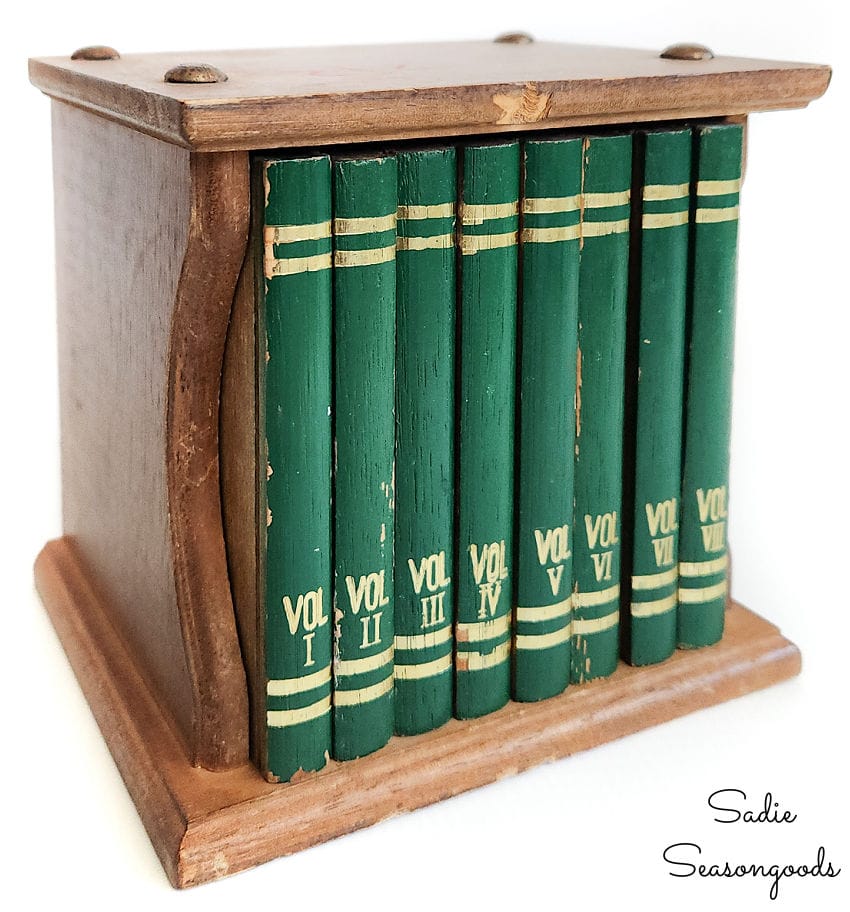
Image credit: Sadie Seasongoods.
Turns out they were pronged pins instead of tacks, but easy enough to remove with a butter knife. A butter knife because I was too lazy to go into the garage for an actual tool.
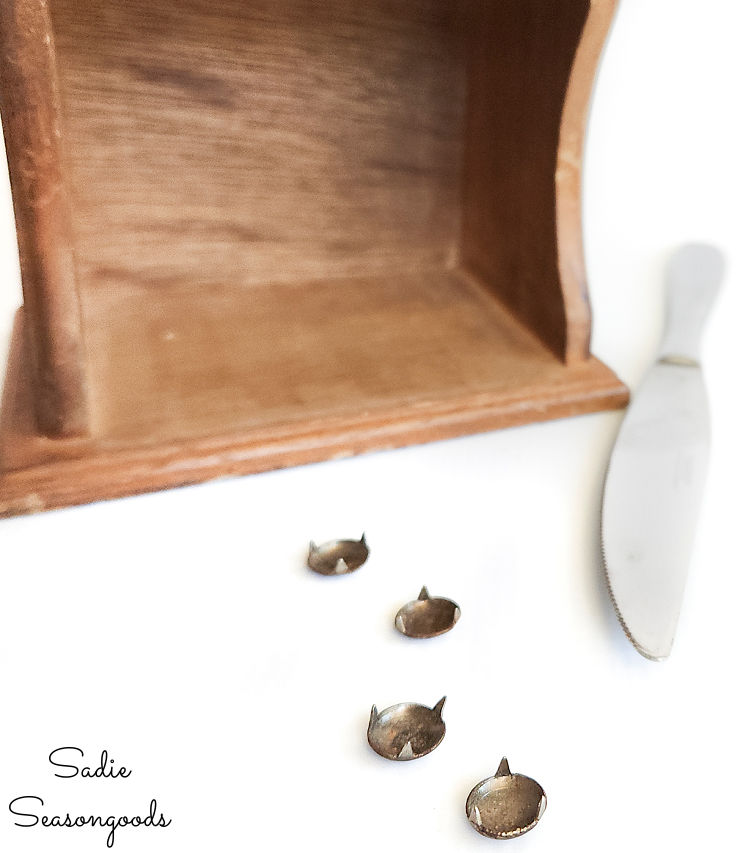
Image credit: Sadie Seasongoods.
Then, I wiped down the coaster holder with a damp towel and grabbed some festive red chalk paint.
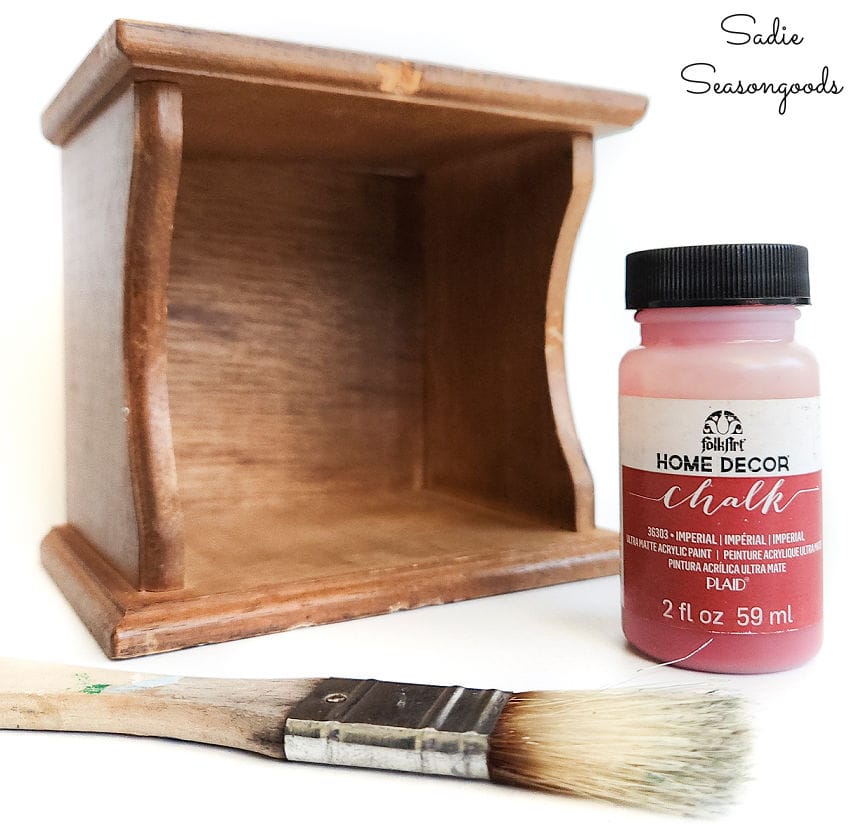
Image credit: Sadie Seasongoods.
After it was sufficiently painted, I gave it a light sanding with 320-grit sand paper and wiped it down again to remove the dust. Now it was time to stencil!
I decided that one of my mid-mod starburst stencils would be perfect on the coaster holder. In this instance, it reminded me of how the Christmas Star looked when illustrated in the Christmas children’s books I had as a kid.
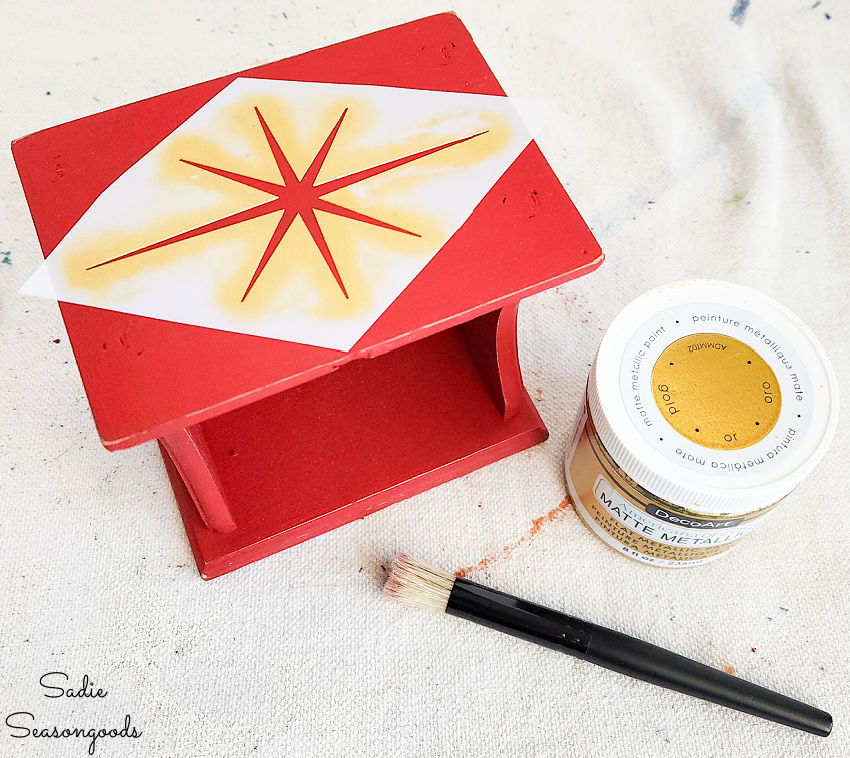
Image credit: Sadie Seasongoods.
And yes, I’ve used that stencil twice before! Once on these cigar boxes and once on the key bowl by our front door.
Using matte gold craft paint, I stenciled stars on the top and sides of my coaster holder. And when the stenciled designs had totally dried, I buffed the entire coaster holder with clear furniture wax!
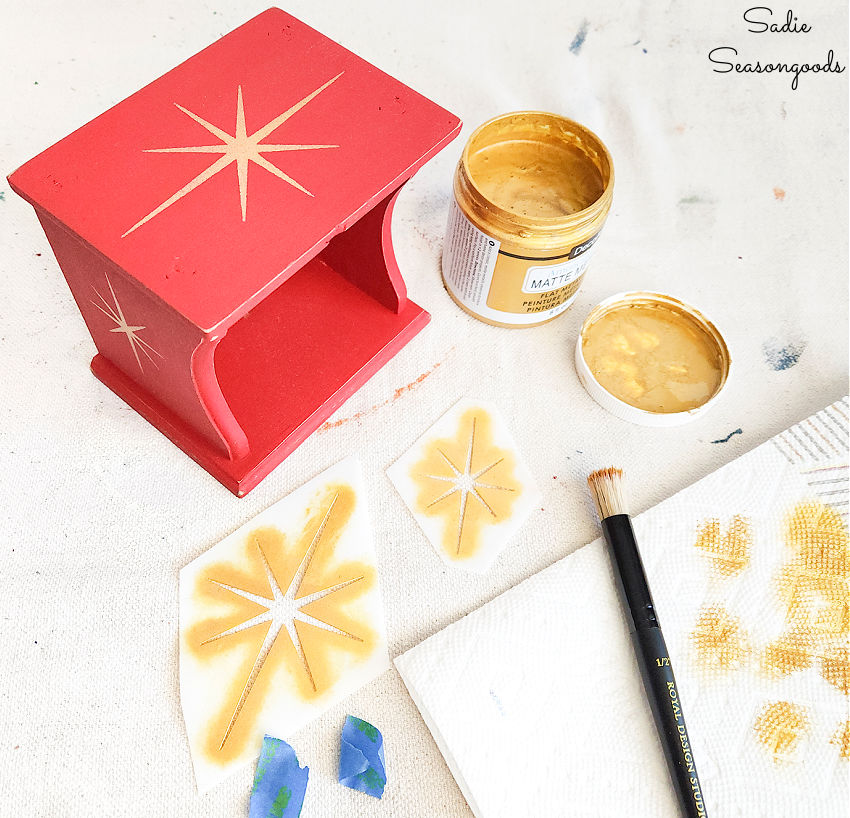
Image credit: Sadie Seasongoods.
Now that the wooden holder was all done, I could focus on the Christmas coasters themselves.
Finishing the Christmas Coasters
Now, I didn’t want to paint the book coasters and lose the vintage patina their green spines had developed over time. But I still needed the coasters to be individualized in case we ever used them with a group of friends. (They’d be easy to remember and keep track of drinks that way!)
So, I decided to write a Christmas word on each one with a gold paint pen.
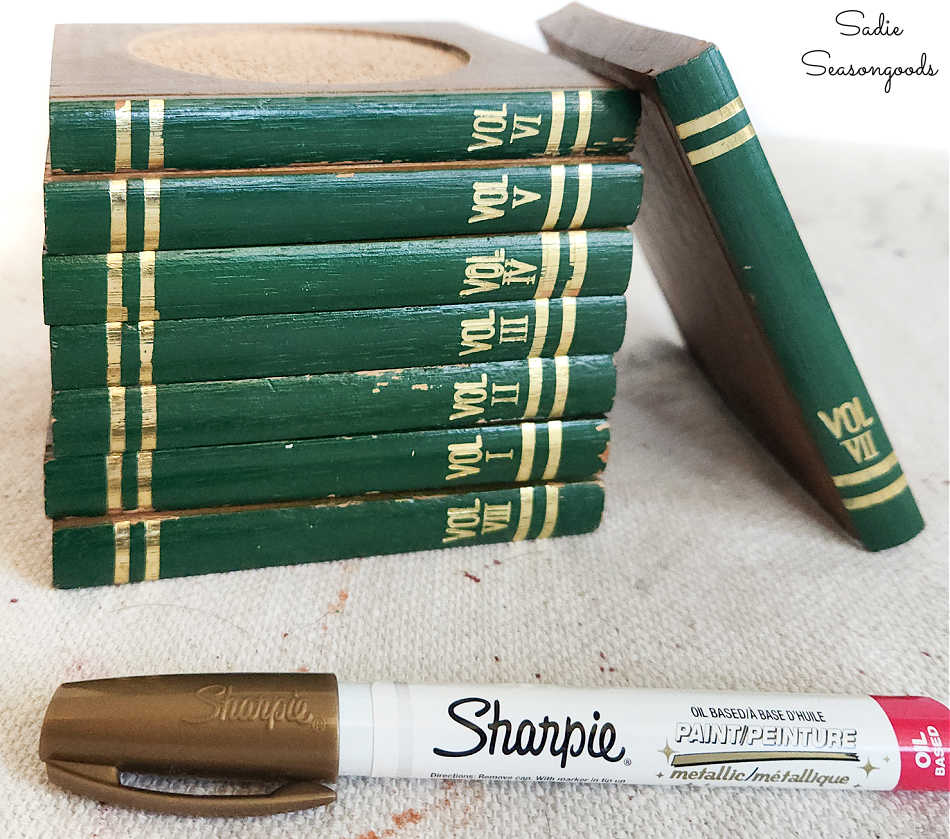
Image credit: Sadie Seasongoods.
While my handwriting on those rounded spines left much to be desired, this is how they ended up looking!
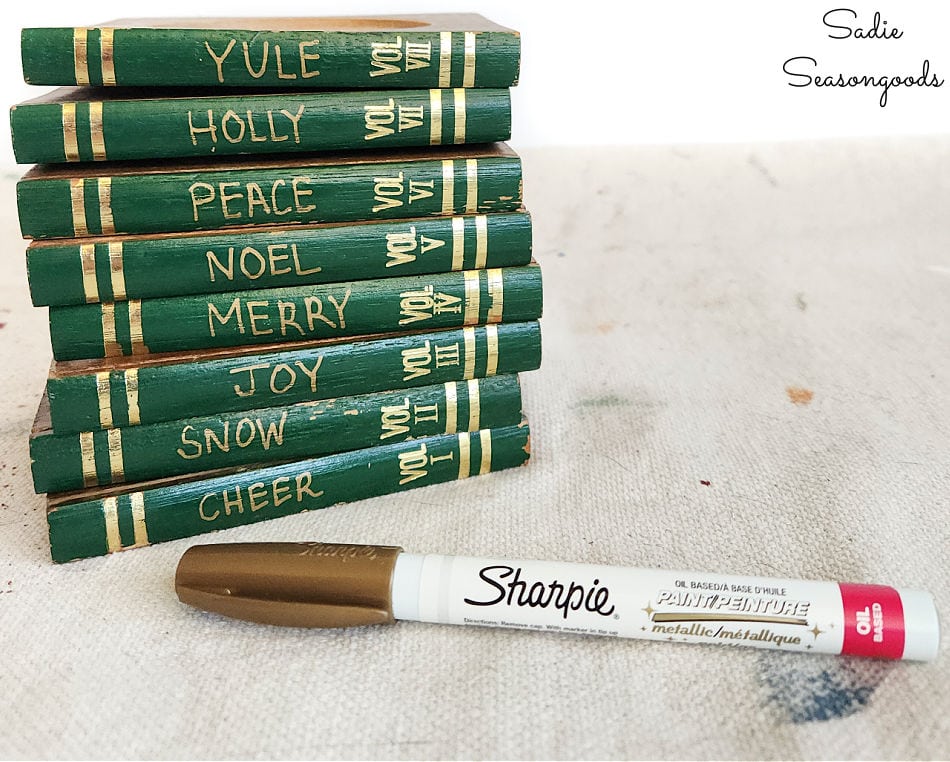
Image credit: Sadie Seasongoods.
And though the cork insets were in good shape, some of the coasters’ wood surfaces looked a little sad (i.e., dry). So, I grabbed my trusty tin of furniture salve!
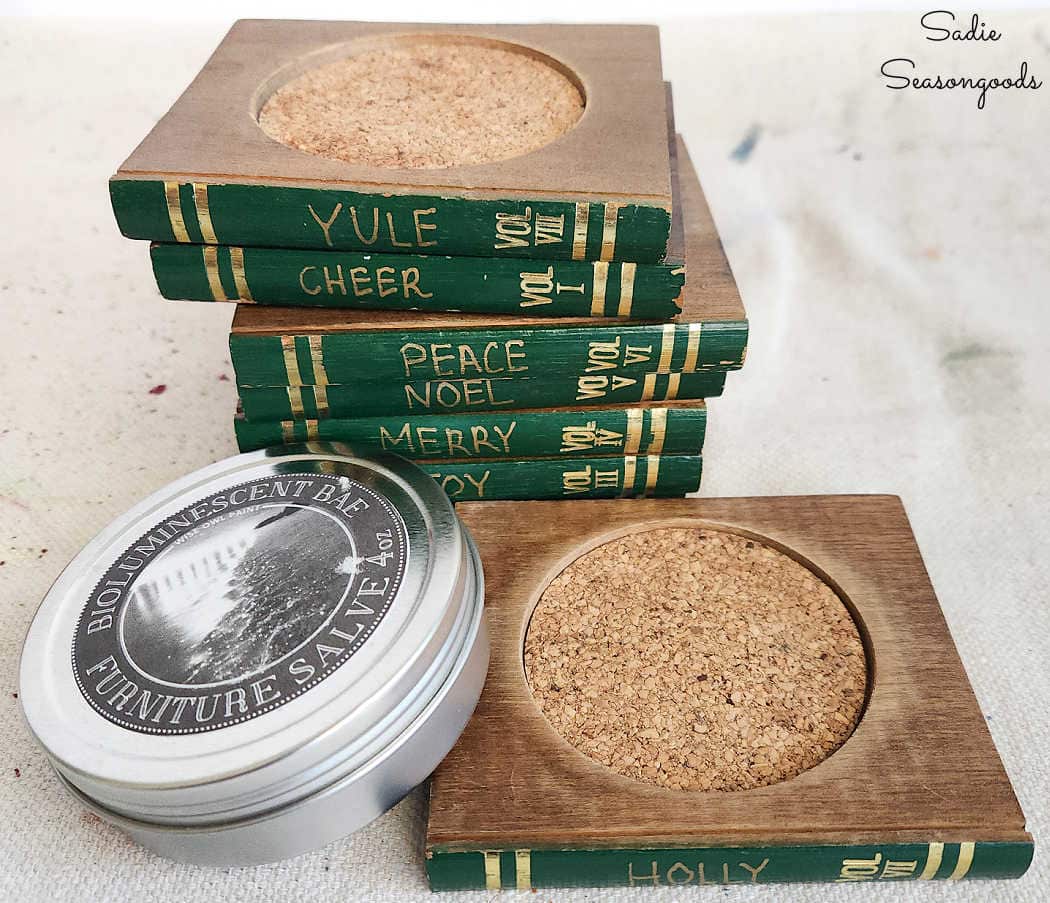
Image credit: Sadie Seasongoods.
Boy this stuff is magic, it makes such a huge difference on wooden surfaces (that won’t directly touch food). I just rubbed a little on the coasters with my fingertip and buffed the excess off with a soft clean towel.
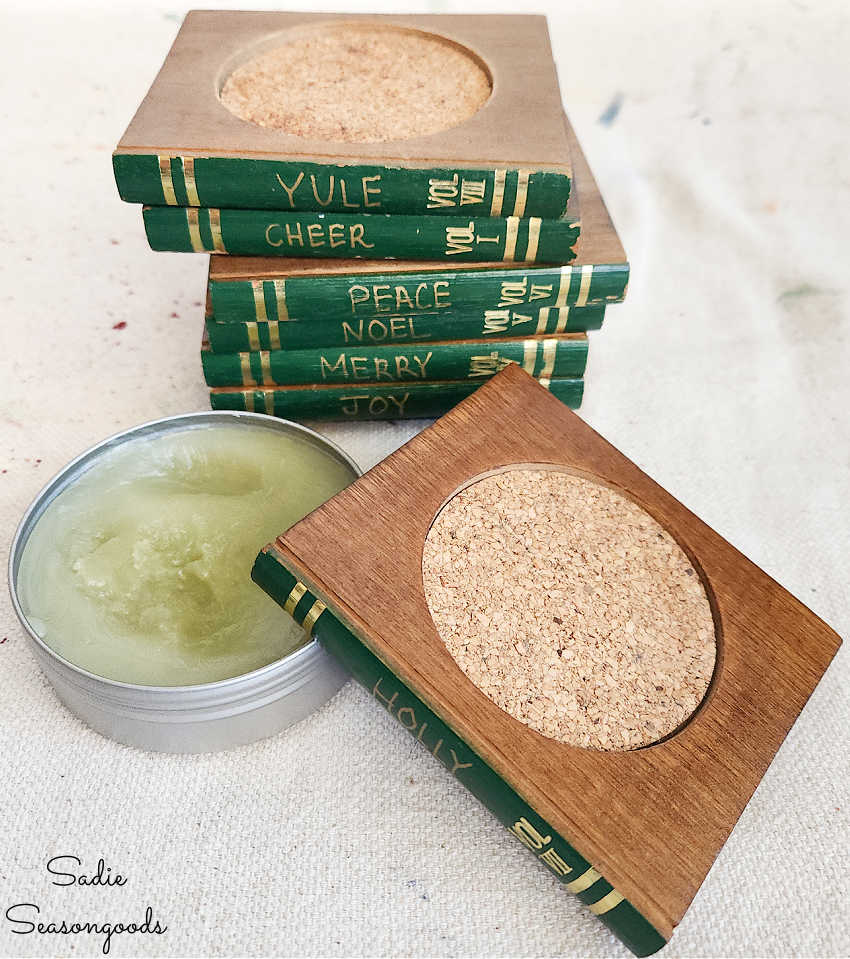
Image credit: Sadie Seasongoods.
Lastly, I did the same thing to each of the Christmas coasters to freshen up the wood. Don’t they look fantastic?
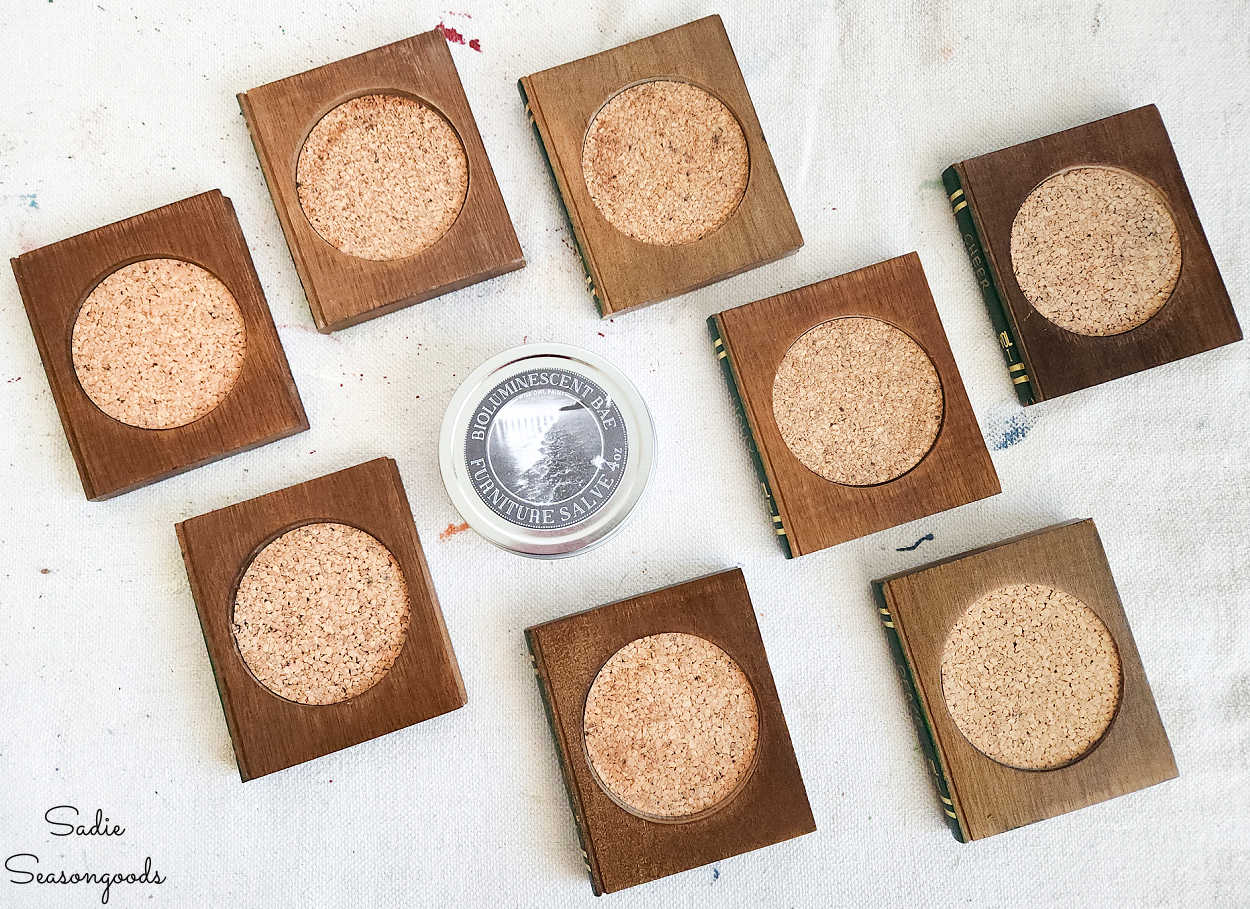
Image credit: Sadie Seasongoods.
Christmas Coasters for the Holidays
One final step before the set was done. I rubbed some gold rub-n-buff on the heads of the pronged pins so that they matched the stenciling. Then, I carefully pushed them back into their original prong holes.
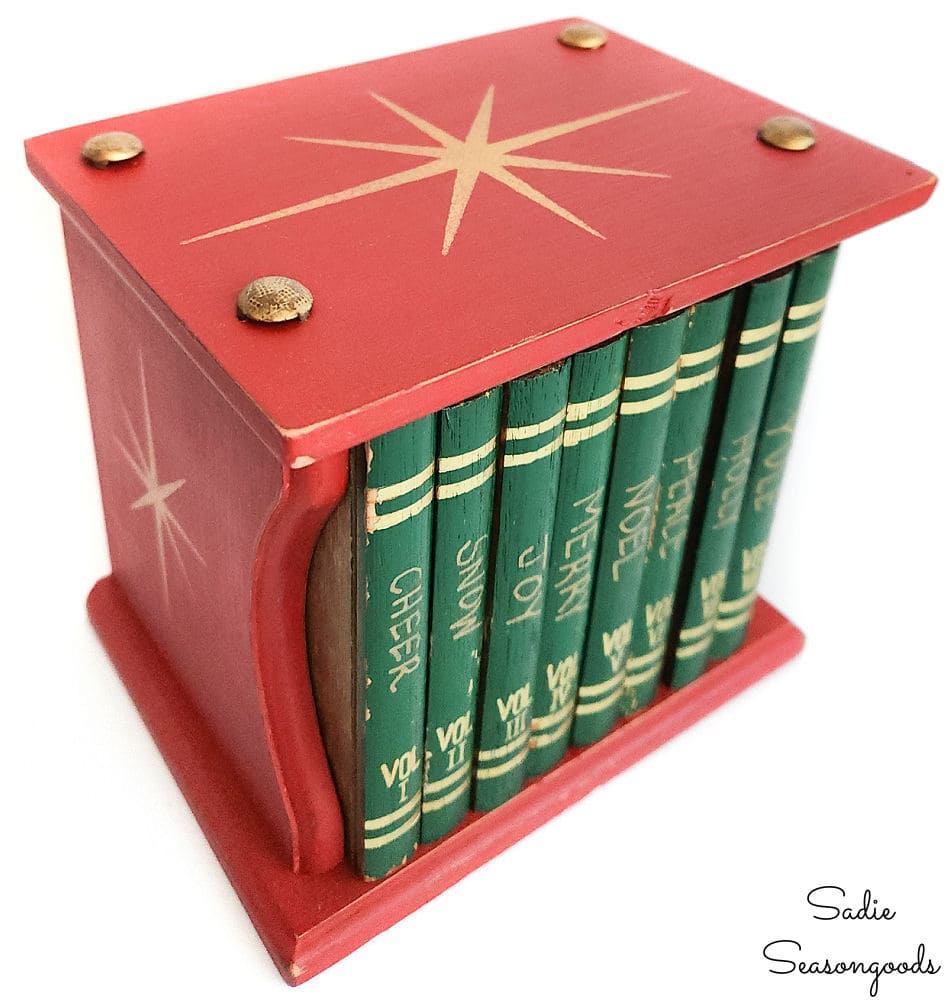
Image credit: Sadie Seasongoods.
And that was it! Now my Christmas coasters were all done and ready to be put to good, festive use all holiday season. I seriously love, love, love how they turned out…despite my slightly wonky handwriting!
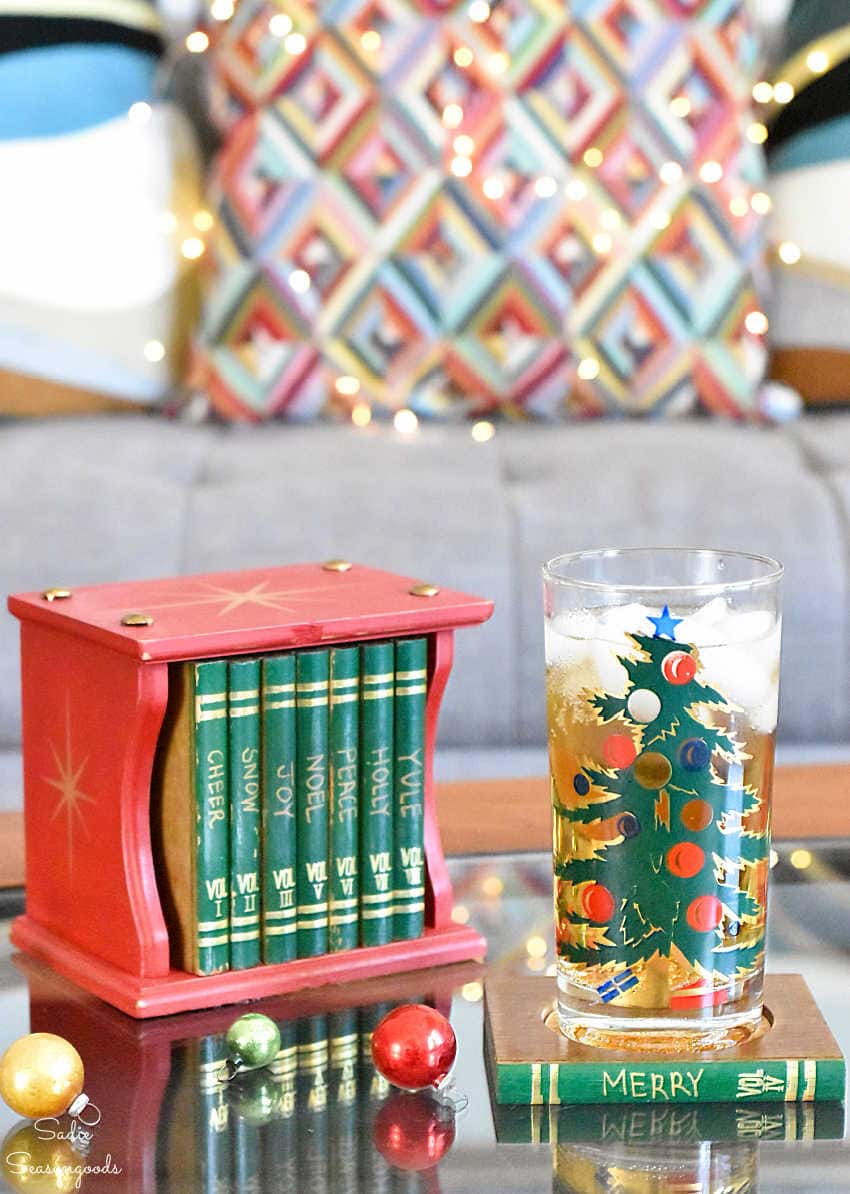
Image credit: Sadie Seasongoods.
And yes, I found the perfect vintage Christmas high ball glasses on Etsy to make this photo come to life!
If I have several friends over, everyone would just need to remember their Christmas word so that they always know which drink is theirs! And let’s face it, I think we’ll do anything to avoid sharing germs while finally spending the holidays together again, right?
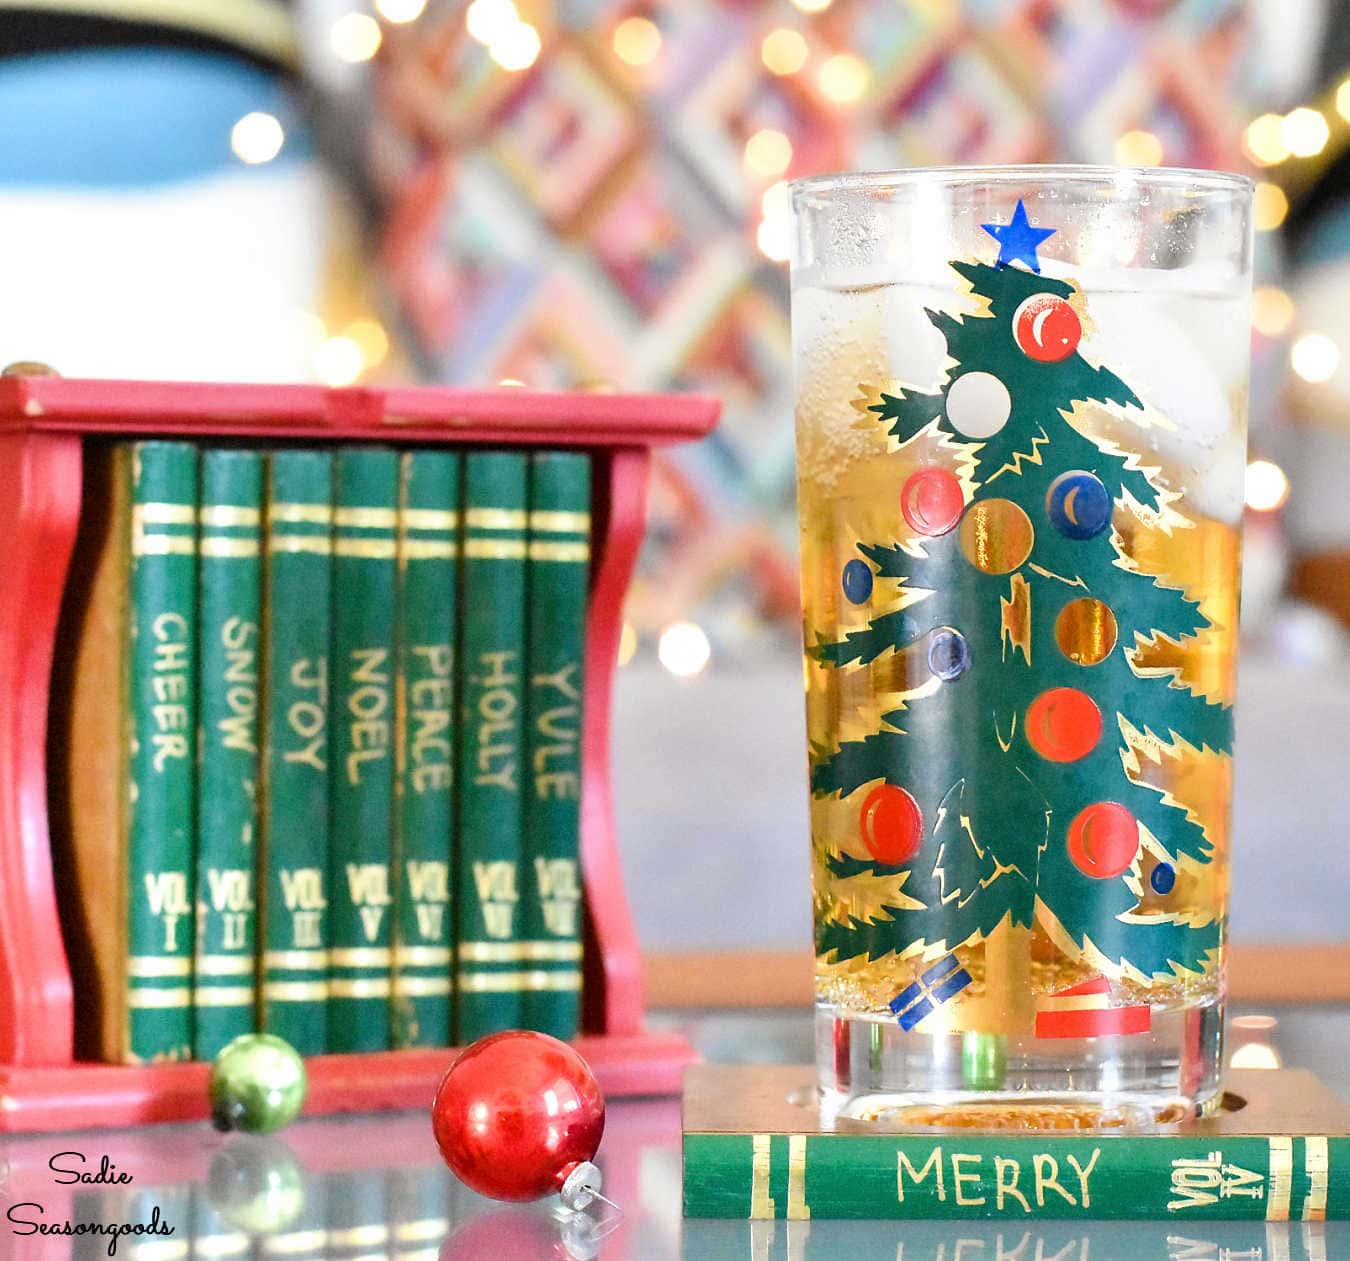
Image credit: Sadie Seasongoods.
So, what do you think? If you see one of these wooden coaster sets at the thrift store, will you be giving it a festive makeover? I mean, they’re certainly cute enough to leave alone, too (or with just some wood salve here and there).
But this makeover as Christmas coasters is awfully cute (and easy), though! And I love that with the holder, they’ll pack away nicely with all the other Christmas goodies for the rest of the year.
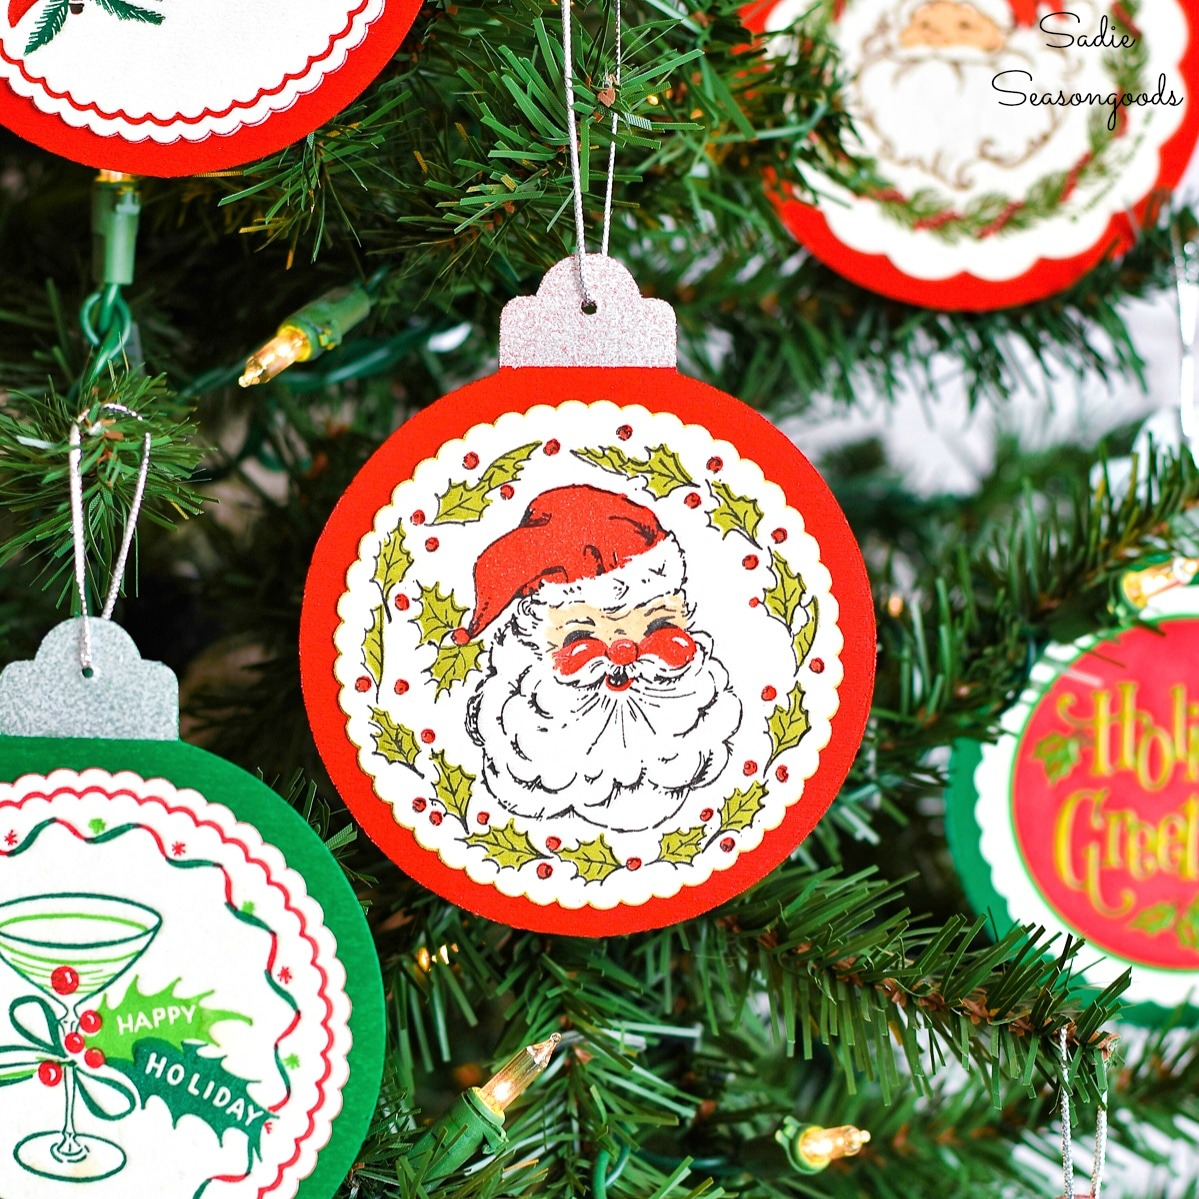
If you enjoyed this upcycling idea for Christmas coasters, then you may also enjoy these ornaments that I made with vintage paper coasters. Remember those things?
Craft on!
S
Want to be notified when I publish my next upcycling project tutorial?
Join me on Social Media:
PIN ME!
Image credit: Sadie Seasongoods.
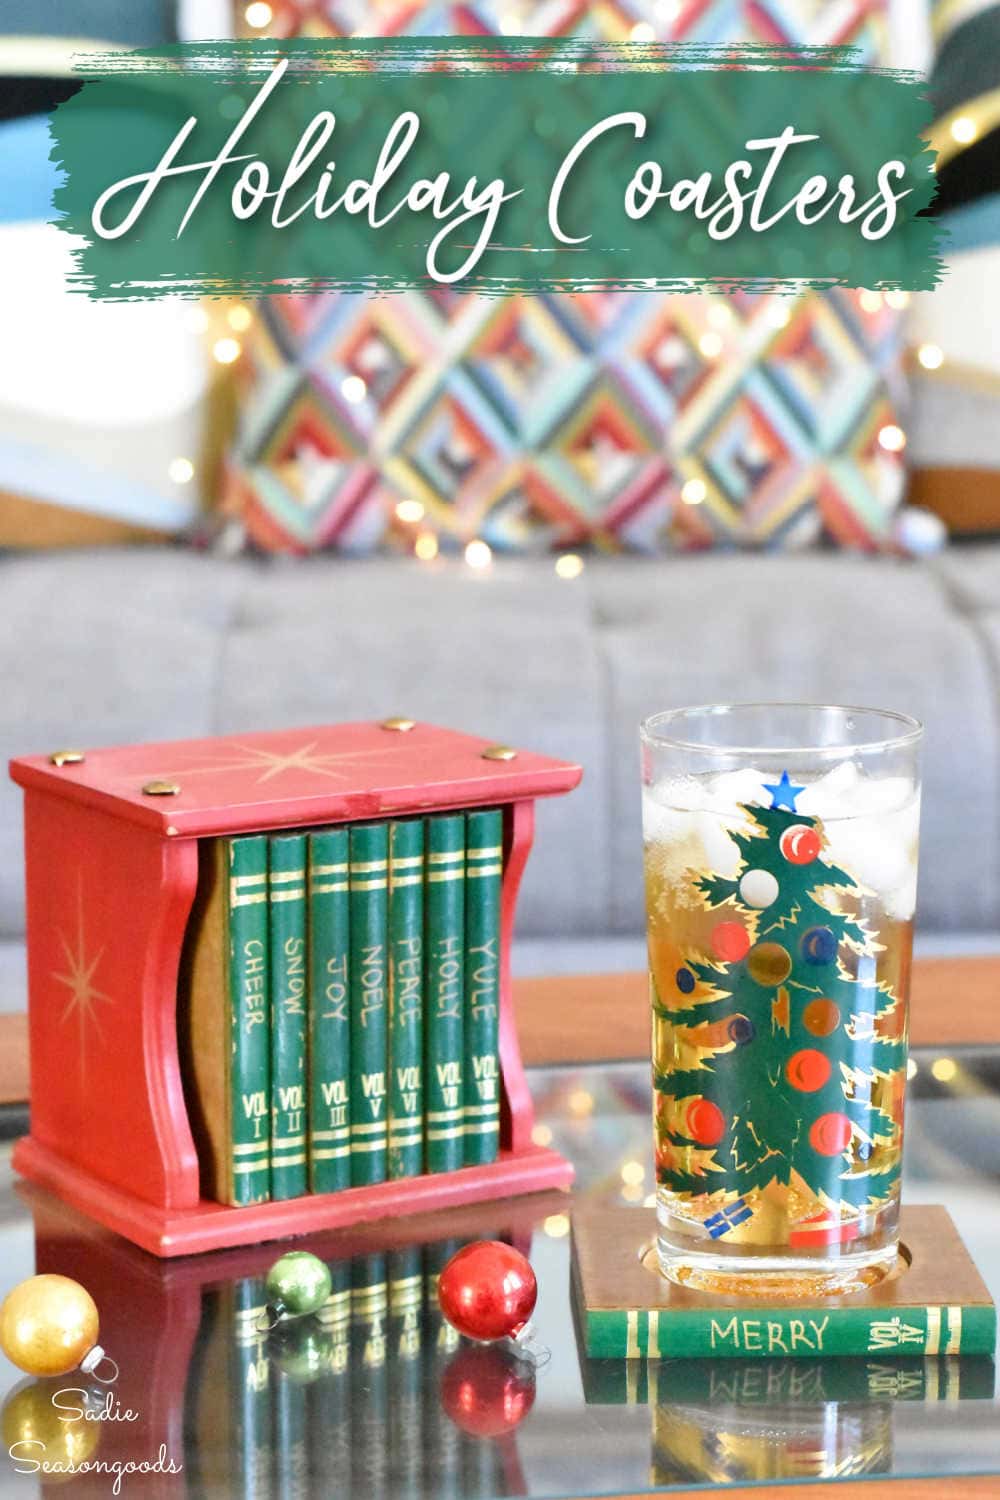
Image credit: Sadie Seasongoods.
Sarah Ramberg is the owner of Sadie Seasongoods, a website that celebrates all things secondhand. From upcycling ideas and thrifted decor to vintage-centric travel itineraries, Sadie Seasongoods is a one-stop shop for anyone who loves thrifting and approachable repurposing ideas. Sarah is also the author of “Crafting with Flannel” and has been featured in numerous media outlets and magazines.


The coasters turned out beautiful
Thank you so very much, Amanda!
Miss Sadie,those are so cute!The furniture salve made them new again. Great job! Have a blessed Christmas.
Thank you so much, Charleen- to you, as well!
Great save. I’ll be looking for these too. The “Wonky Donkey” would really like your “wonky” writing. Merry Christmas.
Thank you so much, Rita!
So festive and cute!
Thank you, Hannah! Merry Craftmas to you!
I am in love with this project! I think it is my favorite of all you have done. I hope I can get my hands on a similar set of coasters at the thrift store.
Thank you so much, Tammy- I’ll keep my fingers crossed for you!
Very cute!
Thanks so much, Danielle!
What a fantastic way to upcycle those! Merry Christmas!
Thanks, Mary- and Merry Craftmas, to you, as well!
I love love love these! A little paint magic goes a long way!
It really does- thanks, Gina!
I just loved these. I’m so glad you refreshed the wood, too. I would be tempted to write names of Christmas stories on the spines. I hope you can find another set and do a Halloween-themed spell/charm/potion/monster set!
Ooooh, a Halloween set would be fabulous!!
These are so cute! And the handwriting fits right in with with the vintage feel😄
HA!! So maybe it was meant to be… 😉
Very creative, Amanda! I’m inspired to look for a set of these next time I thrift shop!
Sorry, I didn’t mean to call Sarah Amanda! I don’t know what I was thinking–anyway, just insert Sarah where I said Amanda! The coasters are a definite win!
HA!! I’ve been called worse, so no worries at all. 😉 And thank you!!