When I published my latest “Thrift the Look” adventure, I mentioned a project from my earliest blogging days. It involved painting a brass lamp, but wasn’t very popular at the time. So, I removed the tutorial from my blog, but kept the painted lamp. And when I floated the idea of republishing the tutorial, the positive response was overwhelming!
I actually remember buying the lamp quite clearly. We still lived in Greenville, SC at the time and a local thrift shop was moving to a new location. Everything was half off, so I nabbed this curvy beauty for $2.25.
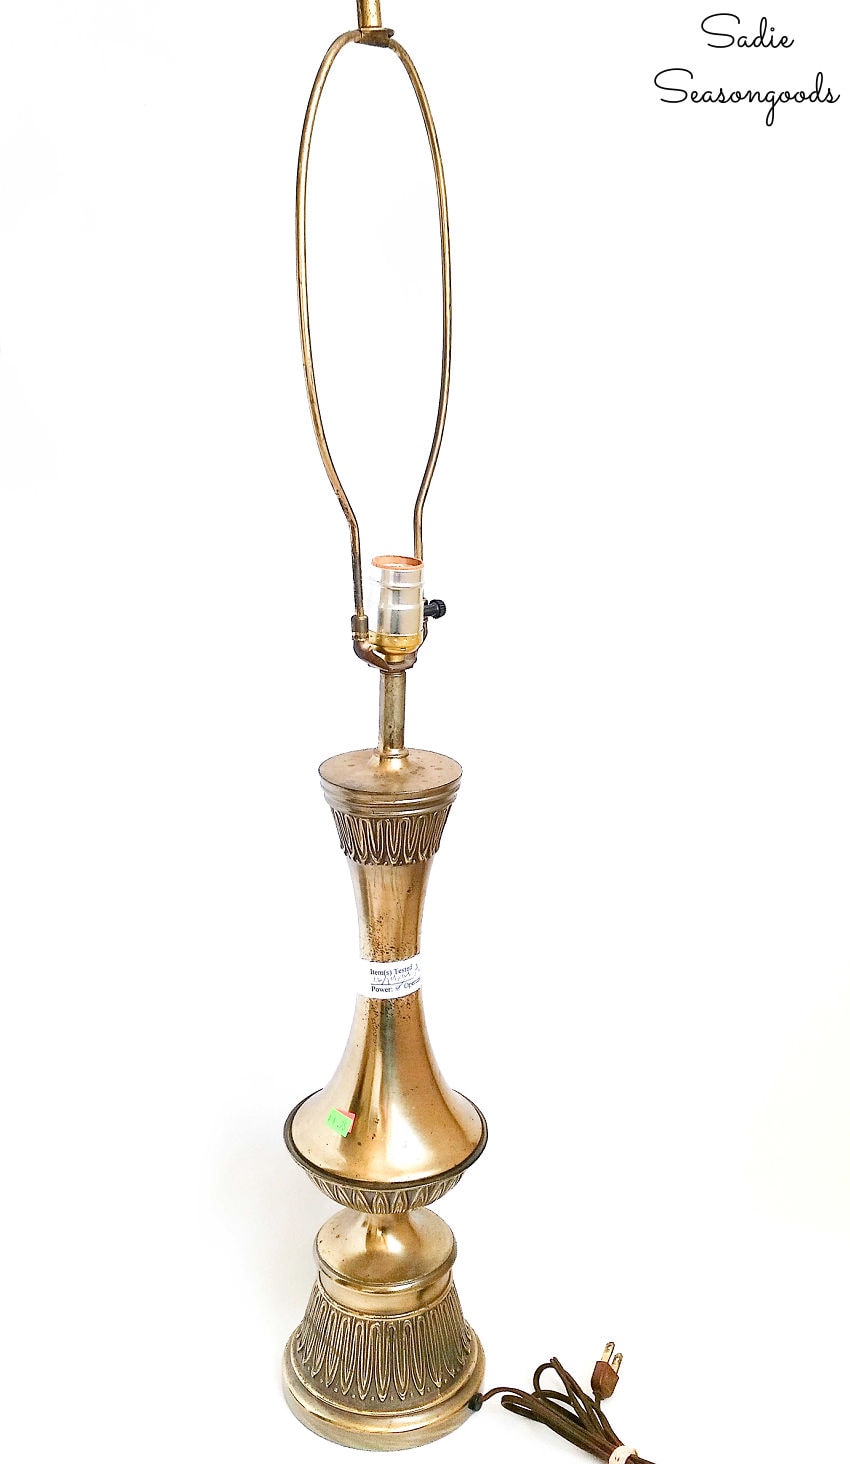
And even though I’ve grown to become a fan of vintage brass these days, I didn’t love SO MUCH BRASSINESS in one piece.
So, I decided to paint it to better suit our tastes. There are, admittedly, several steps to this project- which was part of the reason I removed the original tutorial from my blog. I had thinner skin back then and fell victim to a few complaints.
But over 8 years have passed, and it still looks perfect, so… here we are, re-publishing the tutorial.
This post contains affiliate links for your crafting convenience. As an Amazon Affiliate, I earn from qualifying purchases. All blue, bold, and underlined text is a clickable link, either to a product or to a related post.
Makeover on a Vintage Brass Lamp
First, I had to prep the vintage brass lamp for painting. This involved wiping it down, of course, but then I needed to cover some of the important electrical elements.
The lamp worked perfectly after all, and we weren’t going to rewire it.
First, I opted to use tin foil instead of painter’s tape. I had a lot of ground to cover, so to speak, and was running low on tape.
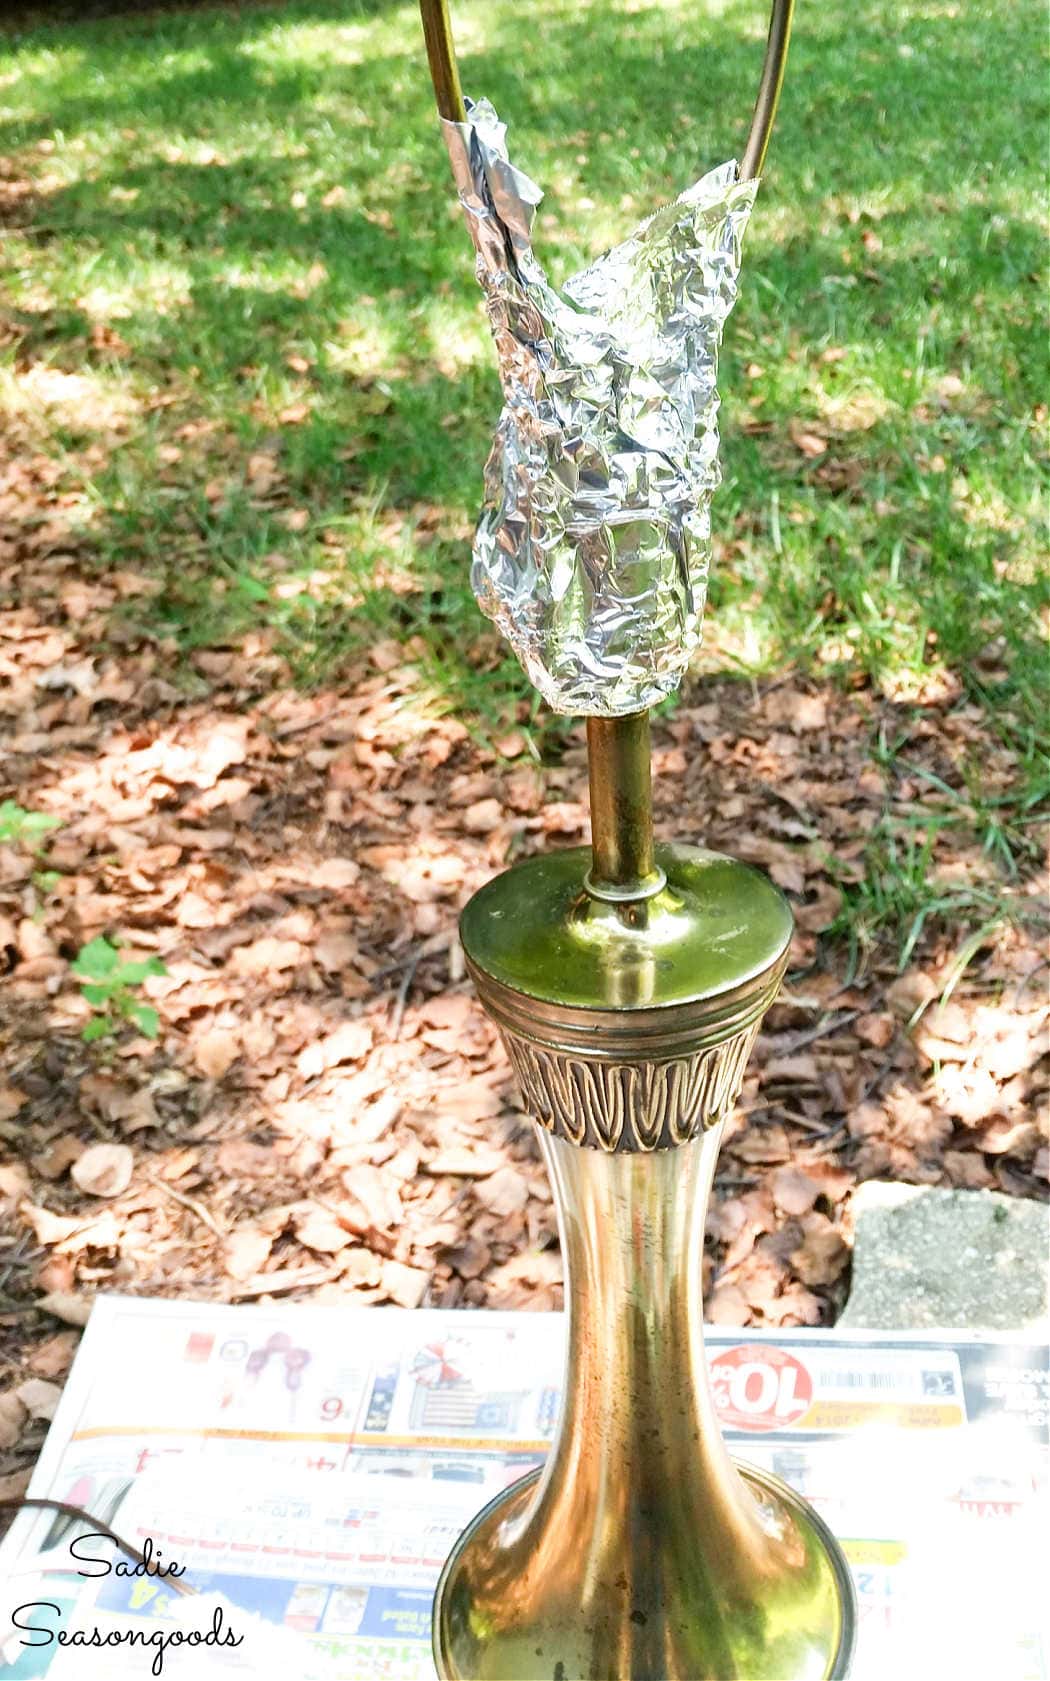
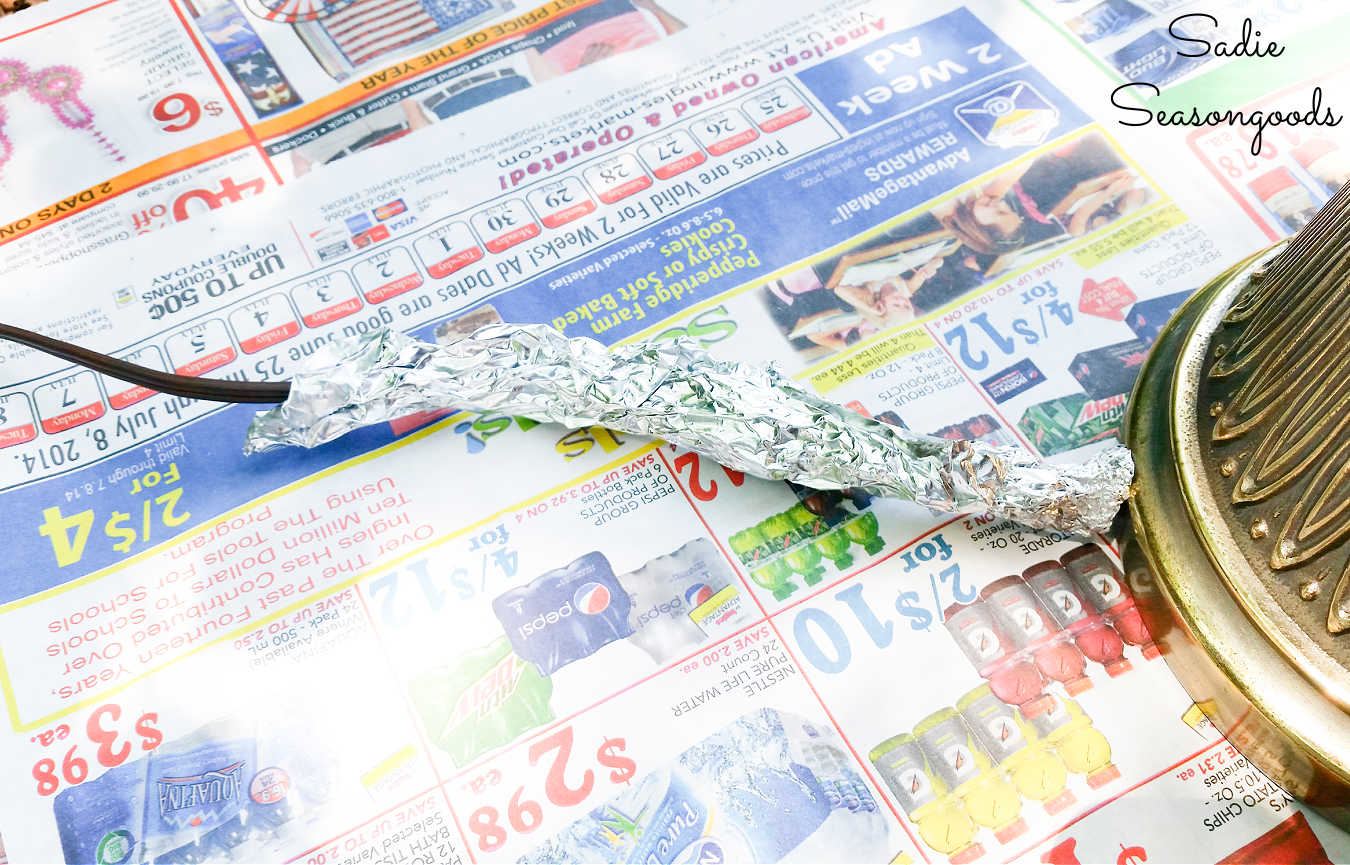
Which meant I wrapped the socket and the plug- to keep them from getting covered during the process. I did my best to cover them as thoroughly as I deemed necessary and crimped the foil around all the nooks, crannies, and curves.
Next, I used special metal primer in order to get the paint to stick. Much of the lamp was shiny and smooth, which all but guaranteed me some painting frustration.
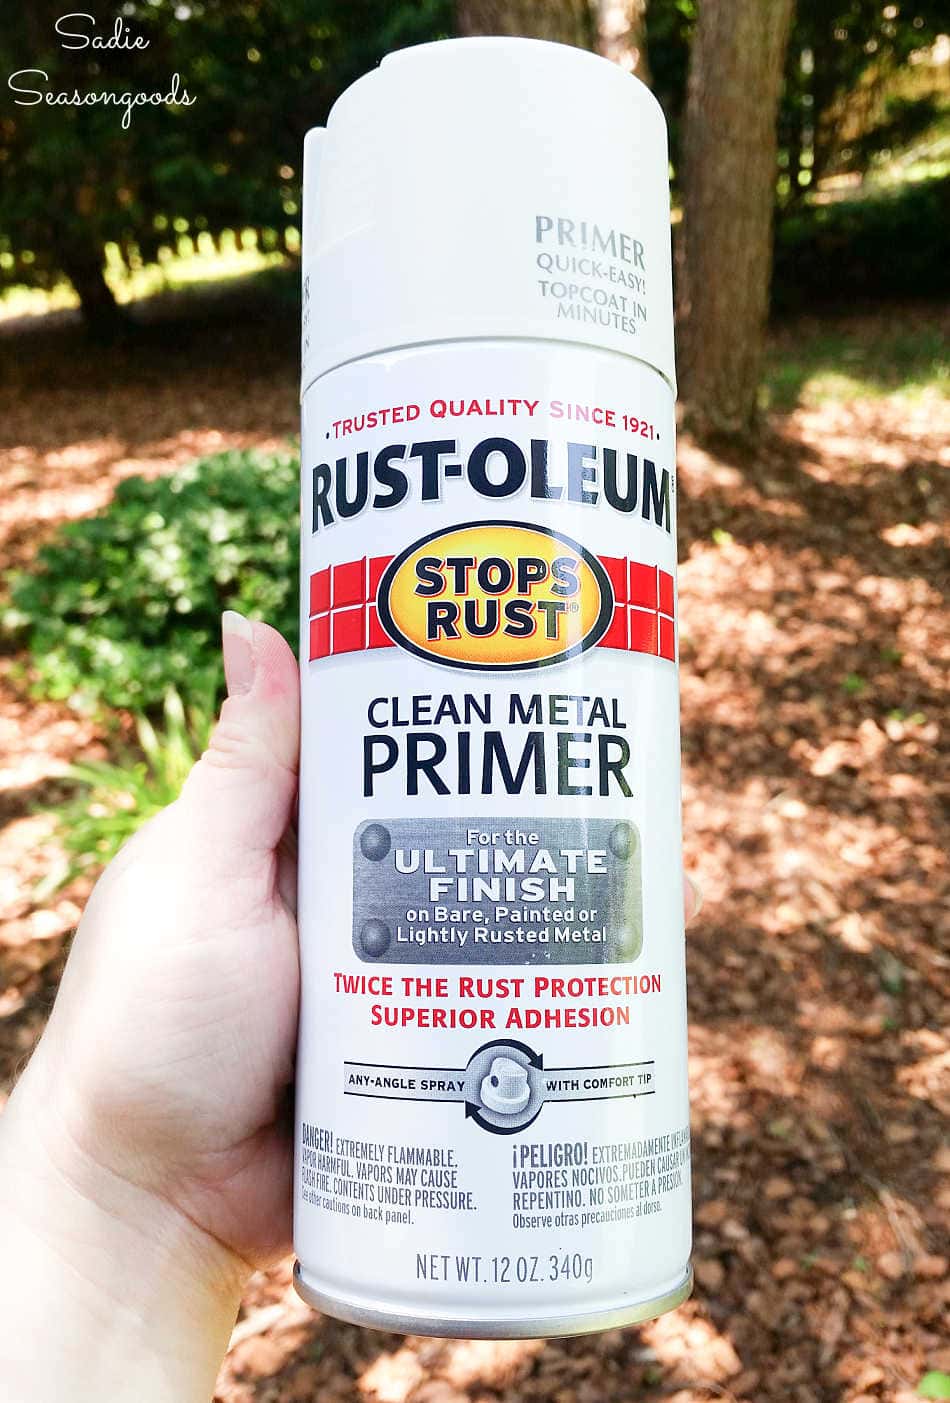
I gave the lamp two light coats of the primer (which is great stuff, by the way) and let it dry overnight.
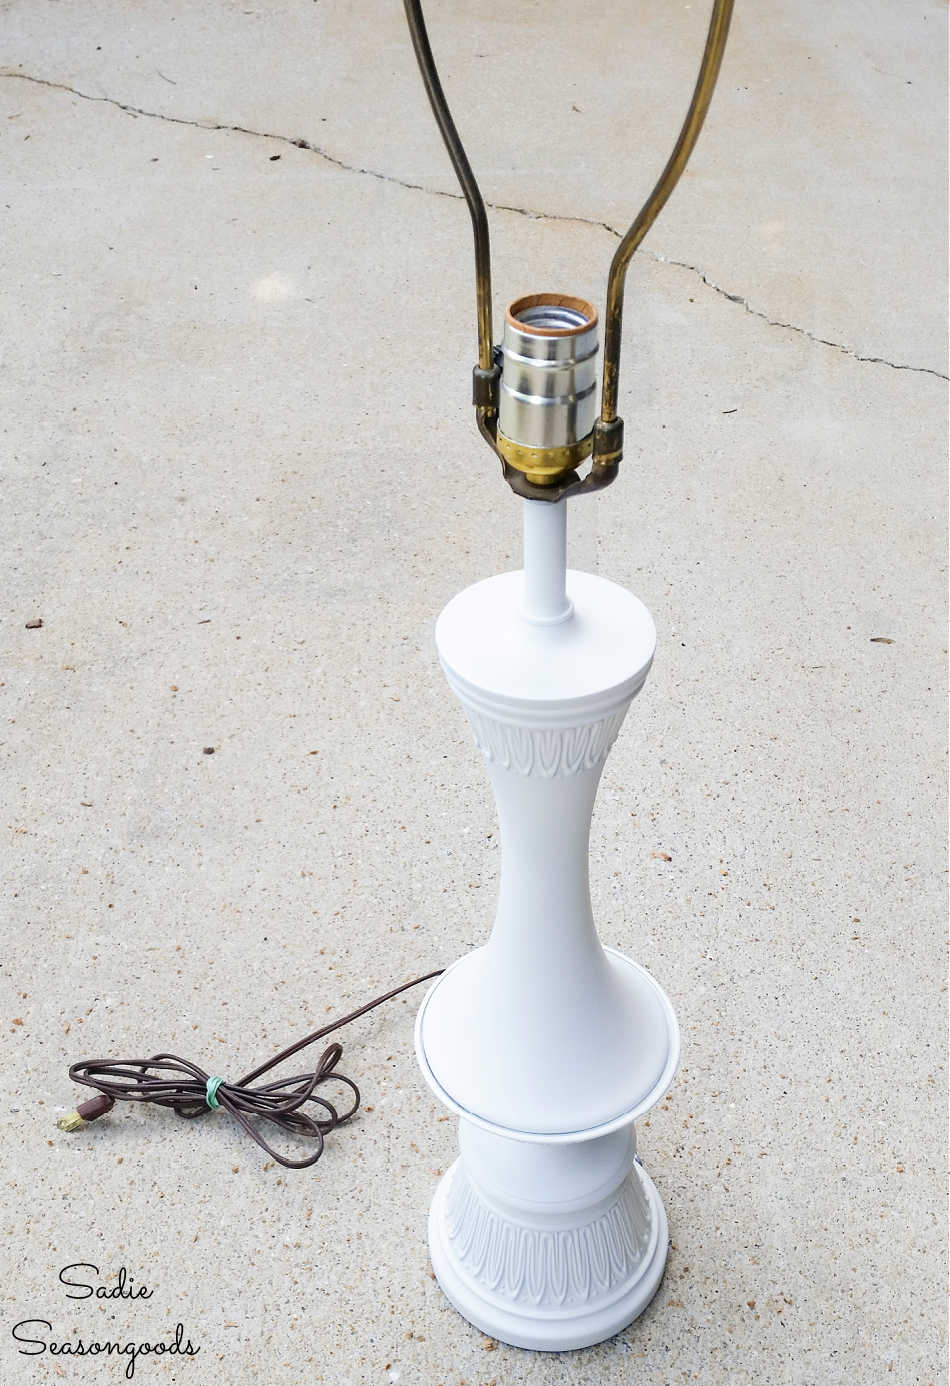
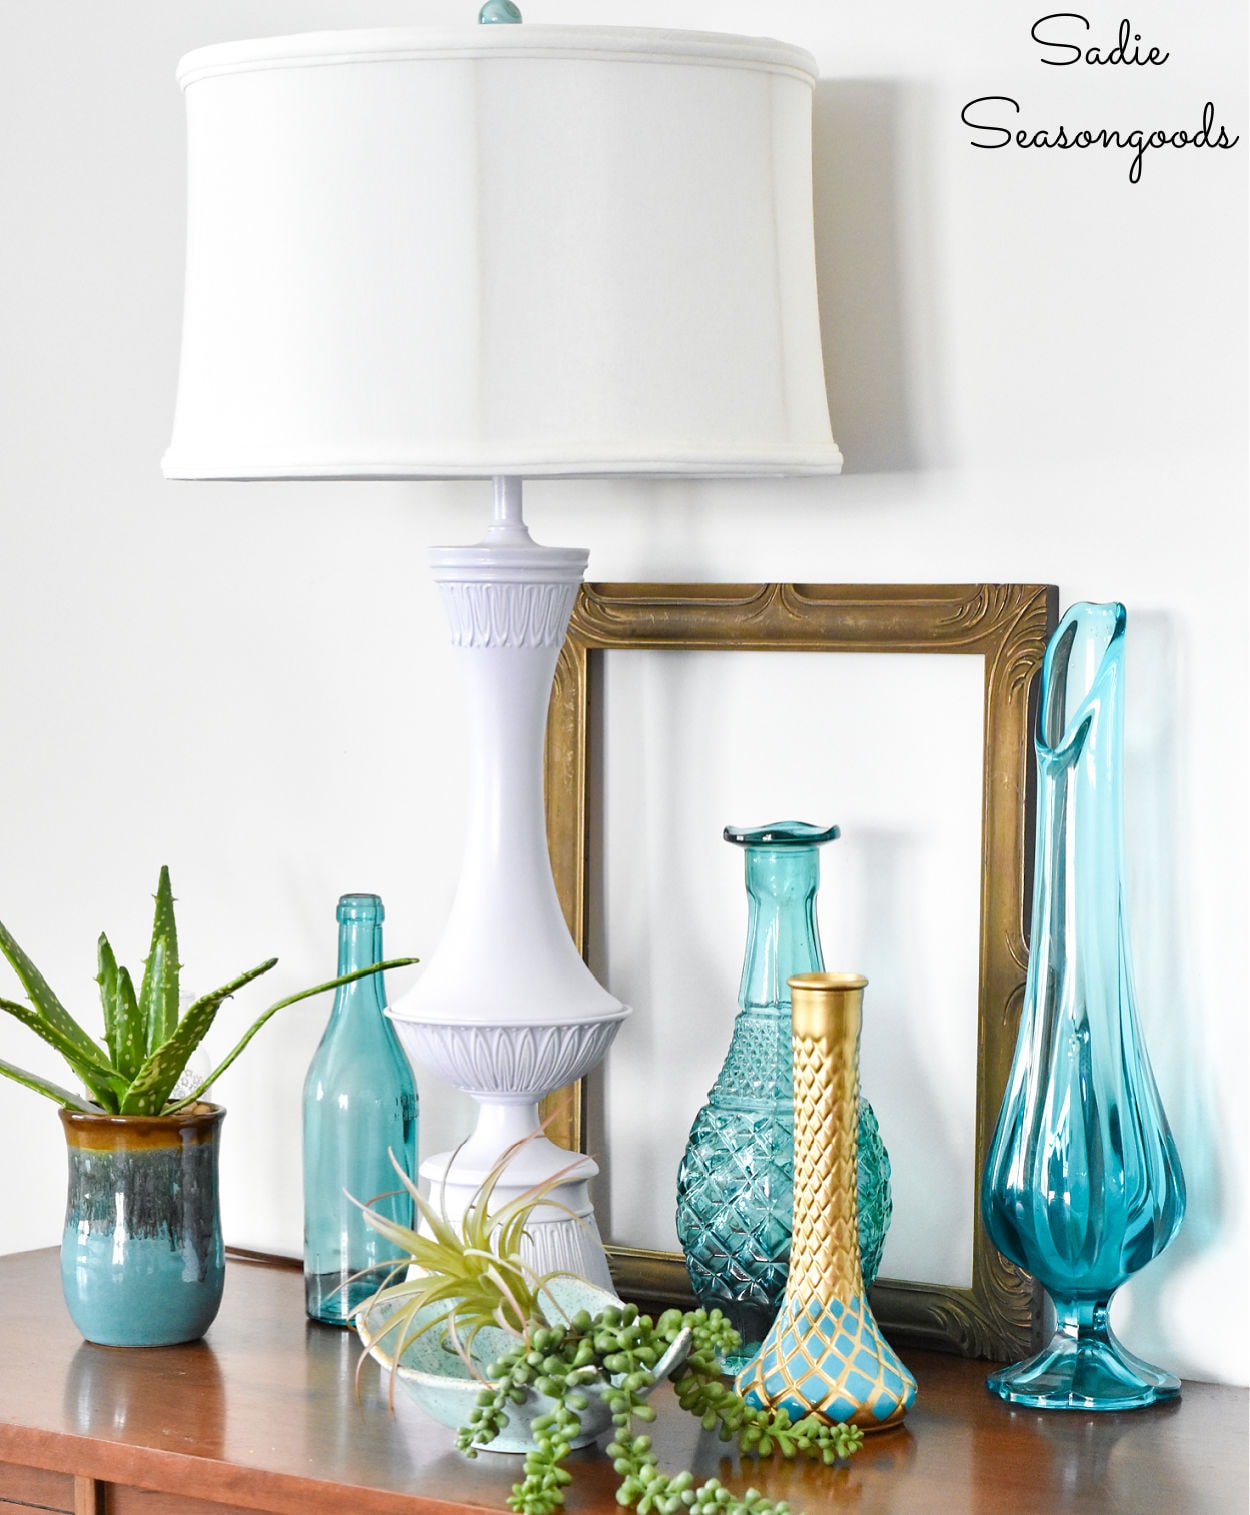
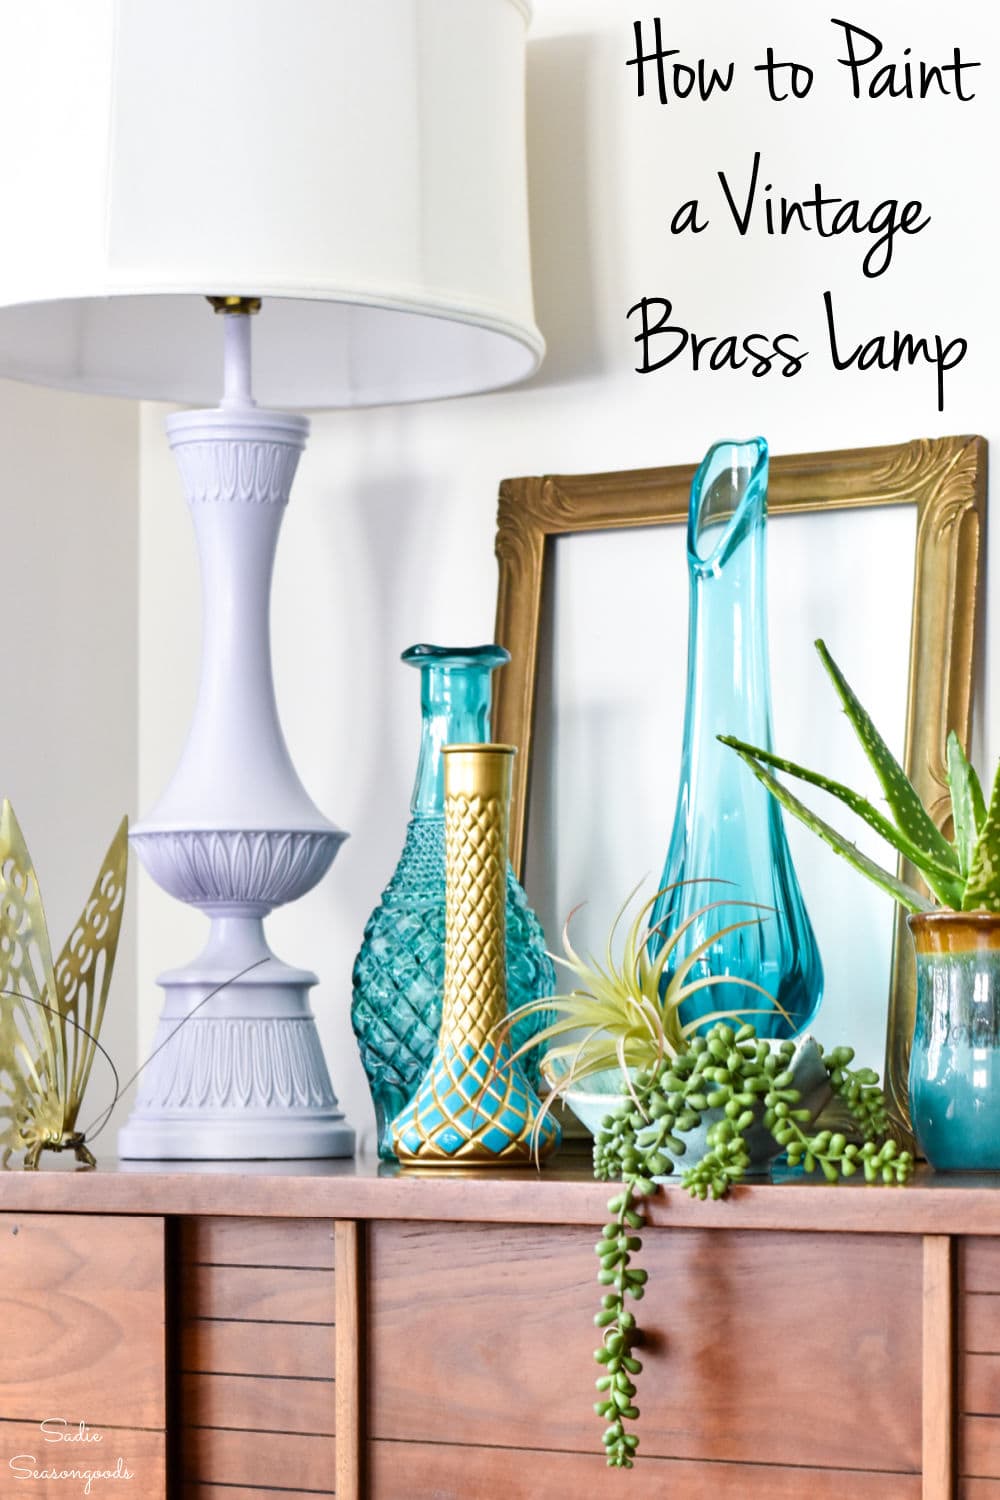
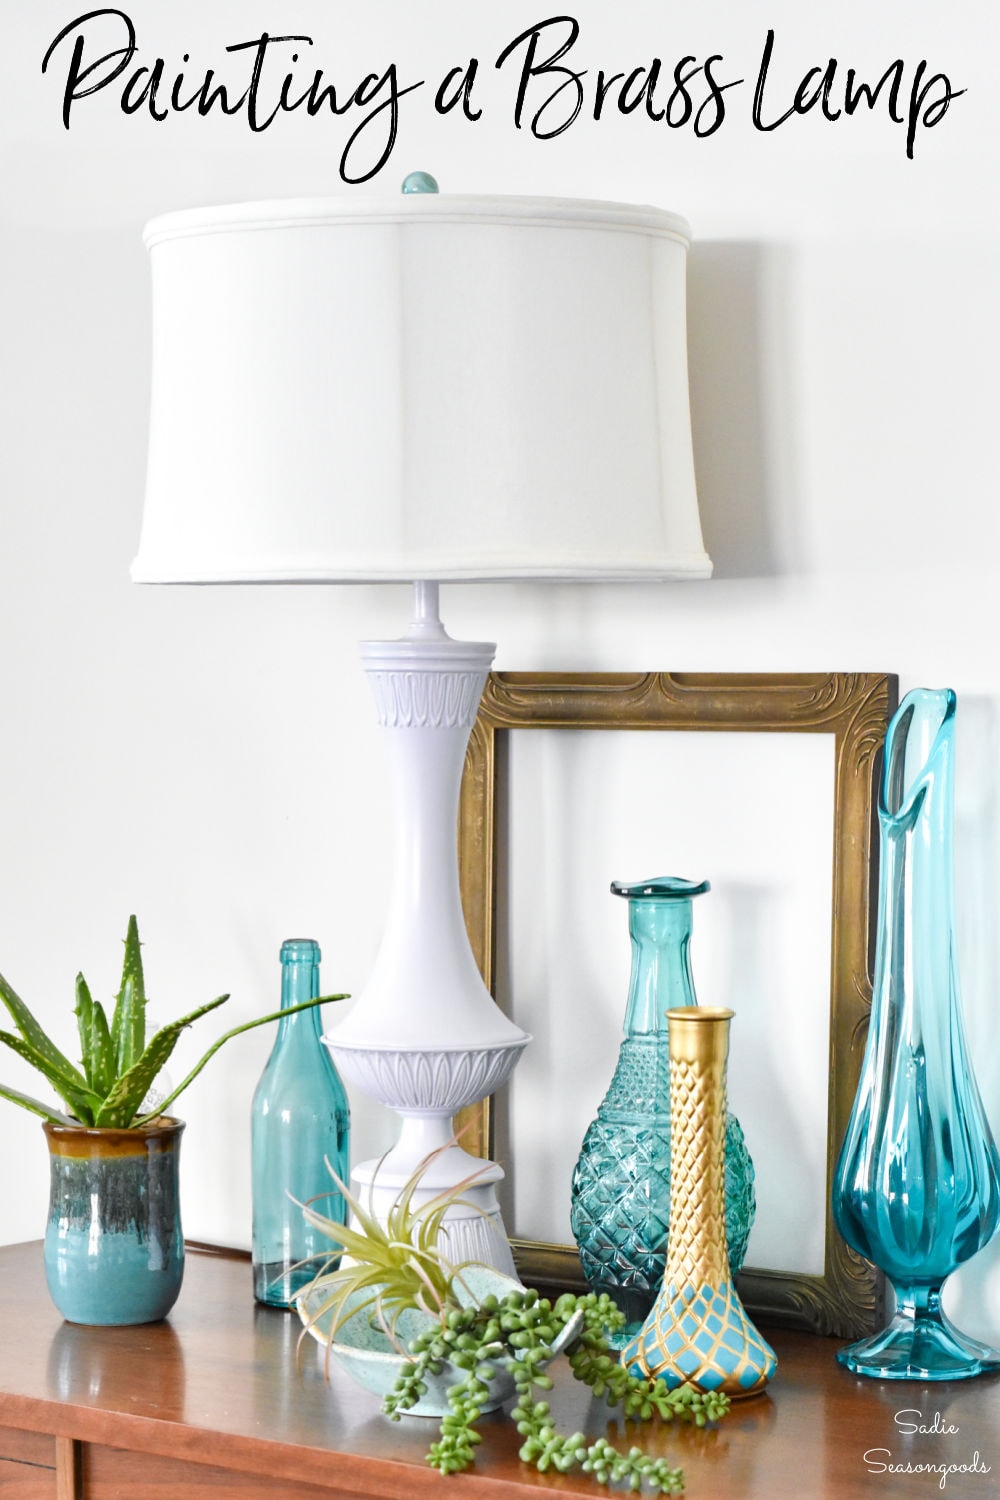
Then, I carefully brush-painted the lamp in a pretty shade of lilac. Sure, I could have spray painted the color, but I honestly couldn’t find the hue I was looking for in spray paint.
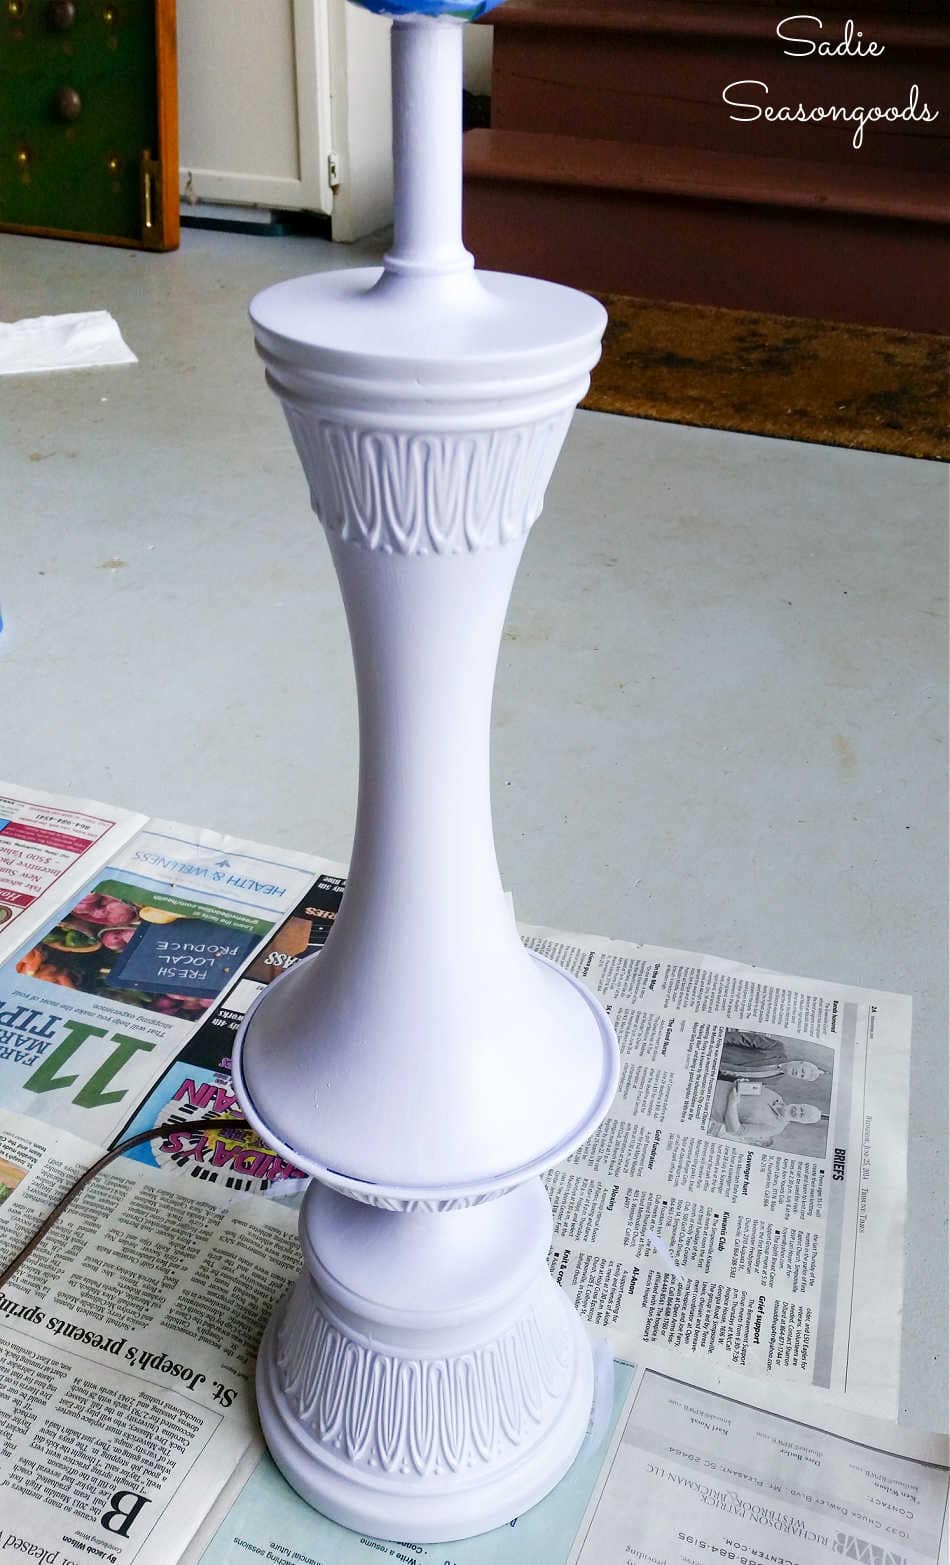
Unfortunately, I don’t recall the actual name of the lilac paint. I remember everything else about the project except for that one detail!
Lastly, to protect the paint job, I gave it a coat of crystal clear enamel. This is my favorite top coat for glossy or satin finishes. It just holds up SO well.
Painting a Brass Lamp
To complete the look, I removed the original harp (fourteen inches, y’all- FOURTEEN!) and brought my painted lamp to a locally-owned lamp store for a shade-fitting.
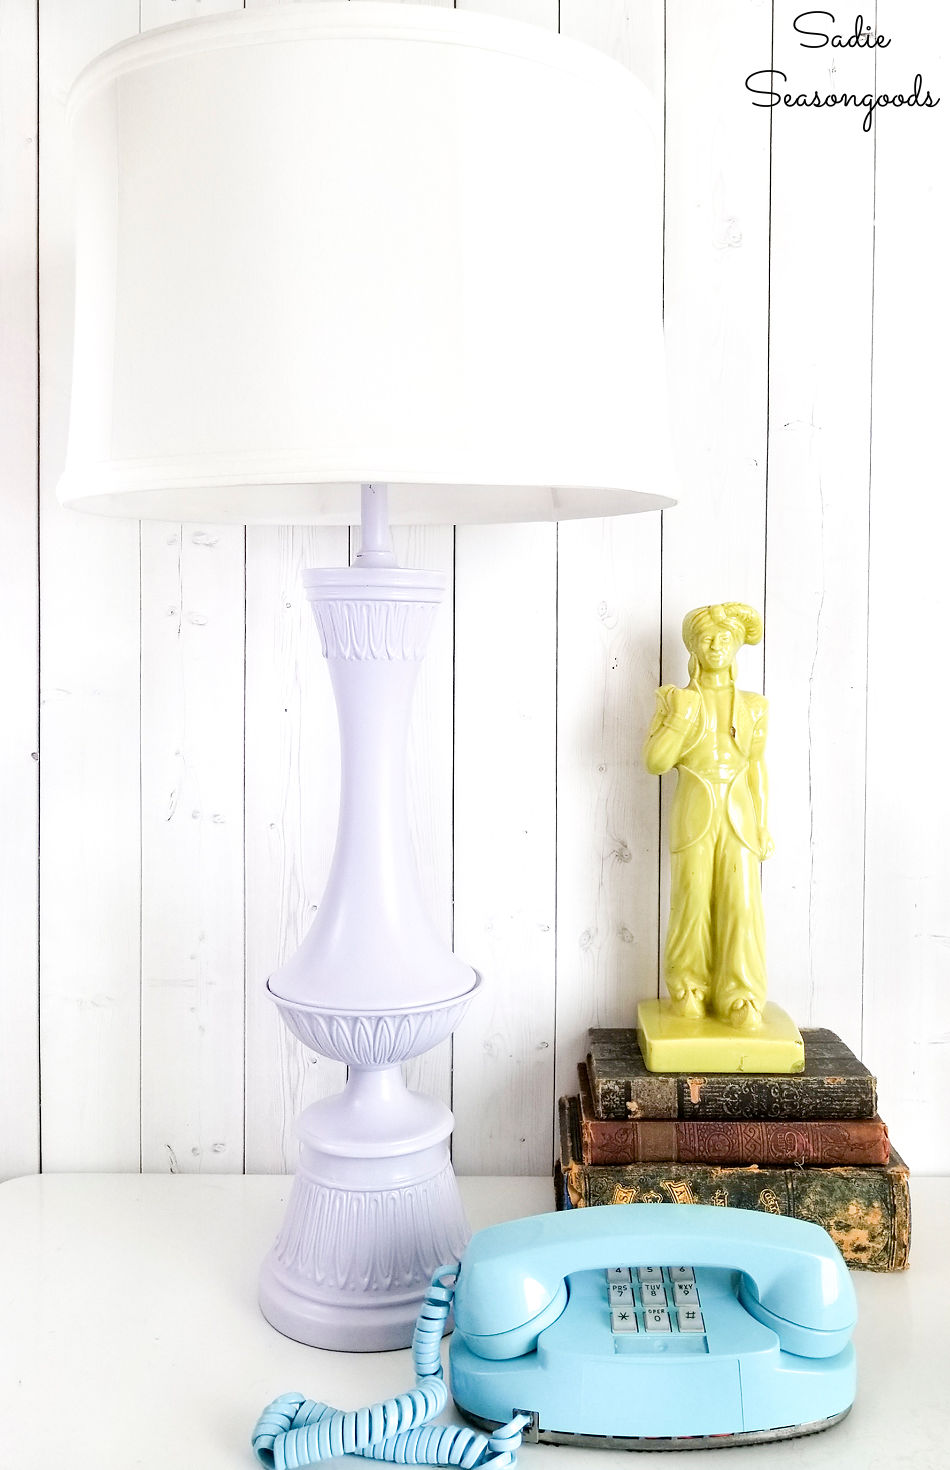
I looked and looked for the right shade at thrift stores and always came up empty-handed. So, I spent WAY MORE on the shade than I did the lamp. But it’s silky and gorgeous and professionally sized to the lamp itself.
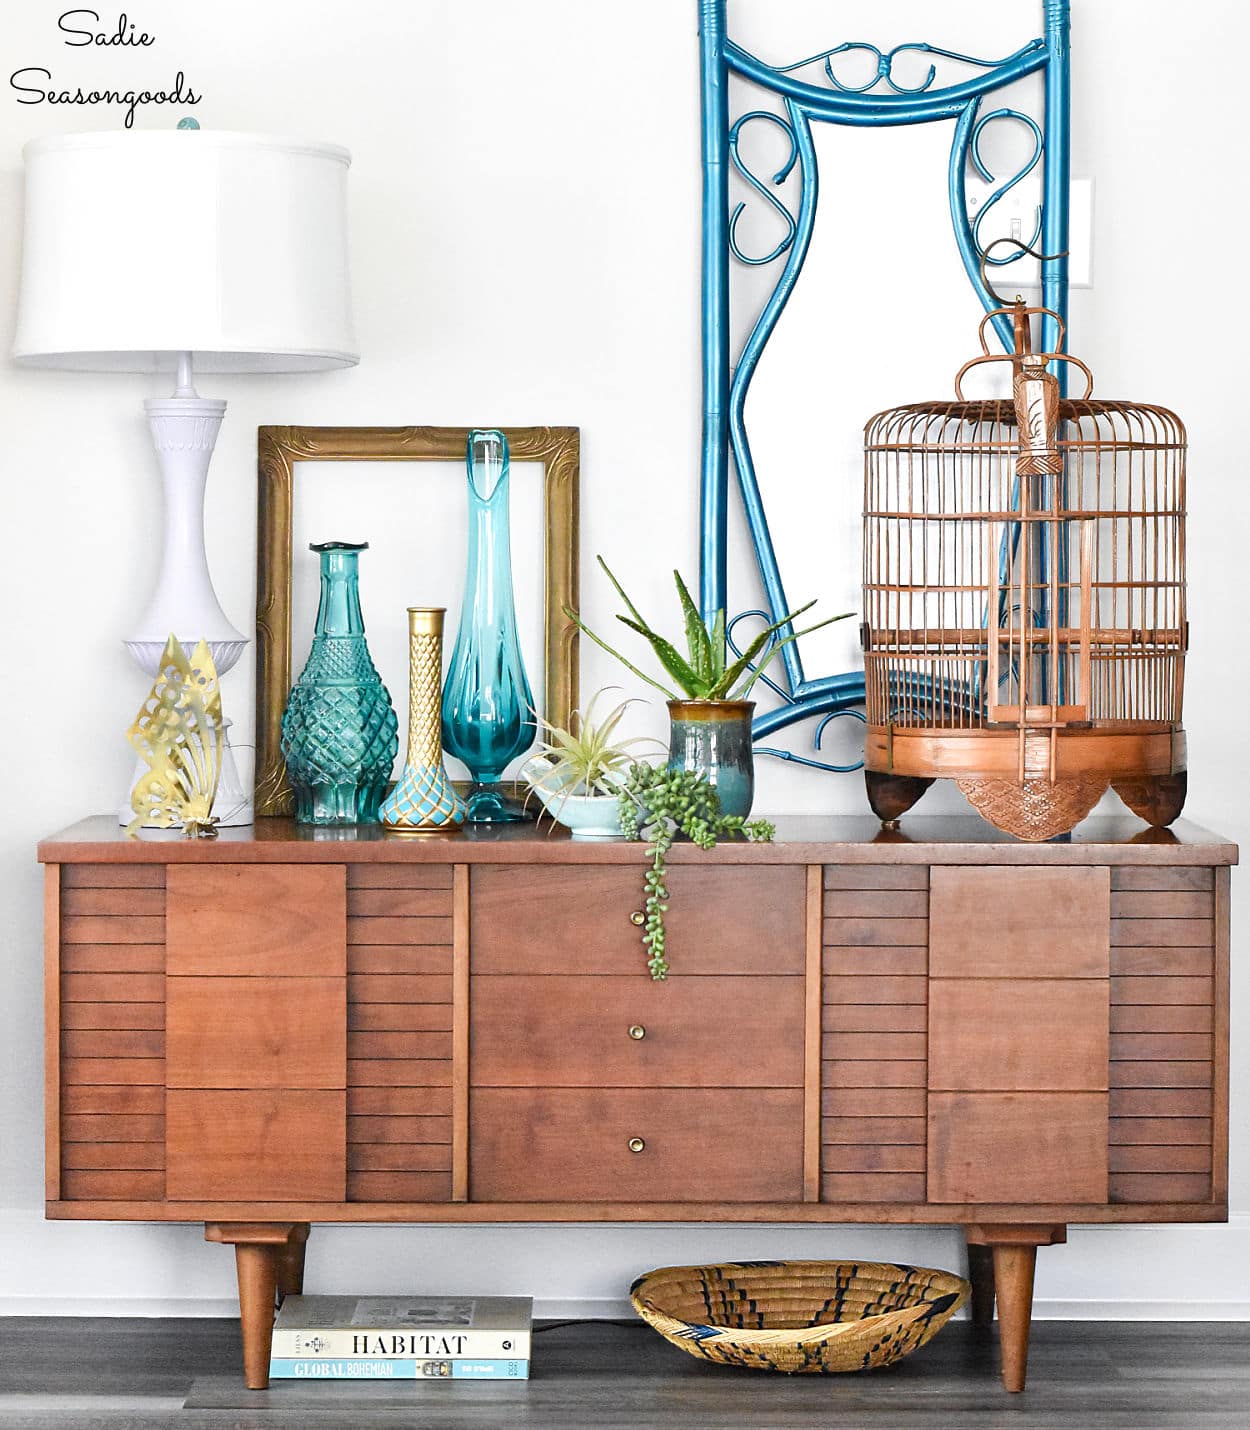
I really do love how the lamp turned out. Worth every step I took to transform it, and it’s been a trusty member of our household since 2014.
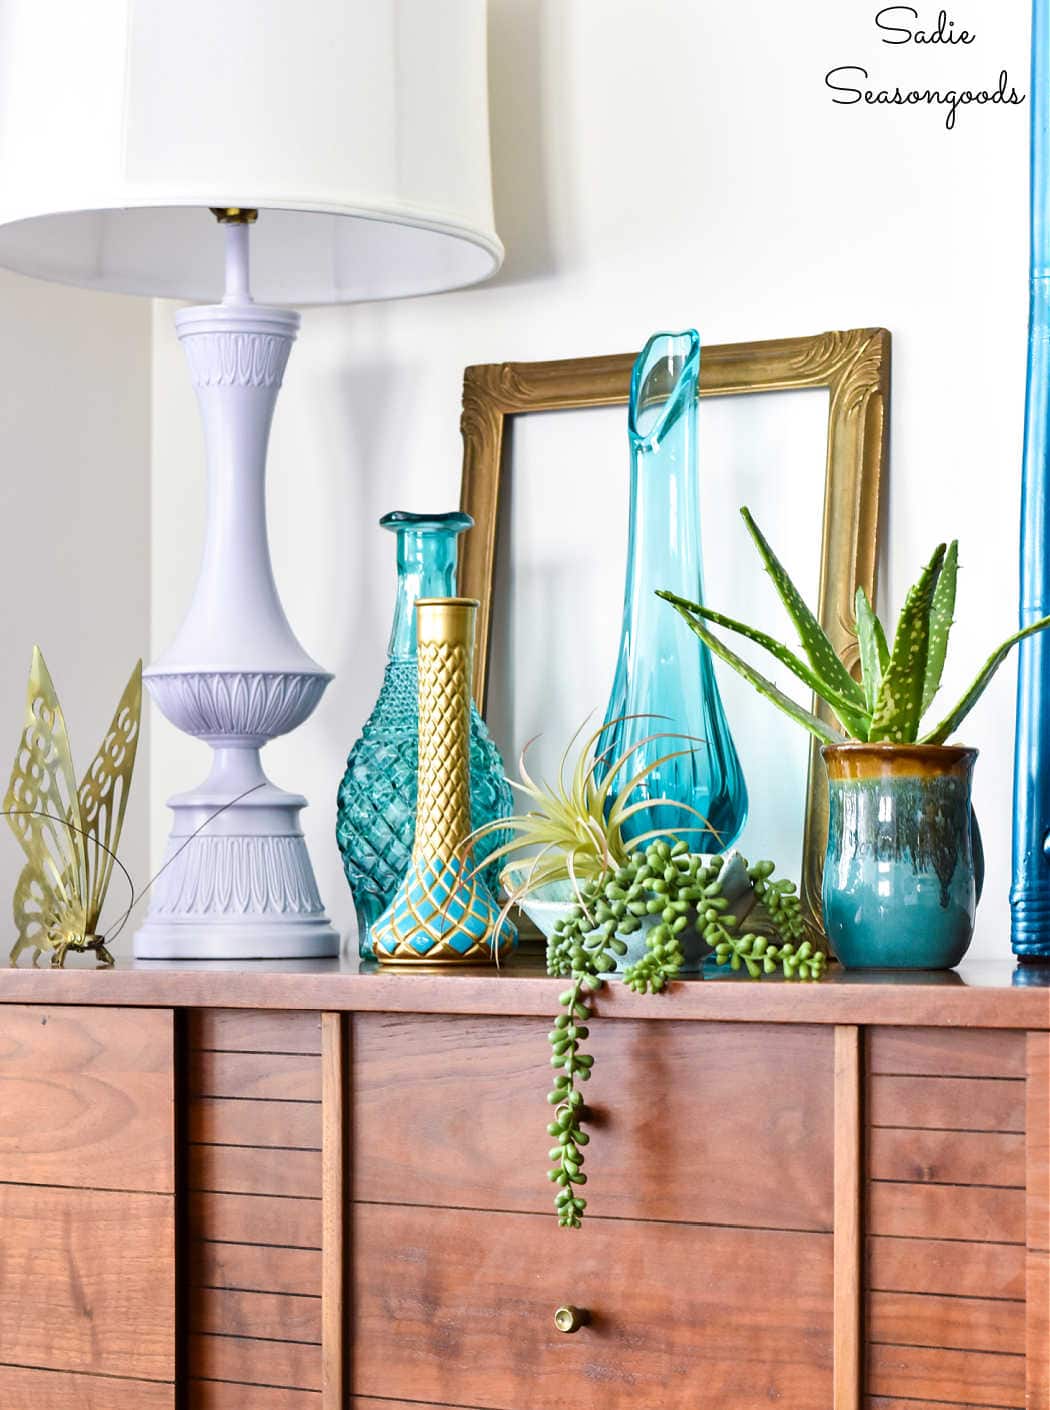
So, do you think you’ll be testing out this process of painting a brass lamp? I still see them at thrift stores quite a bit- maybe not for $2.25 anymore, but that was just a lucky day.
Thank you for encouraging me to re-publish this blog post. I try not to do that too often, as I always want my posts to be fresh and innovative. But, I do make exceptions from time to time!
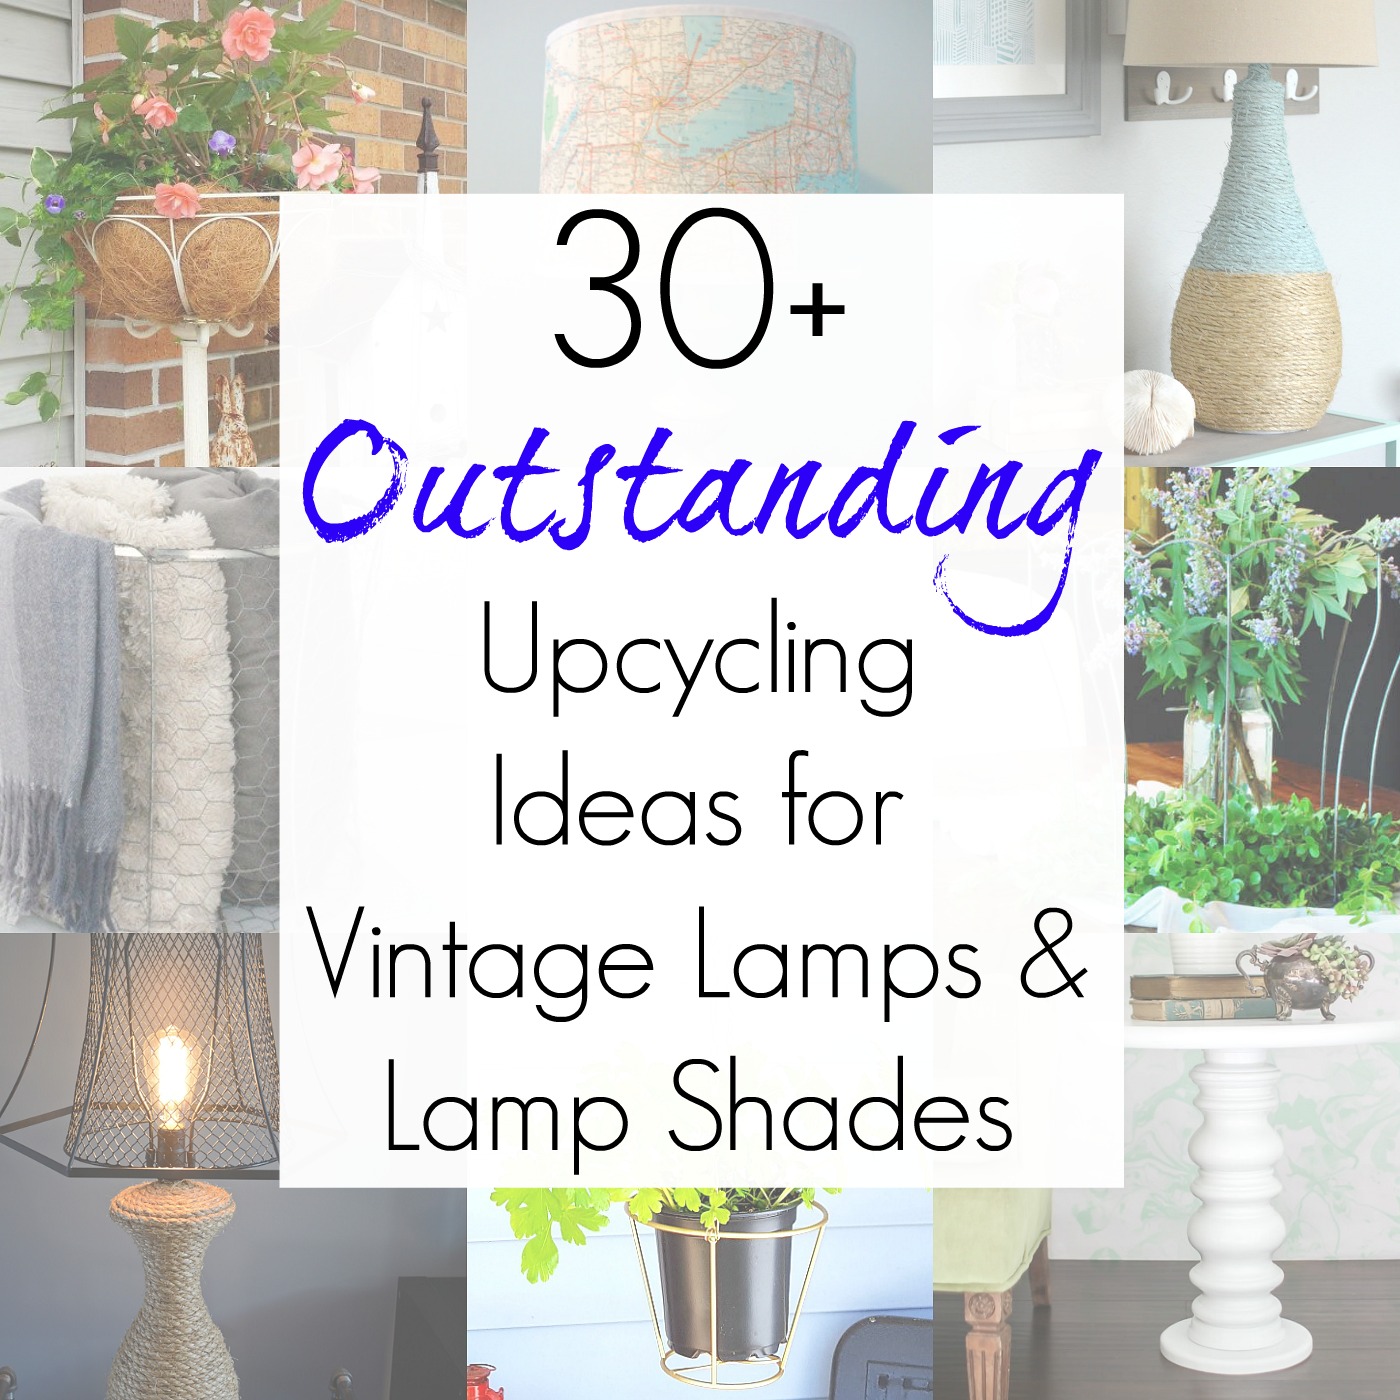
And if you enjoyed this makeover process of painting a brass lamp, you may also enjoy these other repurpose projects, too. All of them involve lamps or lampshades!
Craft on!
S
Want to be notified when I publish my next upcycling project tutorial?
Join me on Social Media:
PIN ME!
Sarah Ramberg is the owner of Sadie Seasongoods, a website that celebrates all things secondhand. From upcycling ideas and thrifted decor to vintage-centric travel itineraries, Sadie Seasongoods is a one-stop shop for anyone who loves thrifting and approachable repurposing ideas. Sarah is also the author of “Crafting with Flannel” and has been featured in numerous media outlets and magazines.


Love it
Thanks, Amber!!
Absolutely gorgeous!!
Thank you so much, Ingrid!
I don’t plan on painting a lamp anytime soon but have a small light fixture I plan on painting with a satin nickel paint to match my other bathroom fixtures. Just couldn’t find the right thing then at a thrift store there it was! Only problem it was brass but I bought it anyway for $3.99. I was going to paint it with liquids sandpaper before spraying it with the satin nickel paint but maybe I’ll go look for the metal primer! Anyway I appreciate the tutorial on painting brass, so it’s off to the store for metal primer.
Happy crafting, Ann!!