If you read my book, “Crafting with Flannel”, then you know that I recommend thrifting for flannels during the warmer weather months. Well, the same goes for other cozy clothing, including sweaters! And after finding some colorful, patterned sweaters at Goodwill, I decided to make some Boho pillow covers with them.
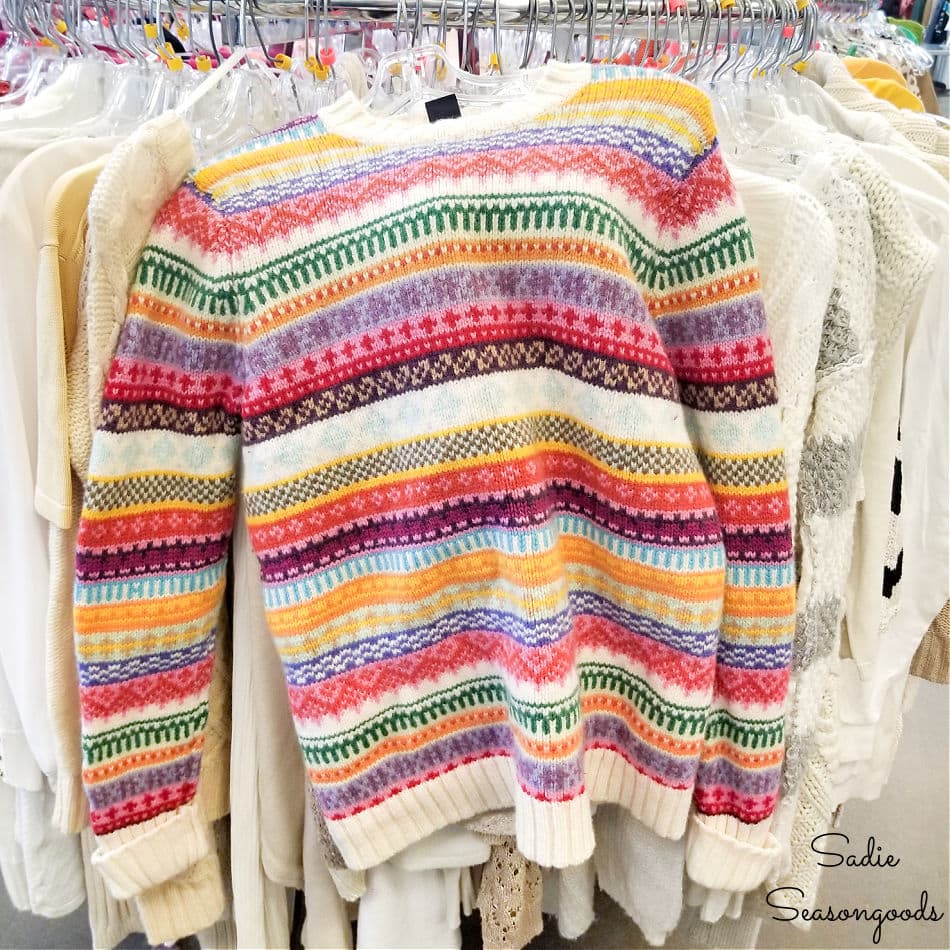
Image credit: Sadie Seasongoods.
Even though I always thought of sweater pillows as being more wintery or Fall-ish for decor, this colorful sweater changed my mind entirely!
And since I’d never upcycled a sweater before on my blog, I thought it was high time to add a sweater project to the mix.
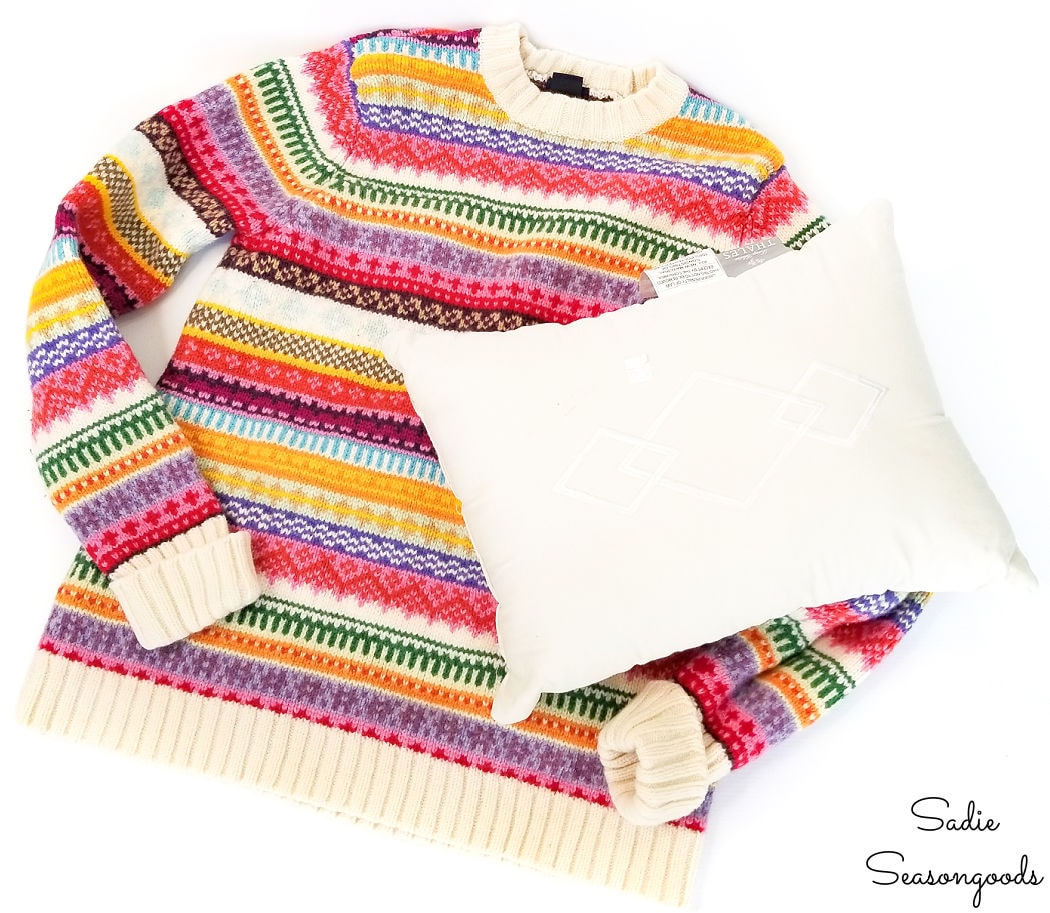
Image credit: Sadie Seasongoods.
This post contains affiliate links for your crafting convenience. As an Amazon Affiliate, I earn from qualifying purchase. All blue, bold, and underlined text is a clickable link, either to a product or to a related post. This project is also sponsored by Goodwill Industries of the Southern Piedmont.
Making some Boho Pillow Covers
With my thrifted sweater AND thrifted pillow in hand, I first turned my sweater inside out and laid it flat on my work surface.
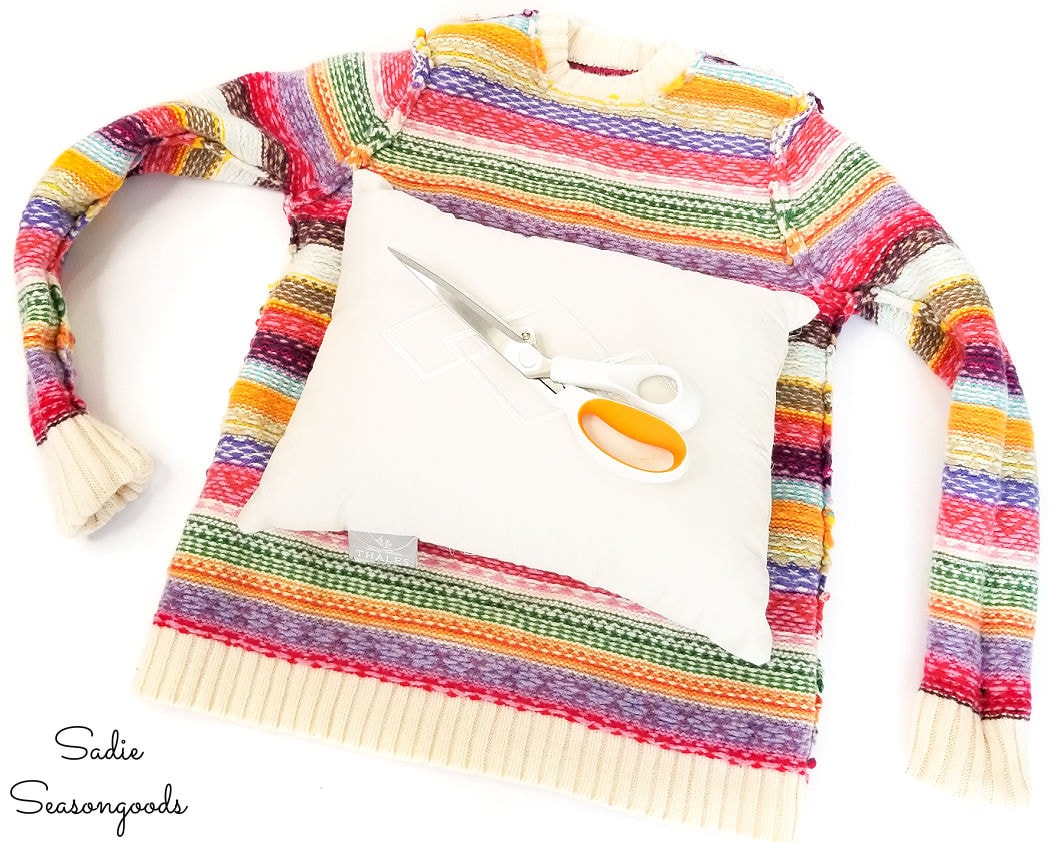
Image credit: Sadie Seasongoods.
I centered the pillow on the body of my sweater and used some heavy-duty craft scissors to cut out my future pillow cover.
Using the pillow as a guide, I simply cut ¾” to 1” out from each side of the pillow, cutting through both layers of sweater.
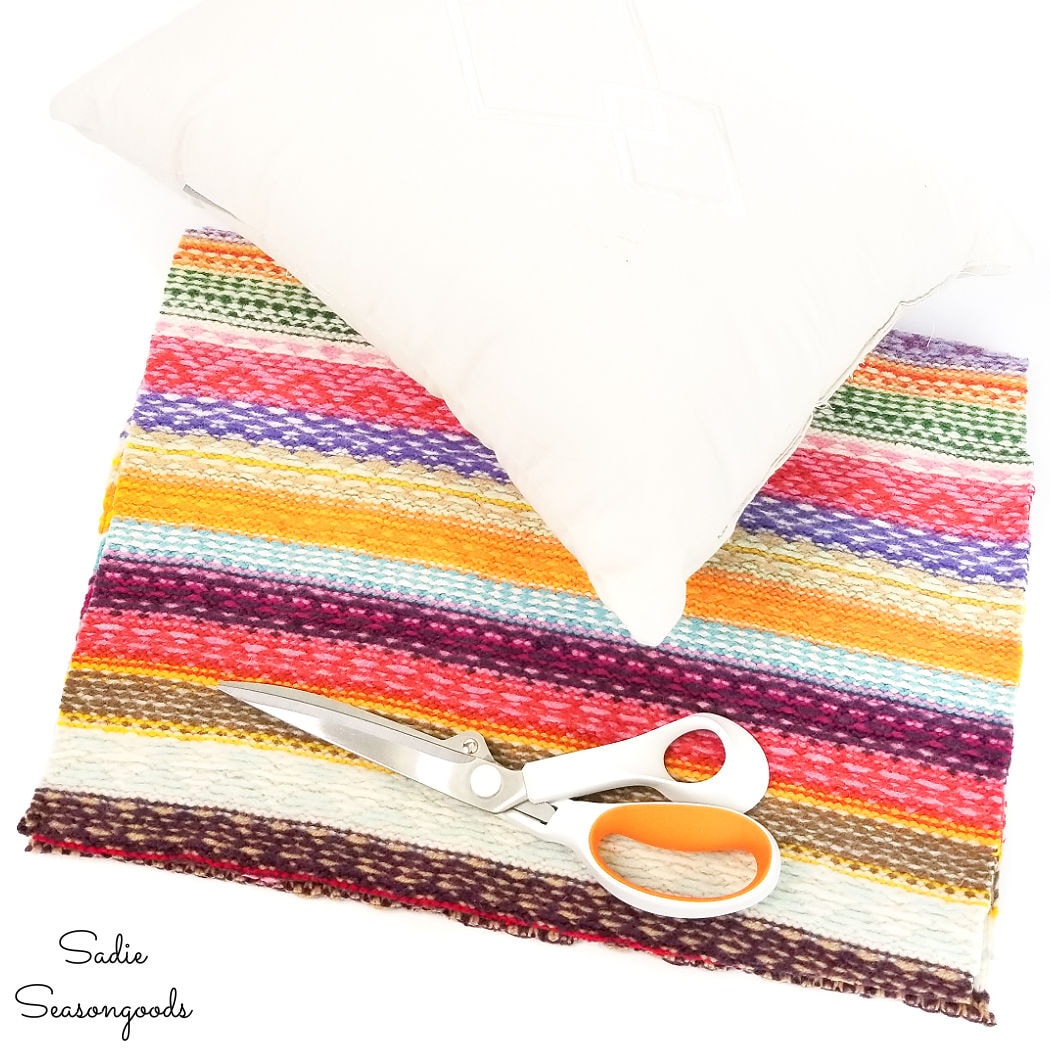
Image credit: Sadie Seasongoods.
Then, without touching or adjusting the cut piece of sweater, I pinned three sides with straight pins.
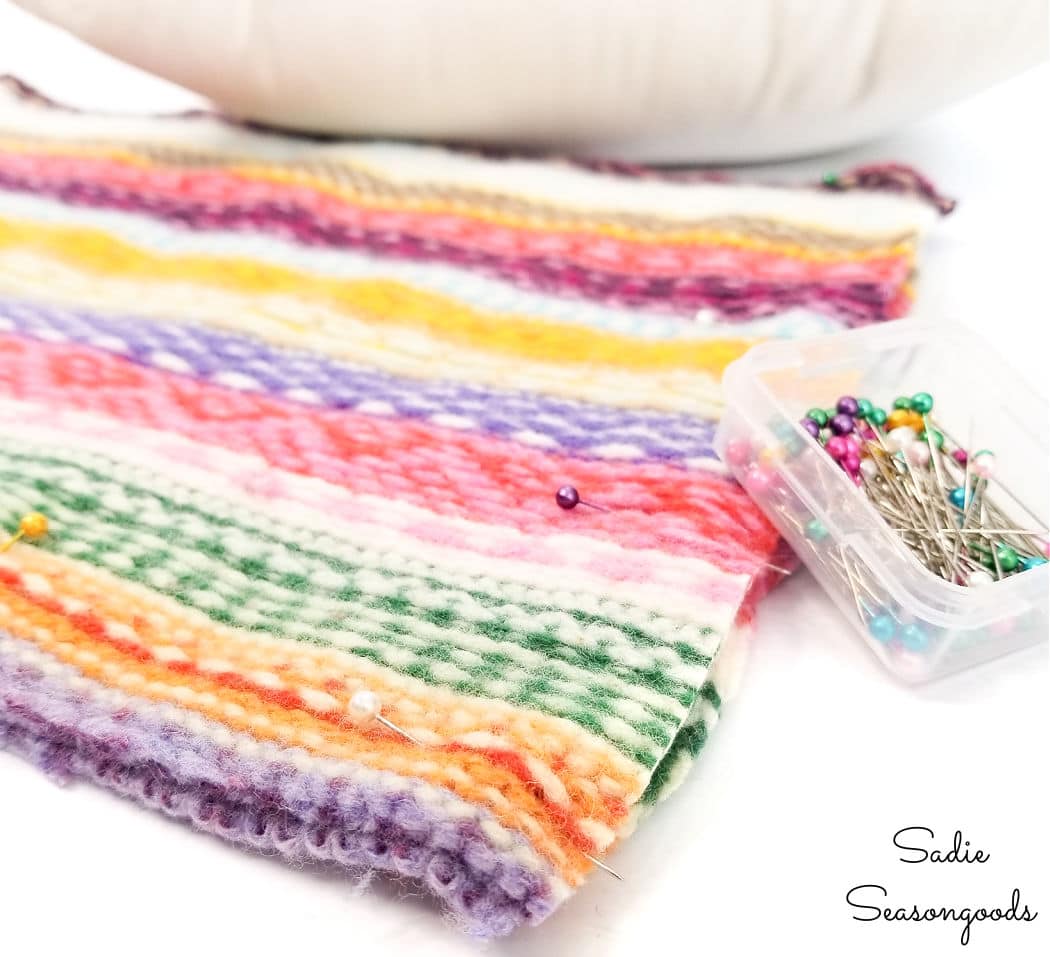
Image credit: Sadie Seasongoods.
Next, I stitched the three pinned sides on my sewing machine, leaving a seam allowance of ½” as I went along.
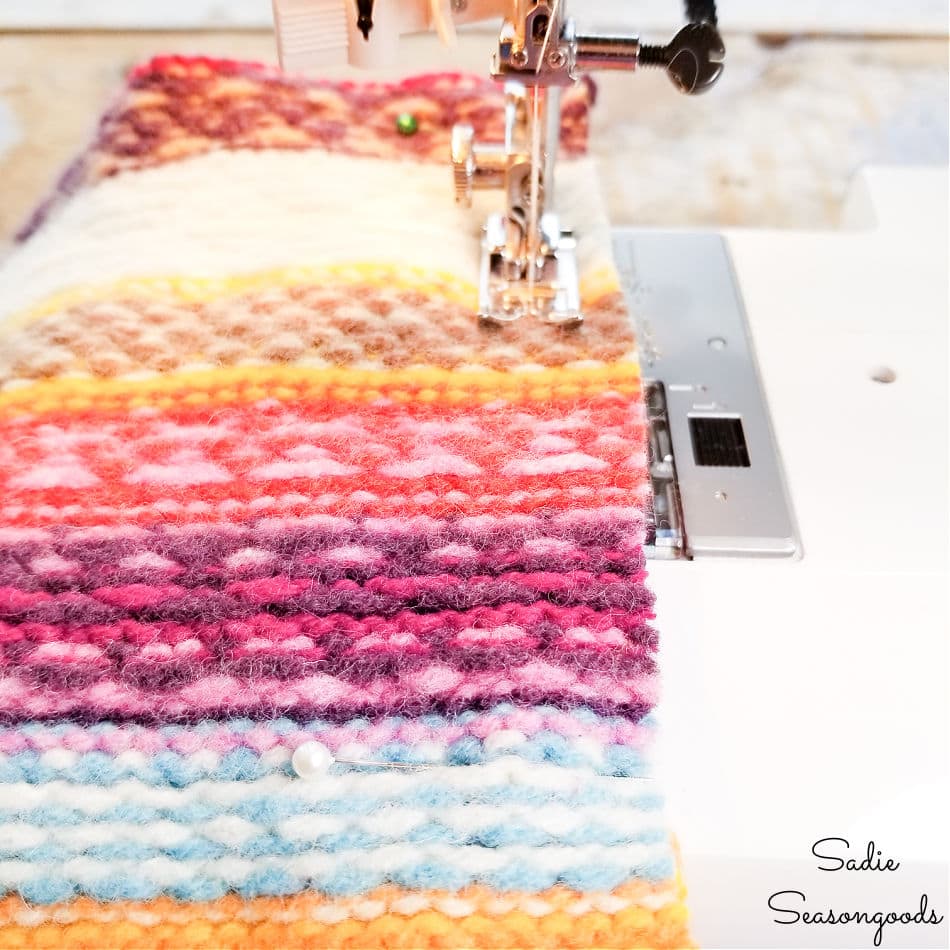
Image credit: Sadie Seasongoods.
Once I was done with that, I turned my boho pillow cover inside out and stuffed the pillow form inside.
And no, I didn’t try and remove the pillow form from its existing cover. Sometimes those are sewn together anyway, so it was easier to just leave it as is! With a tightly knit sweater like the one I upcycled, you’d never see the old pillow design anyway.
Then, I simply tucked in the open sides and pinned them in place.
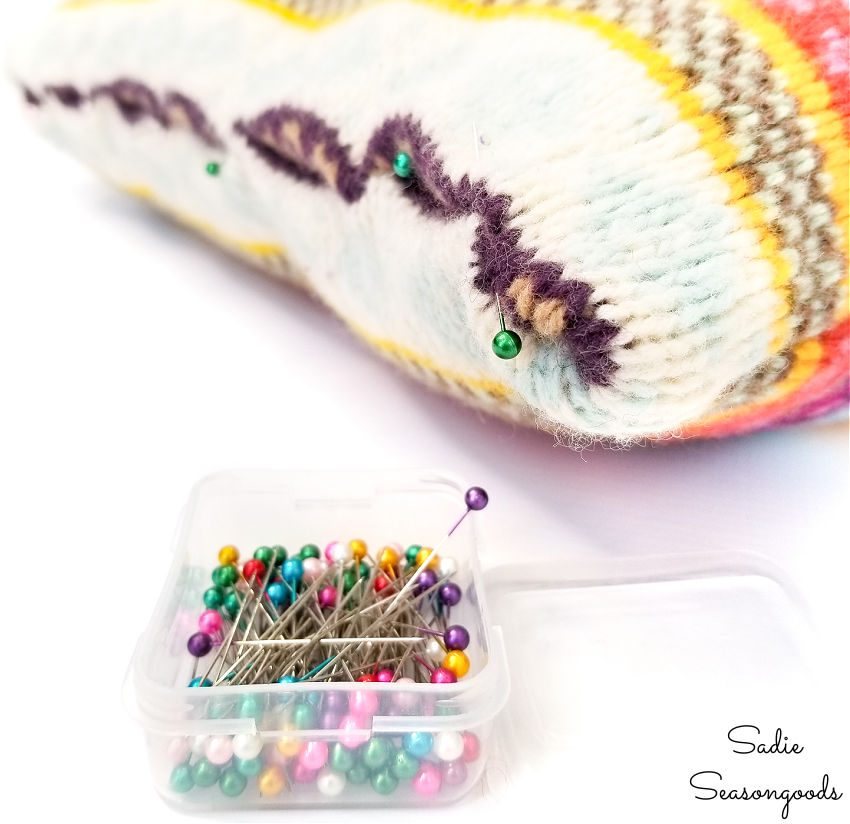
Image credit: Sadie Seasongoods.
Eclectic Throw Pillows
After using teeny-tiny whip stitches to close up the open seam, I had an absolutely charming pillow!
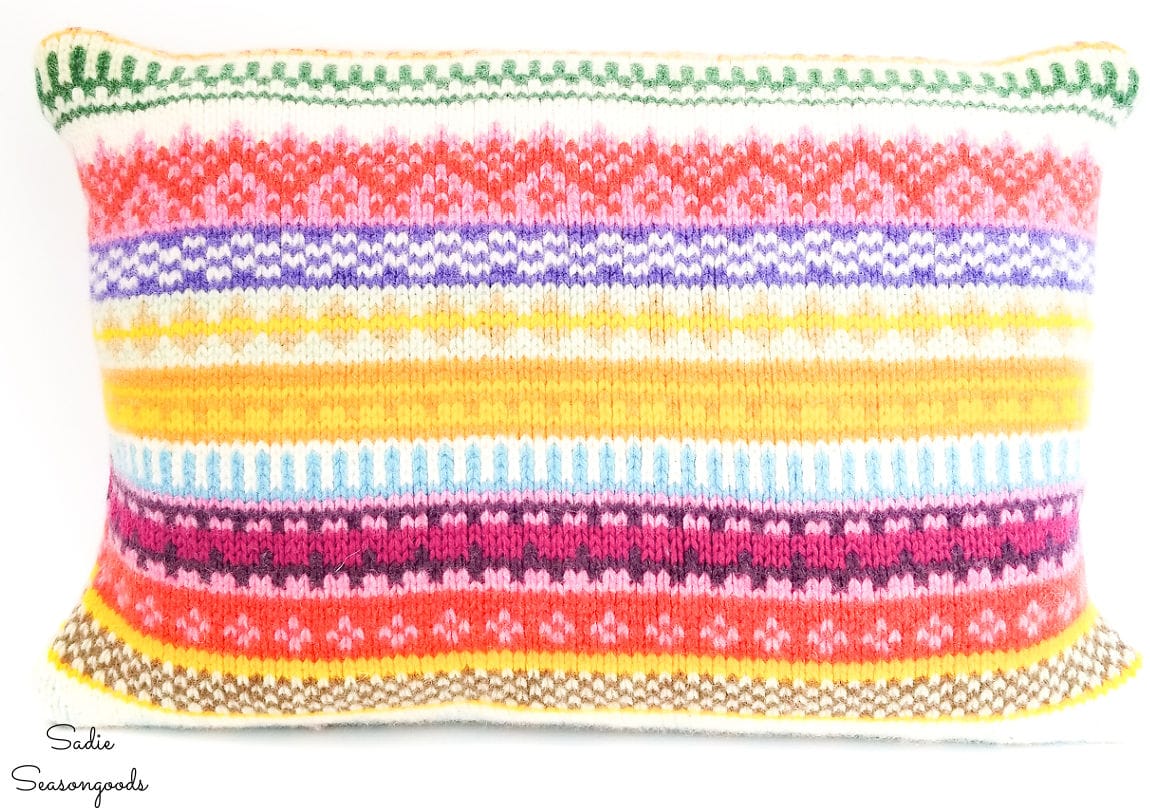
Image credit: Sadie Seasongoods.
I like to think of those tiny whip stitches as “no-see-ums”, just like the sand flies at the beach. Because I don’t want anyone to see my stitches!
But my boho pillow cover needed something else. Just a little extra touch…
So, I grabbed a skein of yarn and some scrap cardboard to make pom poms.
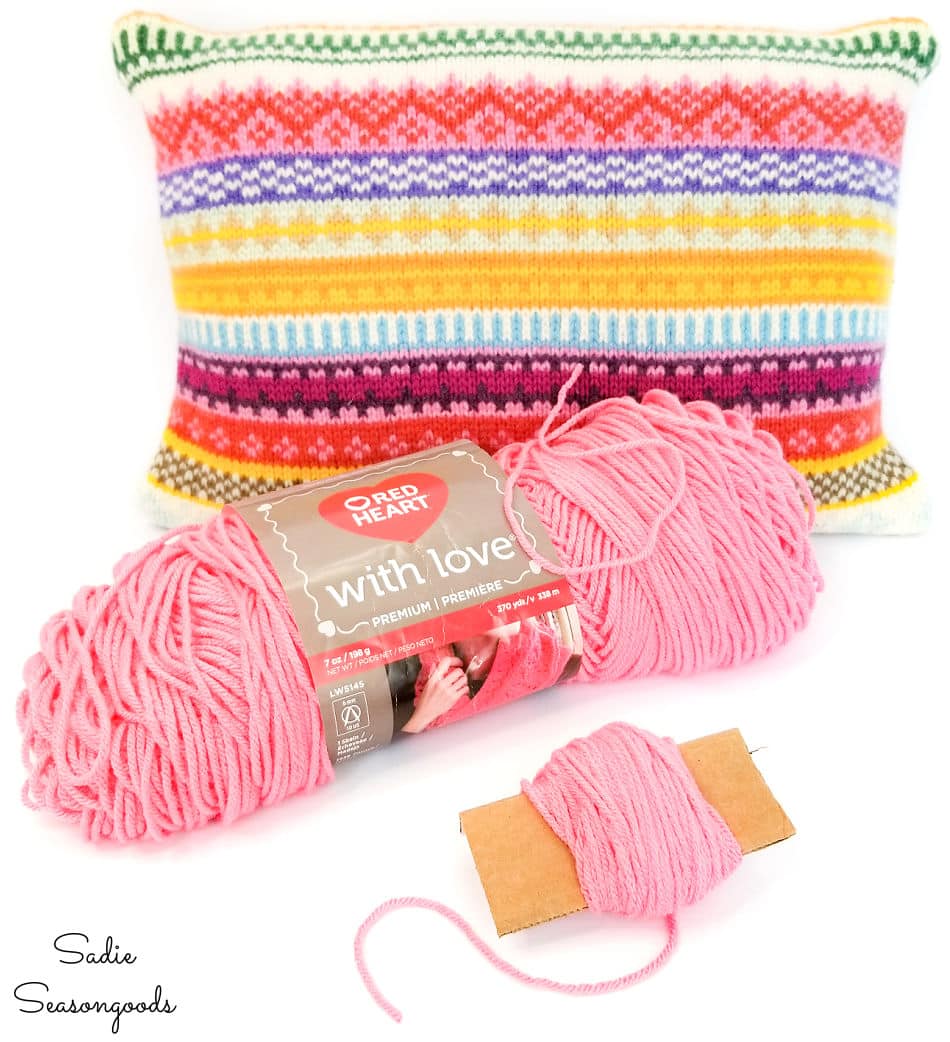
Image credit: Sadie Seasongoods.
To make the poms, I simply wrapped yarn around the cardboard. Again and again, until I had a very fat wad of yarn. Then, I snipped it off, snipped off an extra piece of yarn, and slipped it off the cardboard before tying it VERY TIGHTLY in the center.
Next, I snipped through the loops and gave it a hair cut until it was wonderfully round, full, and even. I made three more pom poms and did my best to match them in size.
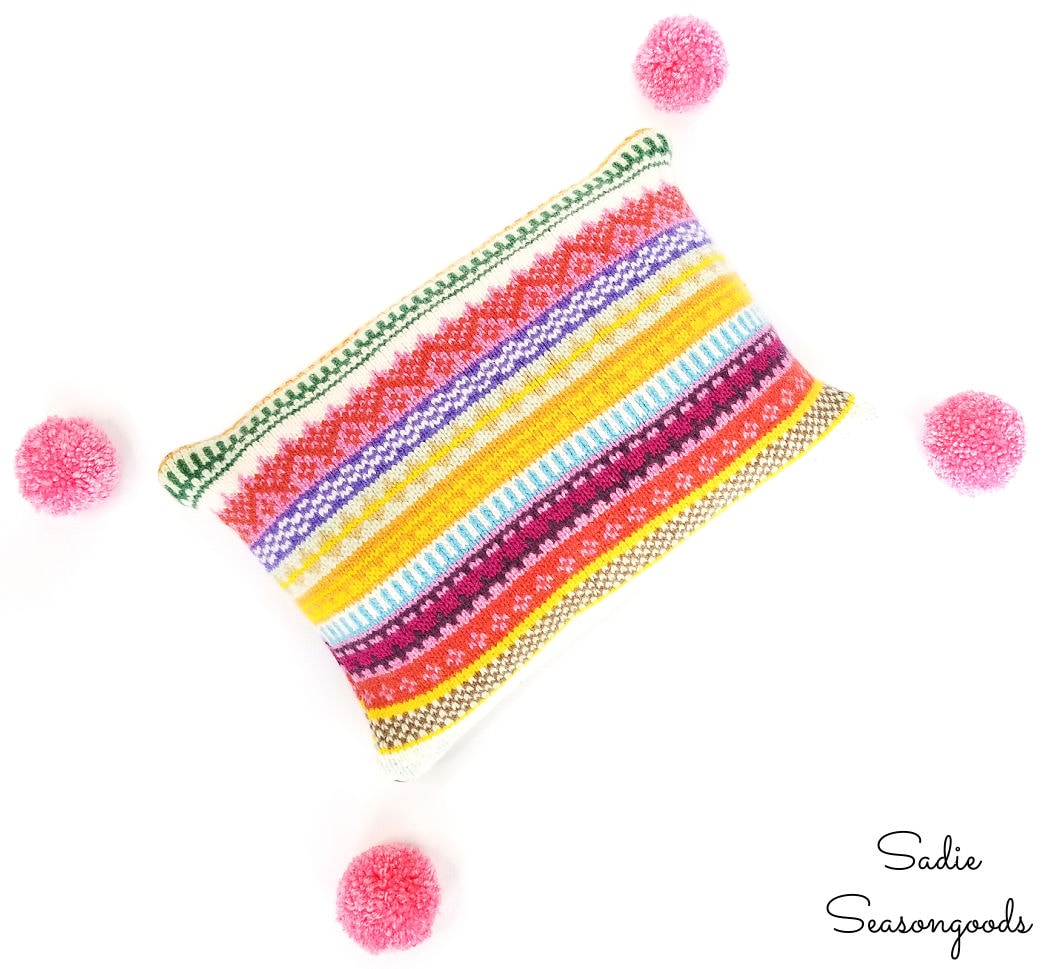
Image credit: Sadie Seasongoods.
To attach the poms to the corners of my boho pillow covers, I used a needle and thread. I went through the center of the pom and into the corner of the pillow several times to secure it.
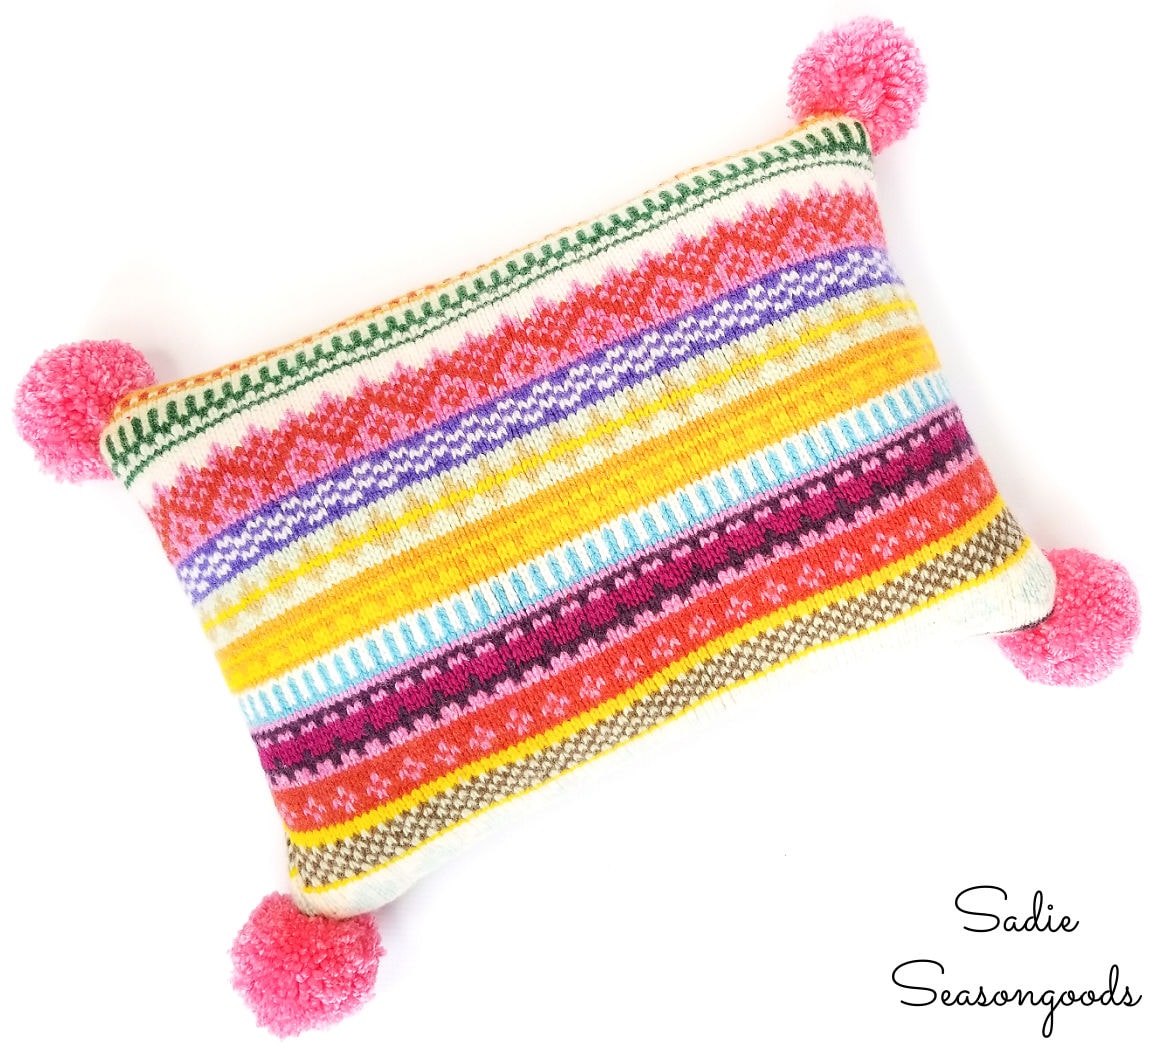
Image credit: Sadie Seasongoods.
Boho Pillow Covers from Upcycled Sweaters
And just like that, I had made some boho pillow covers from Goodwill sweaters!
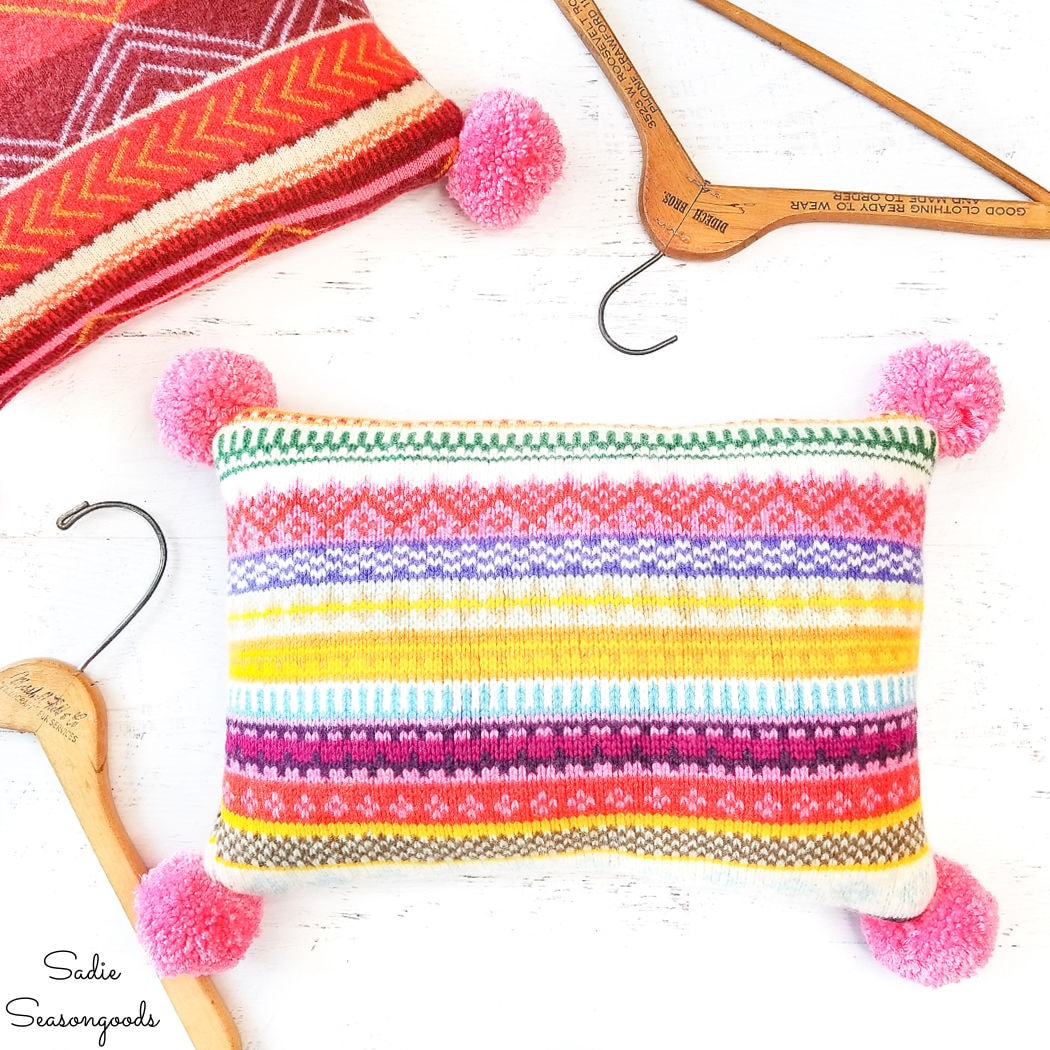
Image credit: Sadie Seasongoods.
See what I mean, though? They don’t look wintery at all because of the brightly patterned sweaters.
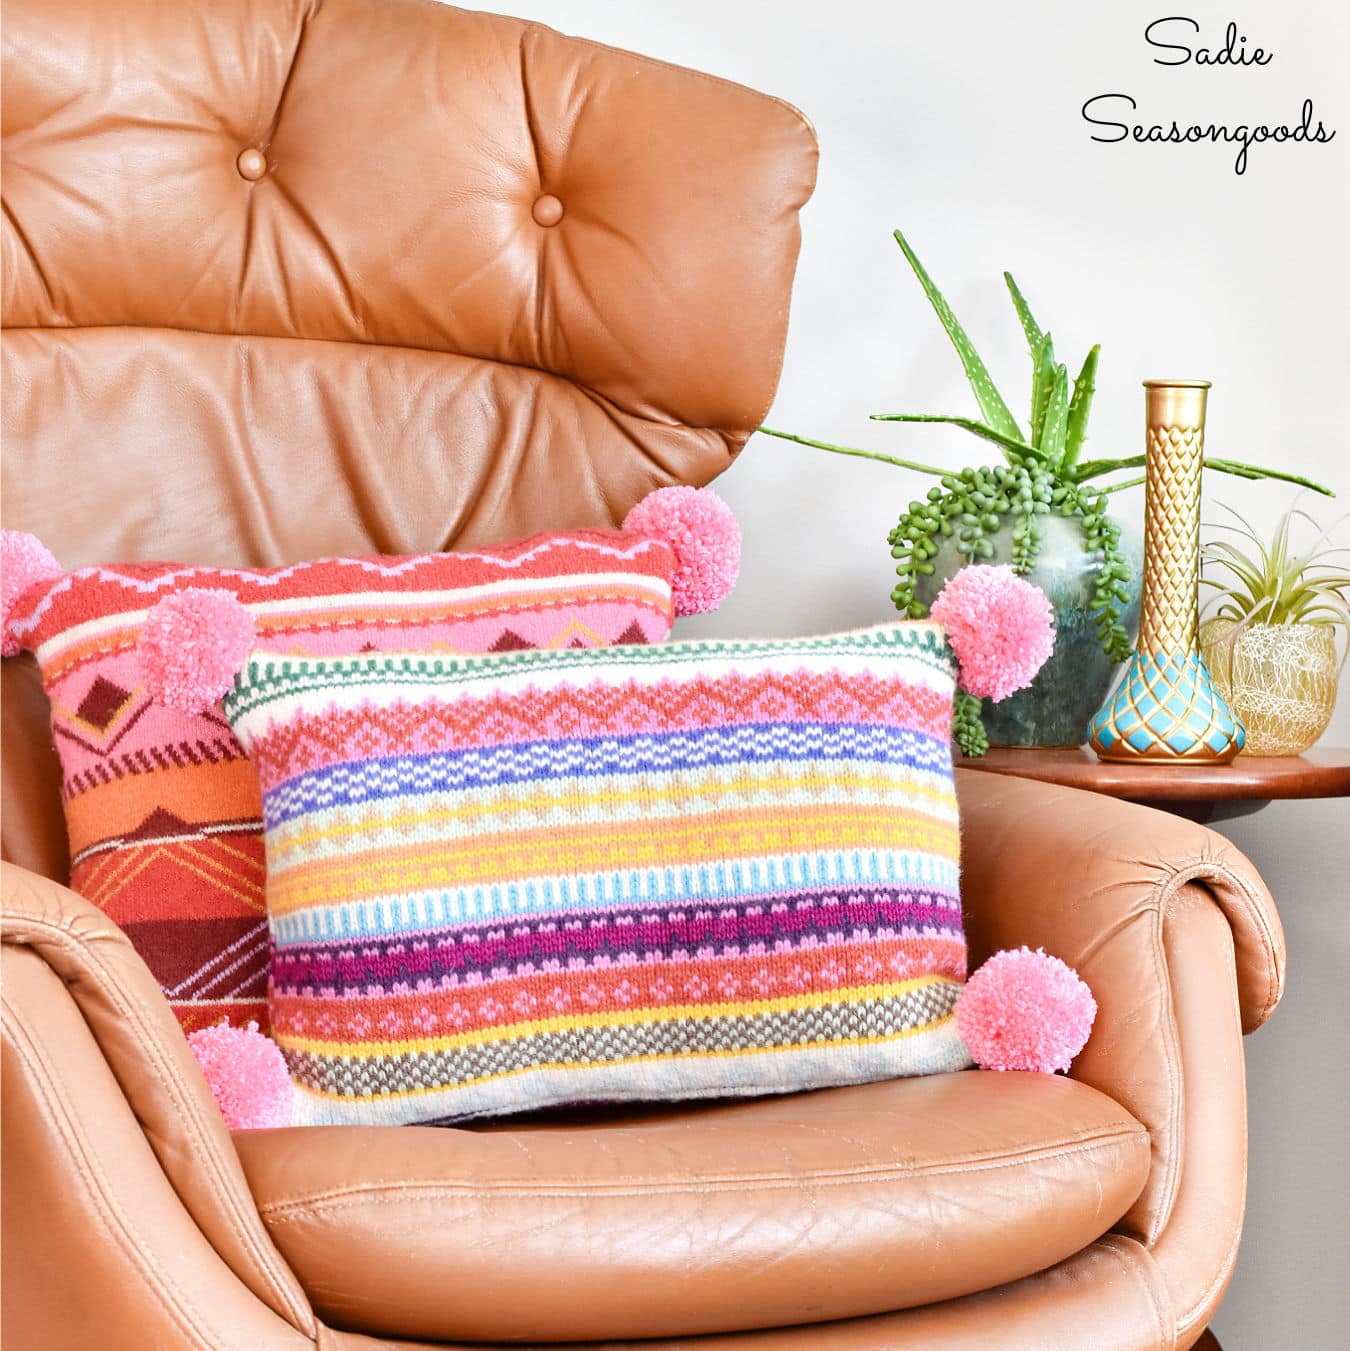
Image credit: Sadie Seasongoods.
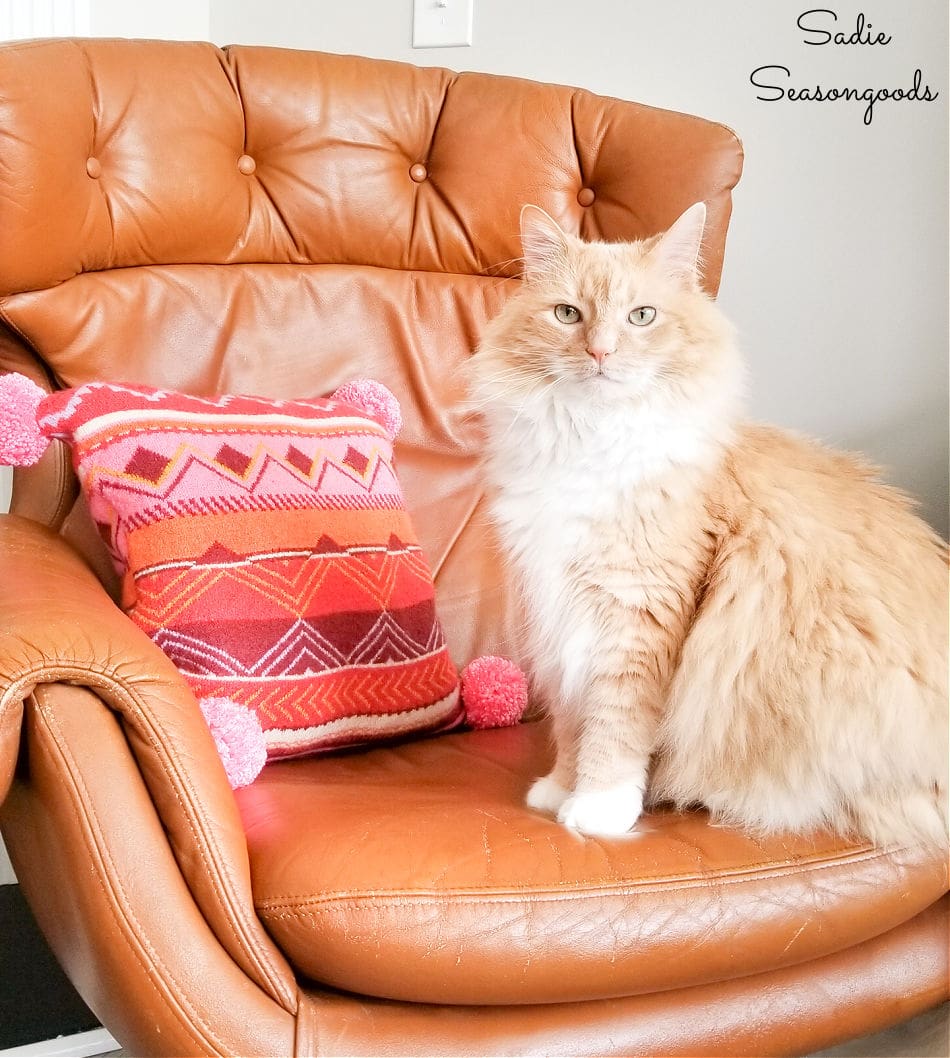
I even got Cottonball to pose with one of my Boho pillow covers. Speaking of which, that’s the one I made for Goodwill’s blog post that you can read about here.
Either way, I absolutely LOVE my Boho pillow covers from upcycled sweaters. Even my husband loves them- so it’s very likely that I’ll be making more of these in the future.
Looking for more colorful home decor projects like these pillows? Perhaps this collection of upcycled Boho decor ideas will inspire you!
Craft on!
S
Want to be notified when I publish my next upcycling project tutorial?
Join me on Social Media:
PIN ME!
Image credit: Sadie Seasongoods.
Image credit: Sadie Seasongoods.
Sarah Ramberg is the owner of Sadie Seasongoods, a website that celebrates all things secondhand. From upcycling ideas and thrifted decor to vintage-centric travel itineraries, Sadie Seasongoods is a one-stop shop for anyone who loves thrifting and approachable repurposing ideas. Sarah is also the author of “Crafting with Flannel” and has been featured in numerous media outlets and magazines.







I love how the sweaters look, and the pom poms make then extra special!
Thank you!!
Love this pillow and the Pom poms are adorable! I have been holding thrifted fabric and sweaters…time to move it!
Yesssss!!! Thanks, Sharon!
I was wondering if the sweater would start to unravel when you cut it, but you didn’t mention needing to do anything extra to bind off the yarn. How did that go?
It didn’t start unraveling at all (which was pleasantly surprising). BUT, I also made sure to not fuss with it too much once it was cut- and I moved quickly into stitching. No issues at all, though!
That is the cutest sweater pillow, I love it! Thanks for sharing.
Thank you so much, Michelle!
My gramma used to do this with sleeves intact and tie sleeves across front like a bow.
Cute Cute Cute!
If the sweater is in good shape I would probably butt the pillow against a side seam and also against the bottom ribbing of the sweater; that would give you only 2 seams to sew and then use the ribbing seam to whip stitch, much easier. Love the tassels!
I love the sweaters you chose for these pillows and the pompoms add just the right touch!
Thank you so much, Melissa!
Oh my goodness I can’t wait to go shopping now! This is so cute!!!
Thank you so much, Shirley! Hunting for the perfectly colorful and patterned sweaters is half the fun!
Great project. As a household that always had pillow fights, I would recommend zigzagging around the pillow seams; it would lengthen life expectancy at my house–and going through the wash. I like to sew a short 4th side so the pillow corners are roughly all the same shape, too!
As always, SO wonderful! Also, your cat is fabulously gorgeous. Thank you for the great content!
When you have a cardigan, center the buttons/zipper on one side and sew up all 4 sides. Then unbutton the sweater and insert the pillow form. Even easier!!
I 💗This.These Sweater Pillows Are Fabulous ! Great Colors & PomPoms To Boot ! Found you on Pinterest. Had to Visit. I Noticed the Cool Botanical Leaf Bookends above. Very Nice.❤️🌈😀
Welcome, Karen- and thank you so much!