For years, I’d heard about a cleaning “hack” for vintage brass that didn’t seem possible. But I was finally able to give it a try when I found this brass cauldron at Goodwill. I wanted to upcycle it into a boho candle holder by polishing it up and adding a little pizazz to the handles- without a drop of paint in sight.
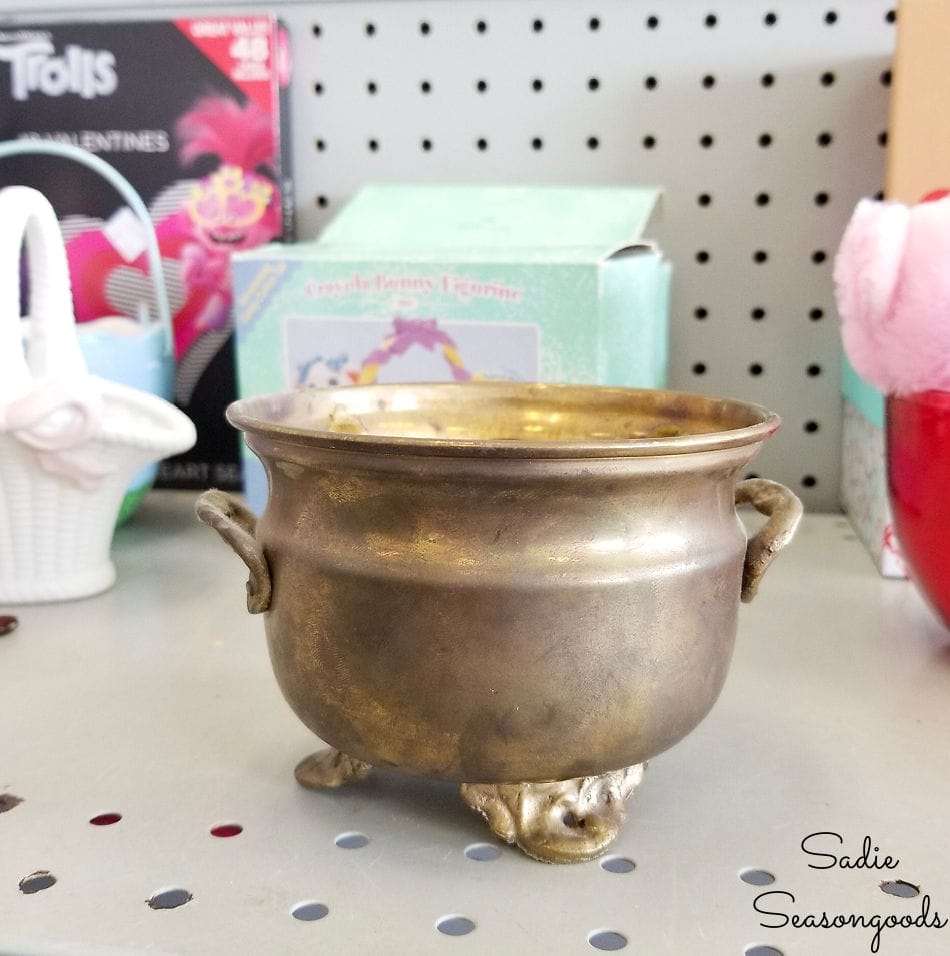
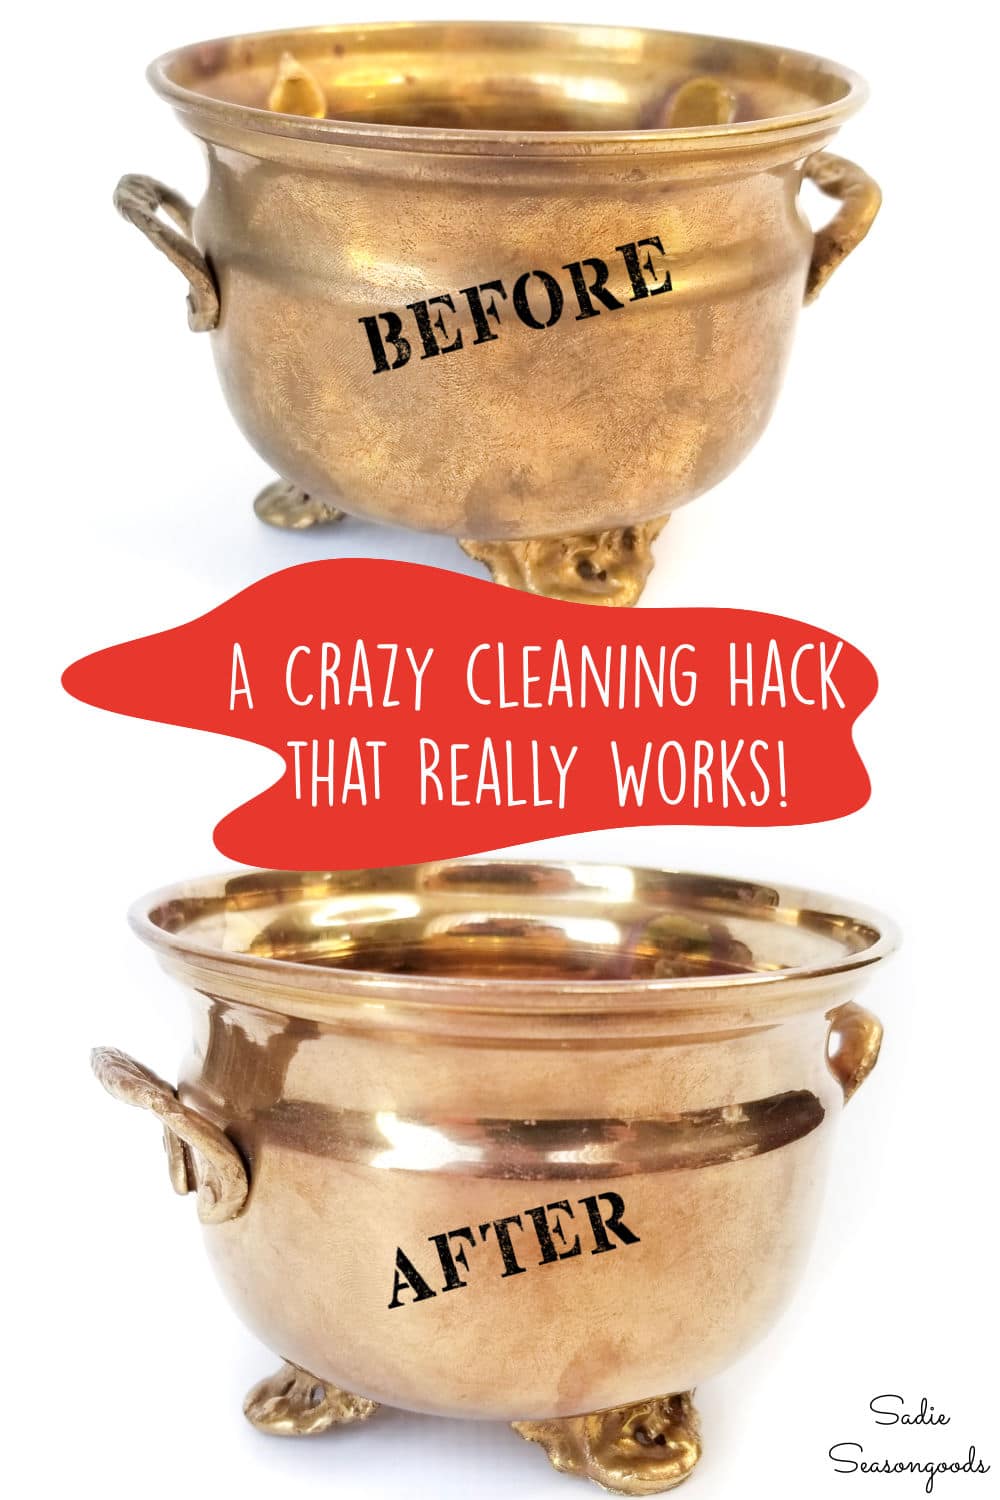
Isn’t it cute? But that dirty-looking “patina” that vintage brass gets was a little overwhelming.
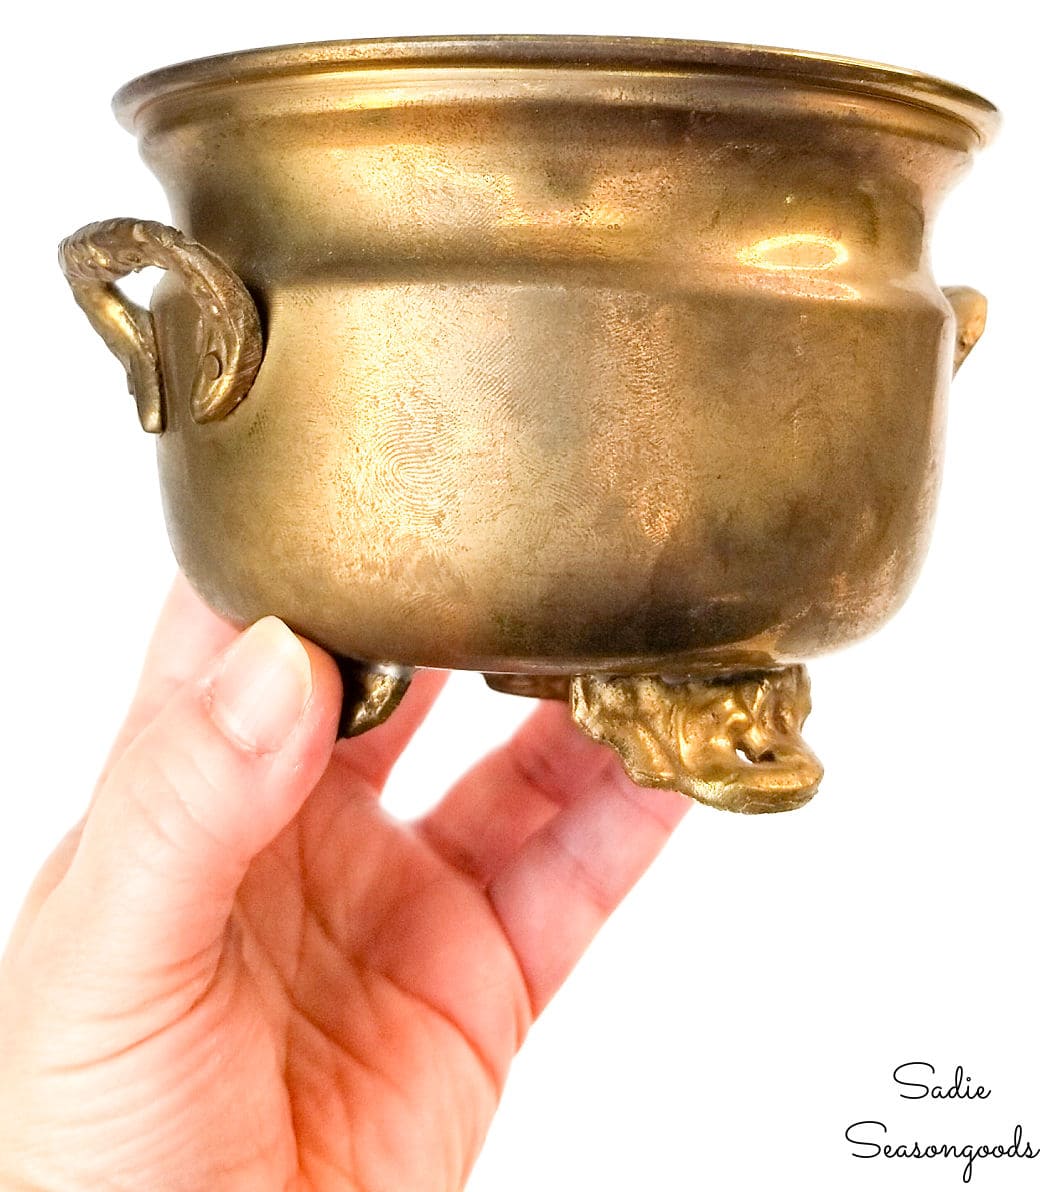
And while I know that making candles isn’t the most original or unique upcycling idea from me, it’s the cleaning hack that you’ll want to know about. And maybe you’ll be “charmed” by the little pieces of flair that come at the very end of the project, too.
This post contains affiliate links for your crafting convenience. As an Amazon Affiliate, I earn from qualifying purchase. All blue, bold, and underlined text is a clickable link, either to a product or to a related post. This project is also sponsored by Goodwill Industries of the Southern Piedmont.
Cleaning Brass with Ketchup
Before getting into cleaning up the little cauldron, I first gathered some basic candle making supplies. This included:
- Soy wax flakes;
- Wax melting pot;
- Wicks; and
- my hot glue gun.
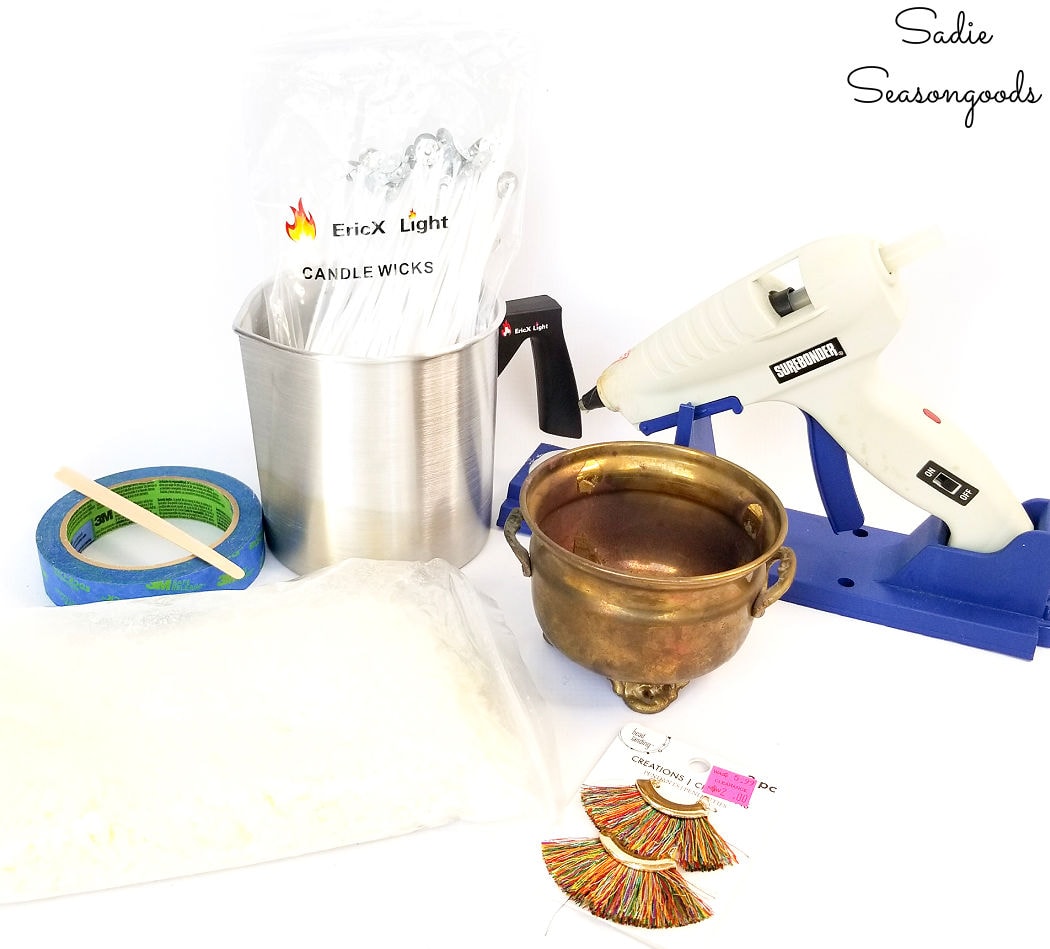
Now, you may remember another candle project of mine from several years ago. For that one, I used local beeswax and went through quite the process of cleaning it. But this time, I took the easy route with soy wax instead!
Before I did anything else, though, I wanted to polish up the vintage brass! And the handy-dandy cleaning product I’d use?
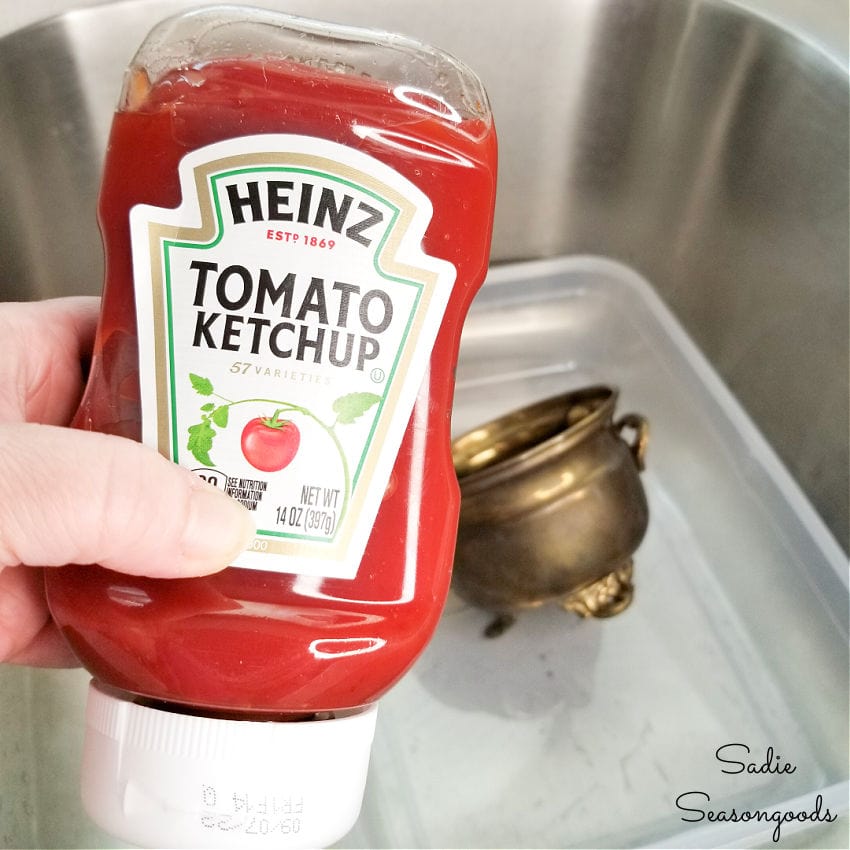
Ketchup. Regular ole’ put-it-on-my-burger ketchup! I know it sounds crazy.
First, I removed the price tag and any visible filth (there was hardened hot glue that I picked off from the inside). Then, I simply squirted on some ketchup and rubbed it all over the brass with my fingers.
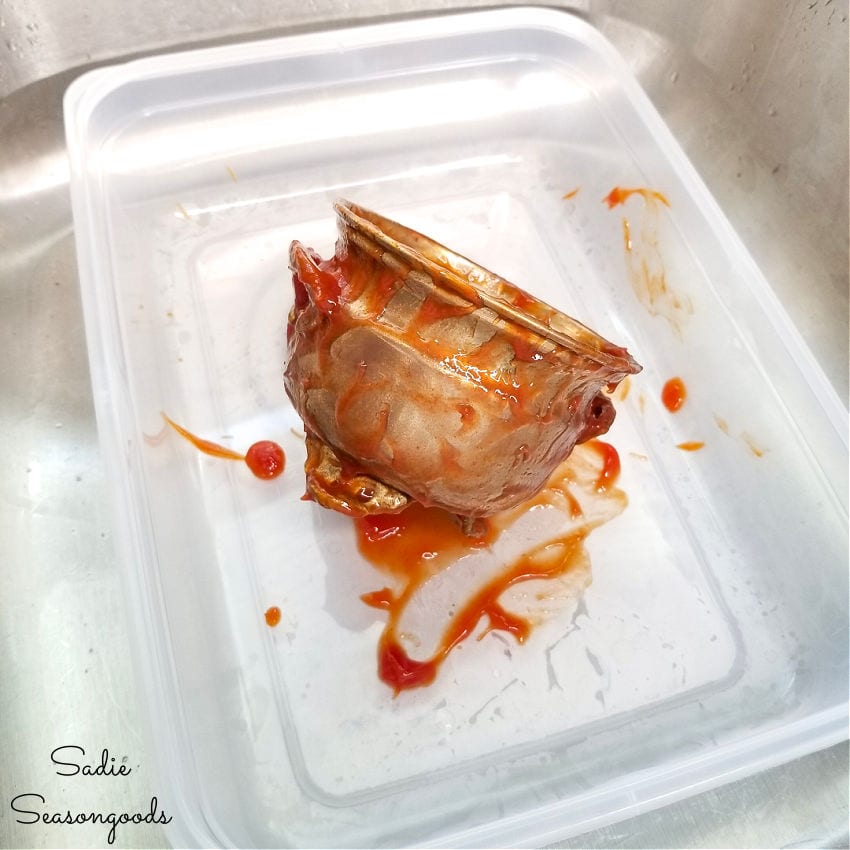
I know. It looks like a crime scene.
Then, I let it rest like that for a few minutes. After that, I rinsed off the ketchup and dried it thoroughly. And when I was done, well…
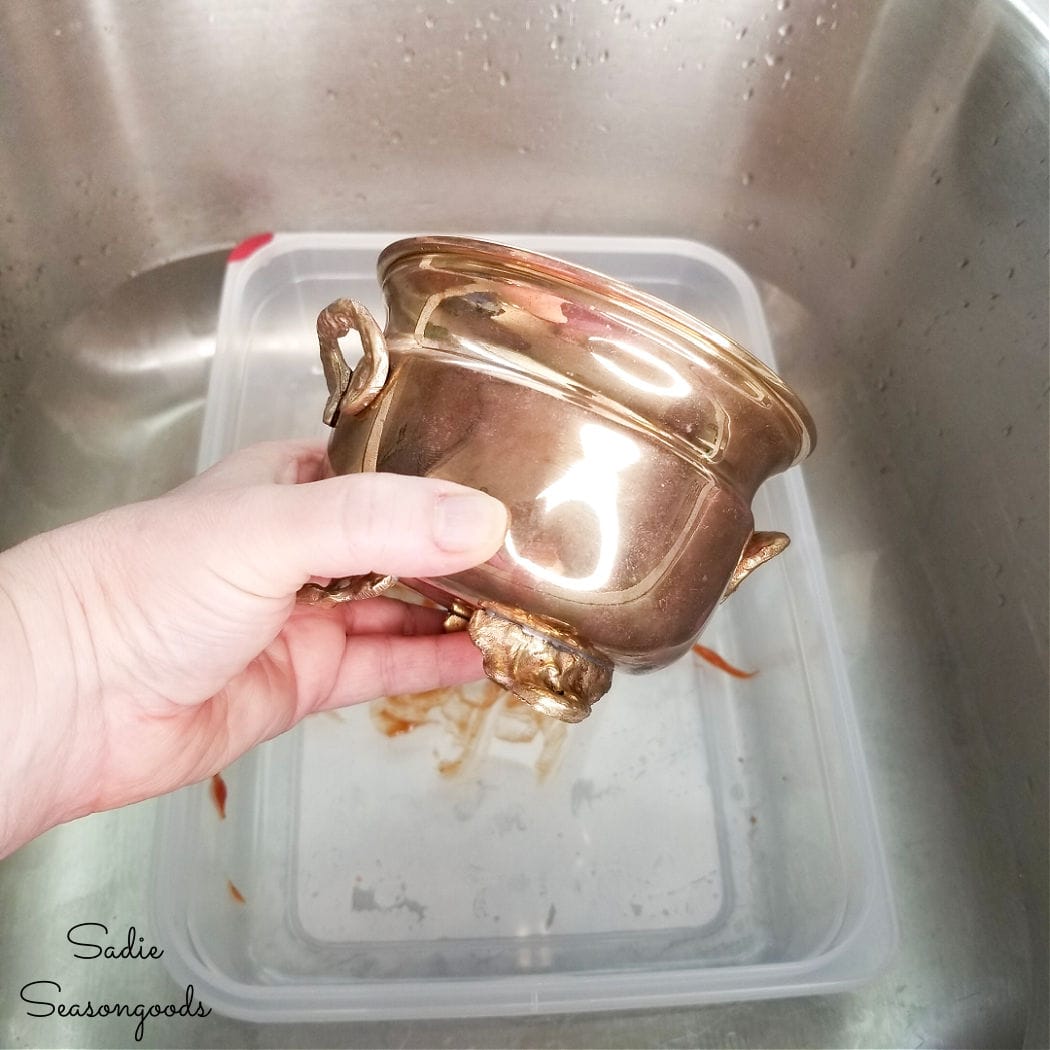
It just glowed! With a mirrored finish. Isn’t that WILD?
After I calmed down from the shock and glee, I returned to my upcycling project. I attached a wick to the bottom center of my boho candle holder with hot glue.
Then, I made a “wick holder” by gently clamping the wick between two coffee stirrers taped together.
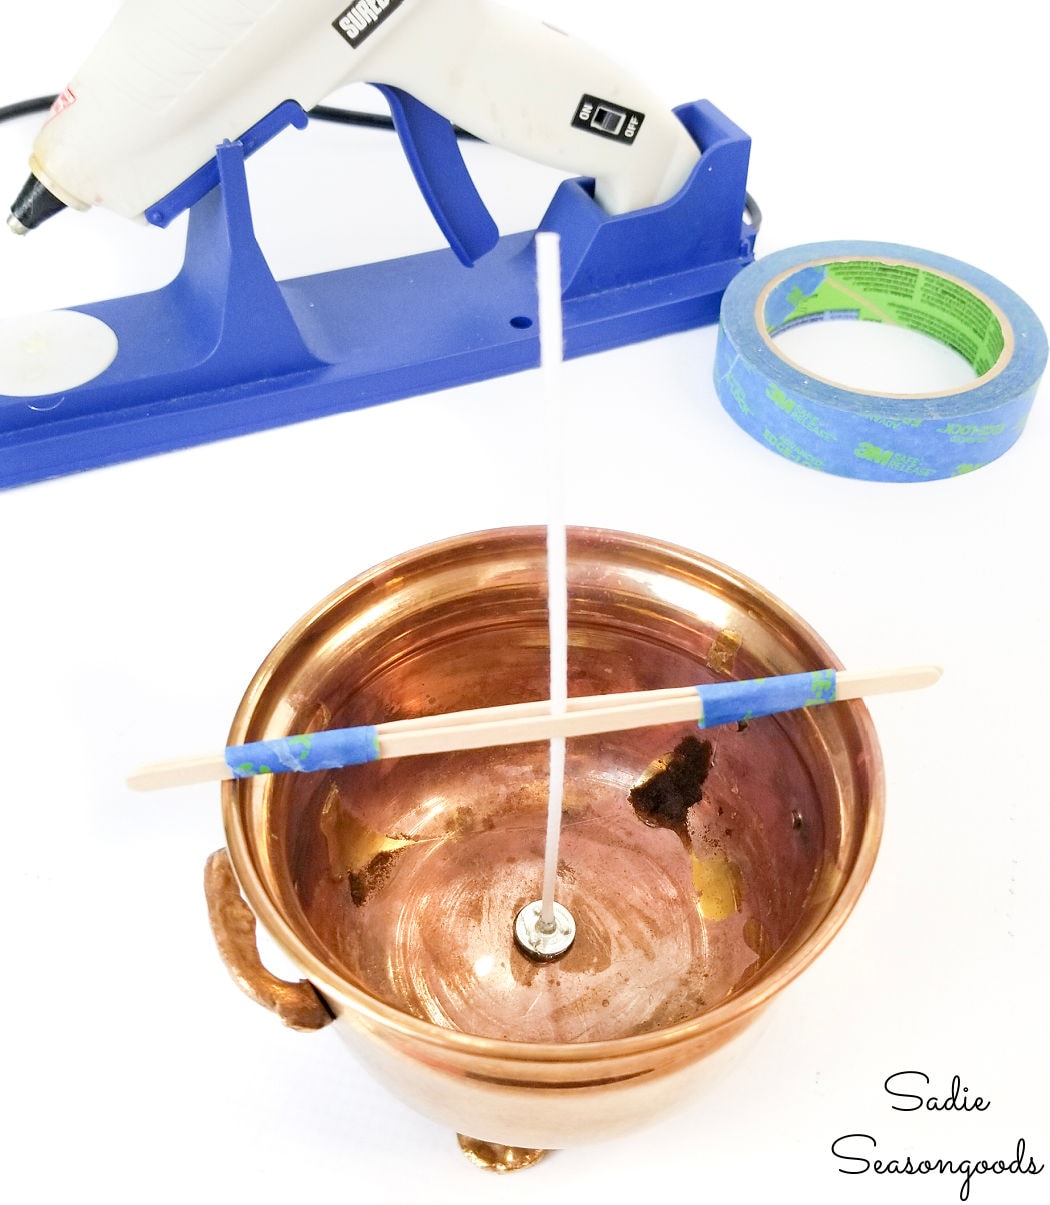
This will keep the wick from falling over once I’ve poured the hot wax. And lots of items are easy to fashion into wick holders- bamboo skewers, chopsticks, etc. Basically anything that is longer than your candle holder is wide.
Finishing a Boho Candle Holder
Now it was time to actually create a candle. Before doing anything else, I measured out the wax I’d need for my vintage brass. I filled it with soy flakes and poured those in my melting cup.
Then I filled it again, just about a third to half full and poured those flakes in the melting cup, too. Trust me, it’s better to err on the side of too much wax than too little.
After that, I placed the melting cup in a pot of water on my stove that I began to boil.
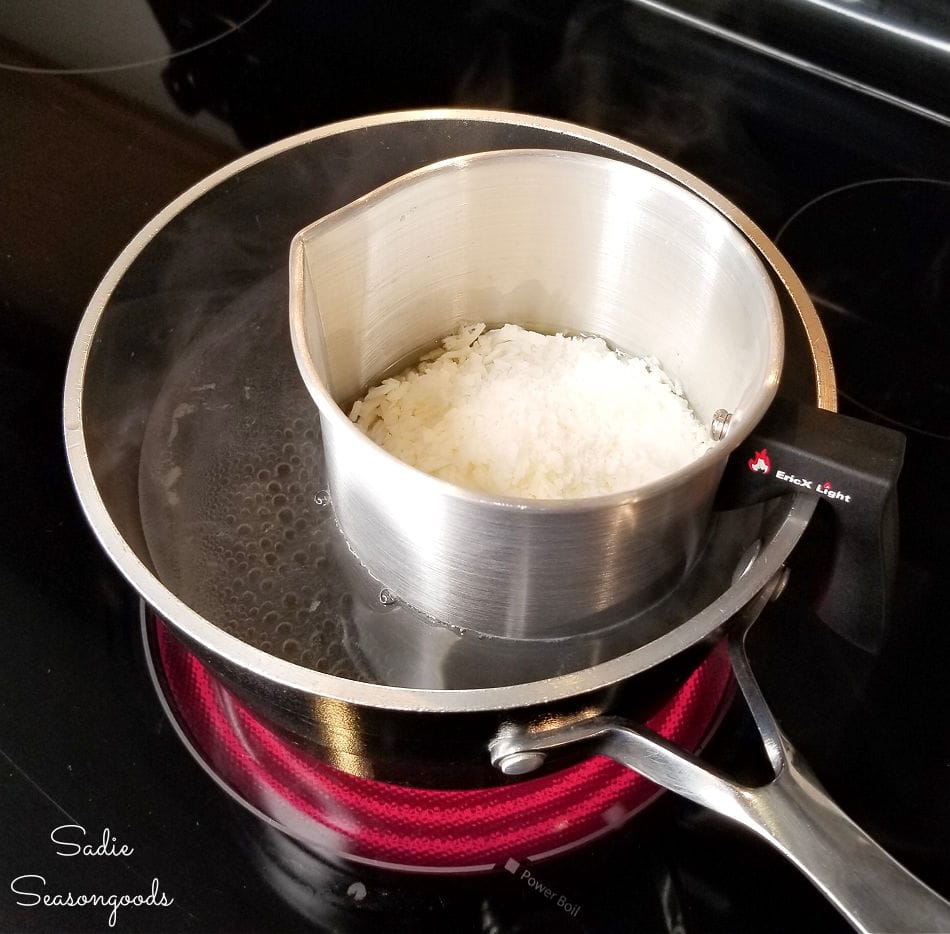
Once the flakes had completely liquefied, I let it boil for a few more minutes before removing the cup from the pot of water.
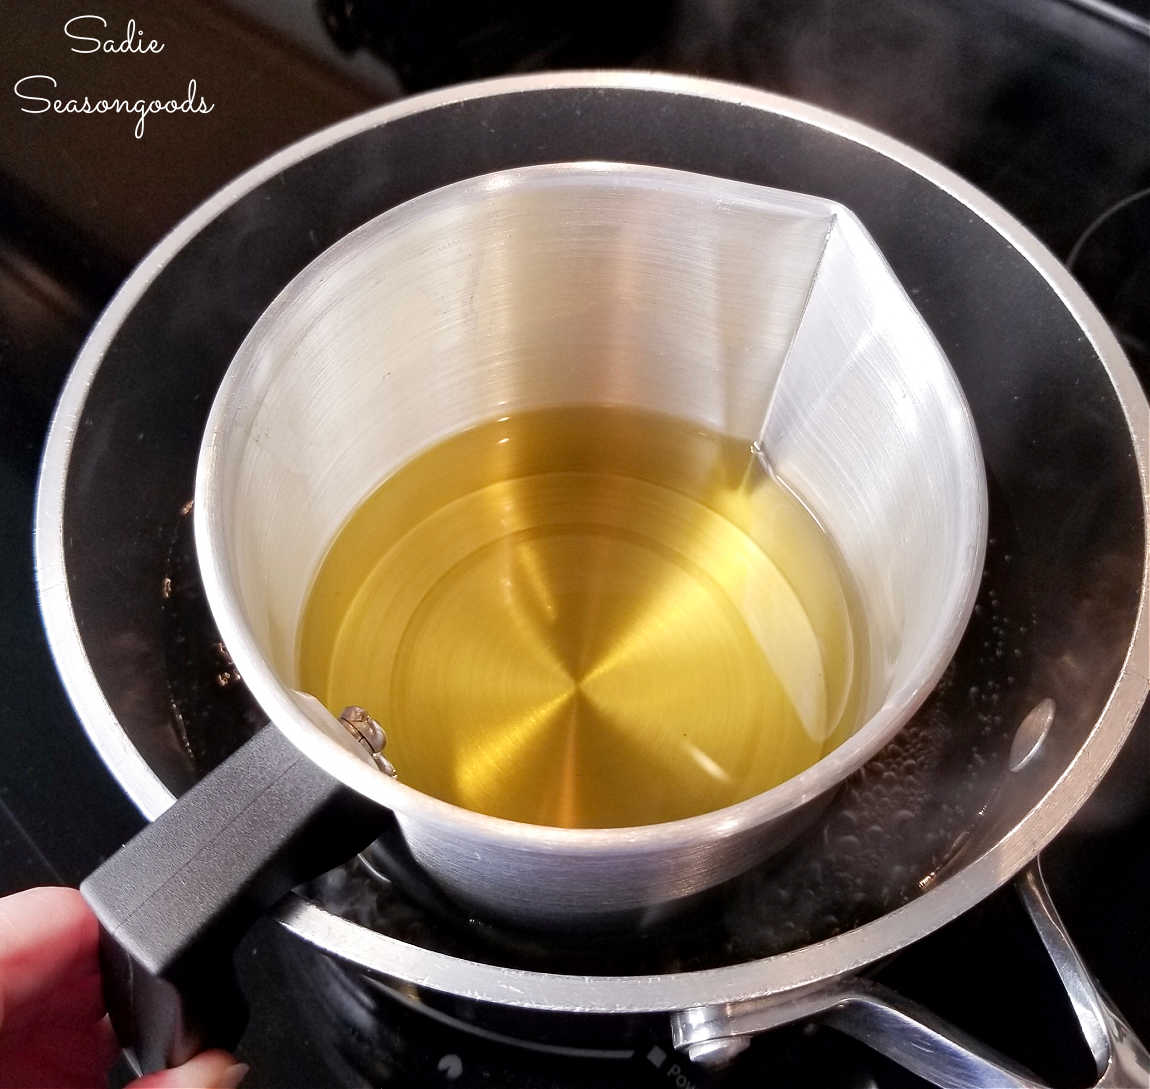
I had already placed my boho candle holder on some aluminum foil to protect my counter in case anything spilled. Then, I carefully poured the wax into the vintage brass, carefully avoiding the wick and holder.
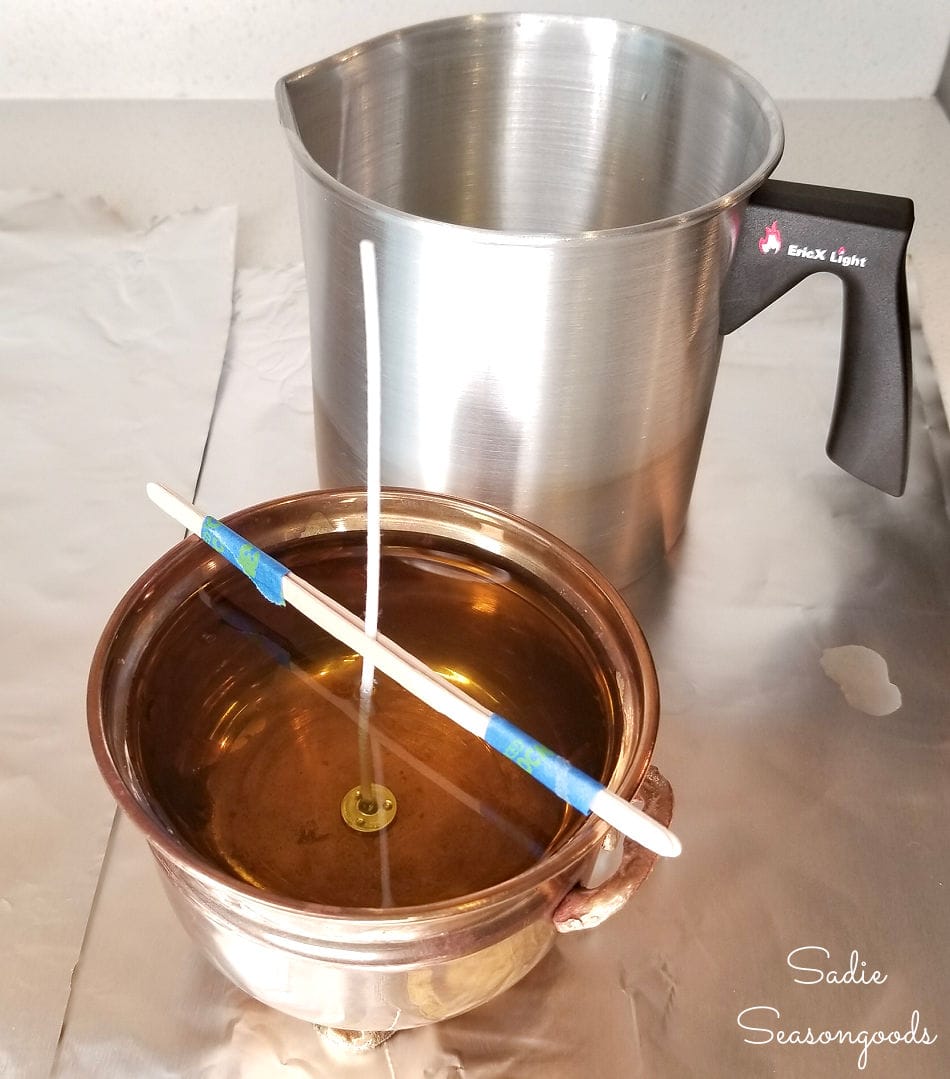
Had I added fragrance, I would have added it to the melting cup full of molten wax. But I was so busy being careful not to spill or mess up, that I forgot to add the fragrance oil!
Oh, well.
After (successfully!) pouring in the wax without sloshing or spilling, I didn’t touch or move the brass holder for several hours. That allowed the wax to harden with a nice flat surface.
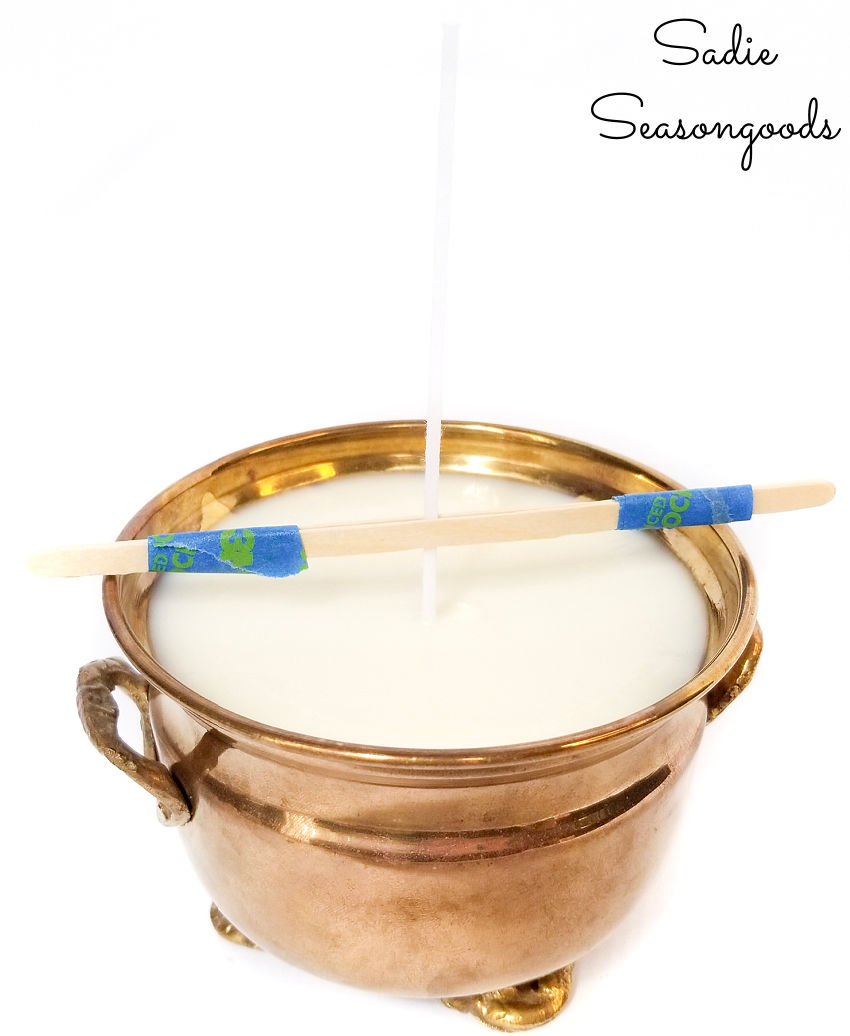
Next, I slid my makeshift wick holder off and trimmed the wick about a half inch above the surface. Finally, I could add the pizazz that I told you about at the beginning!
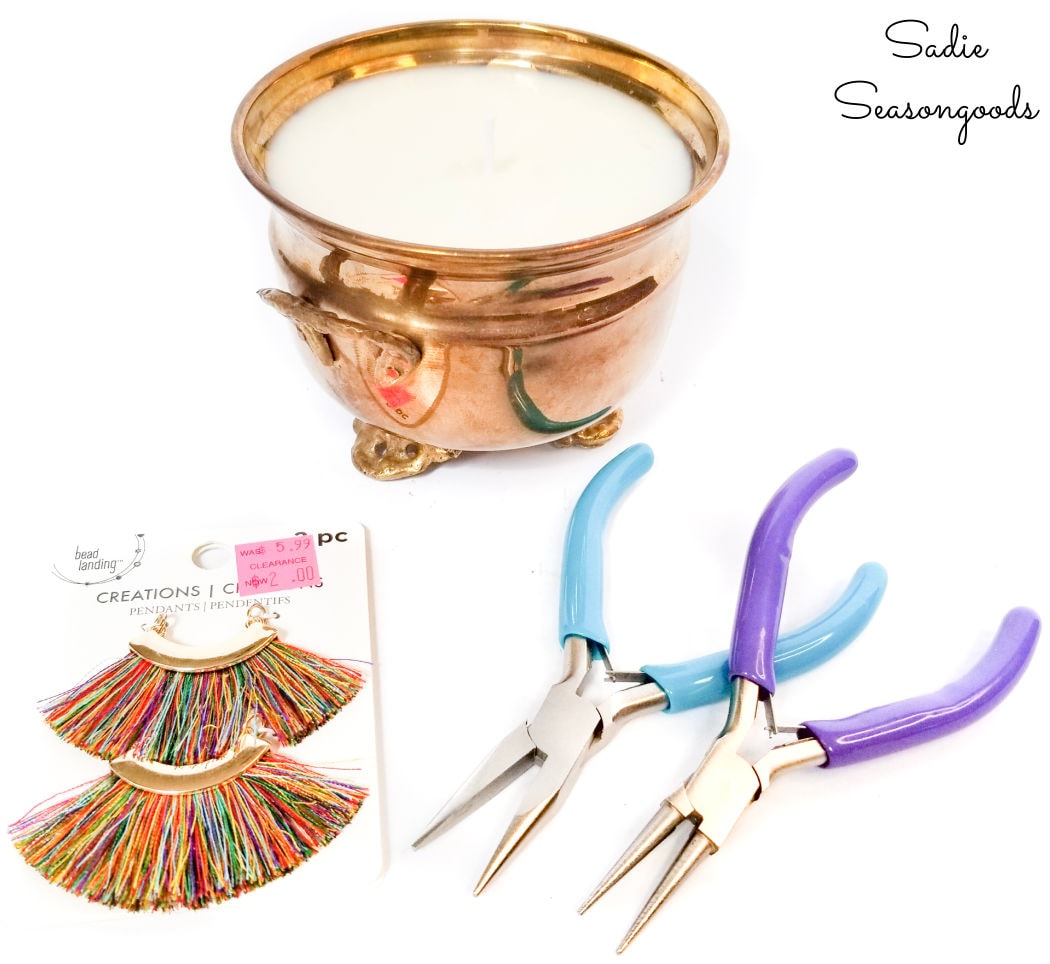
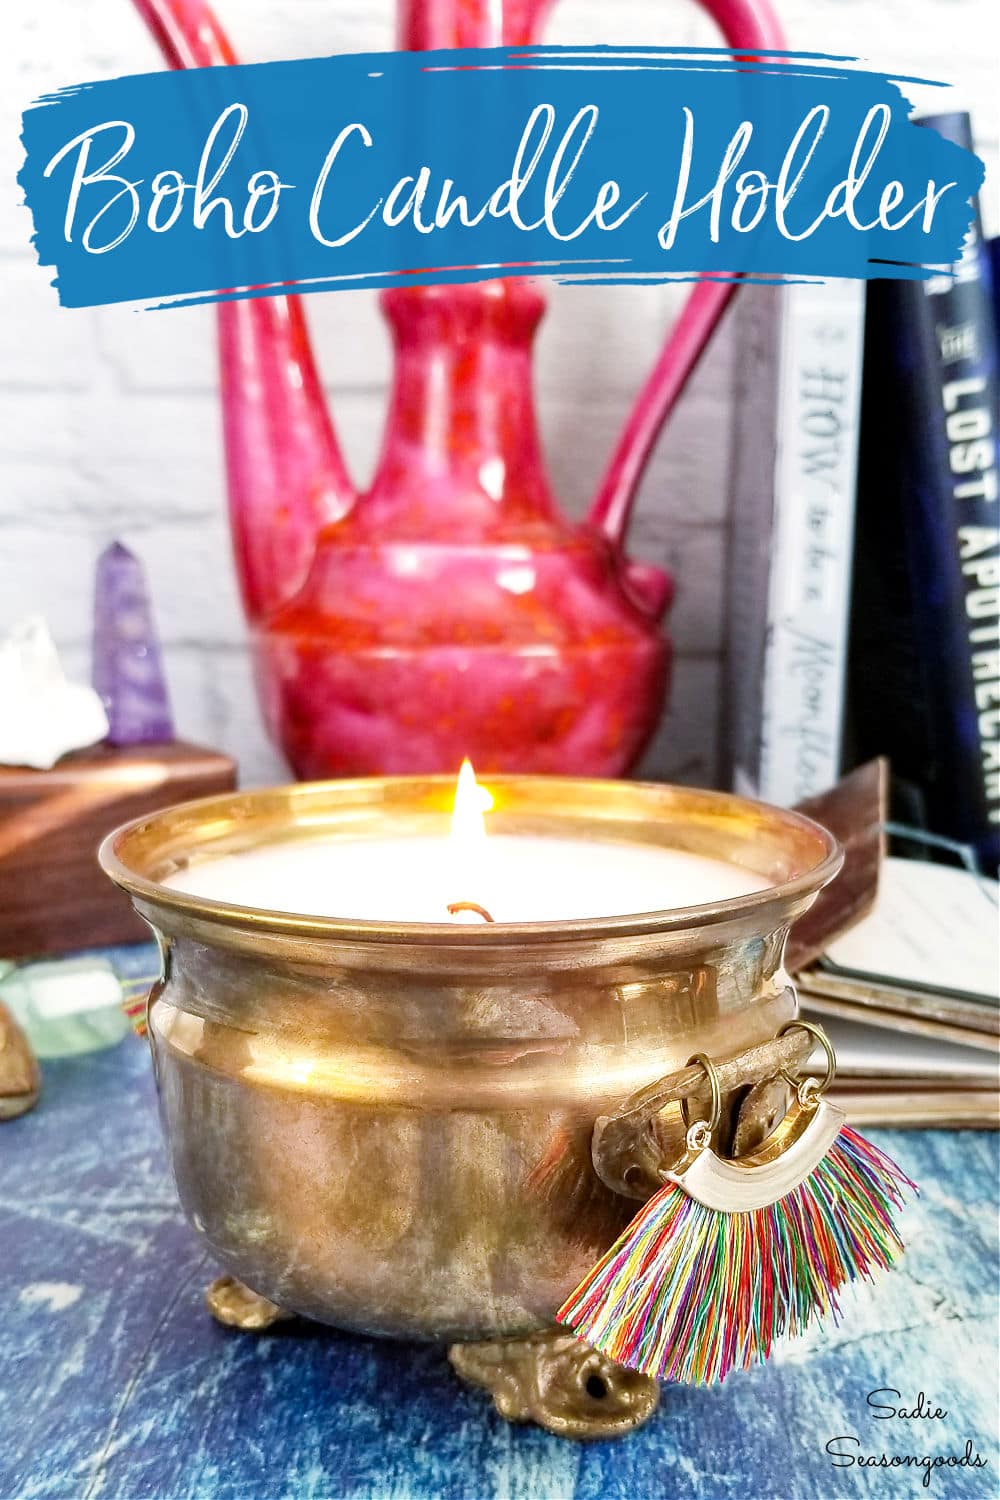
And by pizazz, I mean these tassel or fringe charms I found on clearance at Michaels. They were just begging to dangle from the handles of my candle holder. And who am I to disagree?
So, I used my jewelry making pliers to open and close jump rings and hung them from my brass candle. And that was it!
Vintage Brass as a Boho Candle Holder
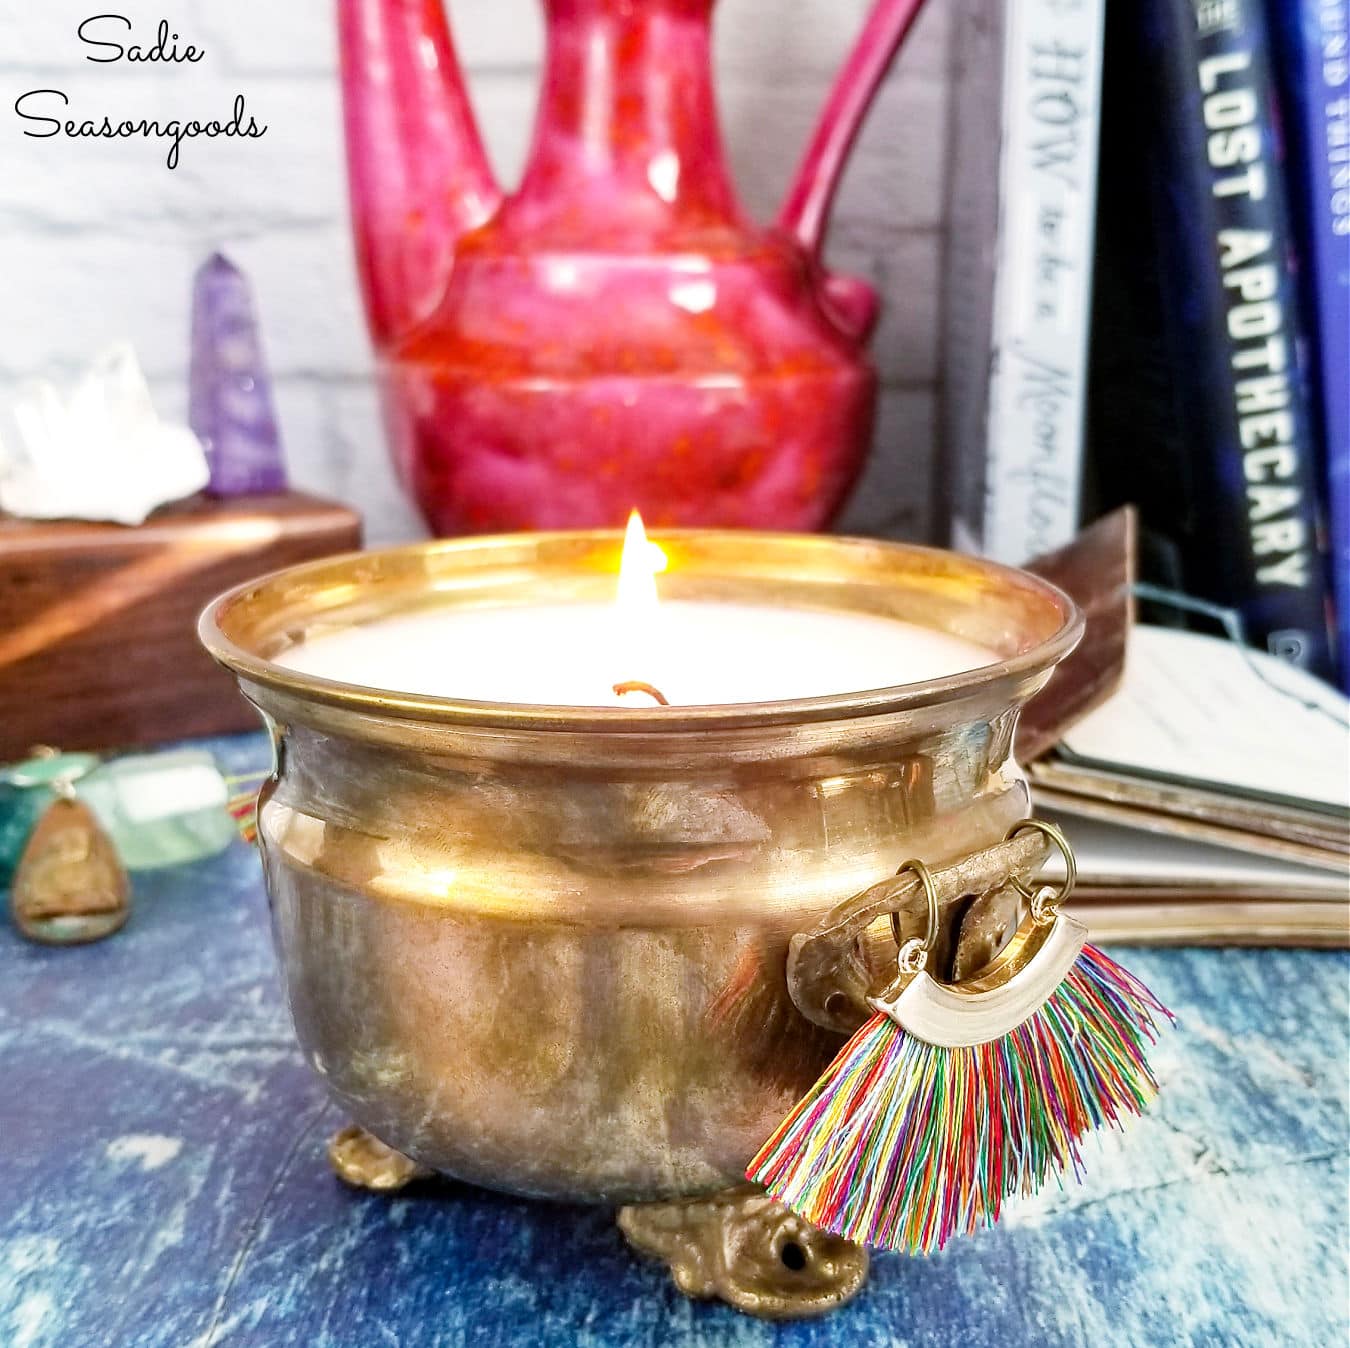
My boho candle was all done- isn’t it just so sweet? I absolutely love the little touch of flair that the jewelry bits give it.
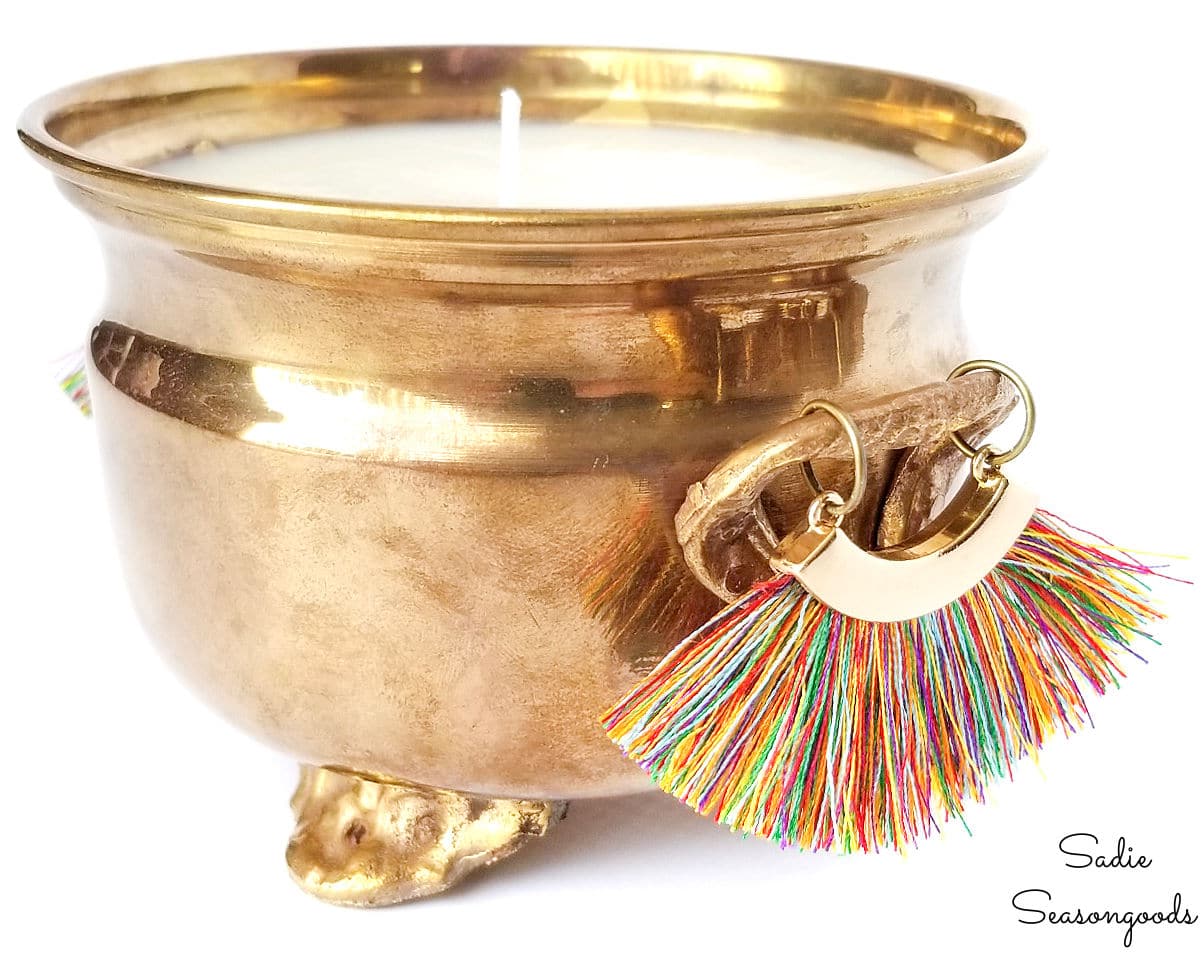
It’s like a little sass on my brass. And the perfect way to amp up the “oooh!” factor in a non-permanent or damaging way.
*****
And hurray, hurray- it’s also Thrift Store Decor Team Day! Which means my friends have been upcycling some new projects, too.
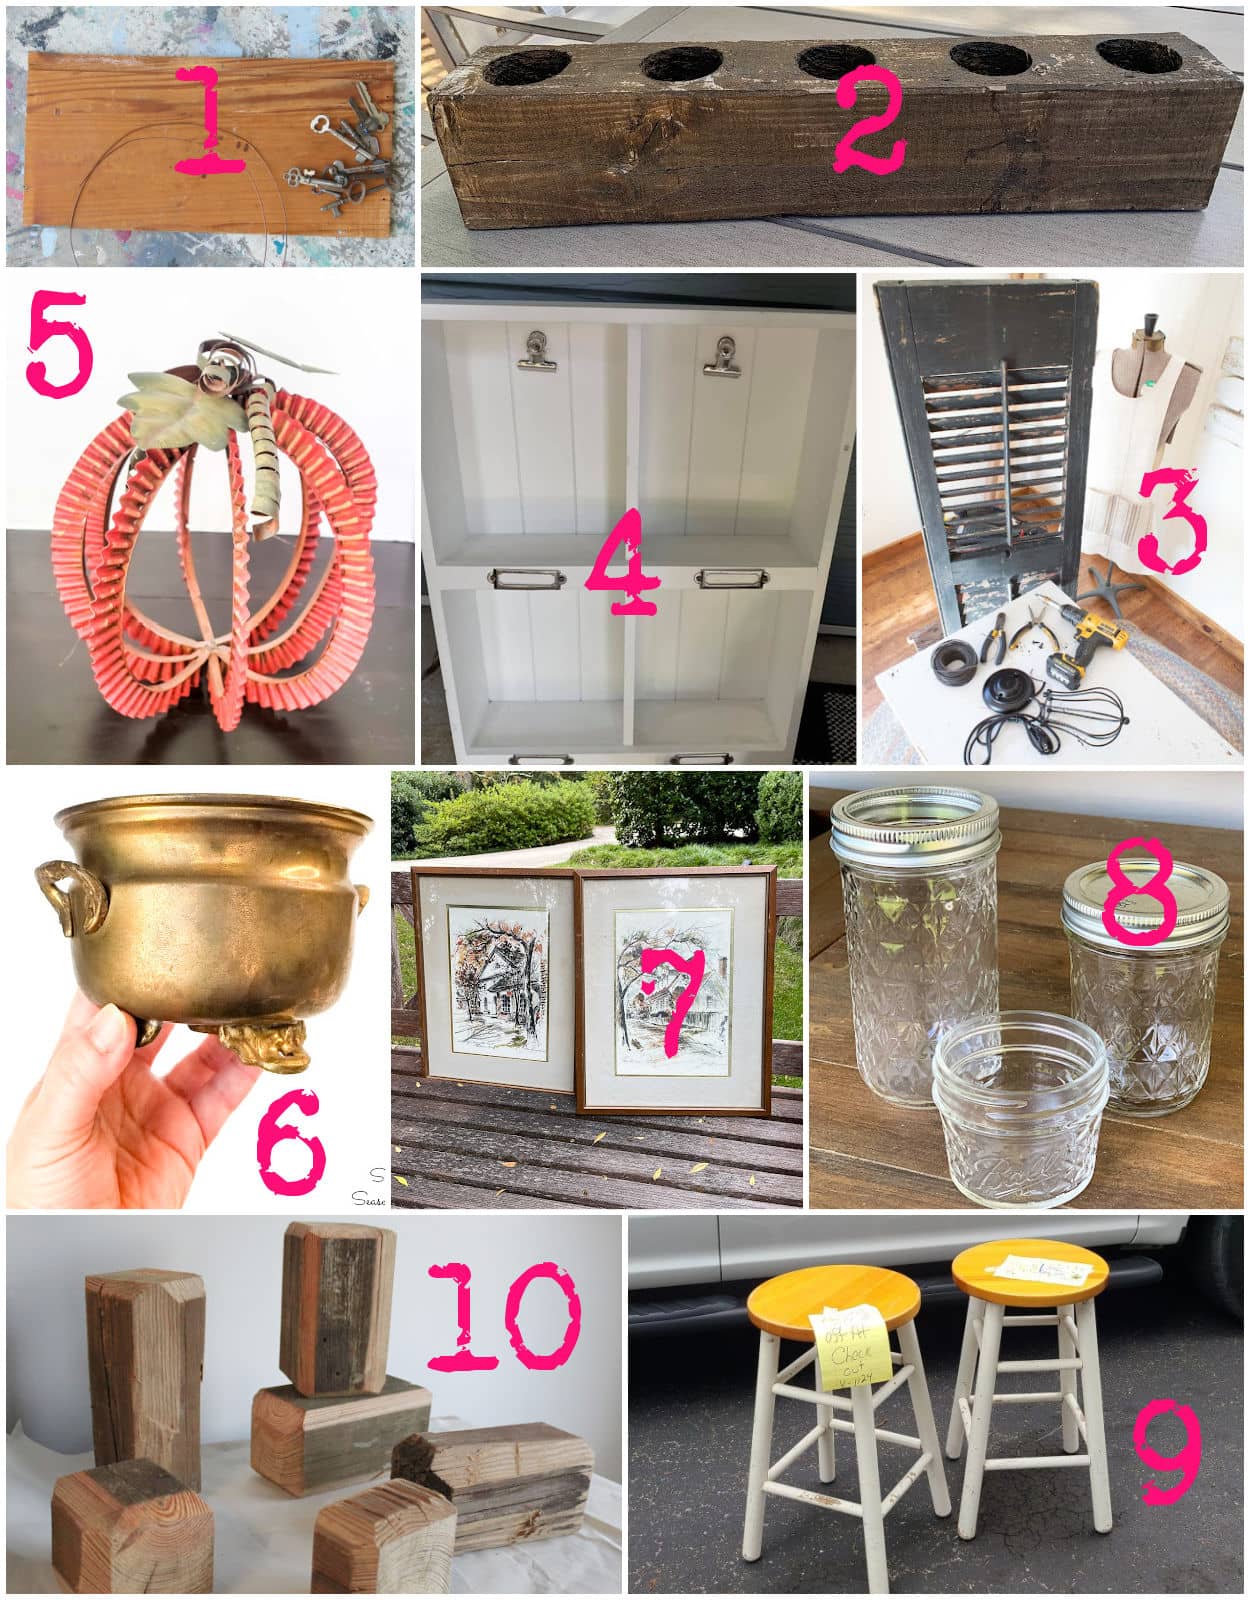
1. Rustic Home Decor Wall Sign – Petticoat Junktion
2. DIY Mini Succulent Garden in a Sugar Mold – My Uncommon Slice of Suburbia
3. What to Do with Old Shutters – Reinvented Delaware
4. Goodwill Shadowbox Fall Decor Makeover – Organized Clutter
5. Thrift Store Metal Pumpkin – Domestically Speaking
6. Boho Candle Holder (and Crazy Brass Cleaning Hack) – Sadie Seasongoods
7. How to Update Thrift Store Art – Our Southern Home
8. Quilted Mason Jar Makeover – House of Hawthornes
9. Bar Stool Makeover – My Repurposed Life
10. How to Make Pumpkins from Scrap Wood – Shop at Blue
*****
I hope you are as amazed by that brass cleaning hack as I was! I can’t wait to hear if you try it and how it worked out for you. It was so fun to find the perfect piece of vintage brass at one of my local Goodwill stores here in Charlotte to use for this project.
And if you’re interested in more upcycling ideas for boho style decor, perhaps this collection will inspire your next thrifting trip!
Craft on!
S
Want to be notified when I publish my next upcycling project tutorial?
Join me on Social Media:
PIN ME!
Sarah Ramberg is the owner of Sadie Seasongoods, a website that celebrates all things secondhand. From upcycling ideas and thrifted decor to vintage-centric travel itineraries, Sadie Seasongoods is a one-stop shop for anyone who loves thrifting and approachable repurposing ideas. Sarah is also the author of “Crafting with Flannel” and has been featured in numerous media outlets and magazines.


The candle is adorable. I wonder if it is the acid in the ketchup that takes off the oxidation? Maybe pickling vinegar with a high acid content would work too?
It probably is the acid in the tomatoes. I can’t speak to vinegar, but the benefit of ketchup is that you can let it sit for a few moments and it won’t run off. But if you have pickling vinegar on hand, it might be worth a try?
Beautiful little pot and I love the jewelry accents!
You could try tomato paste. It might be cheaper in the long run than Ketchup and you could make it go further by thinning it a little with water. It probably is the acid in the tomatoes because if you have a metal pot that is stained on the inside the way to clean it is to make tomato sauce in it.
Probably!
Super cute candle idea! Love the sass on your brass too,
Thank you, Carlene!
I’ve cleaned the copper bottoms of pots/pans with ketchup. It is amazing what a little condiment can do. I will now use it on a few brass candlesticks I have. I’m not a candle lover but your cauldron is both cute and useful.
All hail ketchup the cleaner! 🙂
Two great pins in one! I have brass candlesticks that could really use this. Plus, I really love the addition to the handles of the “candle”. Thank you.
Thanks, Penney!!
Sarah, I accidentally discovered the beauty of cleaning with ketchup! I sue it n my copper hammered sink! Beautiful restoration. There is nothing like shiny brass! I’ll be trying this in some items I have in storage.
It’s like magic for sure!!
Sarah!
Wow! I’m speechless! I had no idea about this brass cleaning tip. It’s a little scary, because I’m a huge fan of ketchup. yikes!
Your boho candle holder turned out positively wonderful!
pinned!
gail
I agree- I love ketchup, too, so I now have the same concerns as you are!!
I love your new boho candle, it’s gorgeous!!! I think I need to try that ketchup hack on some pieces, thanks for the great tip!
Thanks, Kristin!
What a great idea. Great Job!
Thank you!!
So cute!!! I love making candles and haven’t for a few years now… you’ve inspired me & I had no clue about the catsup – who knew!!!
SO crazy!!
I did not know there was an official was melting pot and now I feel like I’ve been missing out! Super cute candle though. I think the added tassel really sets it off!
Yes!! I saw it in someone else’s candle post once- maybe Kristin’s? Or from Two Bees in a Pod? And I had to have one!
Glad you shared the ketchup hack for those who didn’t know about it. My almost 50 year old Revere Ware with copper bottoms have seen this trick for YEARS! But, I didn’t know it worked on brass, too! Also love the hot glue candle wick anchor; I recently made candles and had to fight with the wicks. Love the Boho look you gave the pot; it raises it to distinction!
Thank you so much, Kathy!
Ketchup?? That is amazing! It must be the acid from the tomatoes that removes the dullnes of the brass. Anyway, that was just brilliant and I will keep this tip in mind! Pinned!
Thanks, Cindy!
I will be trying the ketchup method for sure. As an added tip….rub the brass with flour. Not sure why but it extends the amount of time btwn treatments to keep the brass looking, well, brassy. I have a small vase that was my grandmother’s and it had lots of grooves in it. I have cleaned it with salt/lemon juice paste with fantastic results, rubbed it with a bit of flour then wiped it clean. I experimented and the flour application seems to keep the brass shiny longer than without. I am going to try the ketchup though…although how concerning is THAT? If ketchup cleans brass, what the heck is it doing to our bodies?! It’s delish though….
Oooooh, great tip about the flour!!! And YES, I had the same concern about eating ketchup!!
Love it! I totally have to try this hack on my brass, I think I might even try it on some copper!
A lot of folks have mentioned it on their copper-bottom pots and pans, so I think the result will be similar!
Wow! I had no idea about the ketchup! Thank you for that. Great tutorial and the candle turned out so pretty! Have a great weekend!
Thank you so much, Denise!