Several years ago, I found this bamboo tray at the Goodwill Bins (aka, the Goodwill Outlet). Even though it wasn’t all that special, I knew it was a blank canvas that I could have fun with- someday. I just didn’t know when that day would come.
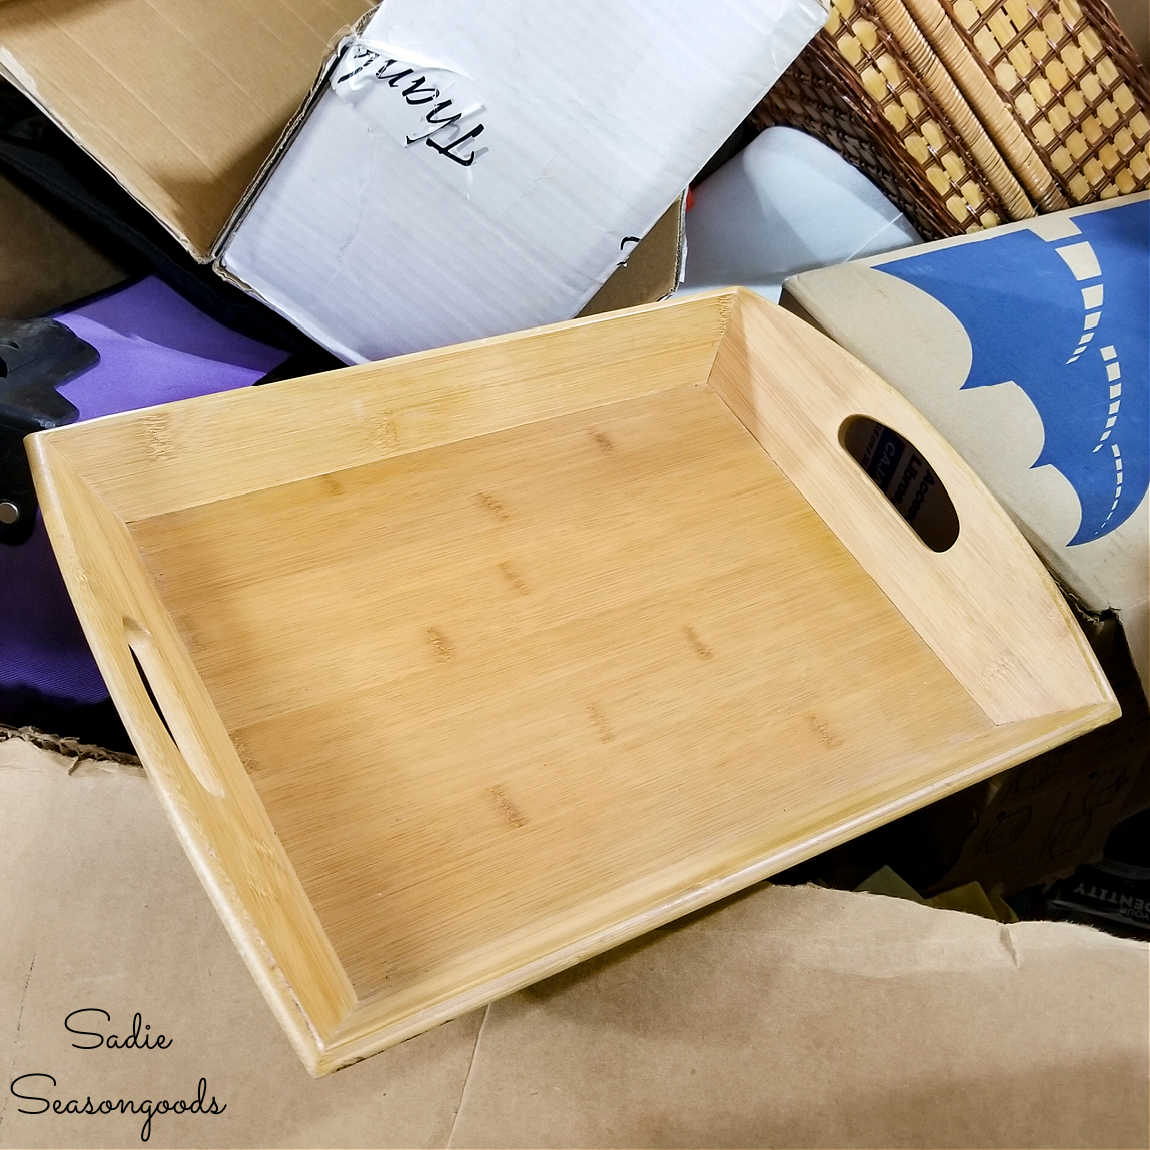
AND, somehow it survived “The Great Purge” of 2020. Between C-19 lockdown and our move to Charlotte, I really went to town on our garage and purged a LOT of thrifted stuff.
But I’m so glad I didn’t give it back to Goodwill! Because a few months later, I came into some older blueprints.
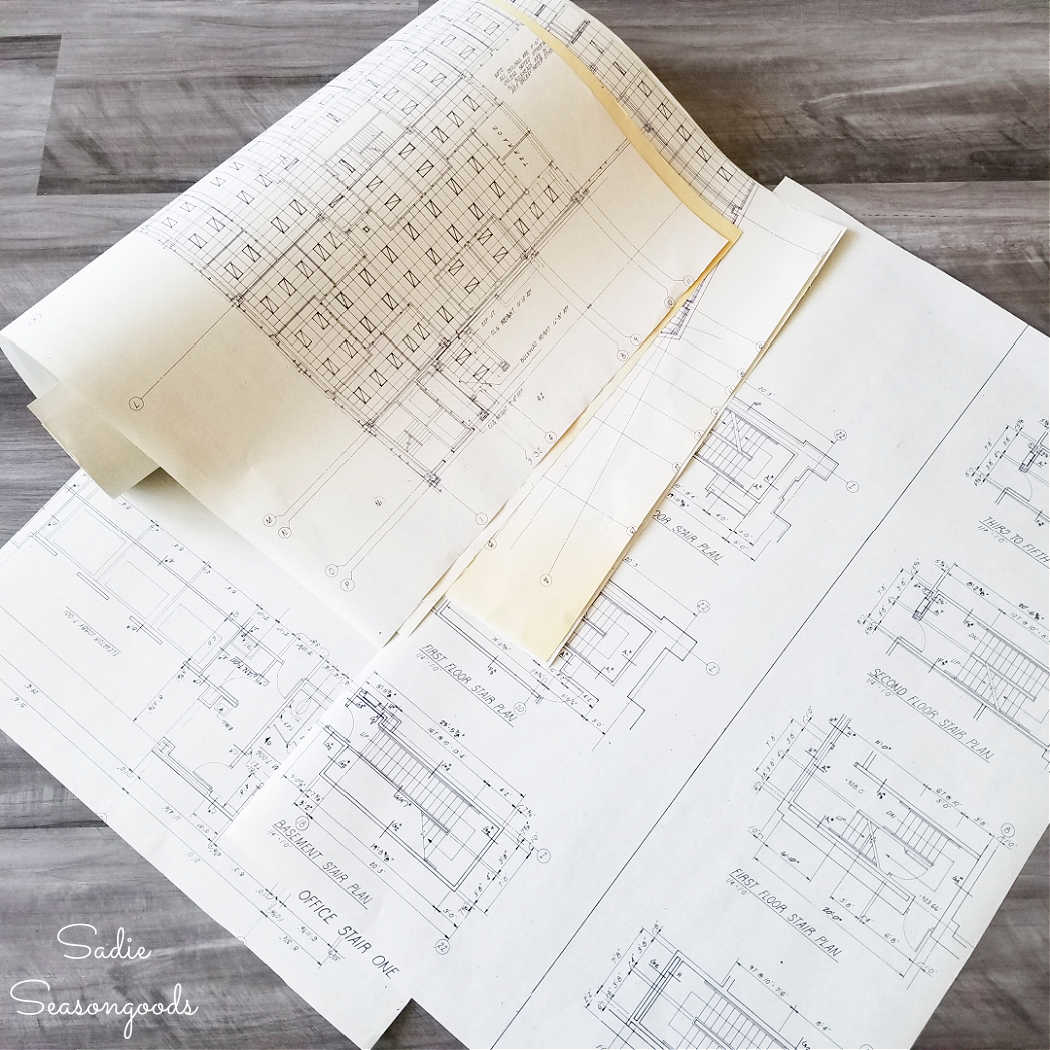
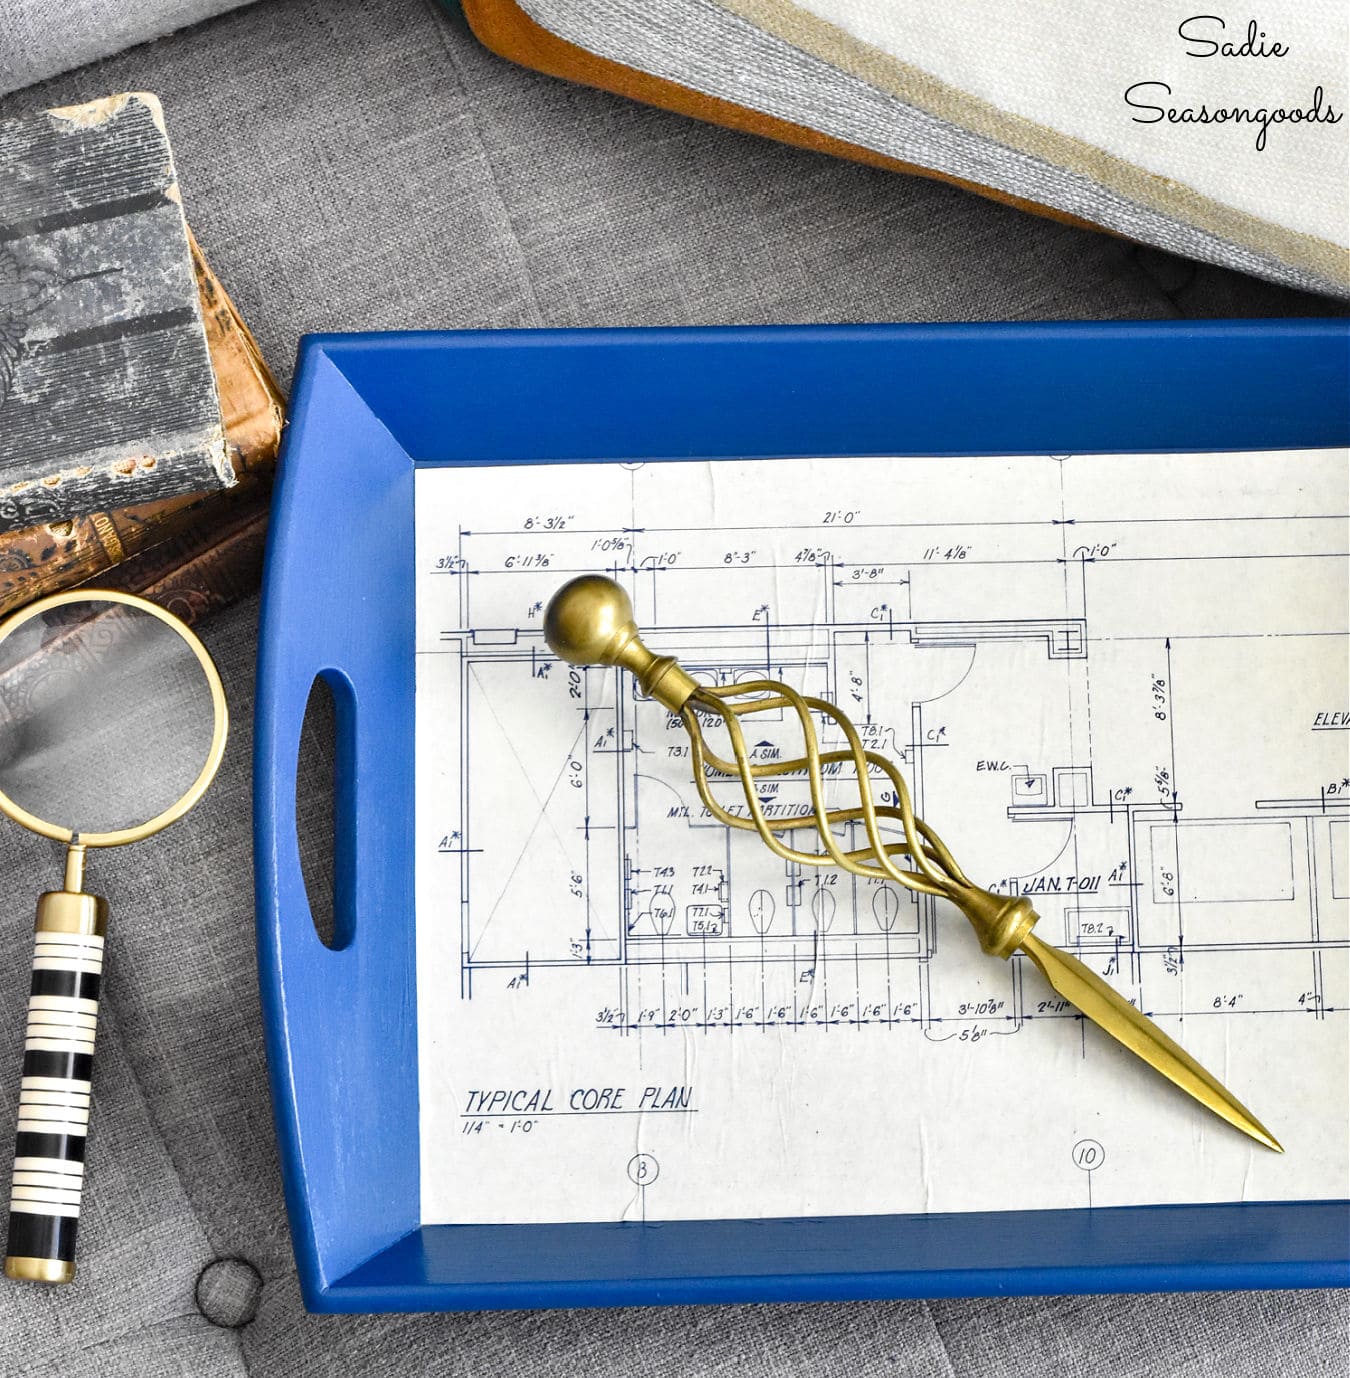
That’s when I decided to pair up the blueprint paper with the bamboo tray that survived The Great Purge AND a move out of state.
This post contains affiliate links for your crafting convenience. As an Amazon Affiliate, I earn from qualifying purchases. All blue, bold, and underlined text is a clickable link, either to a product or to a related post.
Prepping the Bamboo Tray
Perhaps the most intriguing aspect of this bamboo tray is that I wasn’t entirely sure it was 100% bamboo. I’m telling you, the flat bottom felt like plastic.
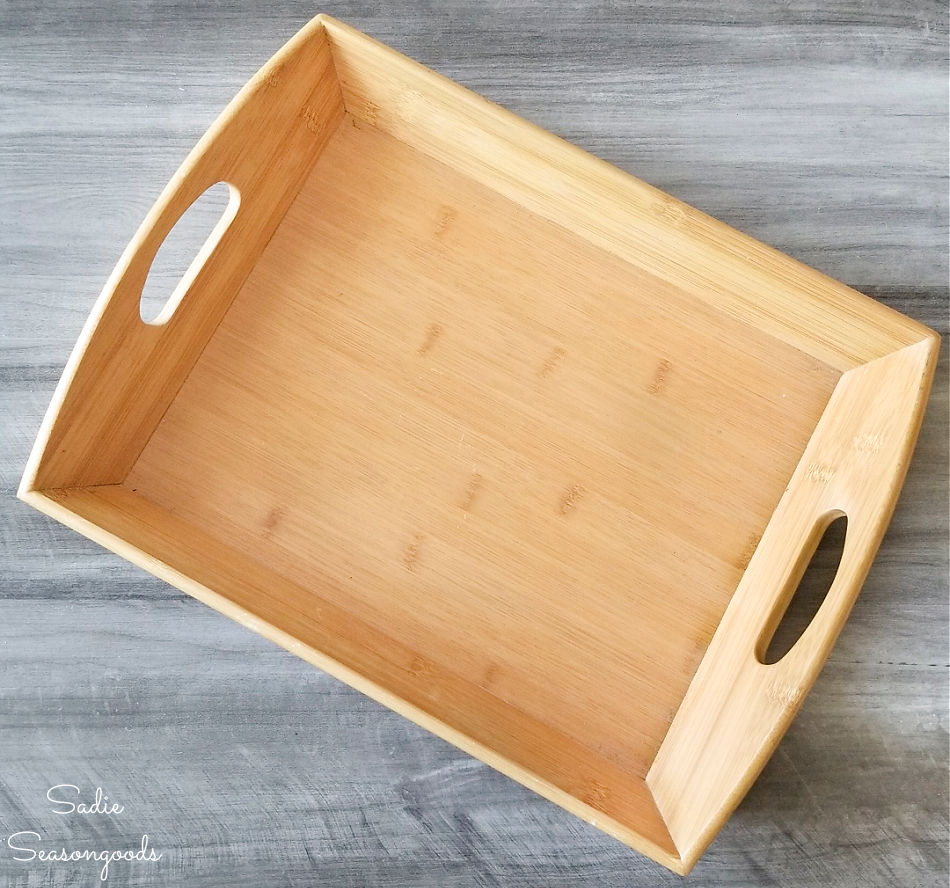
Tapping my fingernail on it sounded very plastic-y. And it was stamped “Valueboo” on the bottom, which caused further suspicion on my part.
Either way, though, my plan was to decoupage some blueprint paper onto the flat portion of the tray. So, before I did anything else, I selected a blueprint to use and trimmed it down to fit the tray.
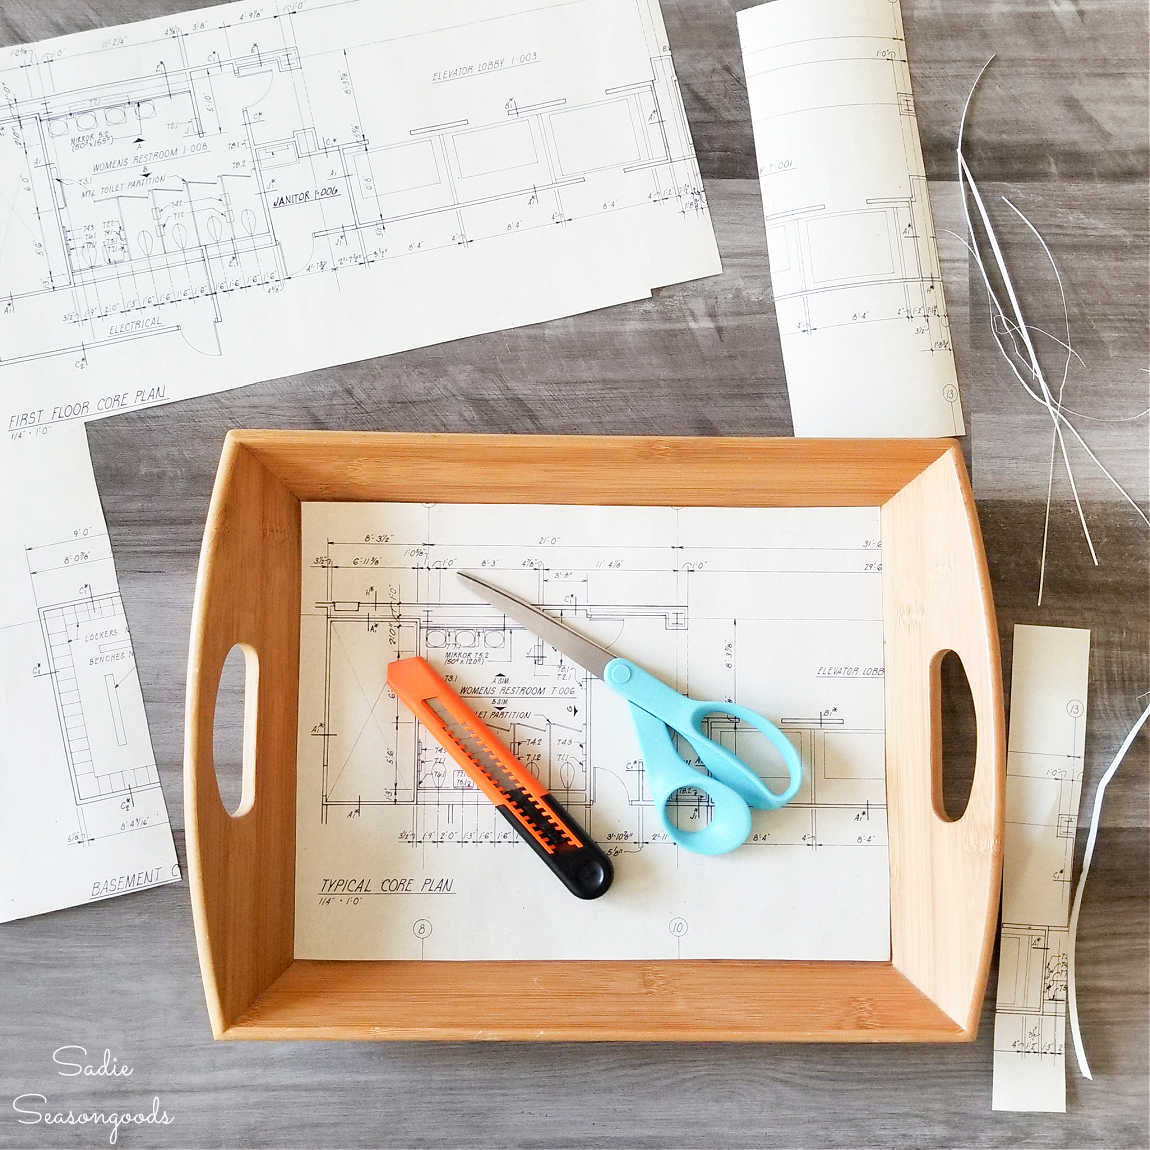
Next, I decided to “degloss” the sides of the tray, which felt glossy and/or lacquered. And since I planned on painting the sides, I wanted the paint to adhere.
So, I purchased some deglossing wipes and rubbed them on the handles and sides. Technically, these are made for painted surfaces, but I gave them a go anyway.
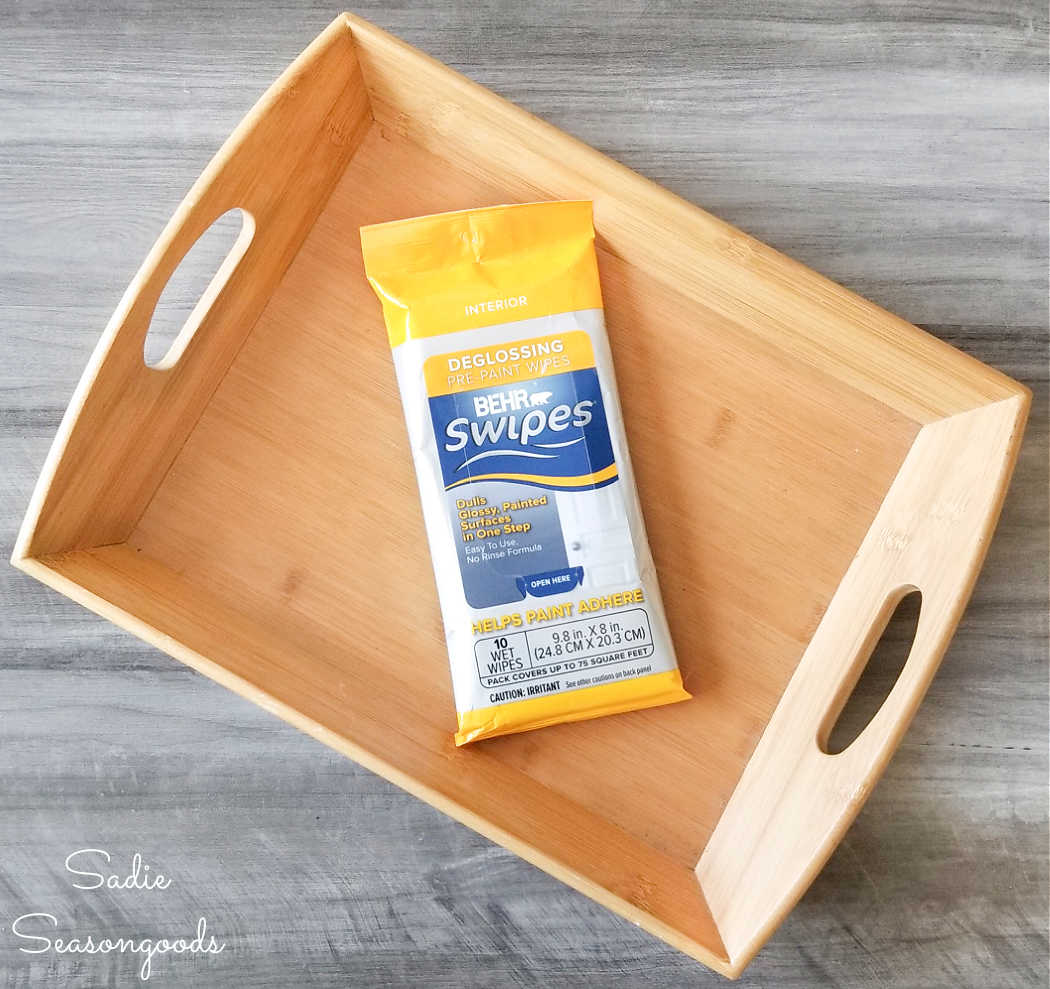
This might have been unnecessary, but it certainly didn’t hurt. And the sides and handles DID feel less shiny and slick when I was done.
Decoupaging with Blueprint Paper
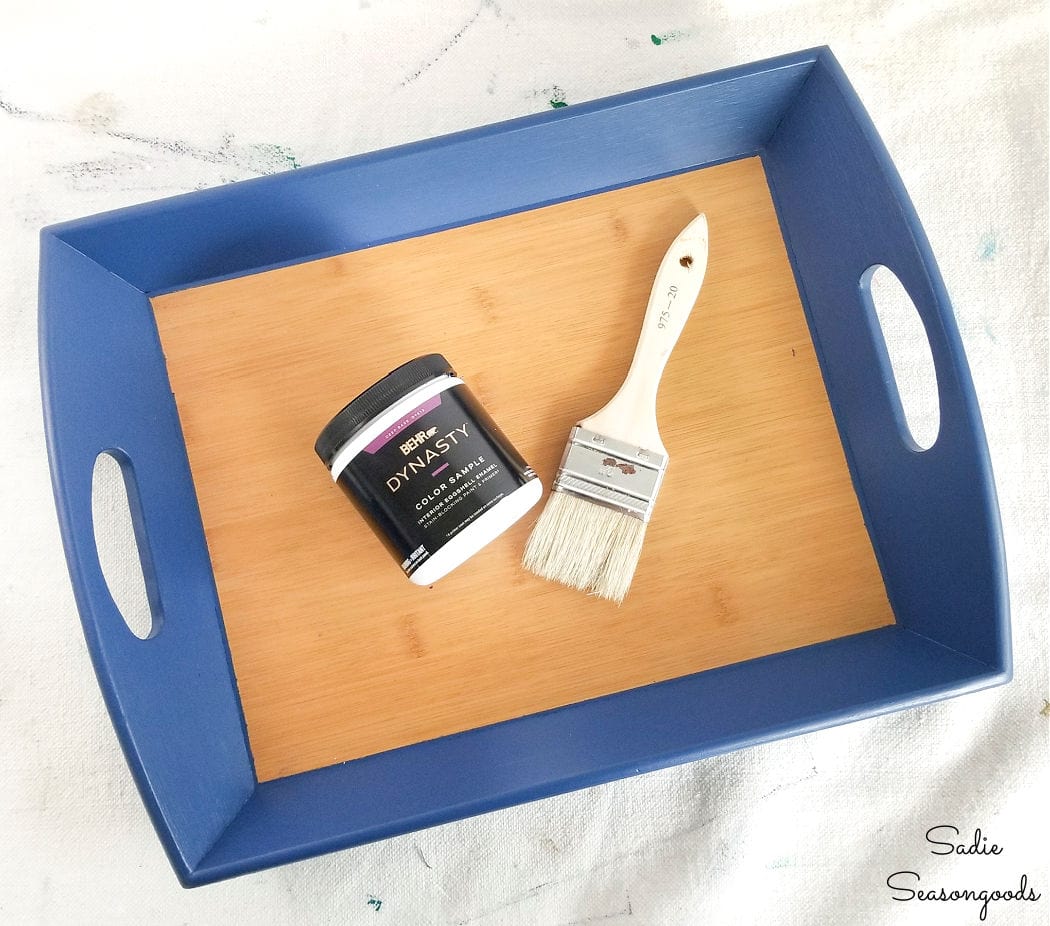
Once the tray had been cleaned and deglossed, I set up my drop cloth to do some painting. With a nice rich blue to compliment the blueprint paper.
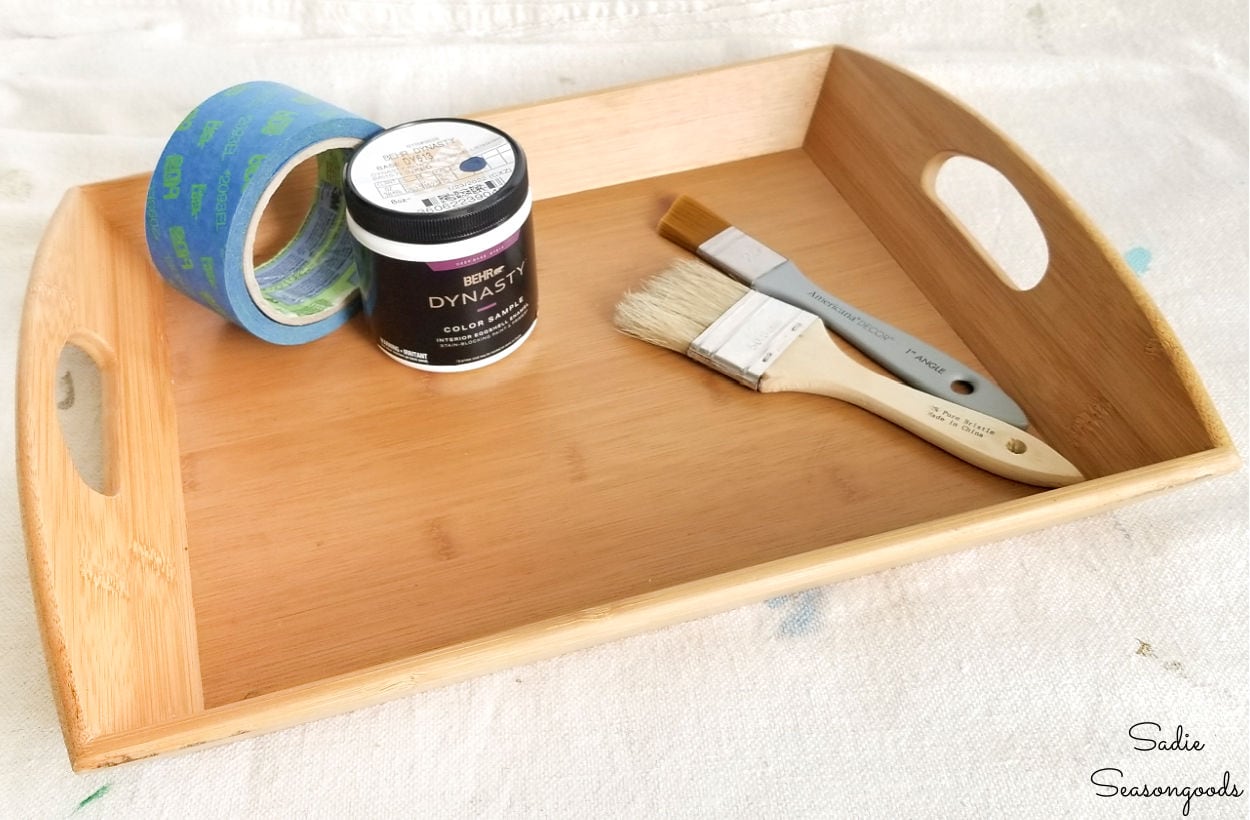
I used strips of wide painter’s tape along the borders of the flat plastic portion before painting. Since I wanted the blueprint paper to really “pop” against the dark paint, I planned to decoupage it directly to the faux bamboo (and not over a coat of dark paint).
Then, it was time to break out the Mod Podge! Now, I don’t *do* a lot of decoupage (just this handful of projects!), so I’m not the most skilled at it.
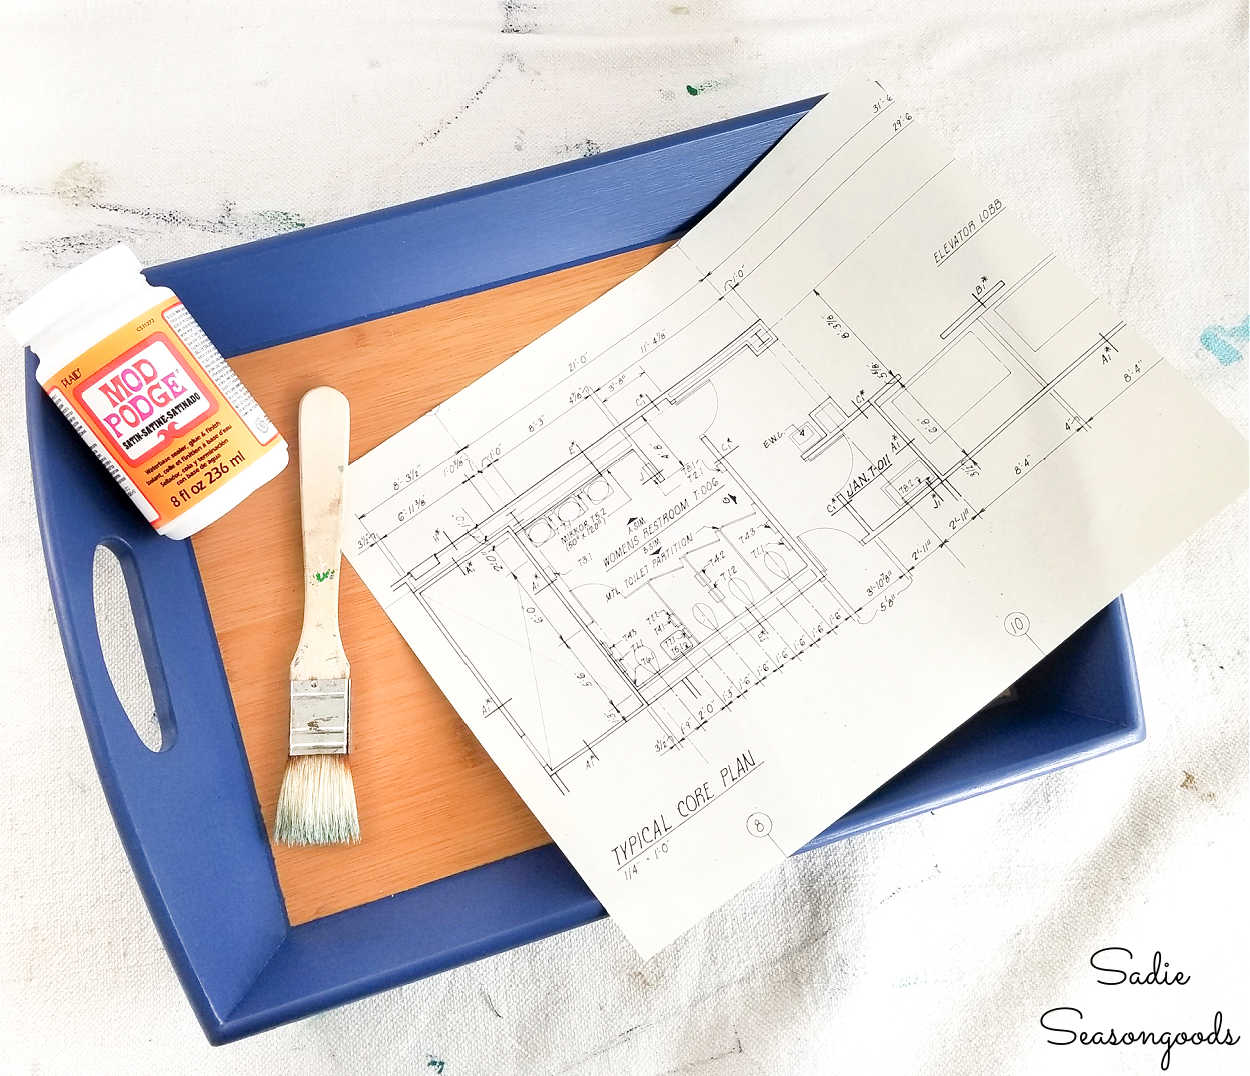
In other words, my decoupage is prone to wrinkles. Which I don’t love, but I’ve learned to accept.
I knew that using a large piece of paper like this blueprint would probably result in wrinkles. In my experience, more decoupaged real estate just lends itself to more wrinkly chaos.
But I brushed on some Mod Podge, placed my paper on the glue, Mod Podged some more on top, and hoped for the best.
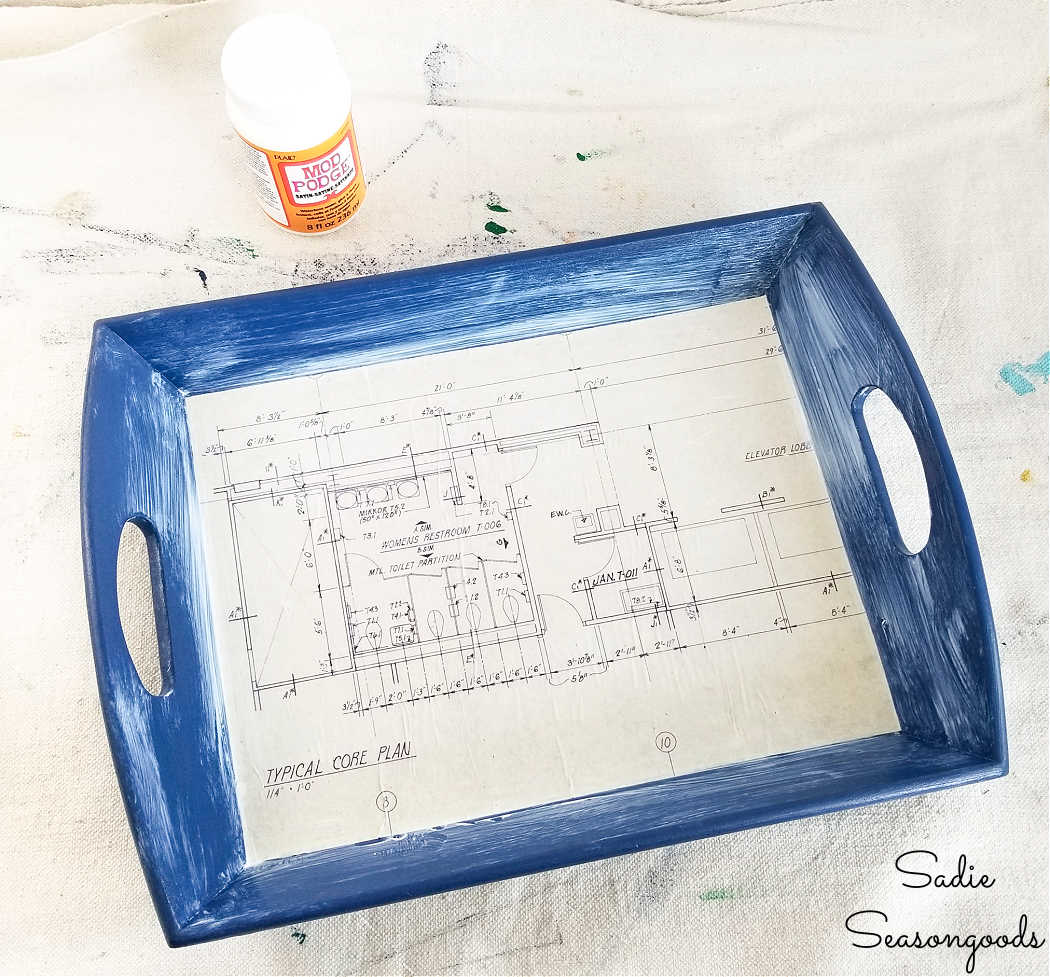
I also continued to brush Mod Podge across the entire tray, front and back, so that the satin finish was cohesive across my project. Mod Podge is a handy topcoat, that’s for sure!
Upcycling a Bamboo Tray with Blueprint Paper
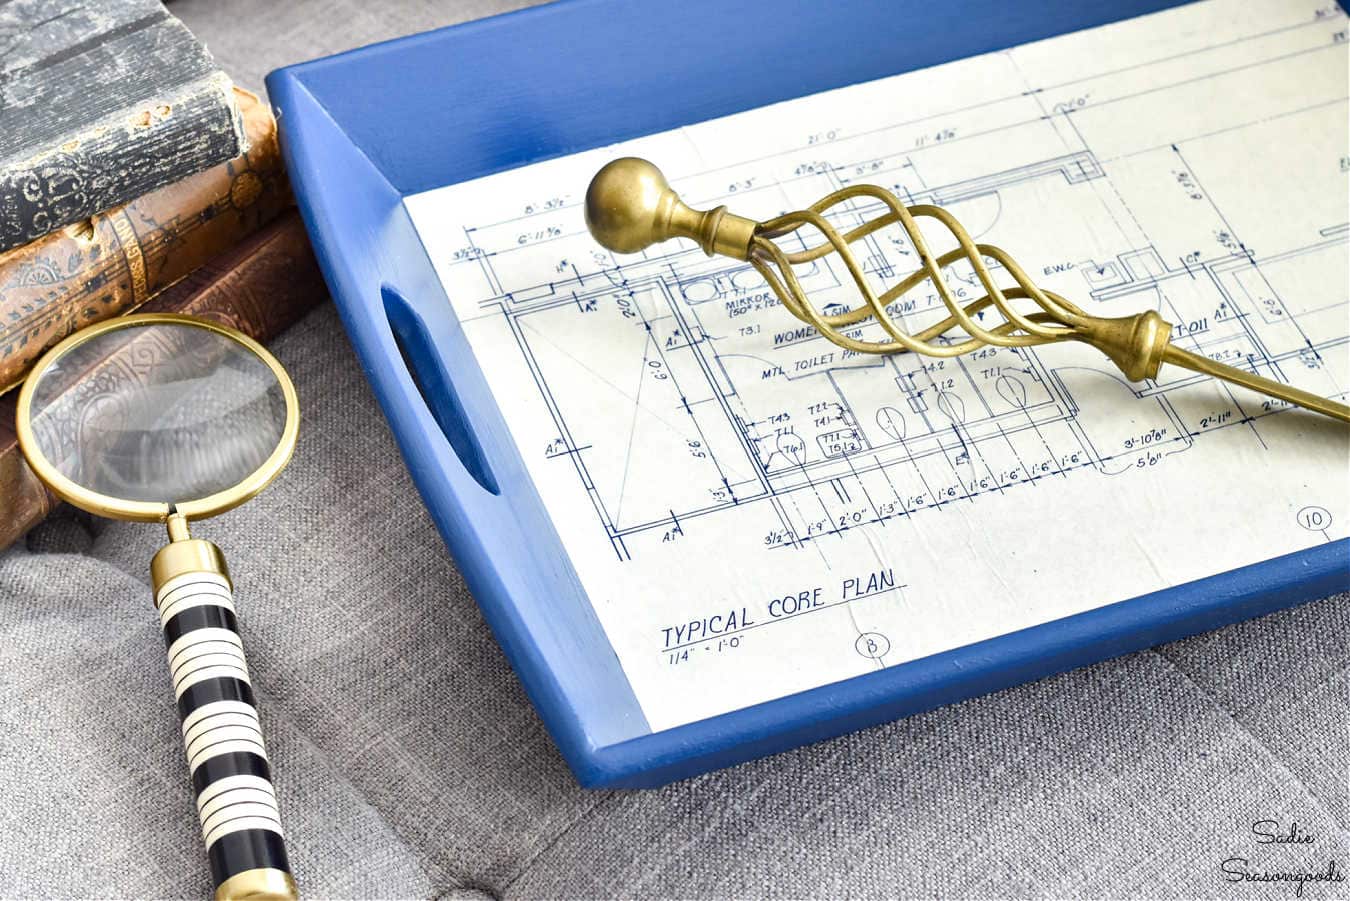
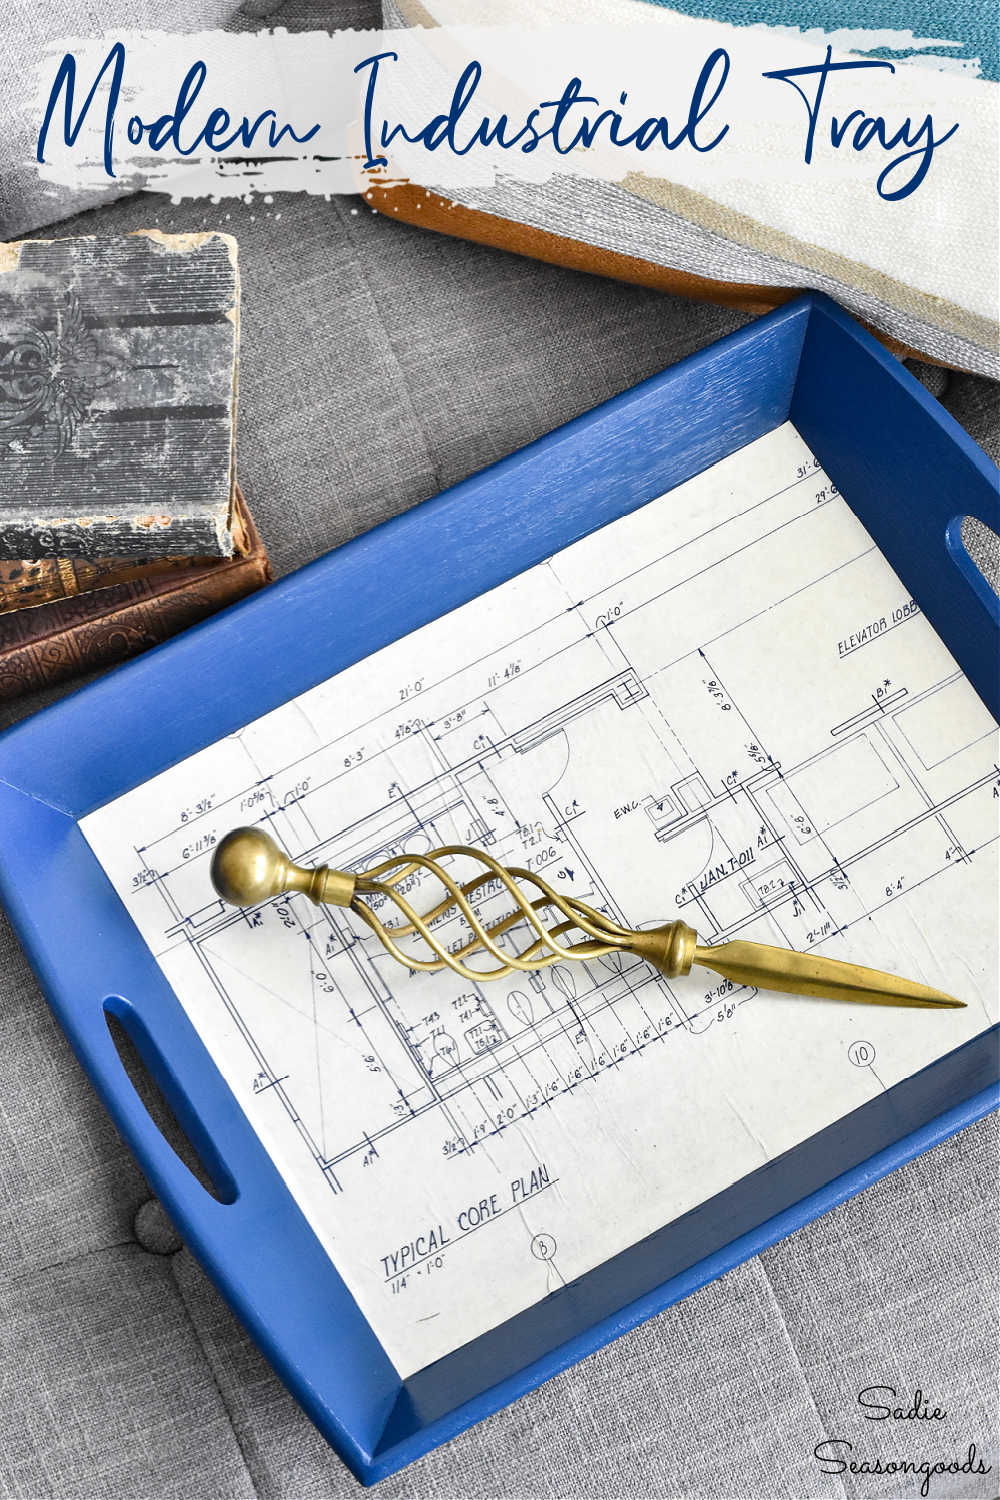
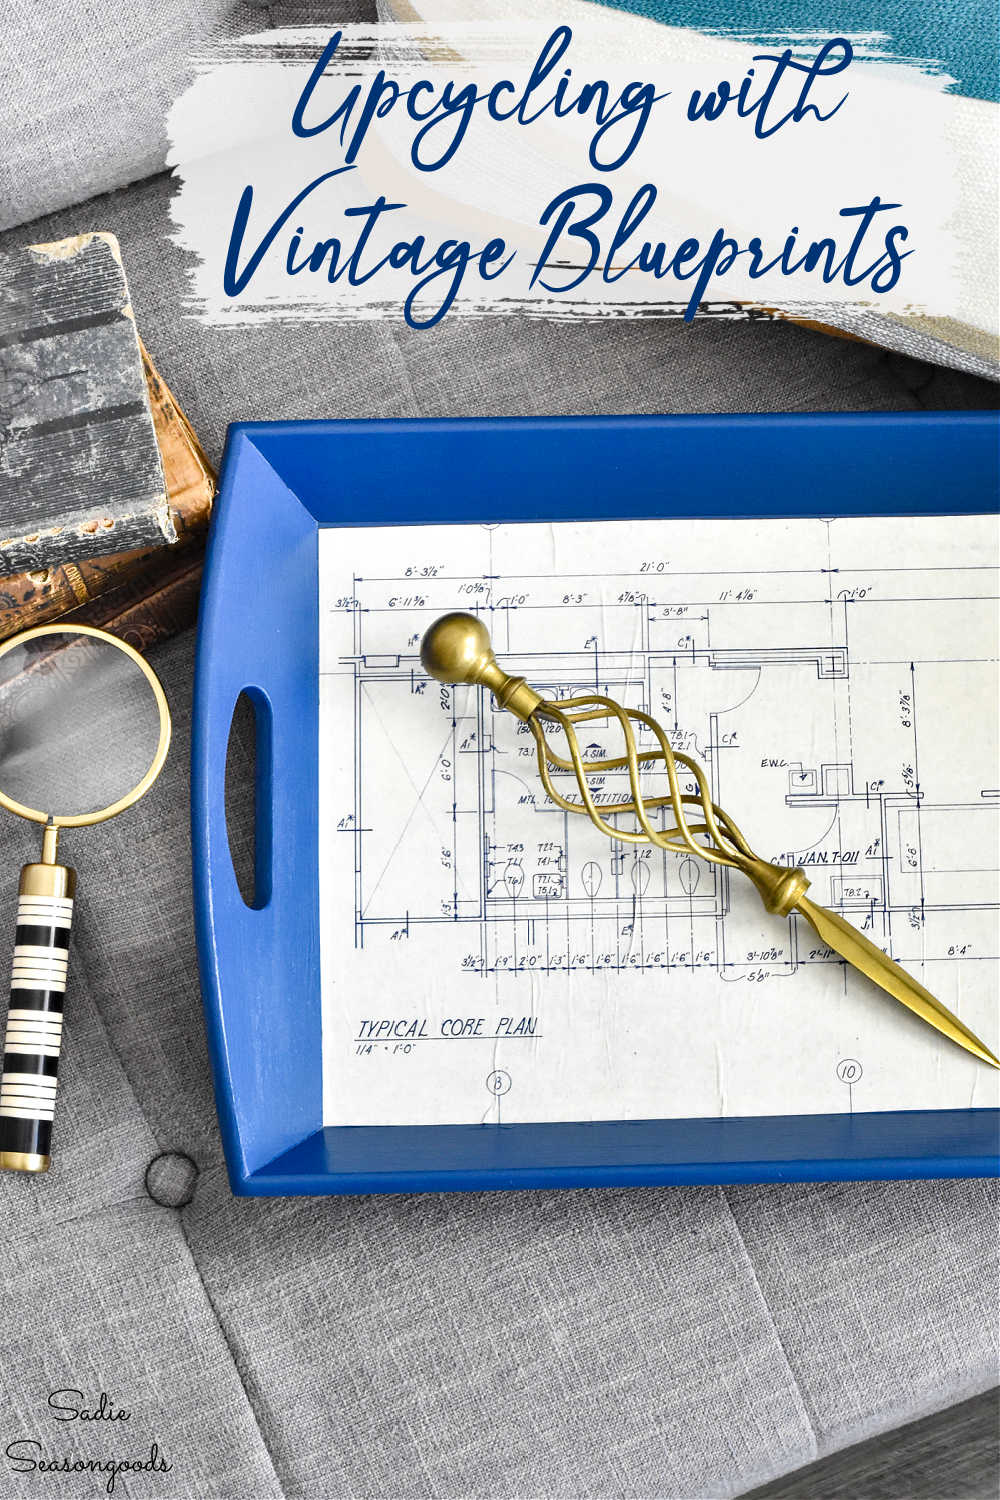
All in all, it turned out ok! A few wrinkles for sure (I couldn’t find my brayer beforehand), but not a total mess by any stretch.
In fact, I think the wrinkles give it a little more of a vintage-y look, too.
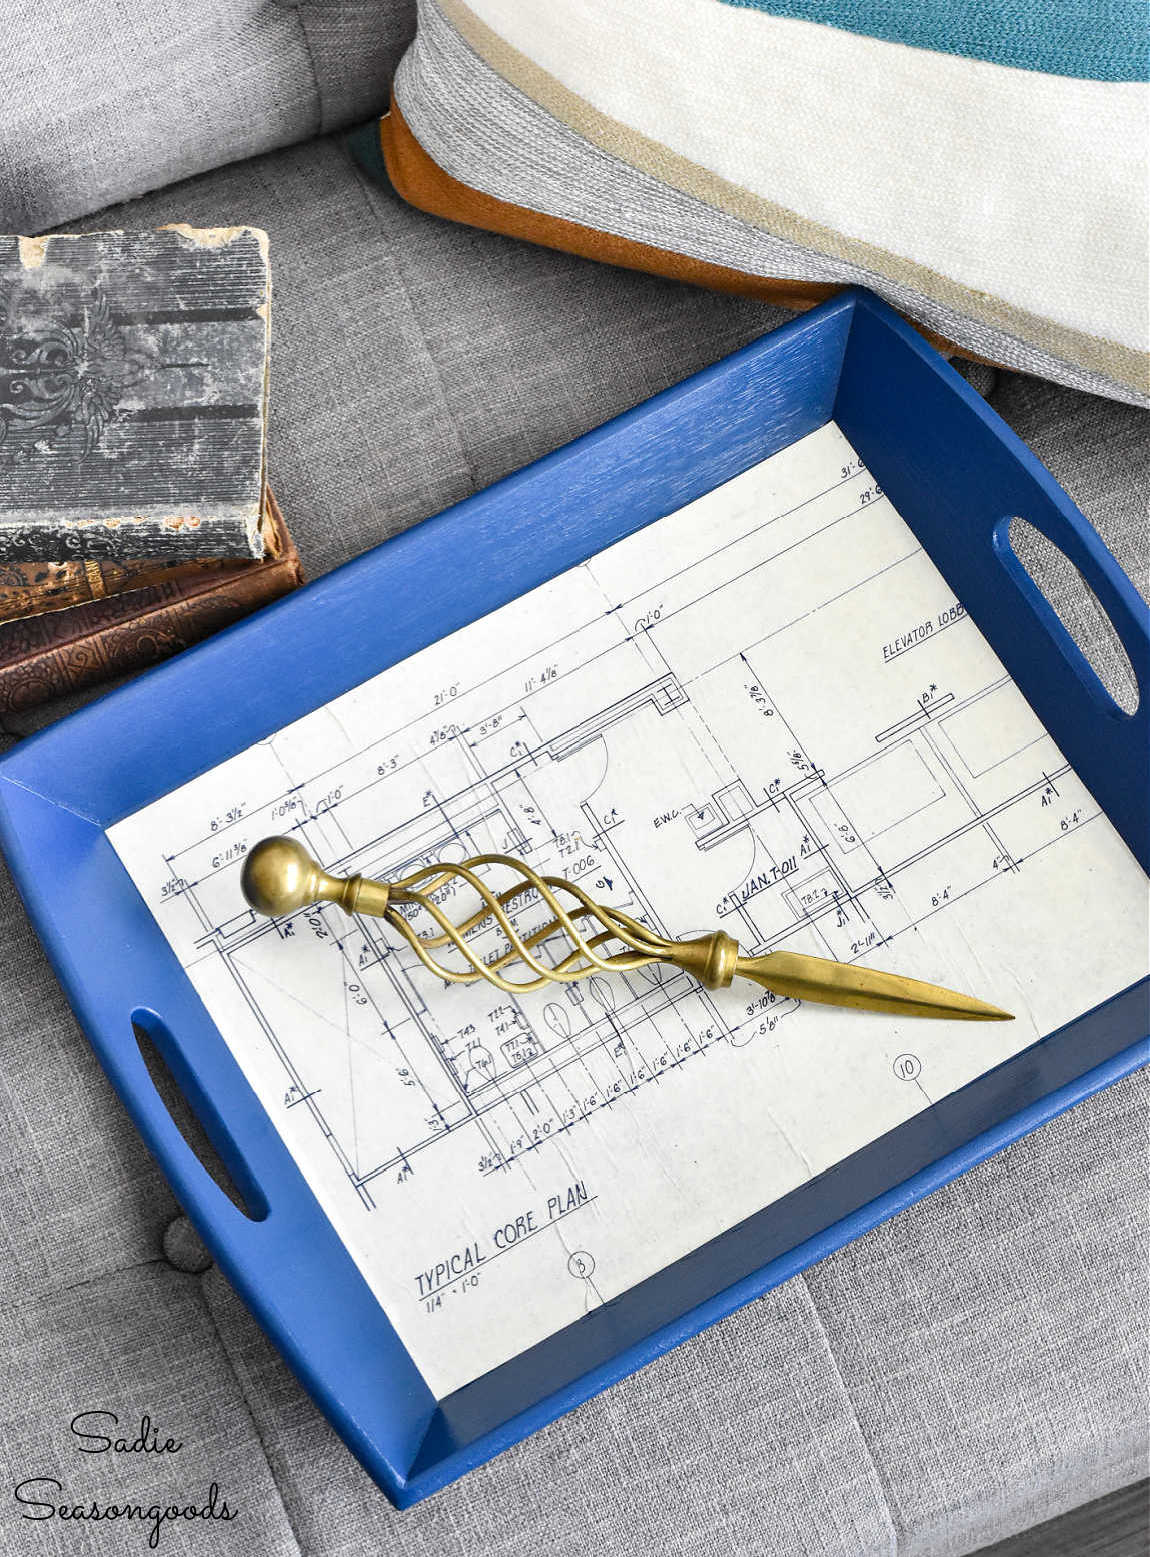
The more I look at it, the more I love it! It has such a great modern industrial look, too- and it’s been a while since I worked on an industrial style project!
*****
And, today happens to be Thrift Store Decor Team Day! Which means my blogger gal pals have new upcycling projects on their blogs today, too!
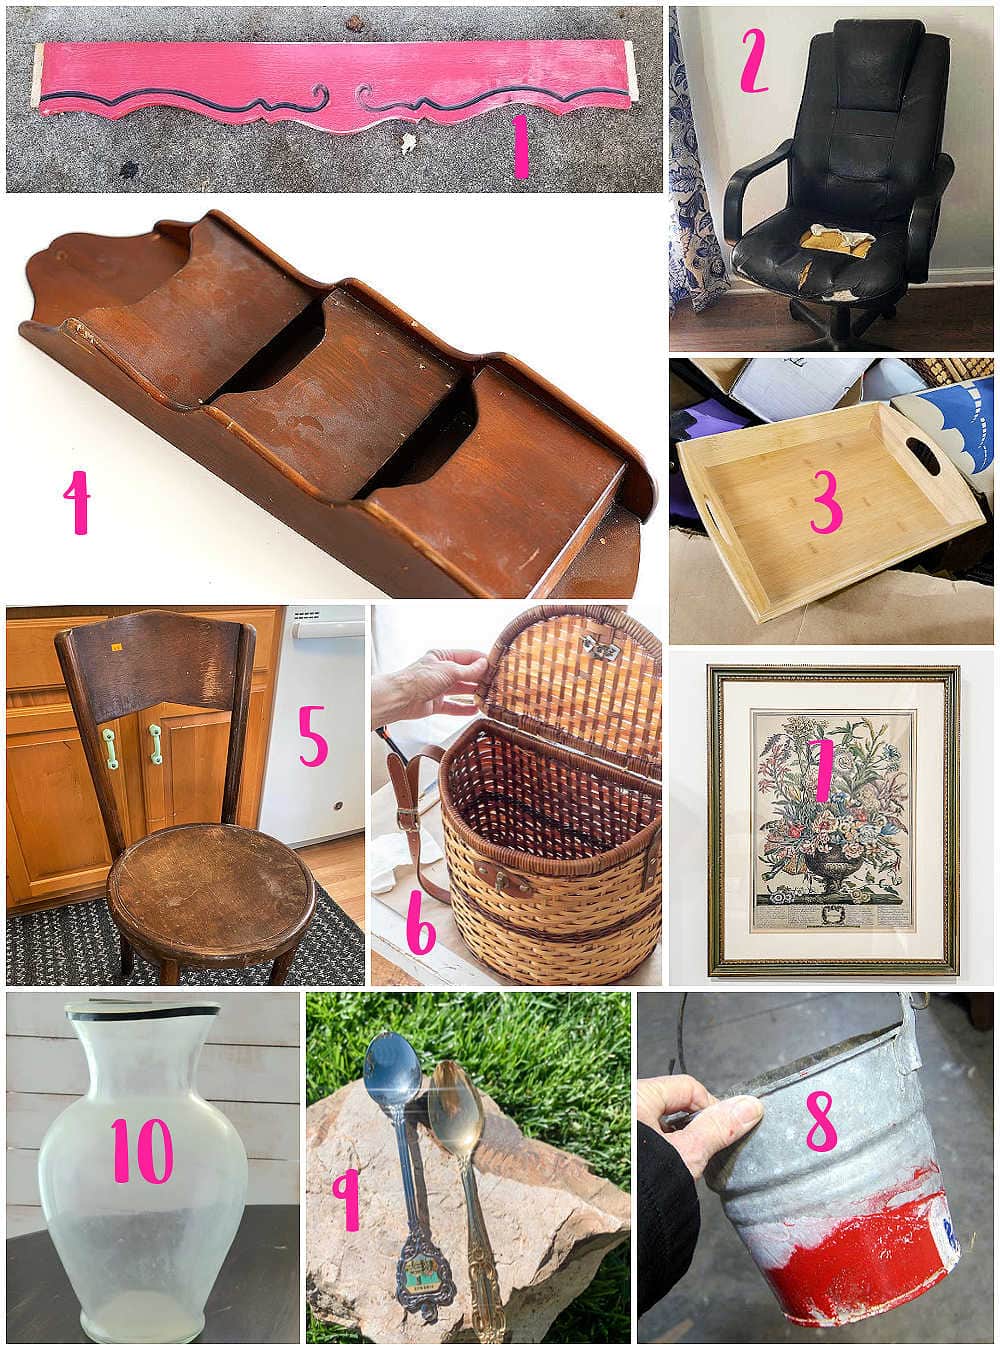
1. Reclaimed Wood Valance Shelf Redo – My Repurposed Life
2. Office Chair Update – Shop at Blu
3. Upcycling a Bamboo Tray with Blueprint Paper – Sadie Seasongoods
4. Upcycled Mail Organizer – House of Hawthornes
5. Vintage Bentwood Chair Makeover – Organized Clutter
6. Trash to Treasure Picnic Basket – Reinvented Delaware
7. DIY European Art with Thrift Store Frame – Our Southern Home
8. Flower Pot with Metallic Copper Spray Paint – Petticoat Junktion
9. How to Make a DIY Spoon Ring – My Uncommon Slice of Suburbia
10. DIY Artisan Vase – Domestically Speaking
*****
I’m just so glad that I held onto to that bamboo tray, because it really worked wonderfully with the blueprint paper. And I have plenty of vintage blueprints left to make a matching set of coasters if I want to, too!
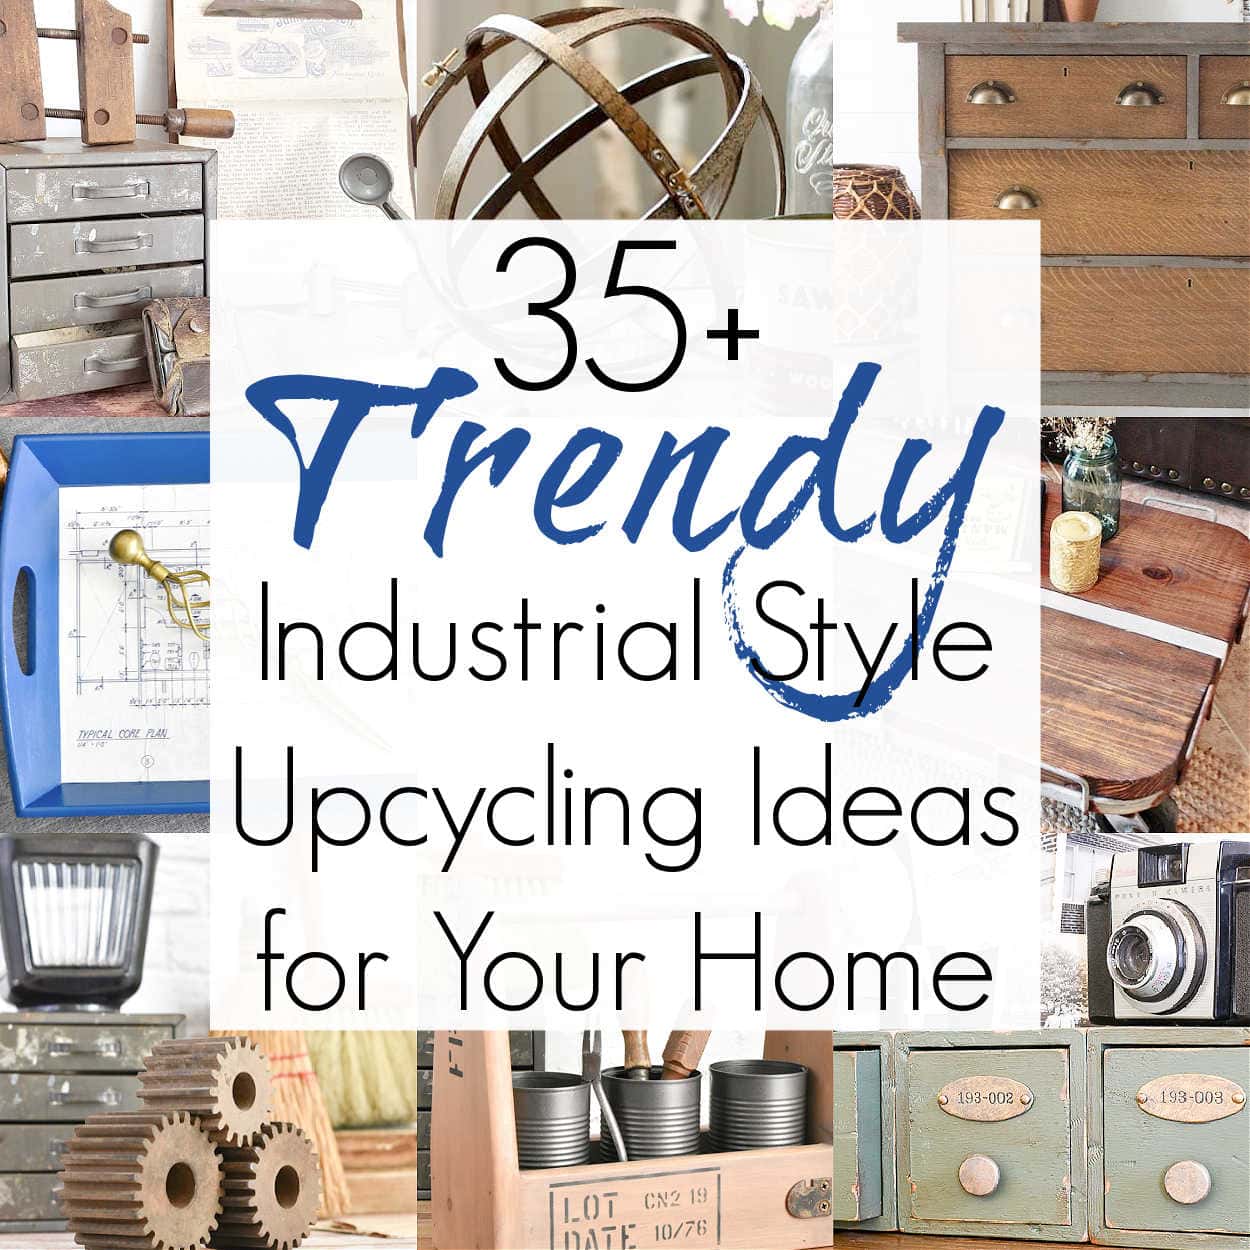
And if you love the modern industrial look, then this collection of upcycling ideas might be just what you’ve been looking for!
Craft on!
S
Want to be notified when I publish my next upcycling project tutorial?
Join me on Social Media:
PIN ME!
Sarah Ramberg is the owner of Sadie Seasongoods, a website that celebrates all things secondhand. From upcycling ideas and thrifted decor to vintage-centric travel itineraries, Sadie Seasongoods is a one-stop shop for anyone who loves thrifting and approachable repurposing ideas. Sarah is also the author of “Crafting with Flannel” and has been featured in numerous media outlets and magazines.





Girl! You know I’m loving that blue! Those prints are fabulous and I love the coaster idea! Now I
In the hunt for some blueprints!
Right? All hail the blue!! And thank you so much!
This is such a fun idea! I can so see things like this made with our house plans as well as landscape blueprints that we had done by a landscape architect!
It would be SO MUCH BETTER with your own home’s blueprints for sure!!
The blueprints were an amazing find! And your choice of blue paint really make it stand out! Pinned:)
Thanks!
Those blueprints make for such a fun tray! I love it!
Thank you, Carlene!
Your tray really looks great.I love the blue color,what is it calked? I have never tried decopauge,but I have a smaller tray that I have ,it is a Christmas scene and painted in green,definitely needs an update. Great job,I know I am repeating myself . Have a blessed day.
Thank you so much, Charleen! It’s “Inked” by Behr (latex sample purchased at Home Depot).
How very industrial of you! Or is that industrious? lol That’s a great use for old blueprints!.
Ha!! 😉 I see what you did there. And thank you!
I always have wrinkles when I decoupage. So I started using a glue stick to adhere the paper then coat it with Mod Podge. I have had no problems doing it that way. You might want to try it and see how it works for you.
Ohhh that’s a great idea! Because yes, it really is annoying. Thank you for the tip!
Perfect way to display the blueprints–such a treasure!
Thank you so much, Evelyn!
hahaha valueboo? That’s hilarious! Oh, I just googled it, it’s a trademark! Even funnier. I love what you did with the tray. I have a lot of trays, but have never come across any blueprints. Great combination Sarah!
Pinning!
gail