To tell you the truth, I’m not entirely sure why I picked up these berry baskets while thrifting a while back. I didn’t have a project idea in mind and the thrift store had written the price on the side of one of the baskets (the horror!). BUT, I decided they were worth the risk and eventually an upcycling idea came to me: I’d transform them into bookends!
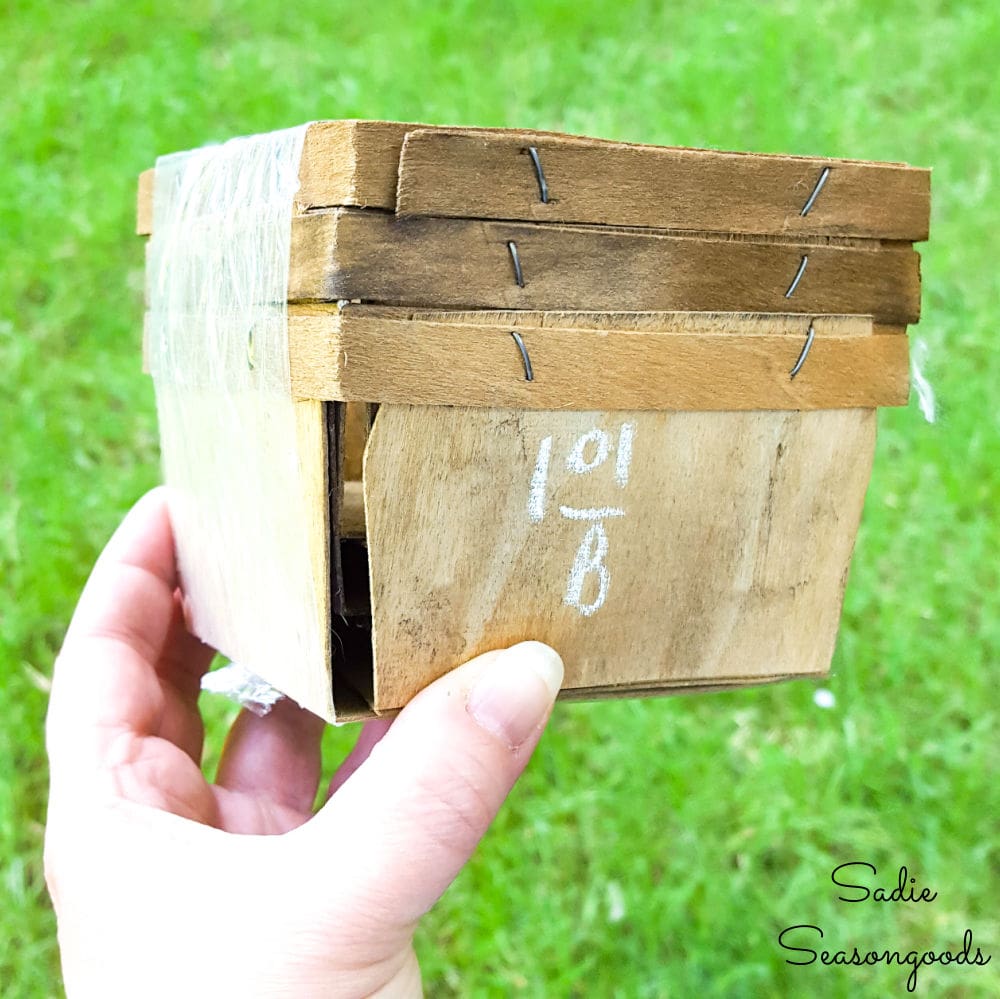
Image credit: Sadie Seasongoods.
My plan? To replicate their original use (holding a bounty of fresh berries) but as functional bookends. Perhaps as kitchen bookends for cookbooks?
Filling them with plastic or fiber berries seemed too common for me, so I haunted Etsy for the perfect vintage fabric. Seriously, I would search several times a year and nothing seemed right.
Until recently when I found the perfect vintage fabric.
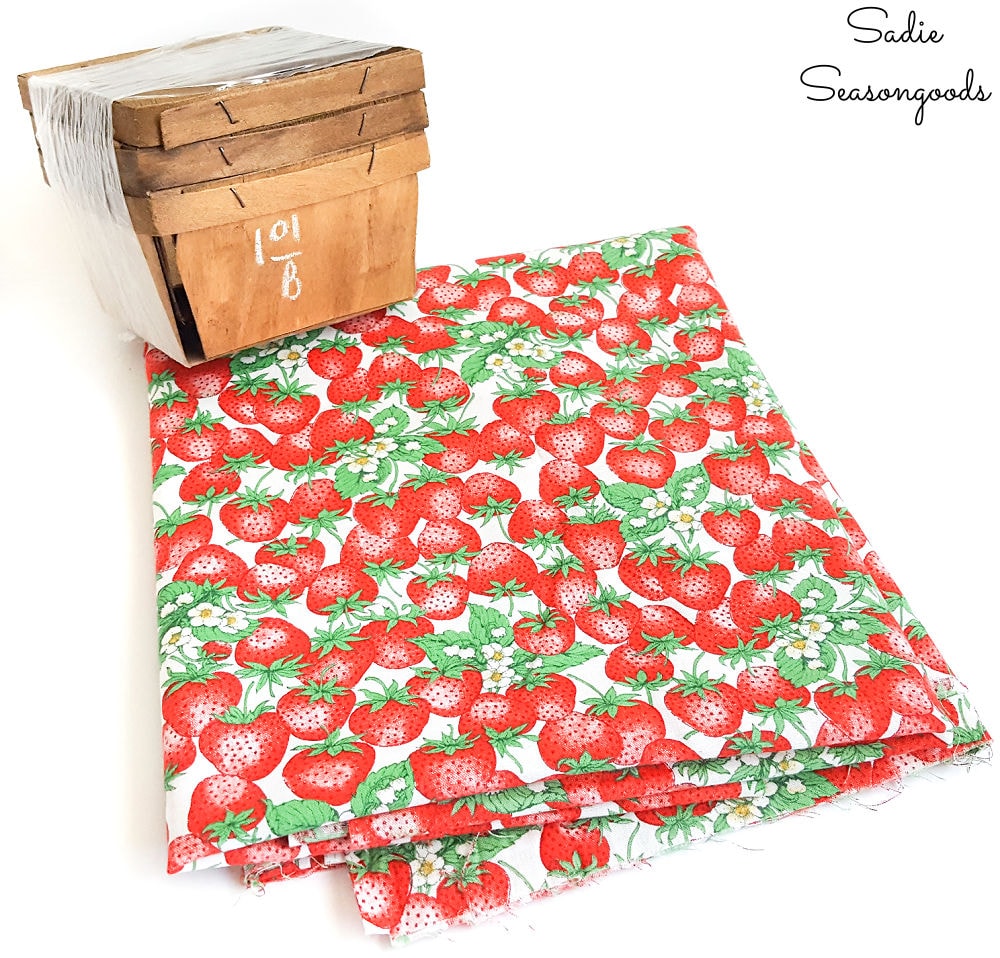
Image credit: Sadie Seasongoods.
NOW I could put the “fruit” in “fruition” and bring my DIY bookends project with berry baskets to life!
This post contains affiliate links for your crafting convenience. As an Amazon Affiliate, I earn from qualifying purchases. All blue, bold, and underlined text is a clickable link, either to a product or to a related post.
Upcycling the Berry Baskets with Vintage Fabric
To begin transforming the berry baskets into bookends, I began gathering my DIY materials. This included some non-slip shelf liner to secure to the bottom of the berry baskets.
Using it would allow my bookends to grip whatever surface they were on and not slide around while holding up books.
First, I snipped little rectangles of shelf liner and fixed them to the bottom corners with Mod Podge.
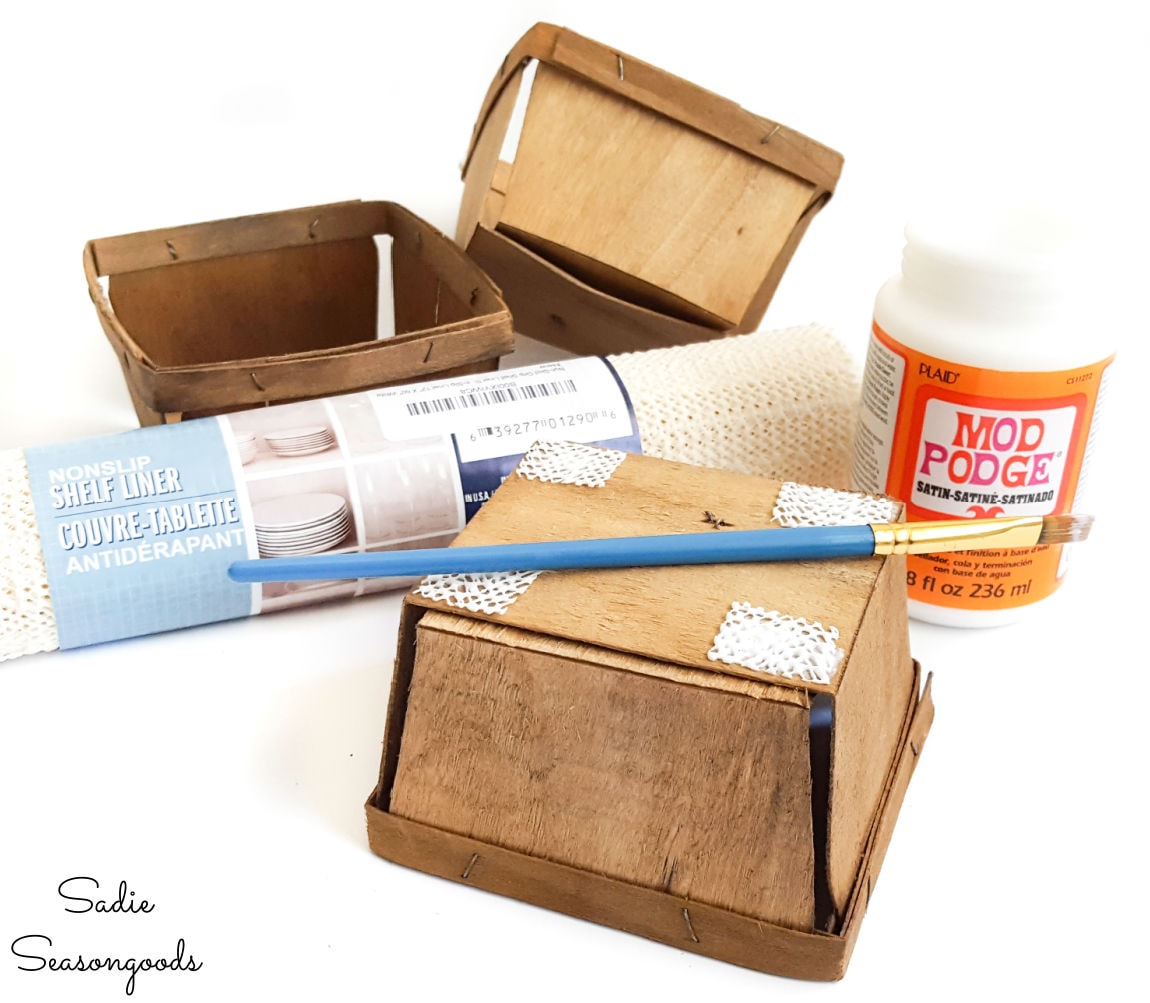
Image credit: Sadie Seasongoods.
Now to “fill them with berries”! With vintage fabric at hand (from this cool Etsy shop!), I first cut out four rectangles of berry fabric.
Then, I decoupaged the fabric inside the corners of my berry baskets. Once again, I used Mod Podge to glue the fabric in each corner.
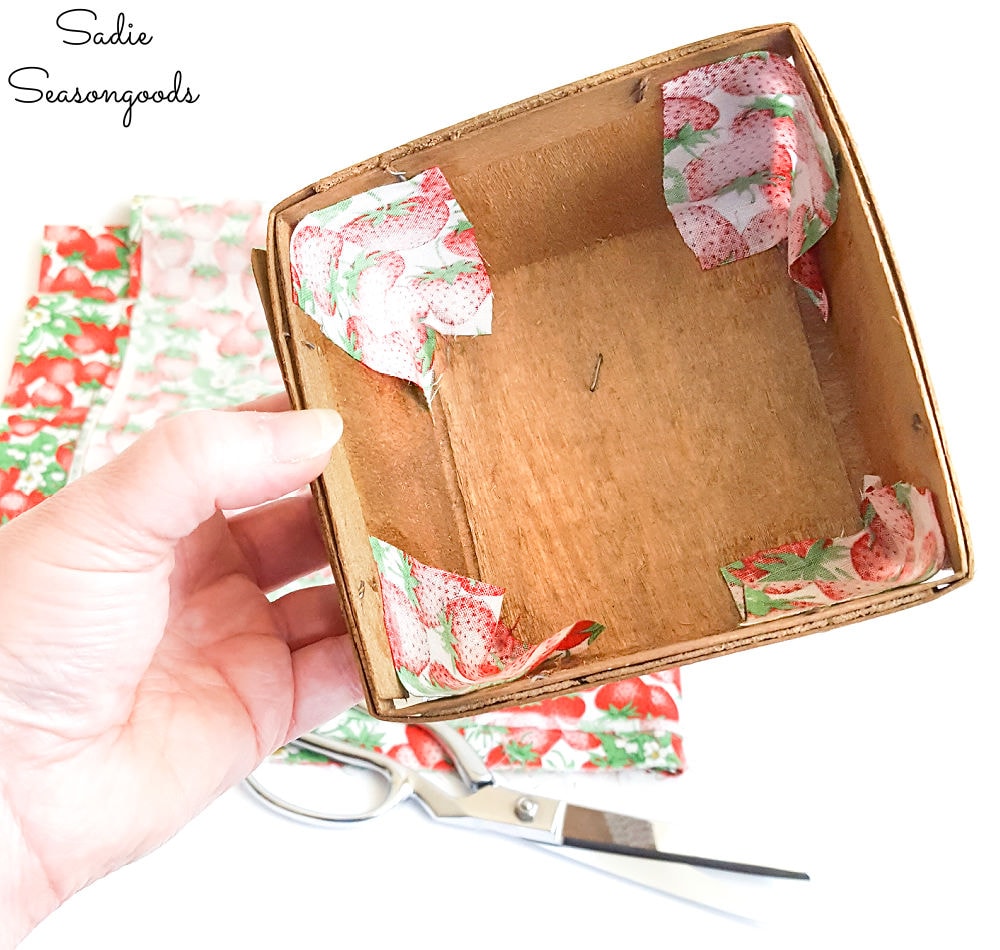
Image credit: Sadie Seasongoods.
This would mimic the look of a full basket of berries while also hiding the weights that I will be adding inside.
And while it looked completely messy and unprofessional inside, it looked just fine on the outside of the berry baskets.
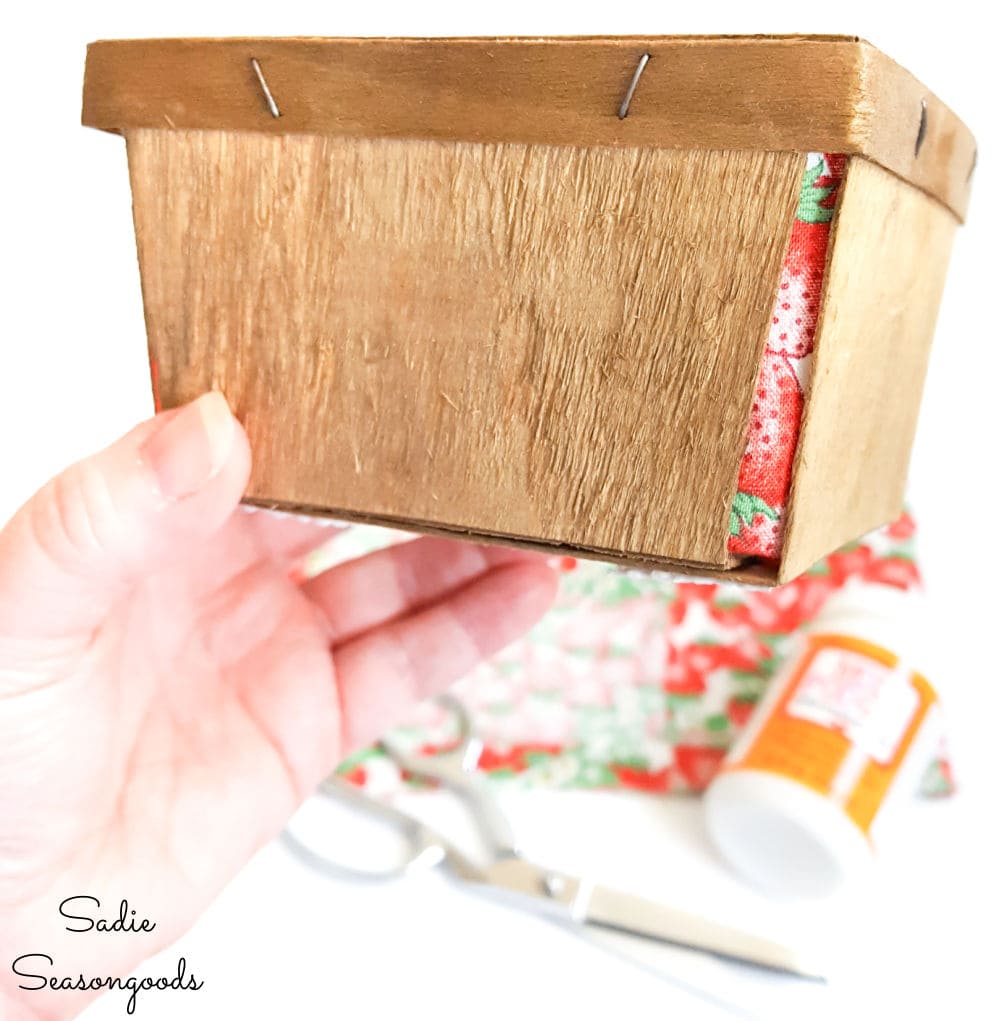
Image credit: Sadie Seasongoods.
Since the berry baskets were as light as can be, I needed to add some weight to each one if they were going to be bookends.
My solution? Small plastic bags filled with a handful of river rocks, which I already had on hand.
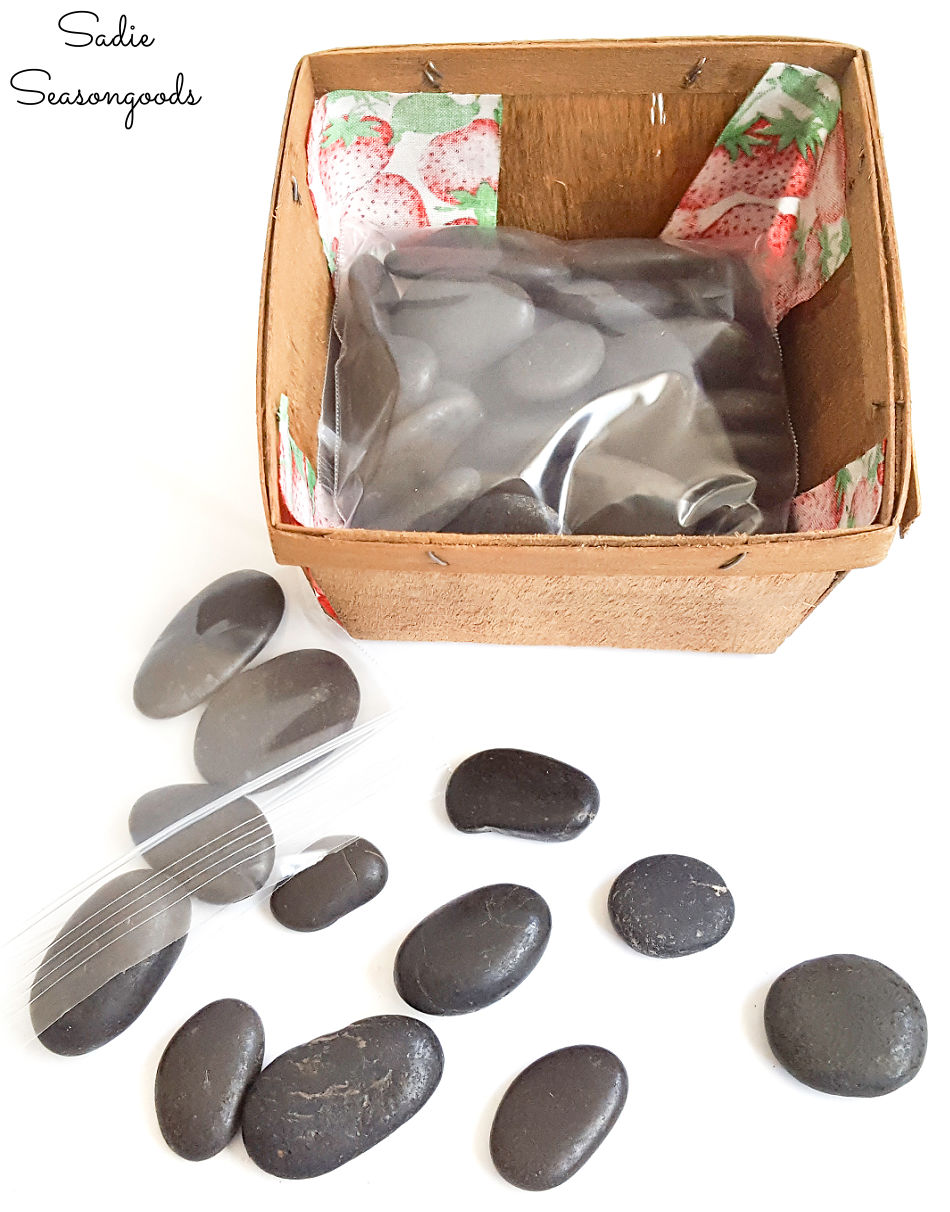
Image credit: Sadie Seasongoods.
But a double-sealed bag of sand…or gravel…or even a chunk of heavier wood will suffice.
Bookends with Wooden Berry Baskets
To finish off my bookends, I still needed to cover the top of my baskets with berries!
Next, I cut out a large square of vintage fabric (roughly 2½” times the length/width of the berry baskets) and pulled out a large handful (or two) of fiberfill.
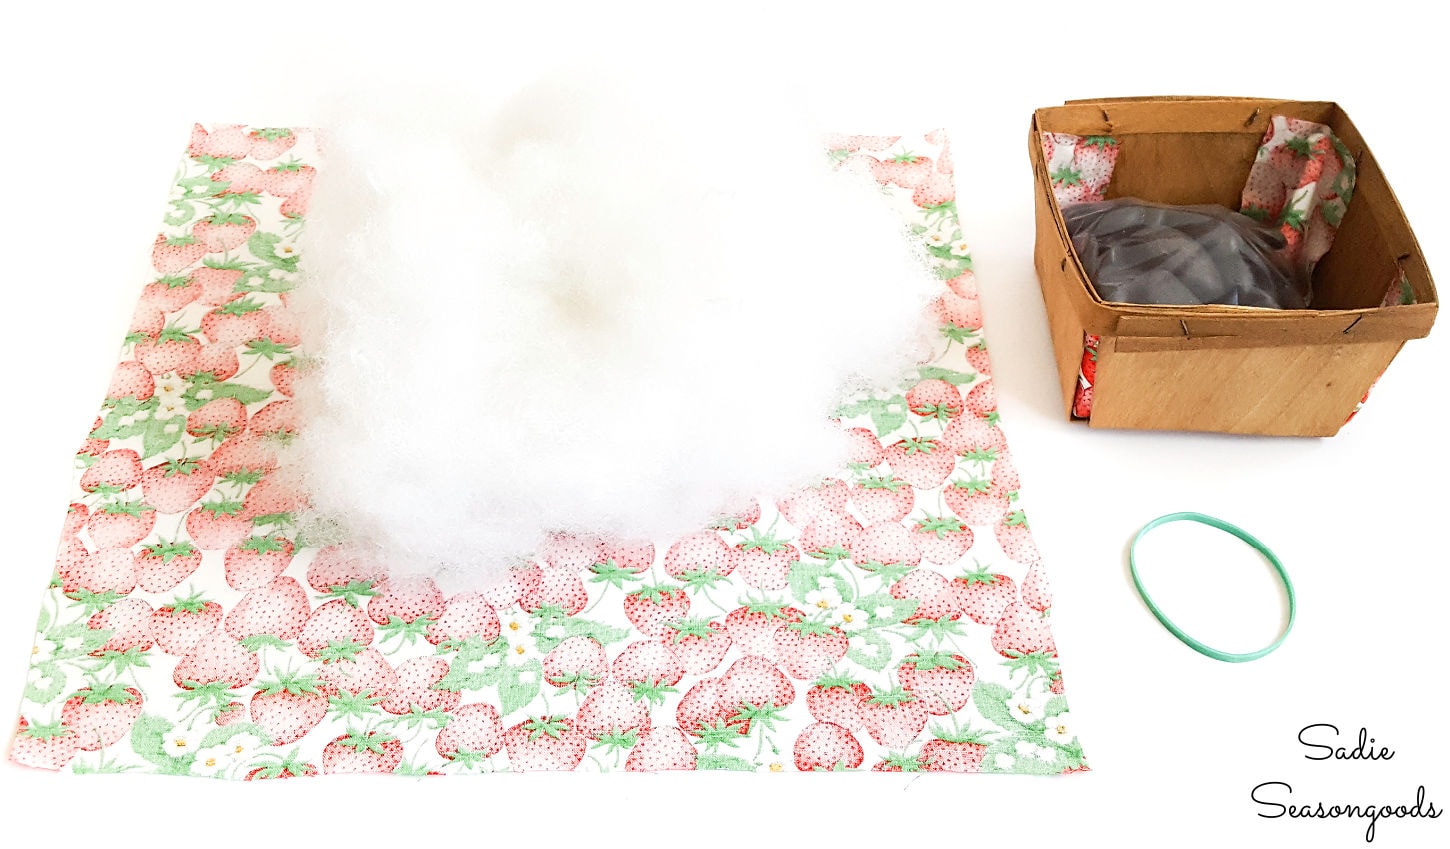
Image credit: Sadie Seasongoods.
Then, to mimic the square shape of the basket, I gathered the vintage fabric around the fiberfill at opposite corners.
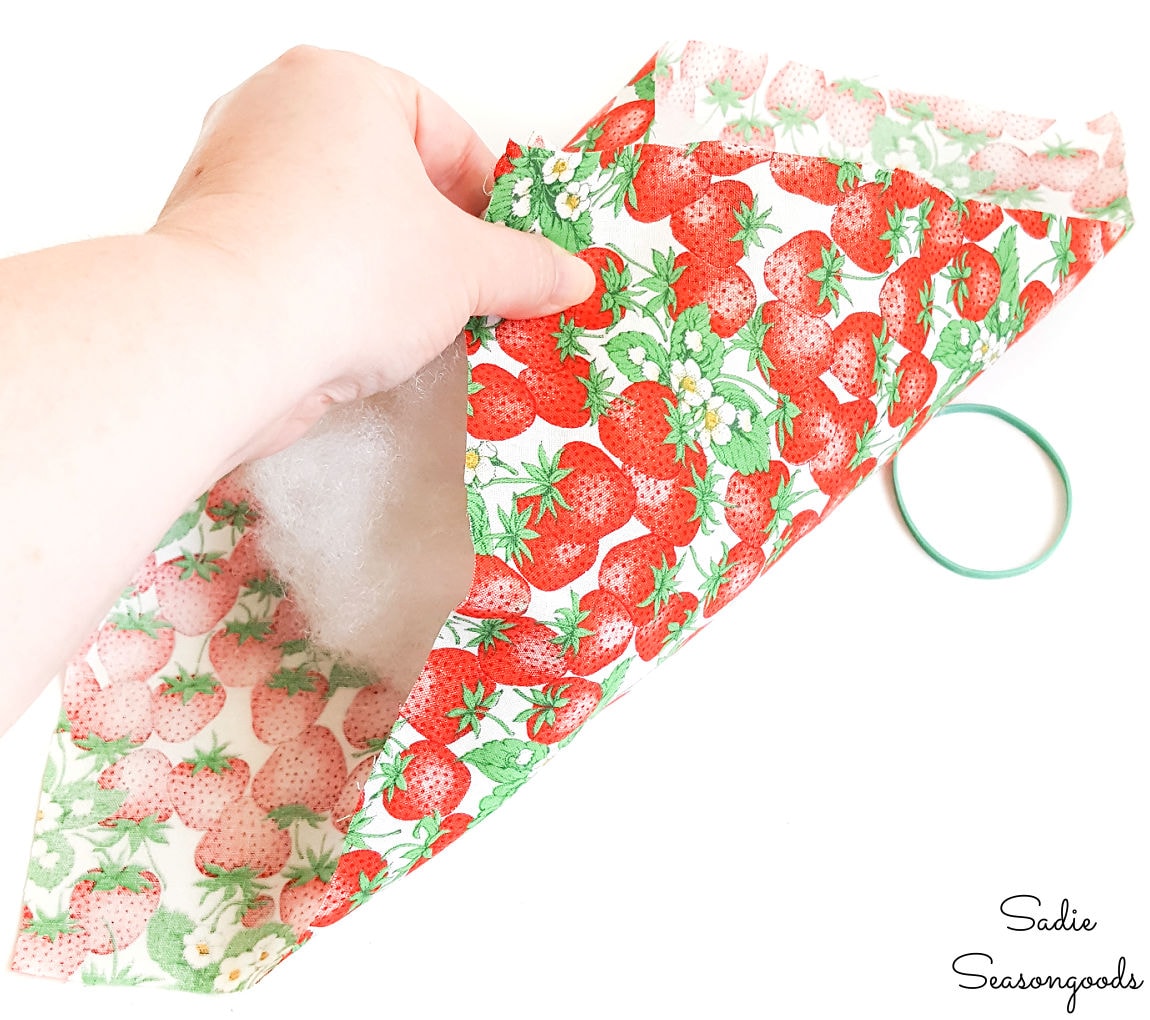
Image credit: Sadie Seasongoods.
After that, with all four corners were pinched together, I wound them with a rubber band, like a stubby little ponytail.
It also reminded me of an old “hobo sack” that you would attach to a stick.
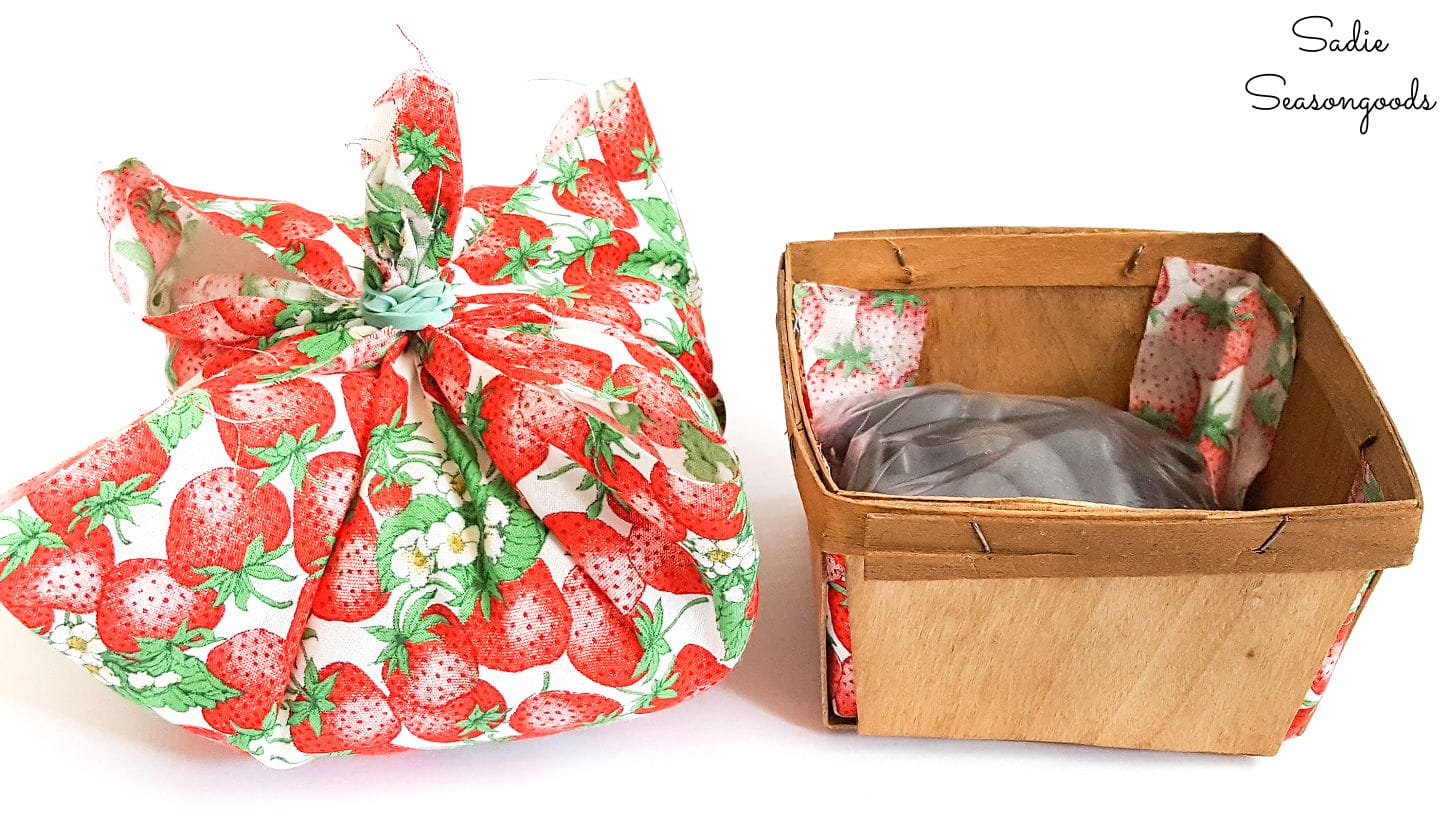
Image credit: Sadie Seasongoods.
And yes, this is a very similar technique to my secret pin cushion project, if you recall…
Then the magic happened. I flipped the berries right-side-up and pushed it into the top of my basket. The baggie of river rocks was now completely hidden!
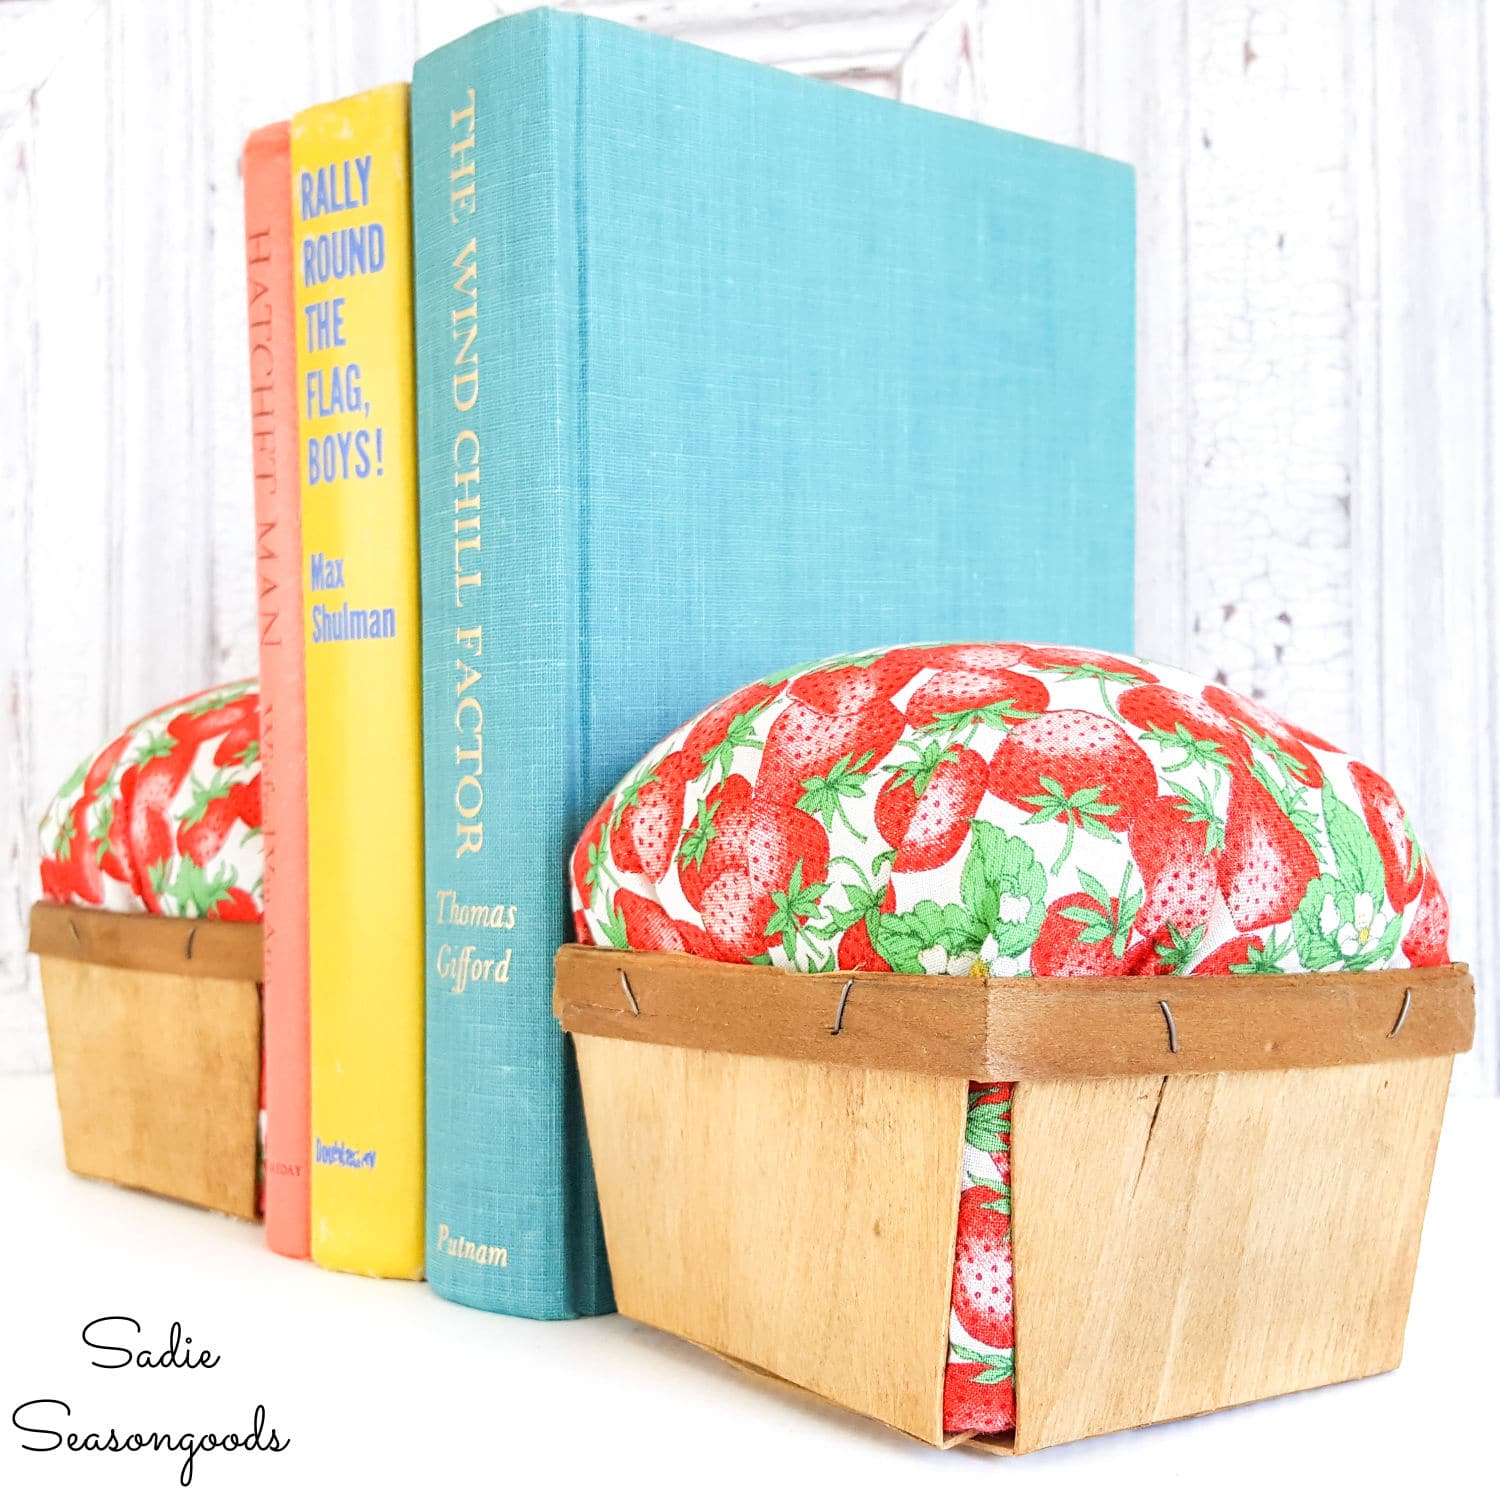
And the end result? An ADORABLE bookend that just needed a mate.
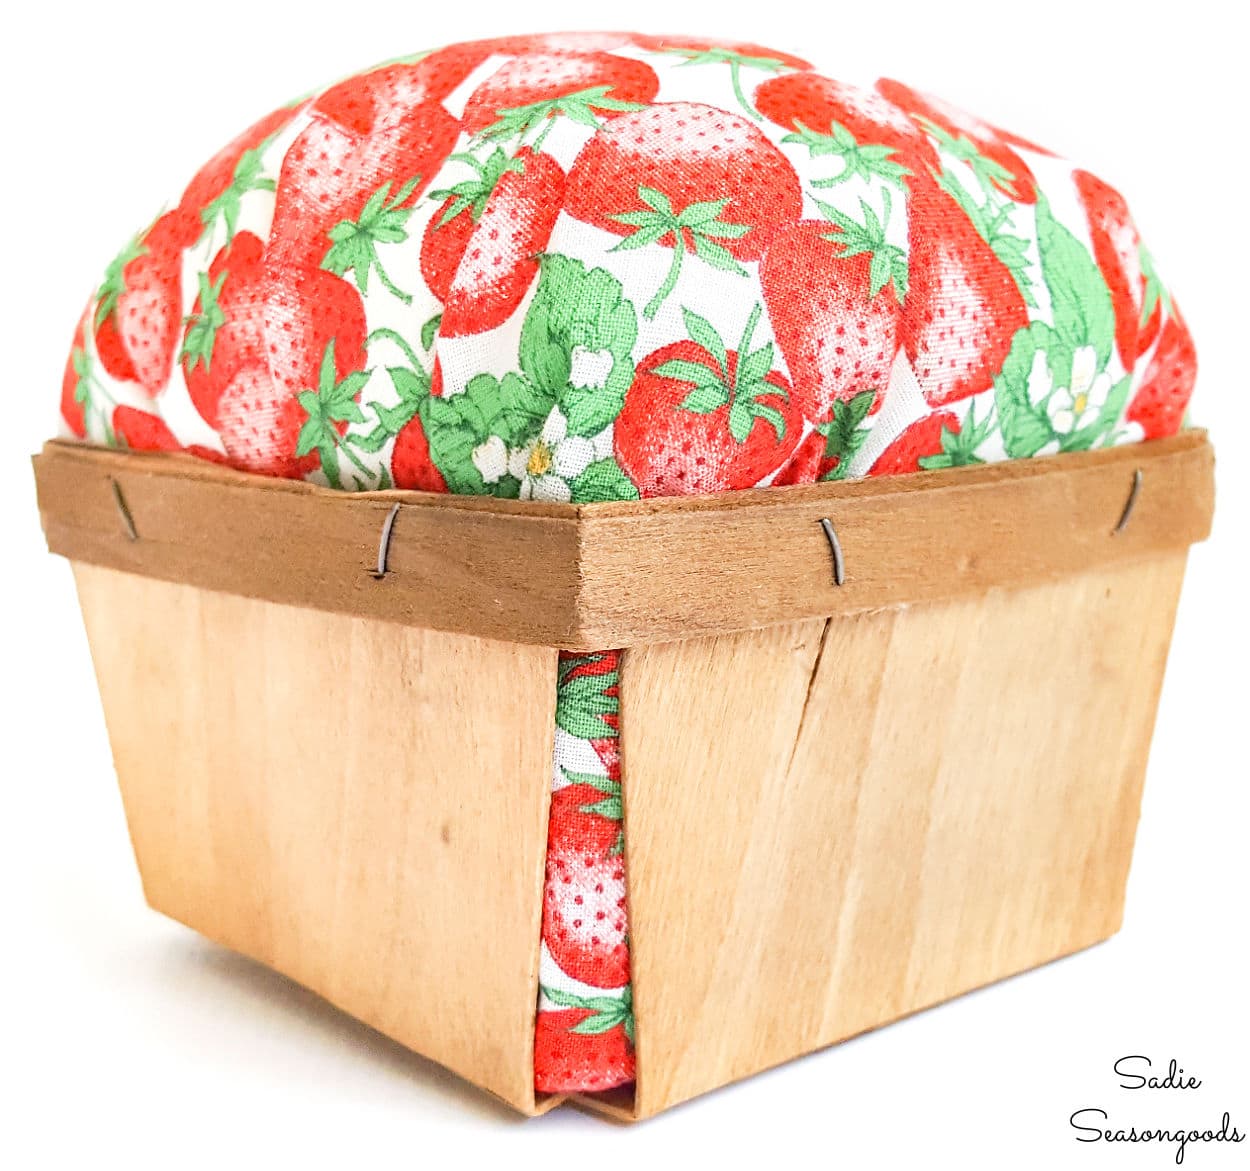
Image credit: Sadie Seasongoods.
Once I was satisfied with how it looked, I dabbed some Mod Podge along the inside lip of the berry basket to secure the top in place!
Berry Baskets as Bookends and Strawberry Decor
Of course, I made a second one so that I had a set of bookends. But I still needed to test them- would they hold up a set of books?
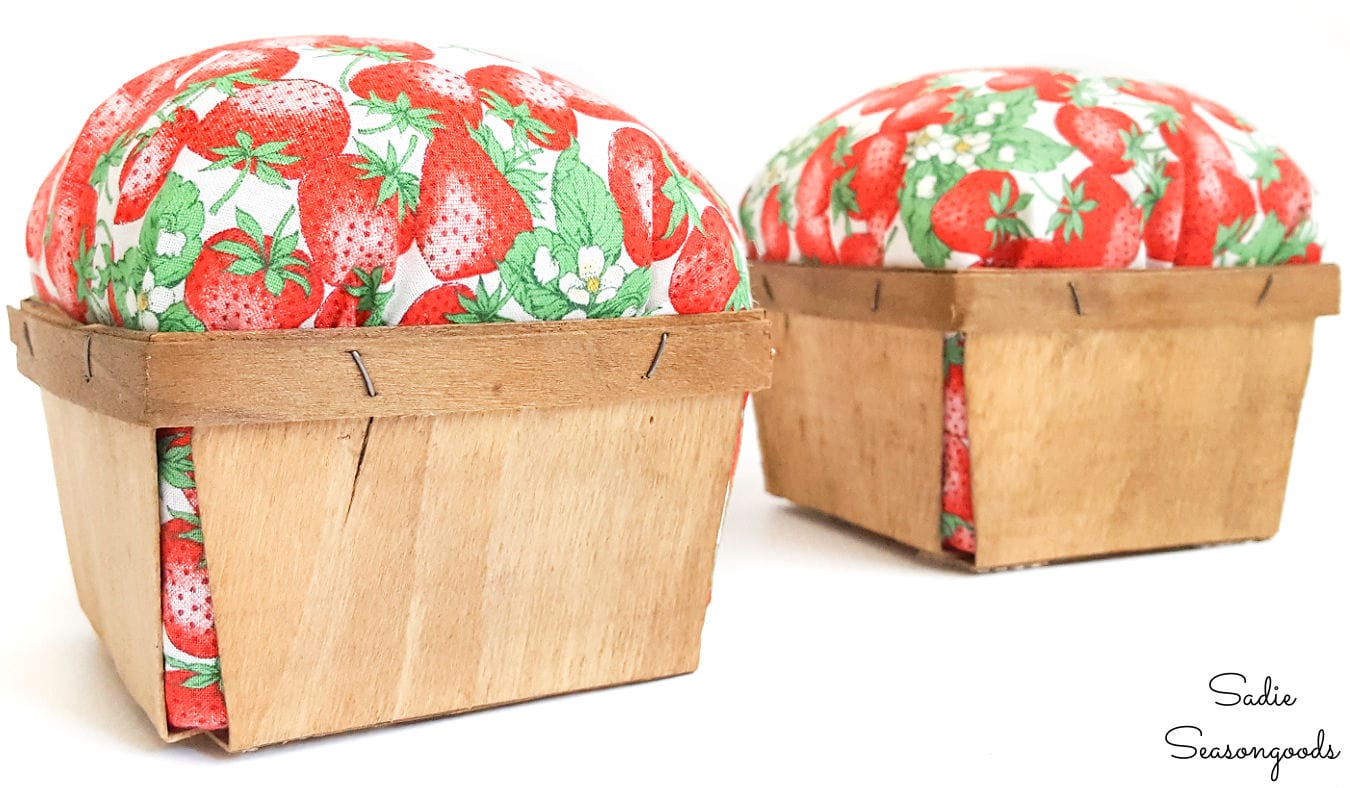
Image credit: Sadie Seasongoods.
And just as I had hoped, my bookends worked like a charm. No slipping, no sliding, and they held their ground.
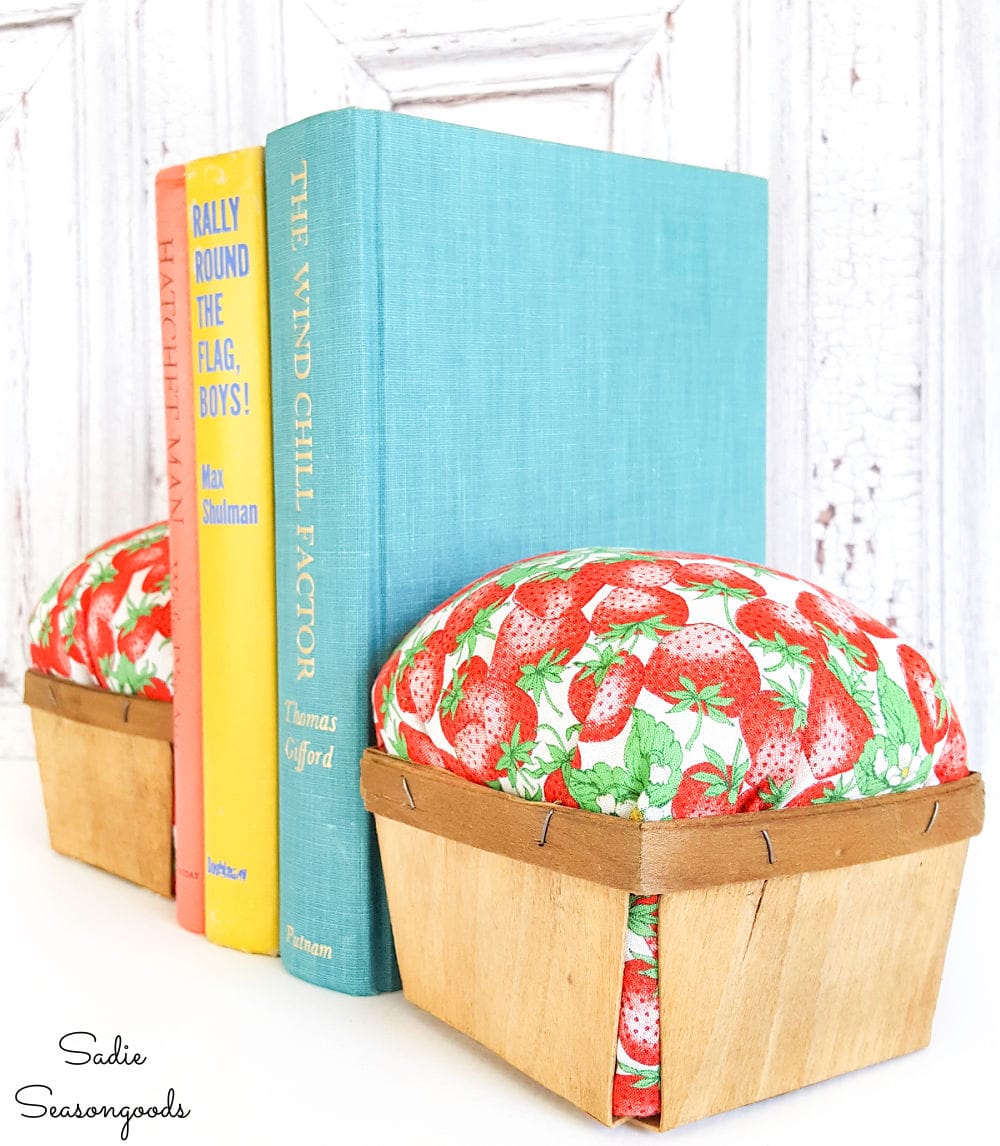
Image credit: Sadie Seasongoods.
Perfectly adorable as strawberry decor in a kitchen, as well. And these little strawberry decorations have a wonderfully functional purpose!
You don’t even have to weight them down if you don’t want to use them as bookends, either. And they could also be used as “play fruit” for kids if they were playing make-believe grocery store or farmer’s market, too, as well.
Also, a fun fact: these berry baskets were highlighted in the Summer 2023 issue of Country Sampler magazine, too!
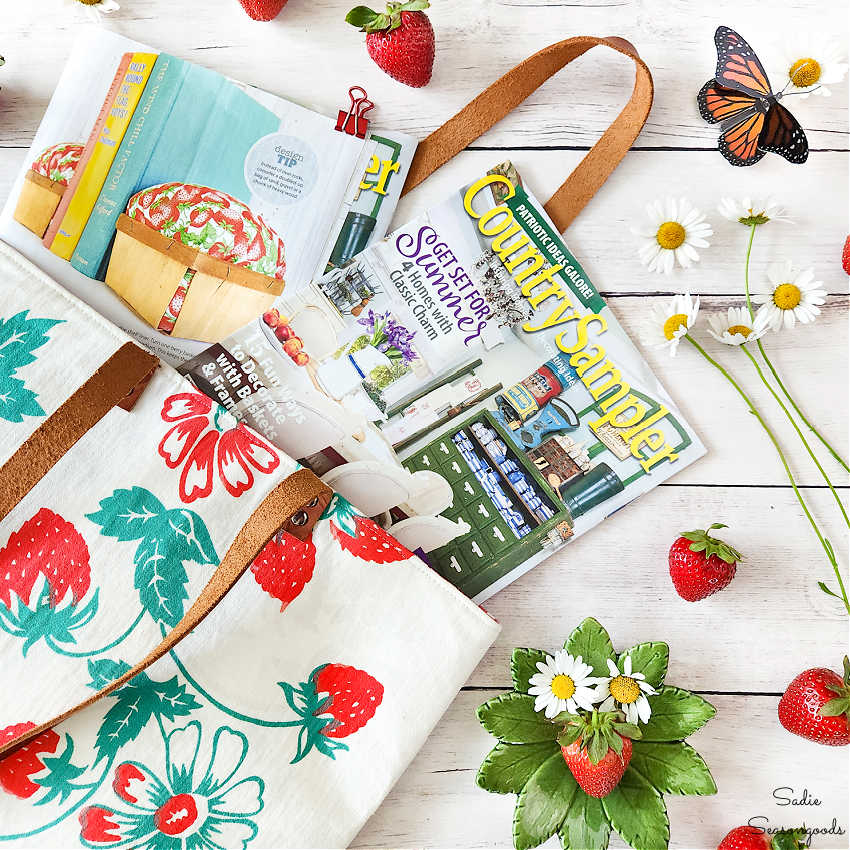
Image credit: Sadie Seasongoods.
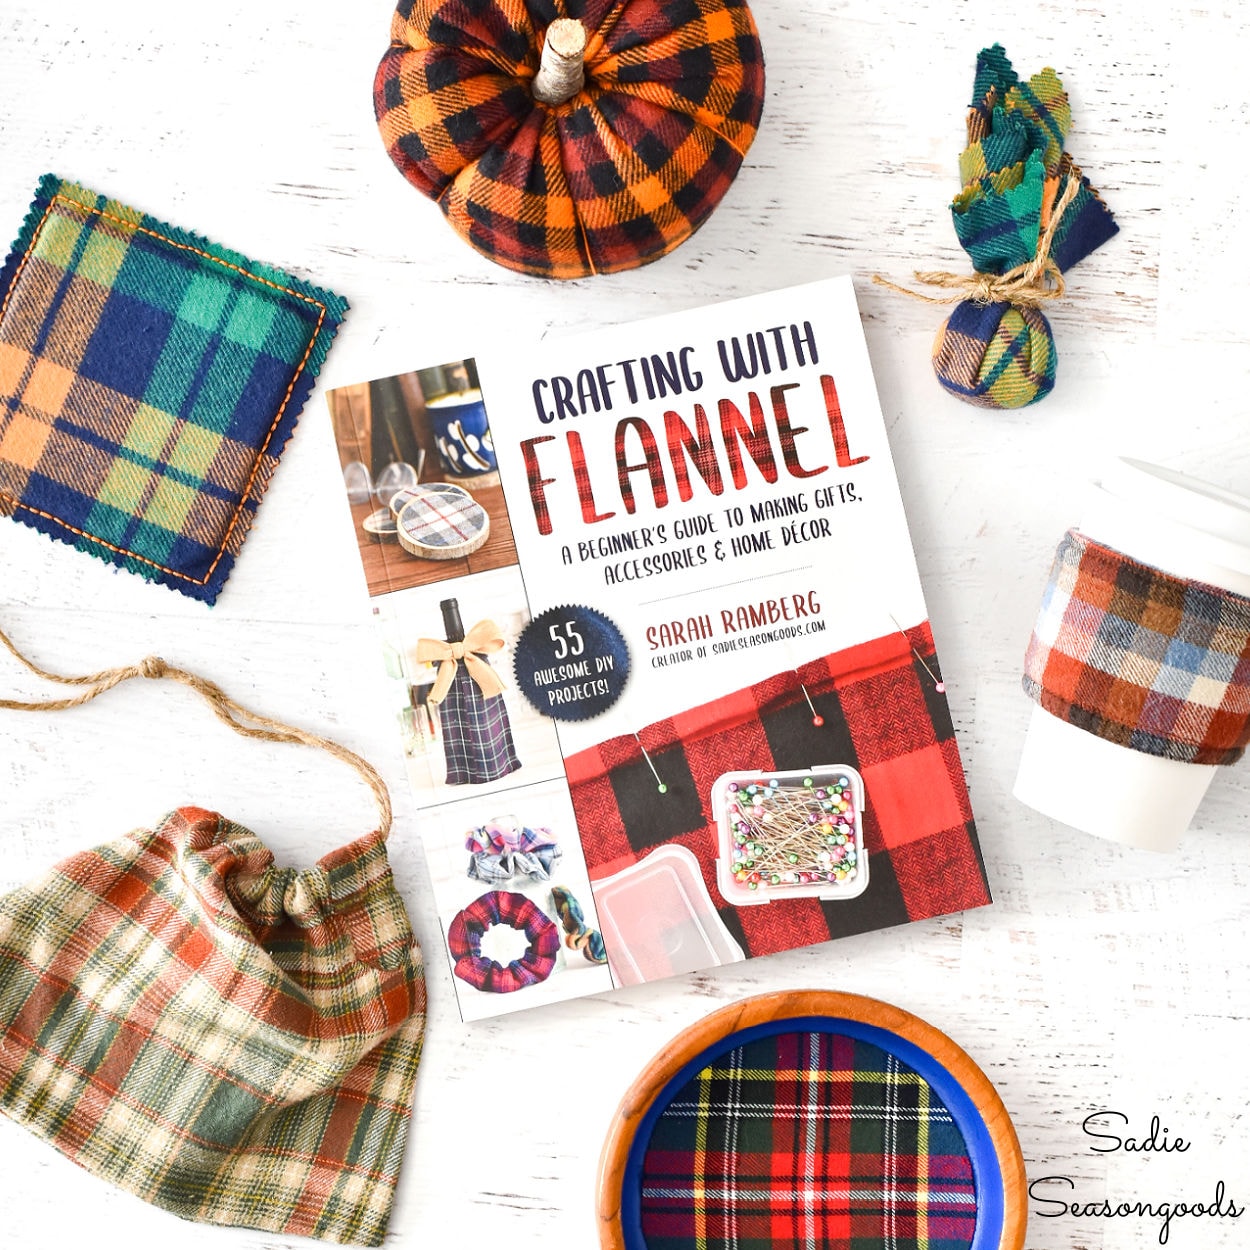
And if you enjoyed this upcycling idea with vintage fabric, then you may also be interested in my first book! Tons of sewing and non-sewing ideas that all use flannel fabric.
Craft on!
S
Want to be notified when I publish my next upcycling project tutorial?
Join me on Social Media:
PIN ME!
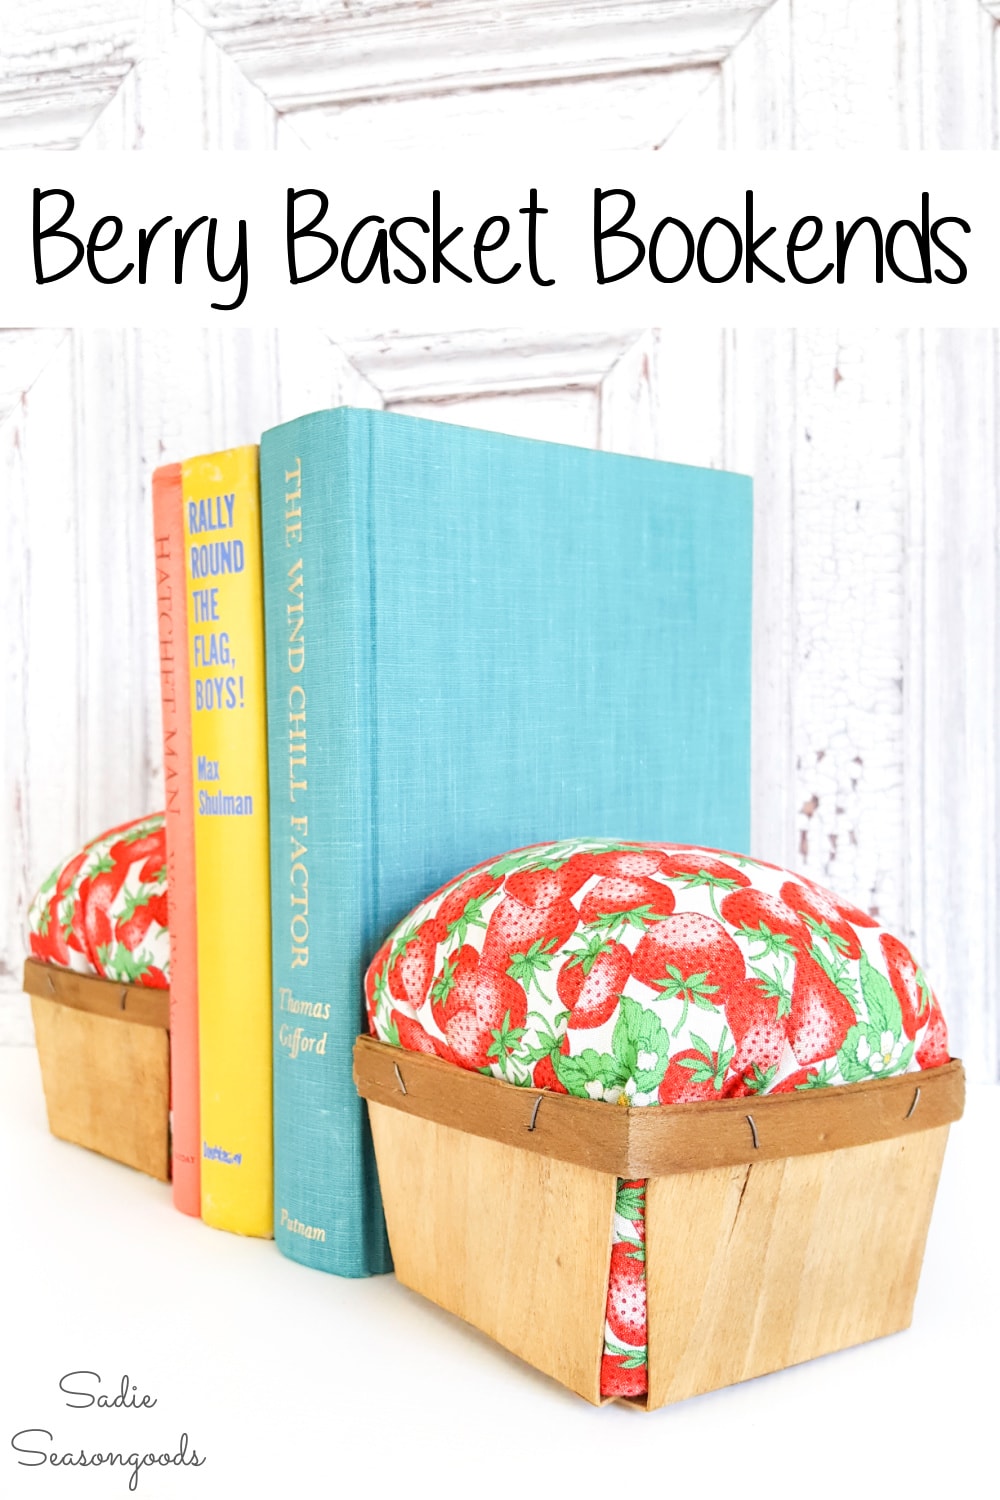
Image credit: Sadie Seasongoods.
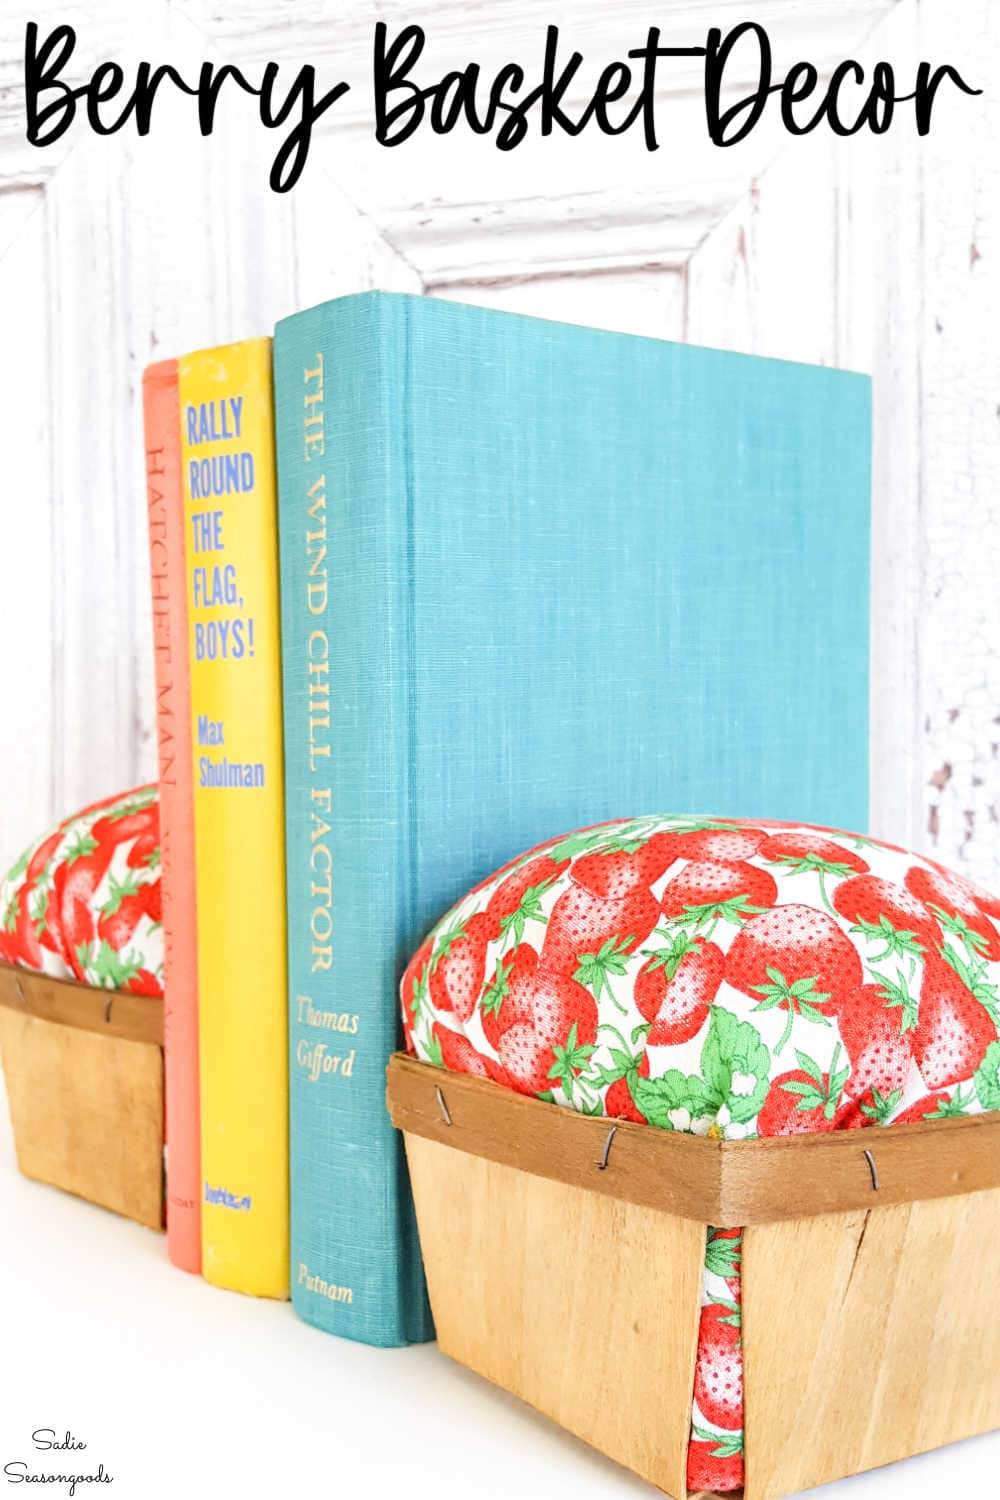
Image credit: Sadie Seasongoods.
Sarah Ramberg is the owner of Sadie Seasongoods, a website that celebrates all things secondhand. From upcycling ideas and thrifted decor to vintage-centric travel itineraries, Sadie Seasongoods is a one-stop shop for anyone who loves thrifting and approachable repurposing ideas. Sarah is also the author of “Crafting with Flannel” and has been featured in numerous media outlets and magazines.


Adding the non-slip shelf liner was brilliant! I’m going to borrow that idea for my creations. Thanks 🙂
Those are cute as can be! So clever how you hid the real innards.
Thank you so much, Florence!
What an adorable idea! I think of changing this out for the seasons with pumpkin fabric for fall and maybe peppermint candy fabric for the holidays.
Both would be SO super cute!!! Love that idea.
You come up with the greatest ideas – these are stink’n adorable! Pinning
Hahaha, I love you for saying that…I’m always worried the well will run dry, though!
Super cute and creative! The fabric is perfect. Visiting from Vintage Charm.
Thank you! YES, I was thrilled (and relieved) to finally find the right/perfect fabric. 🙂
What a clever idea, I never see the word crates with berries anymore. Your project turned out great!! Be sure to stop by and share your post on #OMHGFF this week!
Thanks, Karren!
Those are adorable; I would love them in a kitchen to hold up cookbooks! Up here in Maine, we could use blueberry fabric, too! And somewhere I have some non vintage strawberry fabric; now for the baskets! Thanx!
I would LOVE to find fabric like this for blueberries or blackberries- so many possibilities! And thank you so much! 🙂
What a lovely idea. The bookends are pretty.
Marilyn
Thanks, Marilyn!
That looks like the fabric I made a dress for my daughter over 30 years ago. If not, it’s similar. Good memory!
I wish thrift stores didn’t write the price or put a price sticker on an item in a place where it can be seen if the item is used in the original way. For example, put the stickers on the bottoms. More than likely, the item will continue to sit on it’s “bottom”.
Love you re-appropriation of the berry basket! It would look great helping to prop up cookbooks in the summer! Maybe get other fabrics for the other seasons! Those rocks are gorgeous. I went to get rocks for some succulents I will be planting soon. Those kind were there, but they were too big for my project. Darn! I love them, though.
Thanks so much! A friend of mine gave me her leftover river rocks from a project of hers…and they’ve come in very handy!
Really cute! I think this would work well as a pincushion, too. I have a terrible habit of just leaving mine sitting around loose because I don’t have a pincushion right now!
LOL, the only reason I didn’t make it into a pincushion is because I made a pretty awesome one a few years ago! This is it: http://www.sadieseasongoods.com/sewing-to-a-tea-the-hidden-pin-cushion/ .
Fabulous idea and a wonderful way to reuse those baskets! Clever, clever! Thanks for sharing with us at Funtastic Friday 🙂
Thank you, Angie!
These would be perfect for in a kitchen to hold up the cookbooks. Love how you managed to find strawberry material..
Totally!!! Thanks so much, Leanna!
That is so cute!! What a fun summer decoration – Thanks for sharing on the Pleasures of the NW’s DIY party!
Thanks so much, Helen!
Oh how cute Sarah. You always come up with the most unique ideas, I would never have thought of turning those little baskets into bookends
Thank you, Michelle! :*
Oh my, where do you come up with these brilliant ideas? They should do research on your brain so we can figure out how to get the creativity going in ours as well! Almost want to eat the bookends!!
Hahaha!! They do look good enough to eat! And I’m just glad that I was able to turn my weirdness into a new career. 🙂
These are so cute and I love the strawberry fabric you used. Thank you for sharing them at the Snickerdoodle Create~Bake~Make link party!
Thanks, Sharon!
What a wonderful idea, I love it
Thank you, Ivory!