For some reason, when I think of summery projects, my mind immediately goes to coastal or beachy style decor. But, after finding this cute little beehive honey jar in a thrift store, I thought it might be fun to make some bee decor for summer, as well.
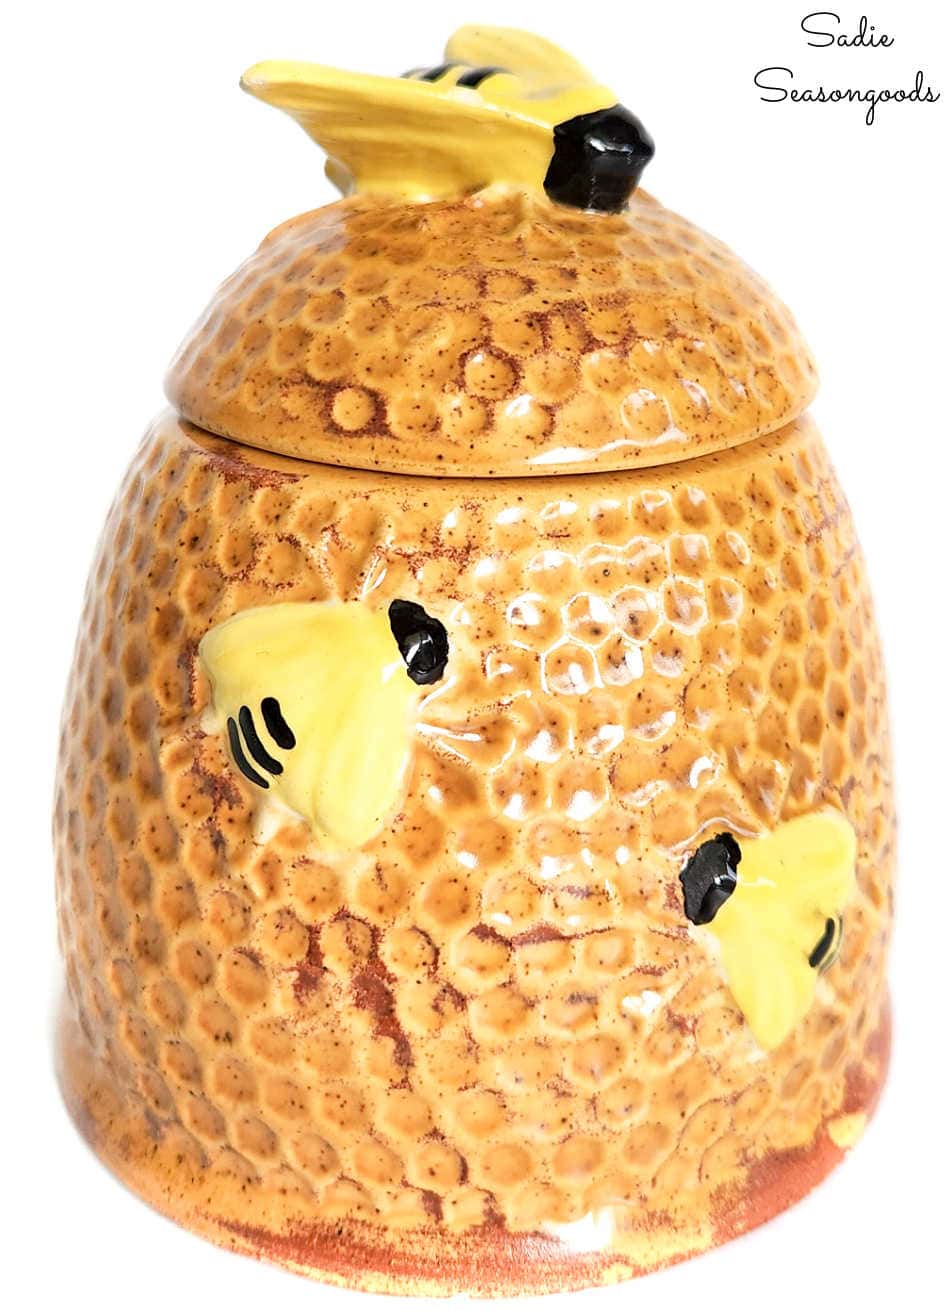
Image credit: Sadie Seasongoods.
And to emulate the beehive or bee skep shape, I thrifted a couple of other things. First, a glass light shade…
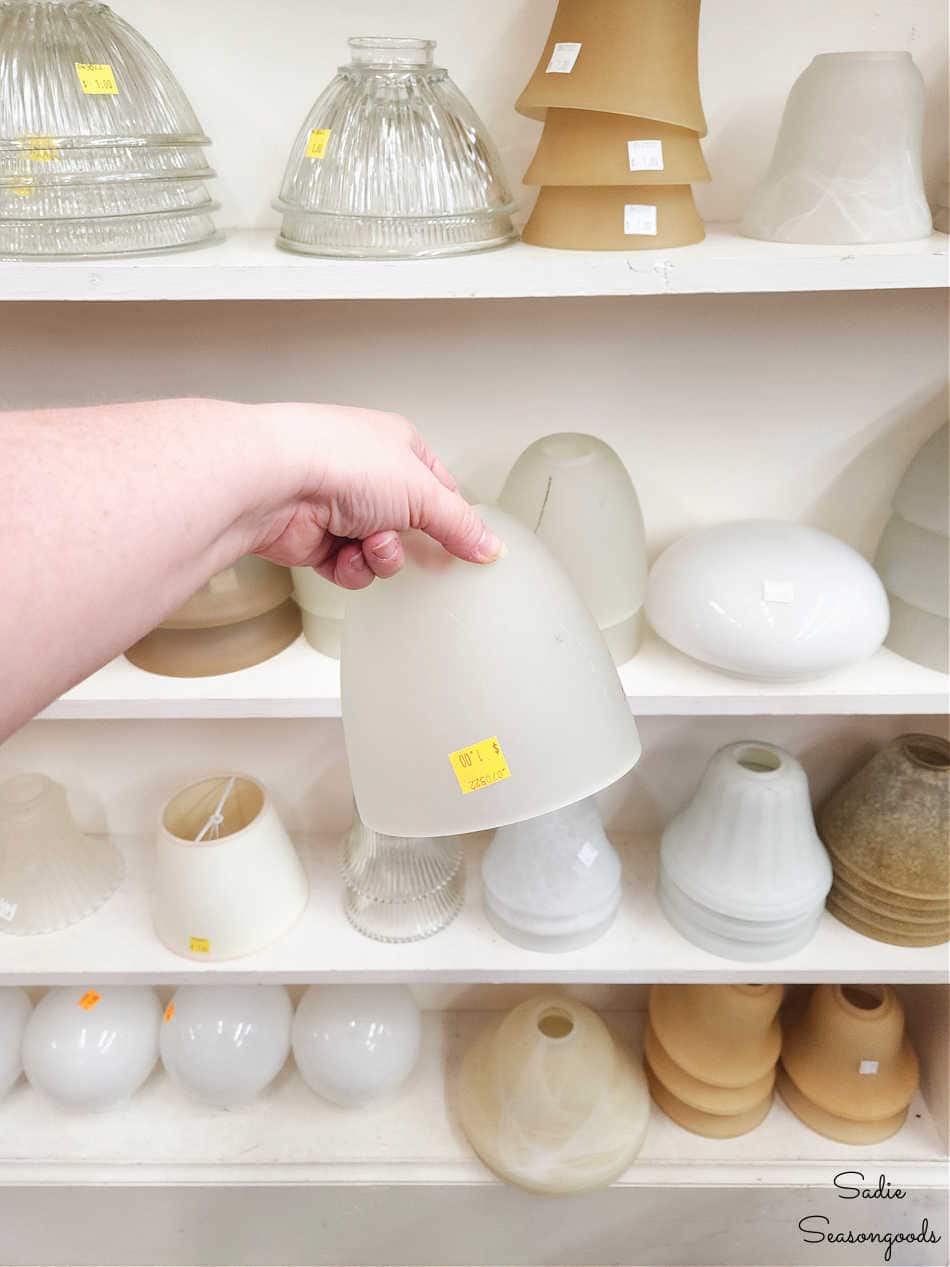
Image credit: Sadie Seasongoods.
Then, a wonky little basket that definitely needed a new life!
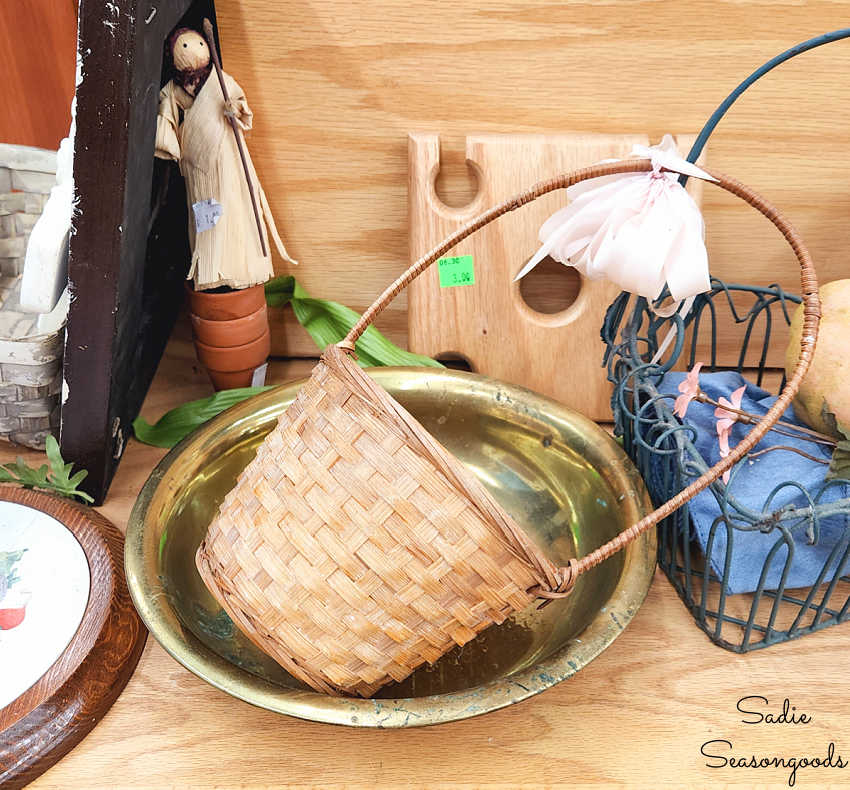
Image credit: Sadie Seasongoods.
With both items in hand and my honey jar as inspiration, I was ready to get to (upcycling) work!
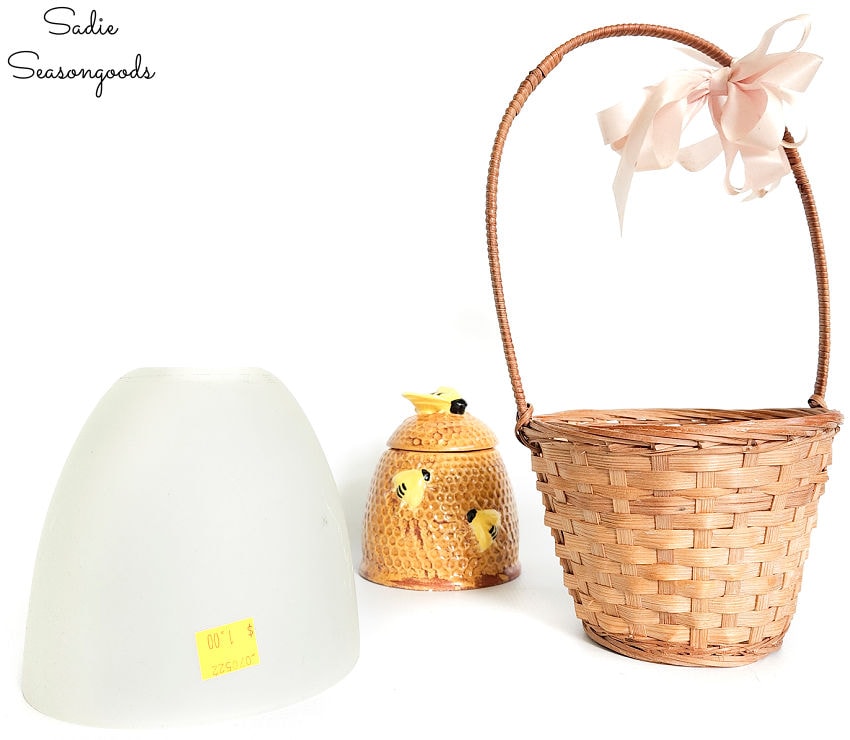
Image credit: Sadie Seasongoods.
This post contains affiliate links for your crafting convenience. As an Amazon Affiliate, I earn from qualifying purchases.
Bee Decor from a Light Shade
My plans for the glass light shade were to wrap it tightly with jute rope to give it the right color and texture of a wicker bee skep.
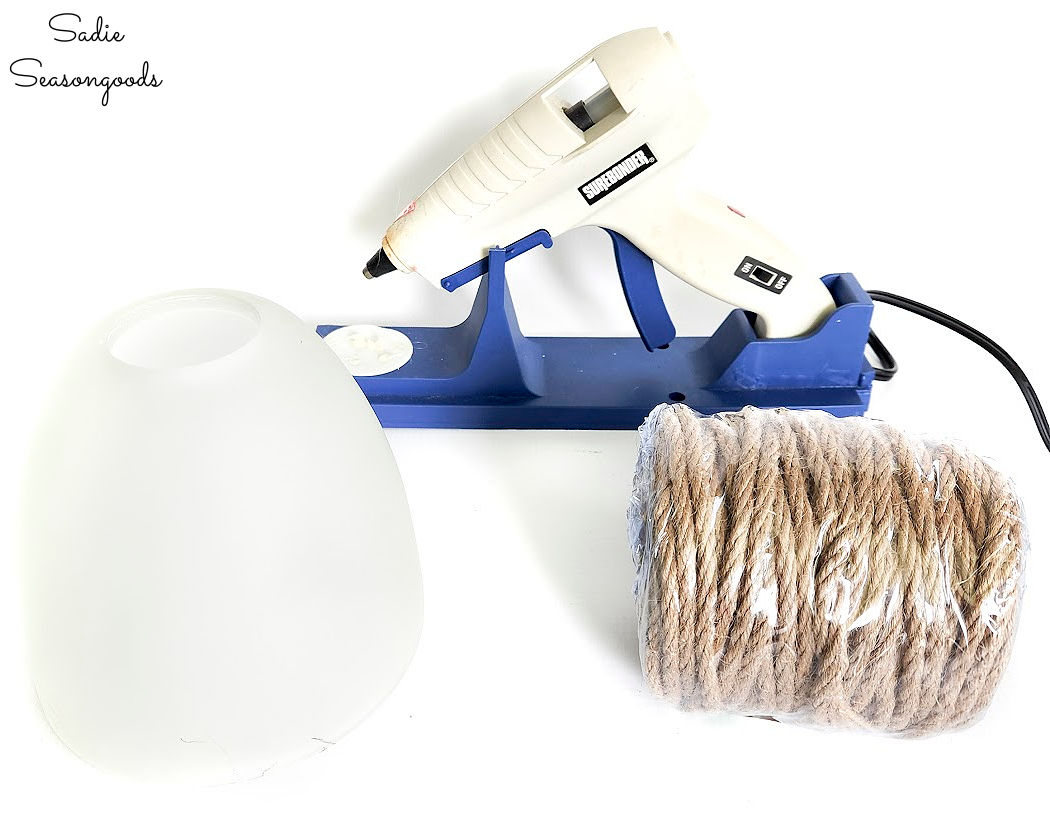
Image credit: Sadie Seasongoods.
The craft stores didn’t have quite the right size of jute rope, so I went ahead and bought this rope on Amazon.
As I’d done previously on this coastal tray and this nautical pub sign, I whipped the end of my jute rope with hemp cord to keep it from fraying.
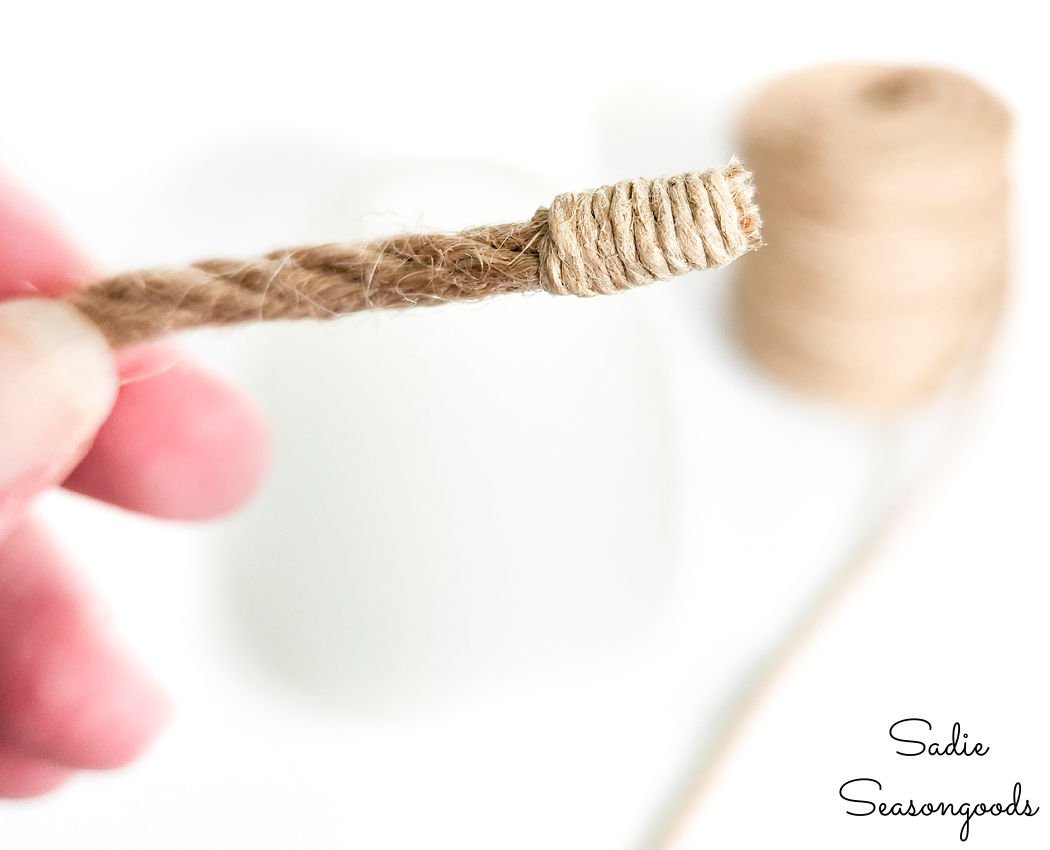
Image credit: Sadie Seasongoods.
Then, I simply used my hot glue gun to adhere the whipped rope end to the bottom of the glass light shade.
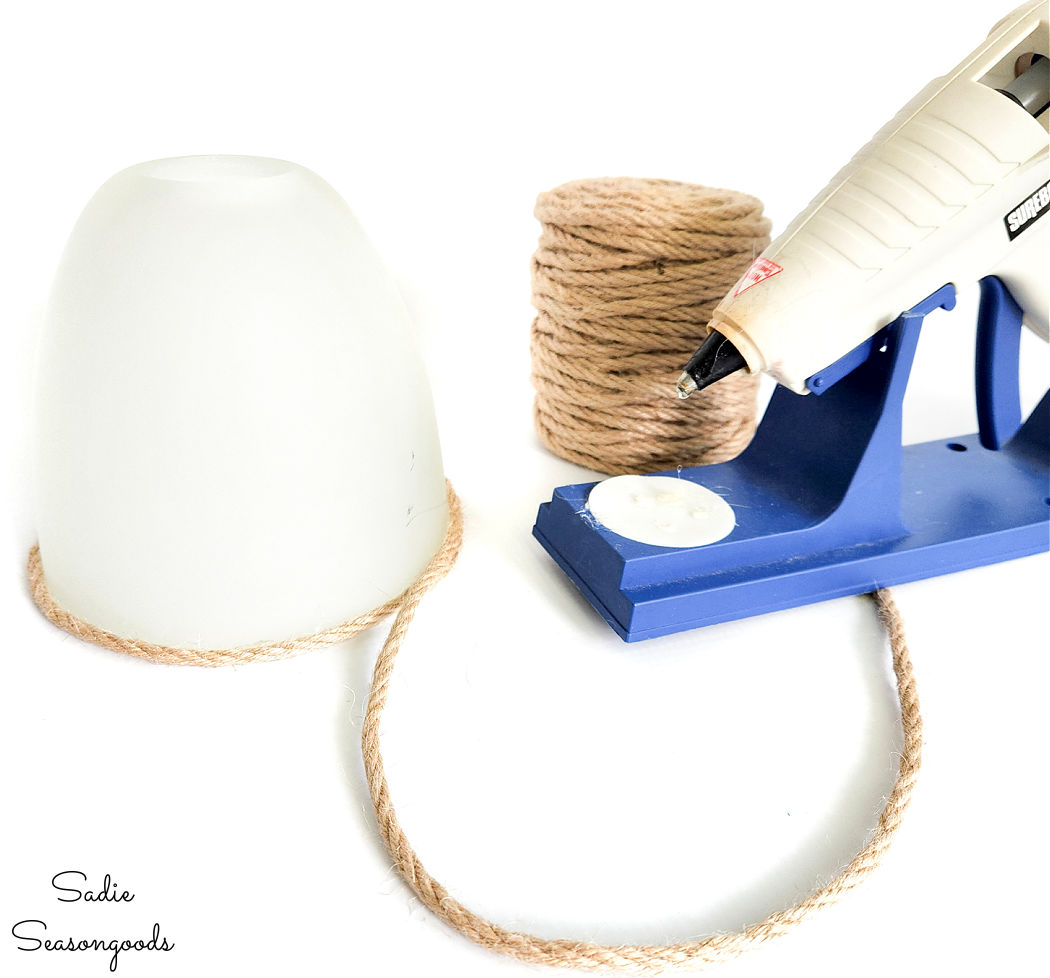
Image credit: Sadie Seasongoods.
And from there, I slowly began to wrap the rope around the shade, gluing it in place as I progressed.
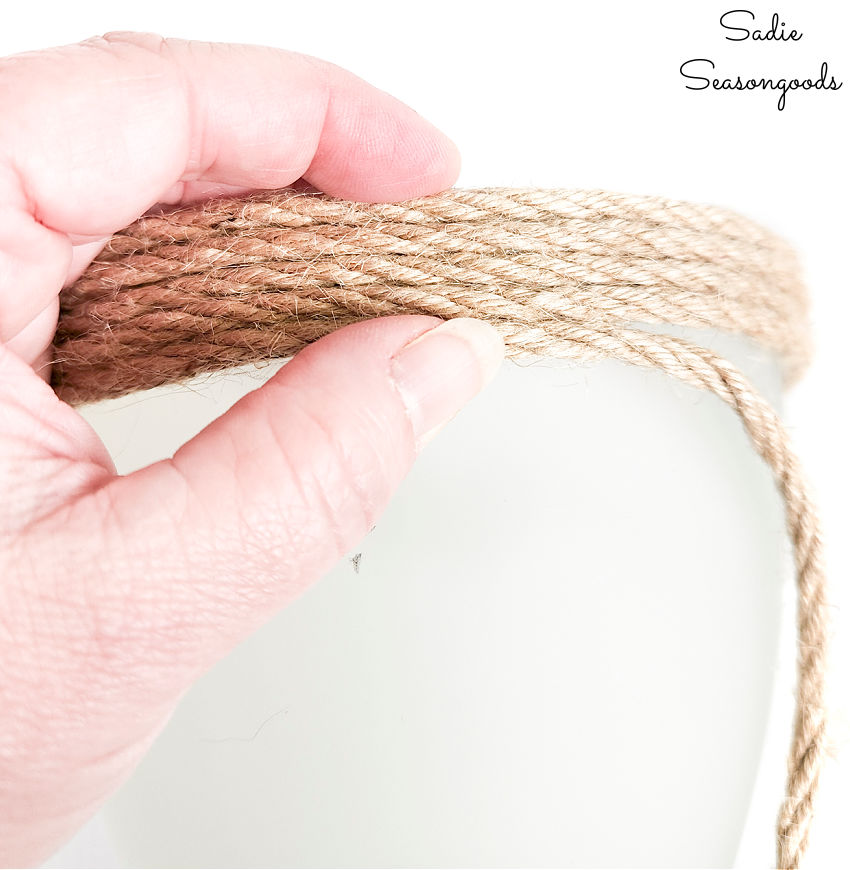
Image credit: Sadie Seasongoods.
To keep my coils tight and even, I first added glue (2-3 inches at a time) right above the previous coil. Then, I would lay the fresh rope directly on top of the glue and squeeze it close to the previous coil.
Decorative Beehive
Now, I’m just going to be frank with you. This process takes more time, rope, and glue than you might think.
Of course, I was DILIGENT about keeping my rope coils straight, even, and tight- which meant I took my time.
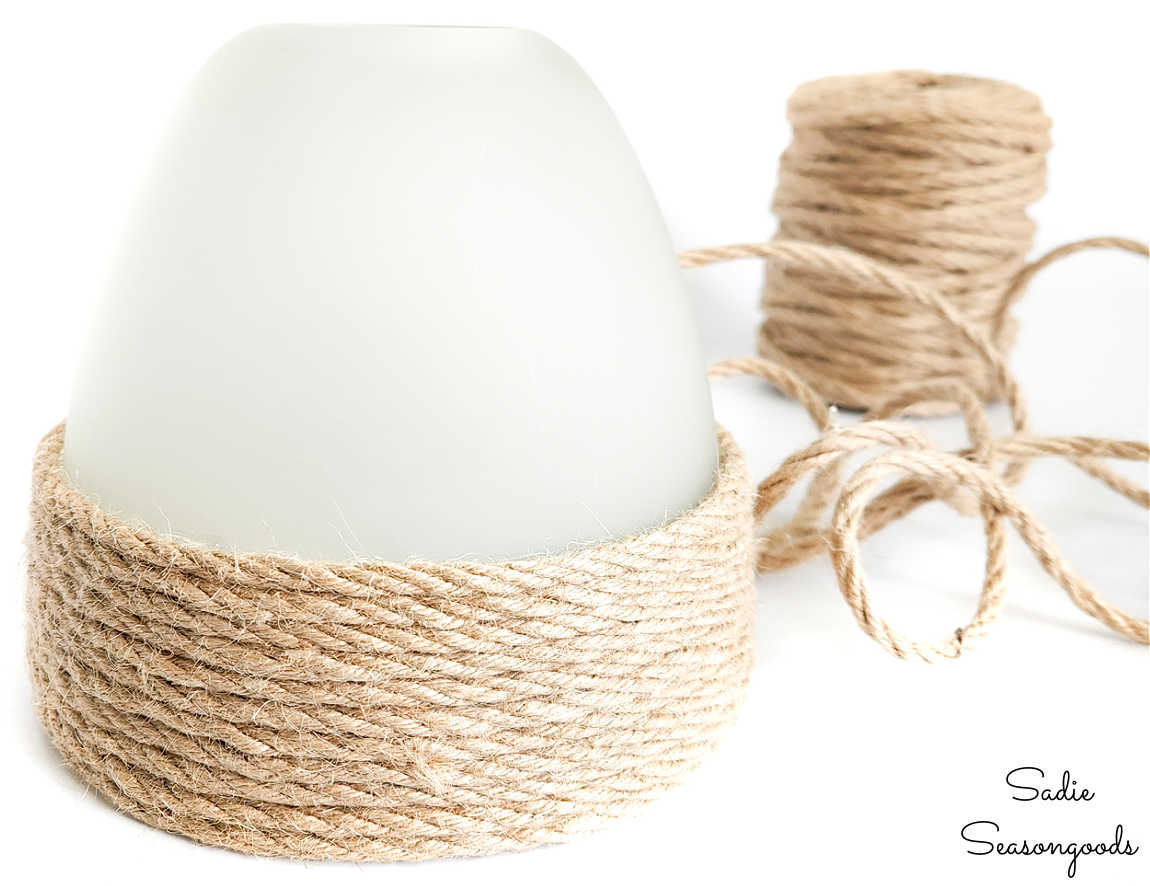
Image credit: Sadie Seasongoods.
And, thanks to the shape of a beehive (and thus, this light shade), progress gets faster as the shade got narrower. Finally, FINALLY, I reached the top.
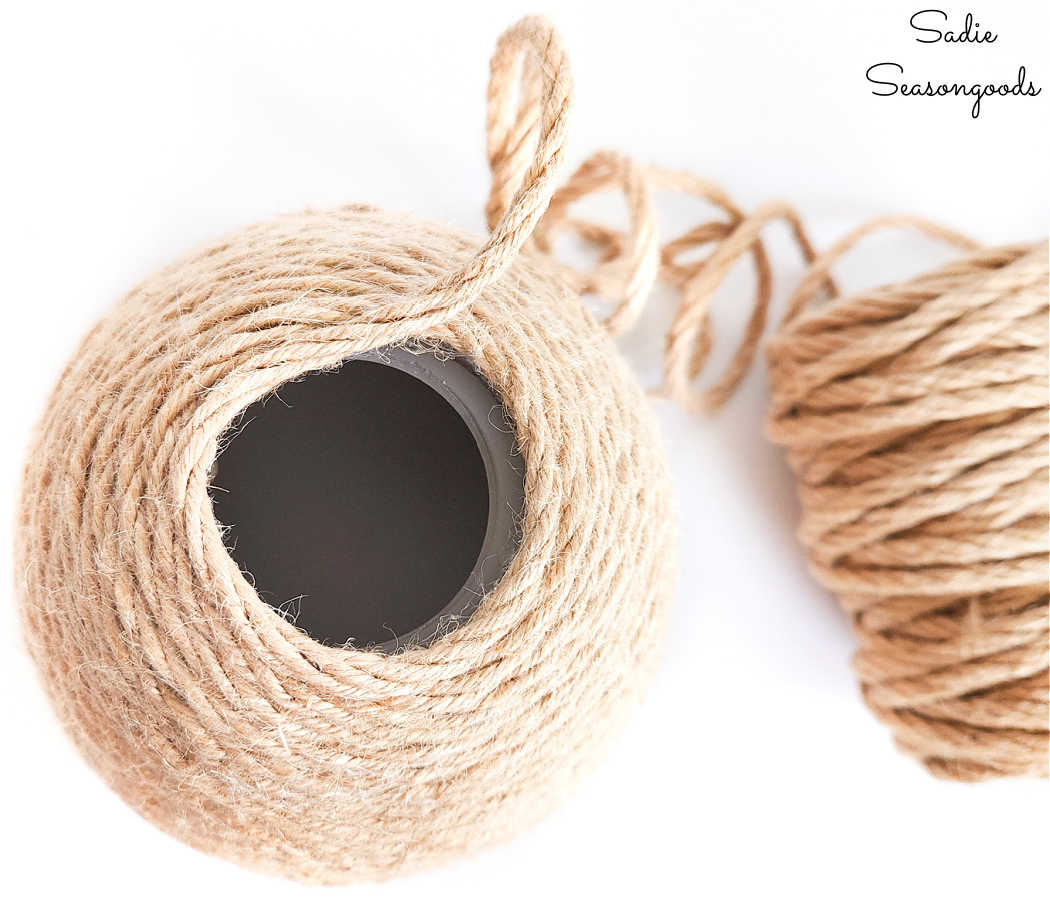
Image credit: Sadie Seasongoods.
Next, I coiled and glued as much as I could until I ran out of glass shade. Then, I snipped off the rope (with my mixed media shears) and whipped the end.
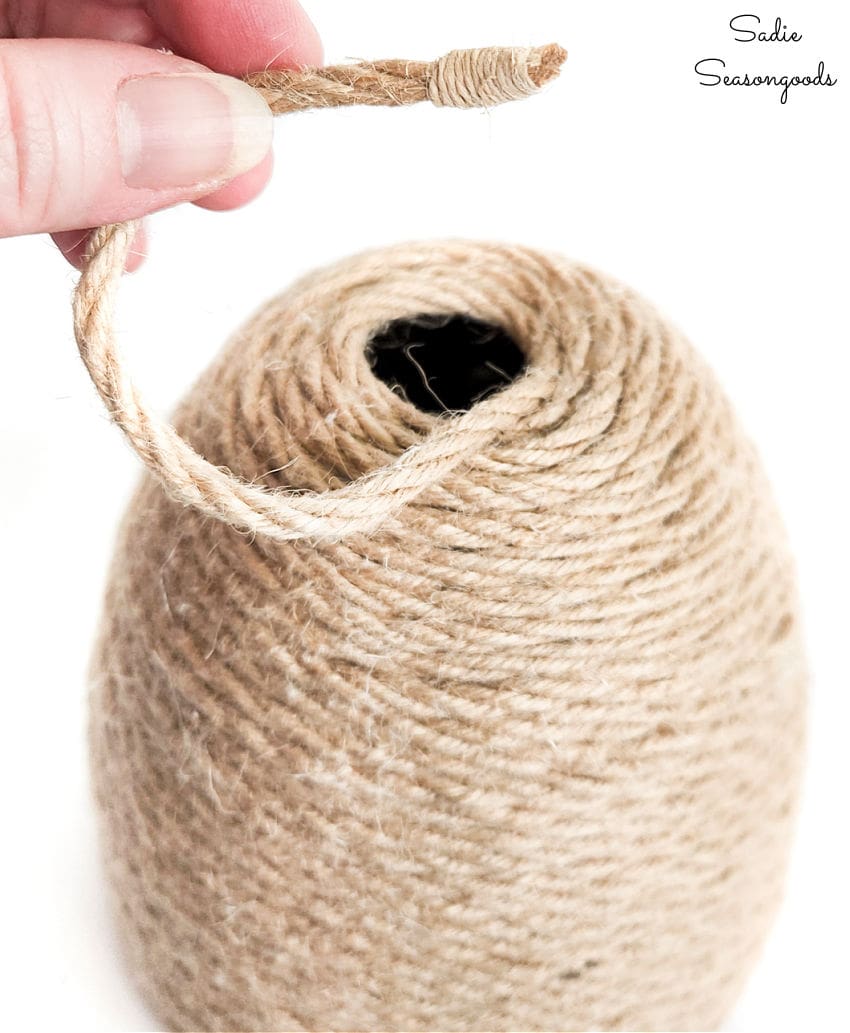
Image credit: Sadie Seasongoods.
To finish off my bee decor, I created a small flat coil (like a doll-sized rope coaster) of jute rope. Then, I tucked the whipped tail into the hole at the top of the glass shade and glued my little rope-coaster on top!
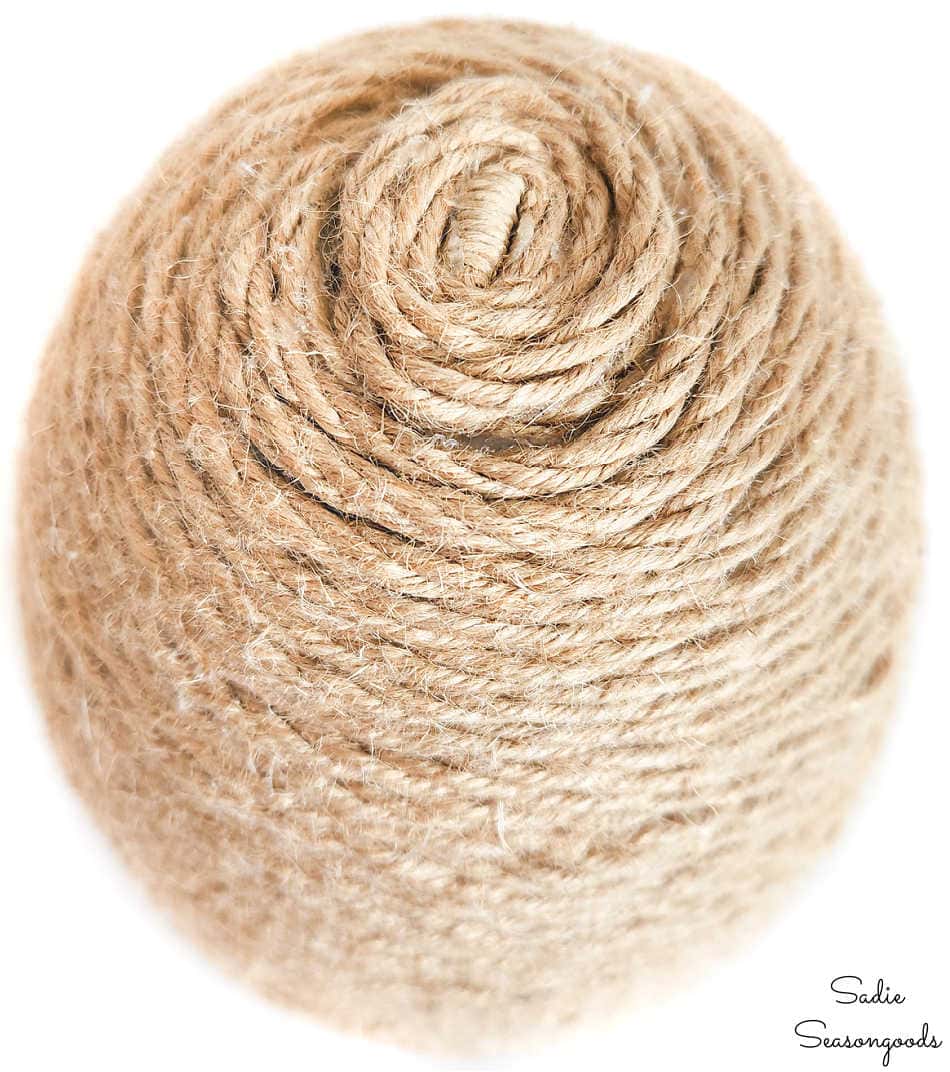
Image credit: Sadie Seasongoods.
Finishing Touches on My Beehive Decor
Once the “hive” itself was done, I could add a few embellishments to bring everything together. For starters, I wanted to add an “entrance hole” to the hive.
And for that, I grabbed one of my favorite craft supplies- adhesive black felt (which I’ve used in a LOT of my Halloween projects previously).
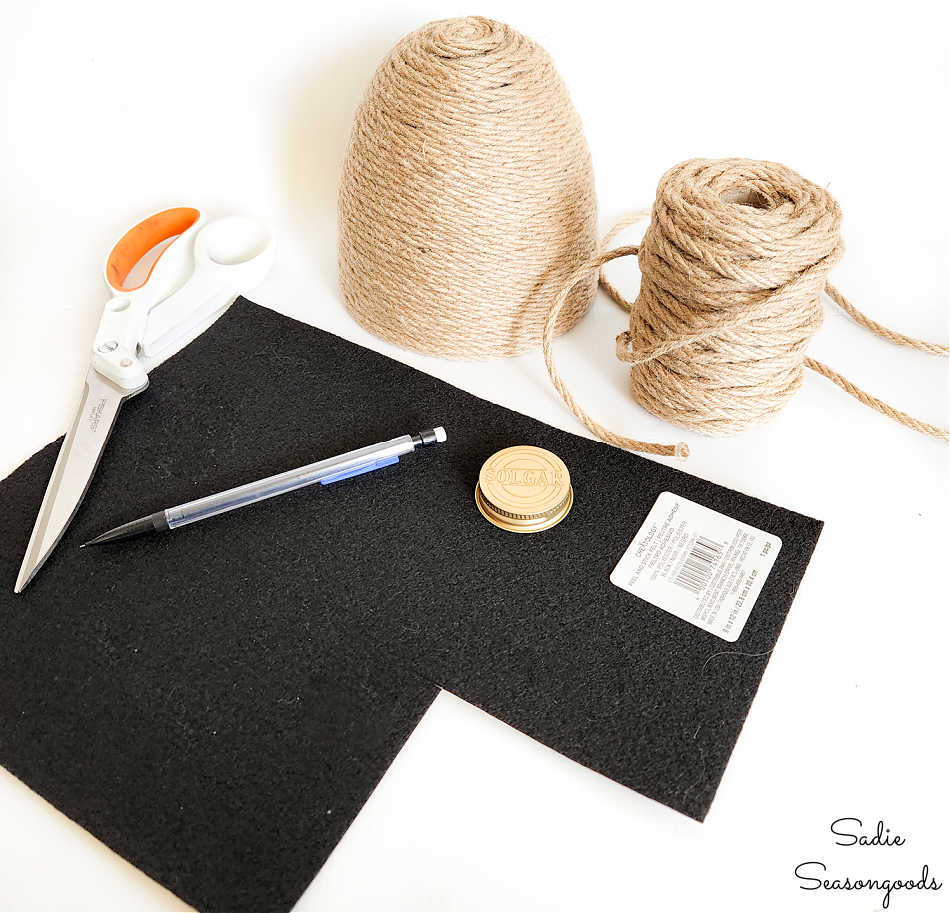
Image credit: Sadie Seasongoods.
I also grabbed a pencil and a vitamin jar lid, which was the perfect size to trace on the back of the felt.
Once I cut out my circle of felt, I made a small ring of rope that was just right size to sit on top of the black circle.
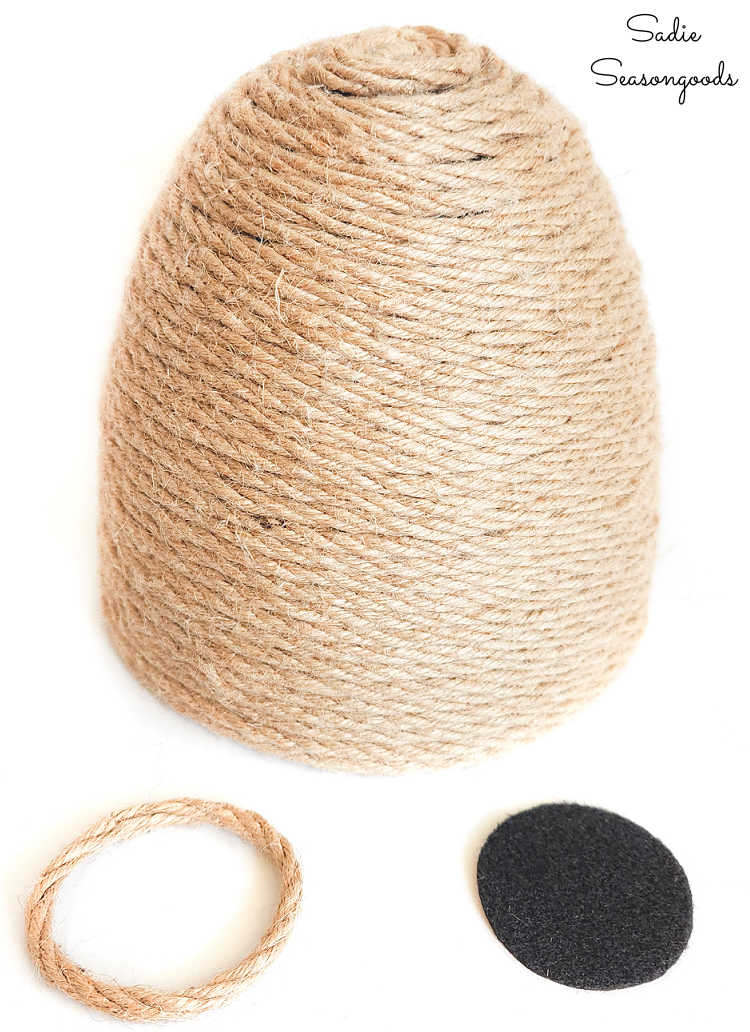
Image credit: Sadie Seasongoods.
I didn’t bother whipping the ends because I wanted it to look as concentric as possible. So, I used as little hot glue as I could get away with to seal the ends together.
Next, I stuck the adhesive felt circle to my bee decor and then glued the rope ring on top of it. Now for my pièce de resistance- felted wool bees!
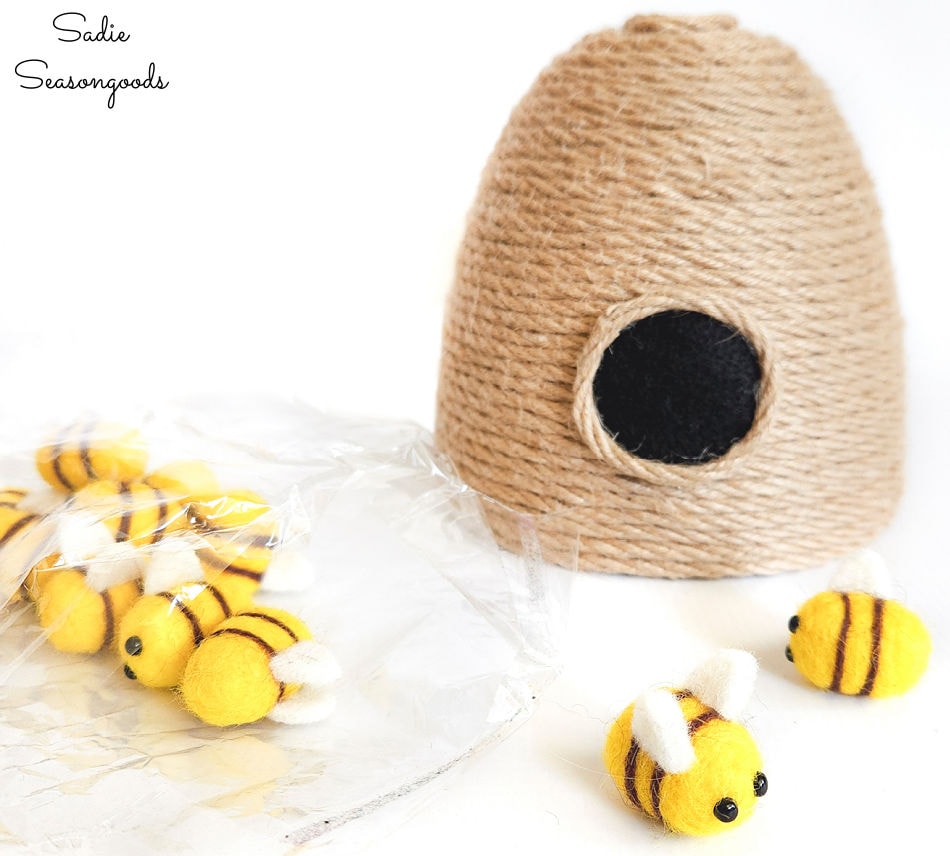
Image credit: Sadie Seasongoods.
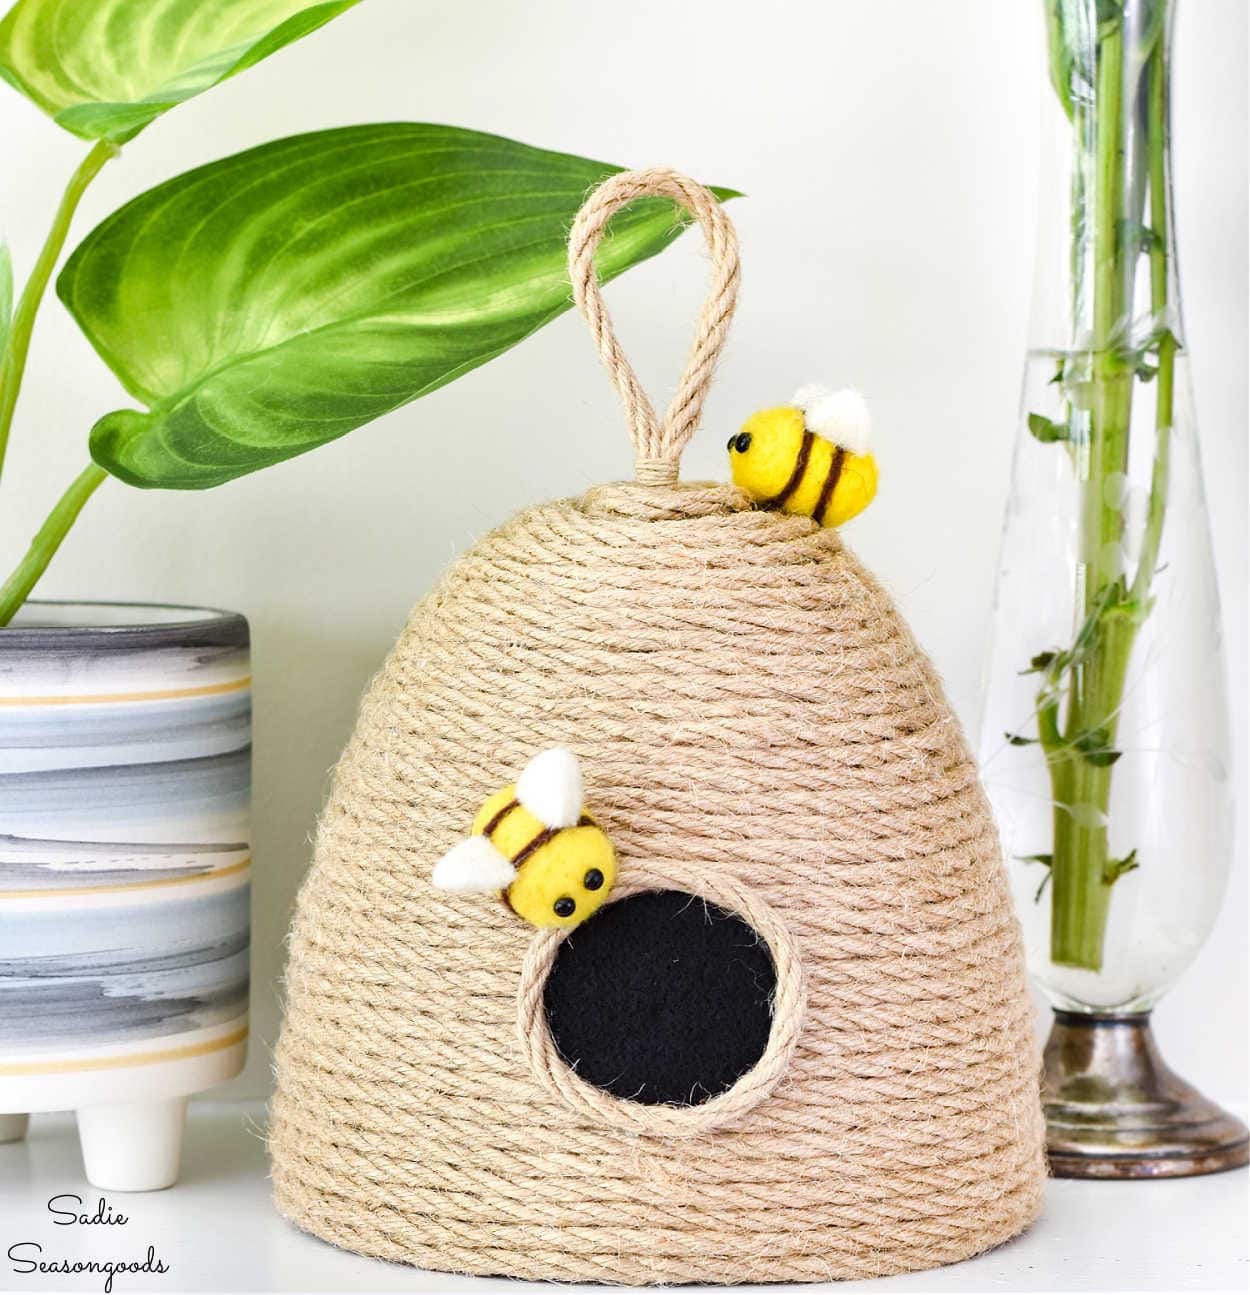
After gluing a couple of bees to my beehive (AND making a little loop/faux handle for the top), it was done- and SERIOUSLY cute!
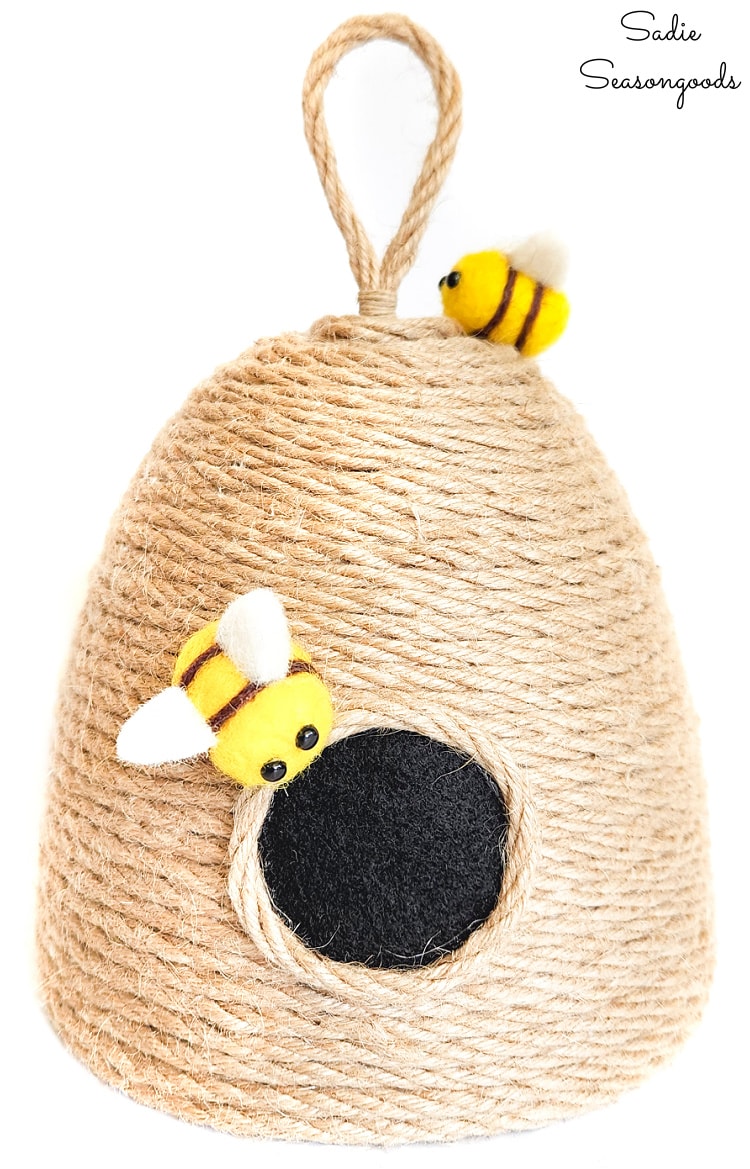
Image credit: Sadie Seasongoods.
Bee Decor from a Wicker Basket
But…I wasn’t done! I still had that wonky little basket to upcycle, but it would be FAR easier and quicker to do.
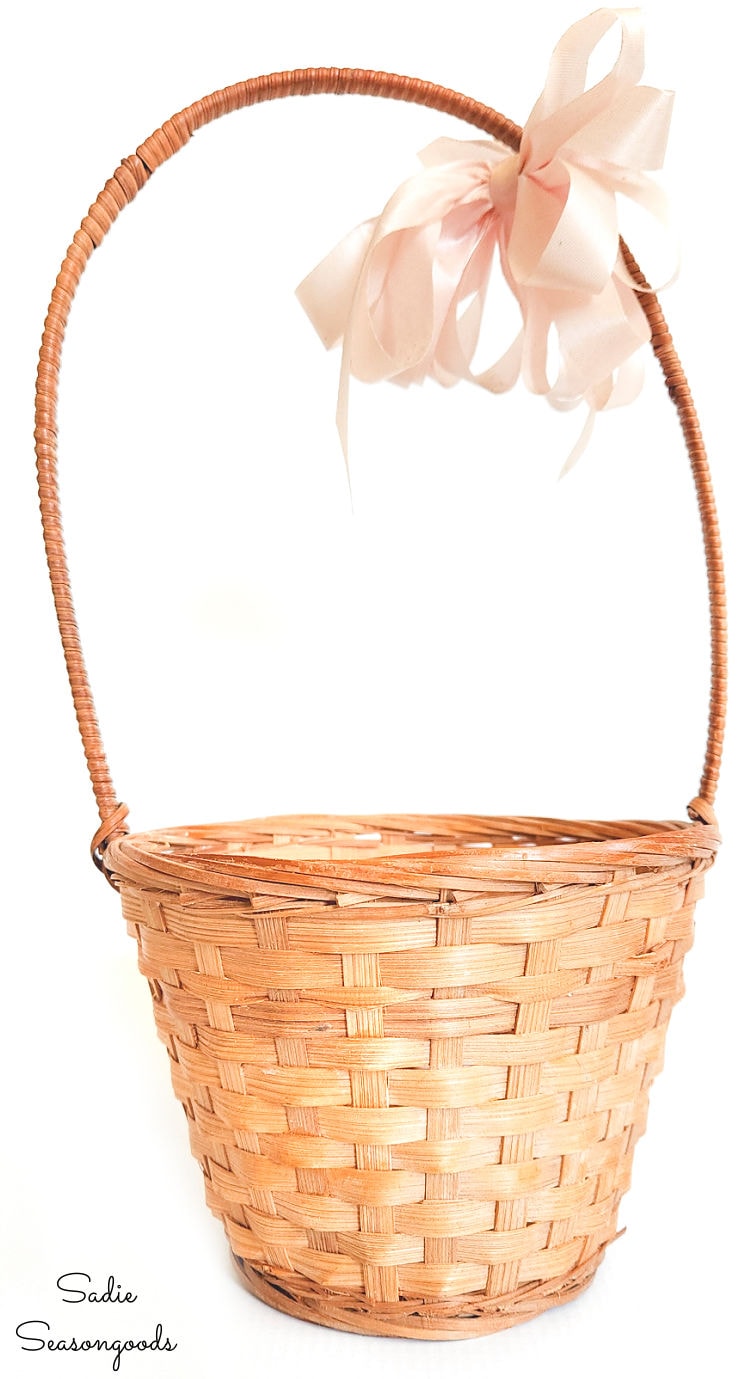
Image credit: Sadie Seasongoods.
No need to wrap this with jute- it already had the right texture and color, what with being a basket and all. Really, I just needed remove any dust/debris, then remove the handle…
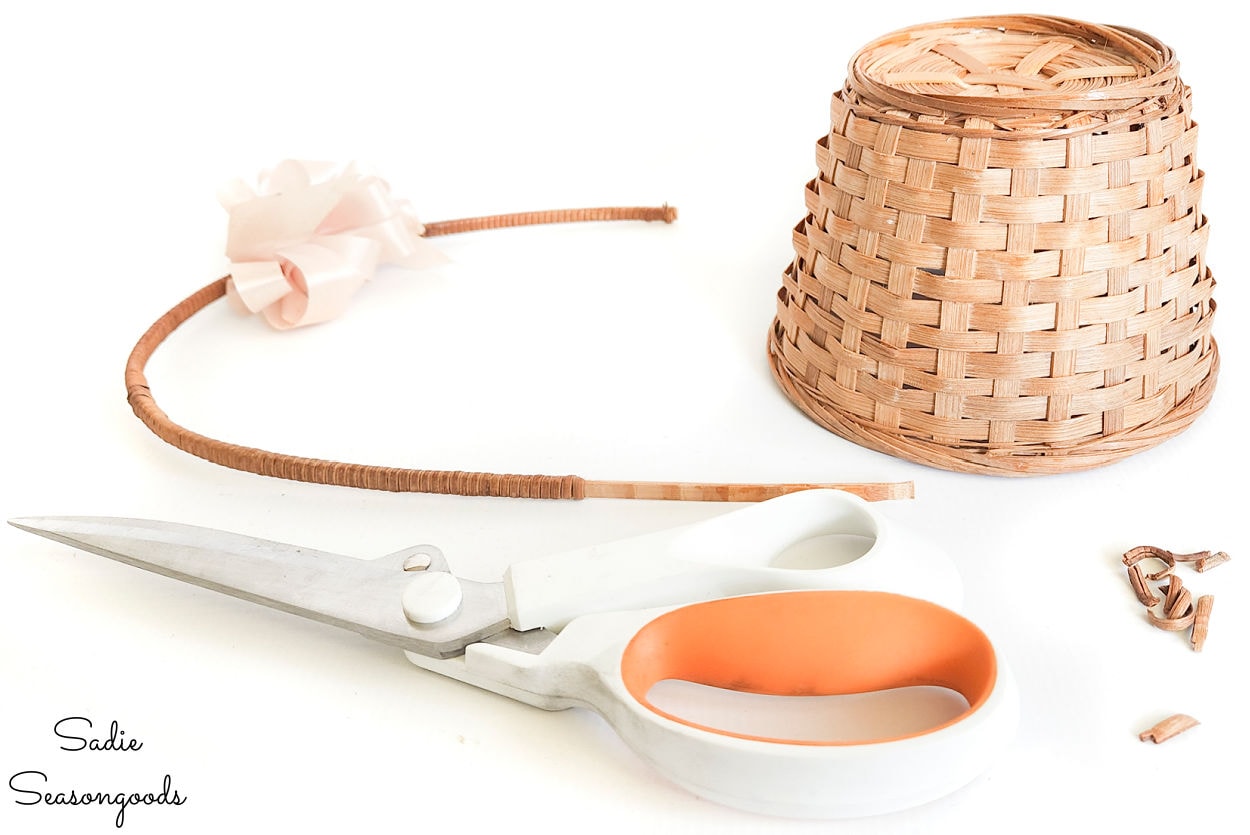
Image credit: Sadie Seasongoods.
Which I did by snipping off the rattan/cane that held the handle in place and then pulling it out of the basket.
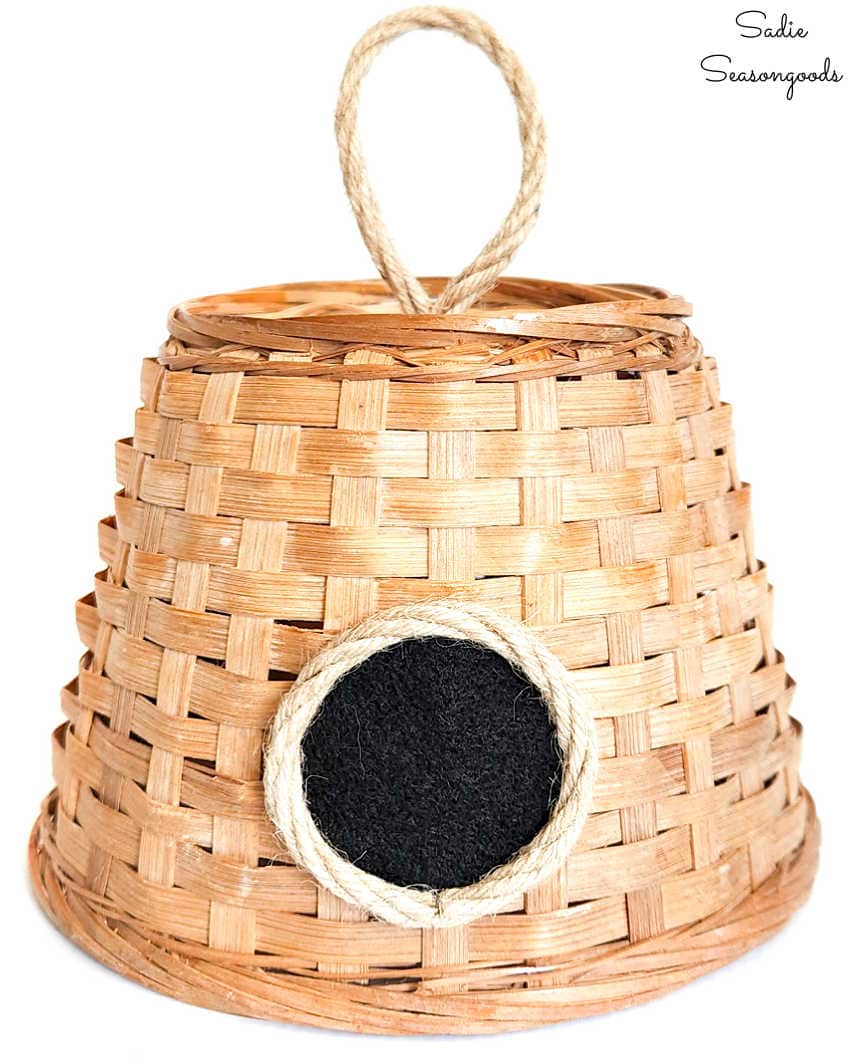
Image credit: Sadie Seasongoods.
And then I embellished it just as I had done on the glass light shade. With the same kind of entrance hole and top loop/faux handle.
Plus a felted wool bee from Etsy, of course!
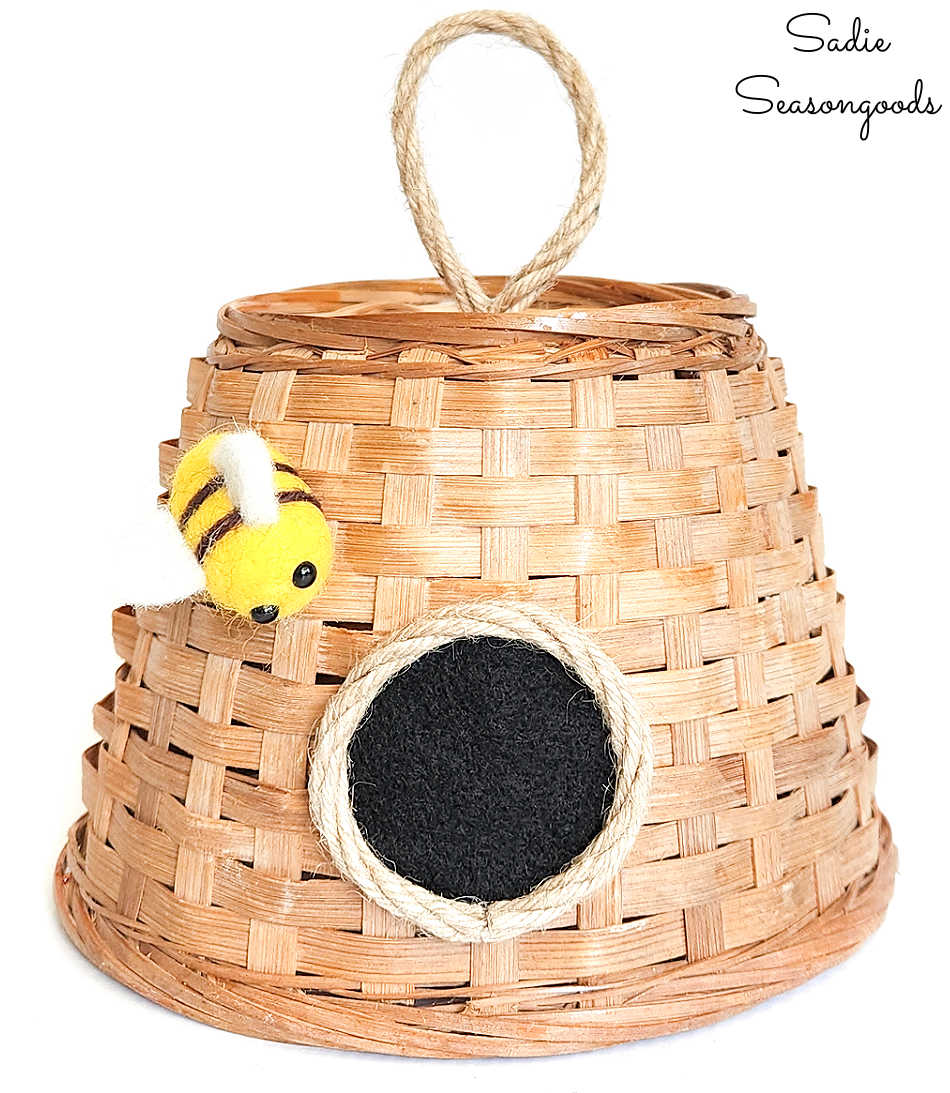
Image credit: Sadie Seasongoods.
I mean, COME ON. How easy was that??
Now I had two upcycled versions of bee decor from two VERY different thrift store finds. I’m honestly not sure which one is my favorite- they’re both so cute!
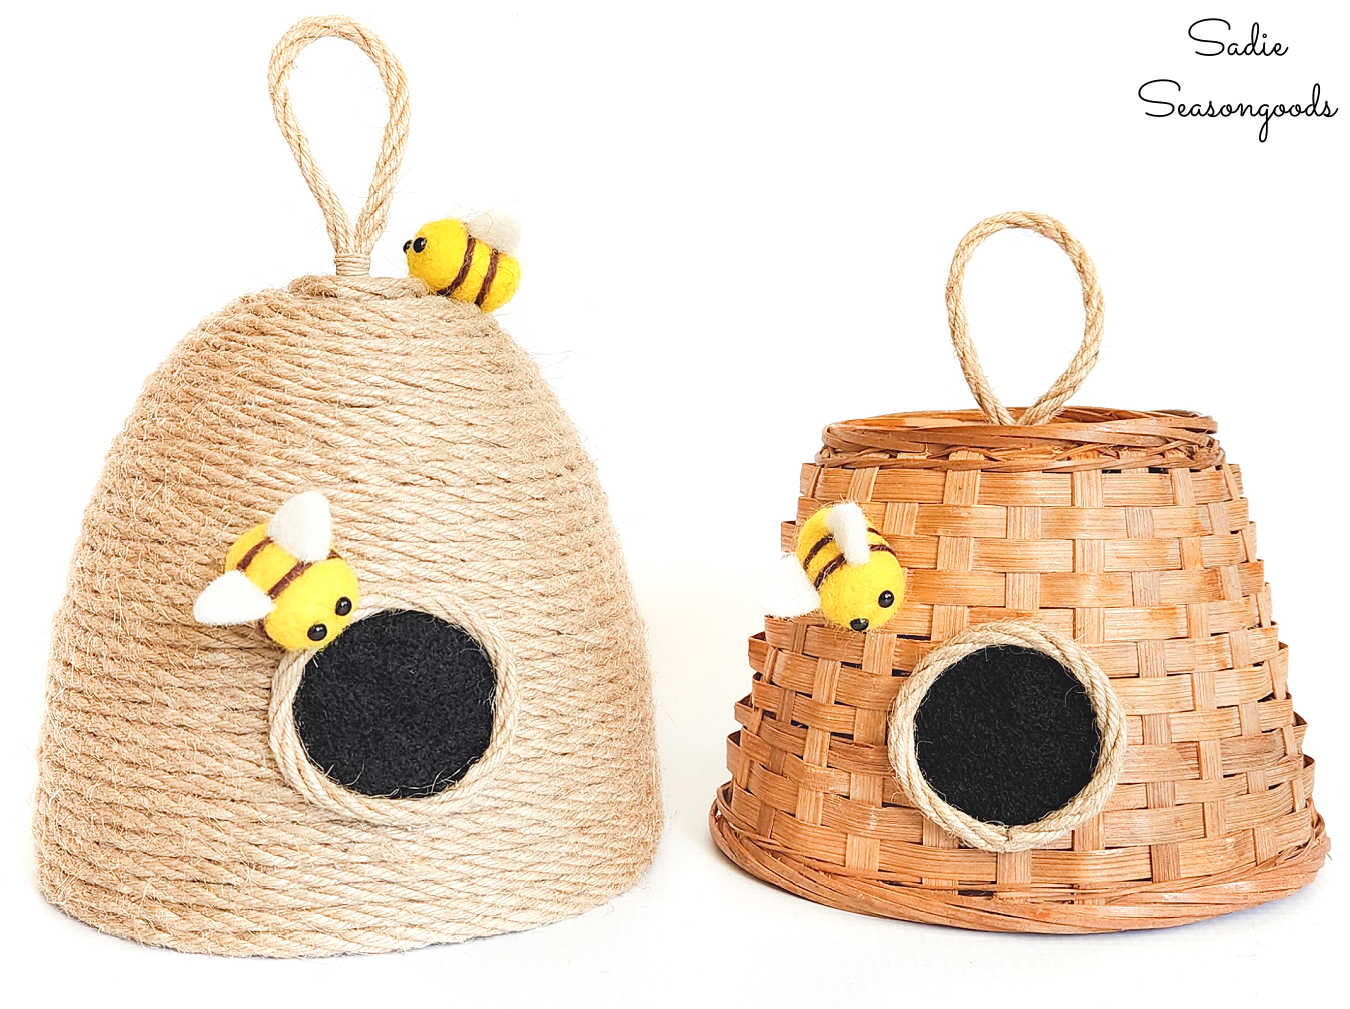
Image credit: Sadie Seasongoods.
Bee Decor from the Thrift Store
Now I just need a few more to create a collection that spans my entire mantel! Because I’m positively in love with these for summer.
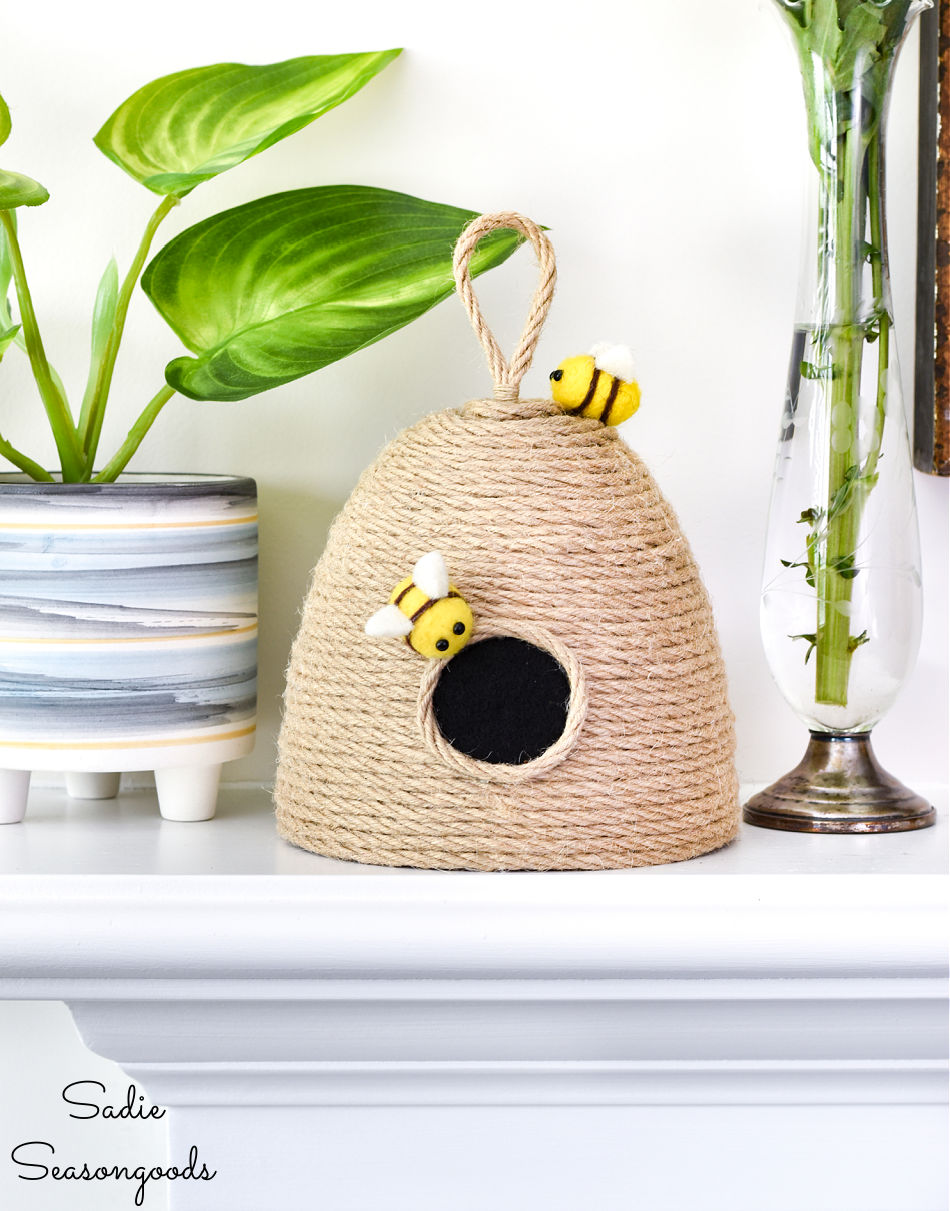
Image credit: Sadie Seasongoods.
And those felted wool bees REALLY put them over the top, don’t you think? They’re the cutest, most perfect little addition, if you ask me.
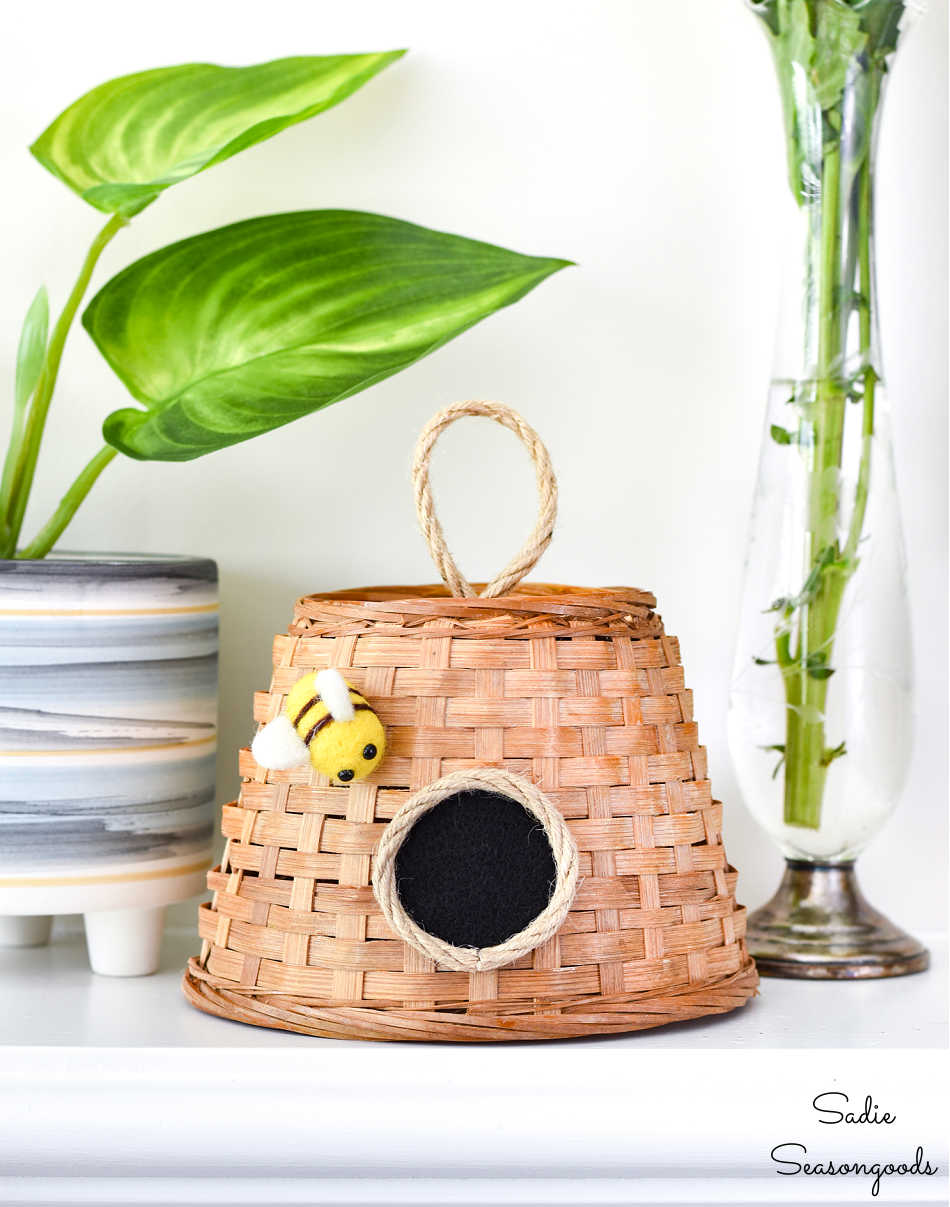
Image credit: Sadie Seasongoods.
So, what do you think? Will you be looking for some conical-shaped items on your next thrifting adventure? Because they could just be what you’re looking for to make some bee decor this summer!
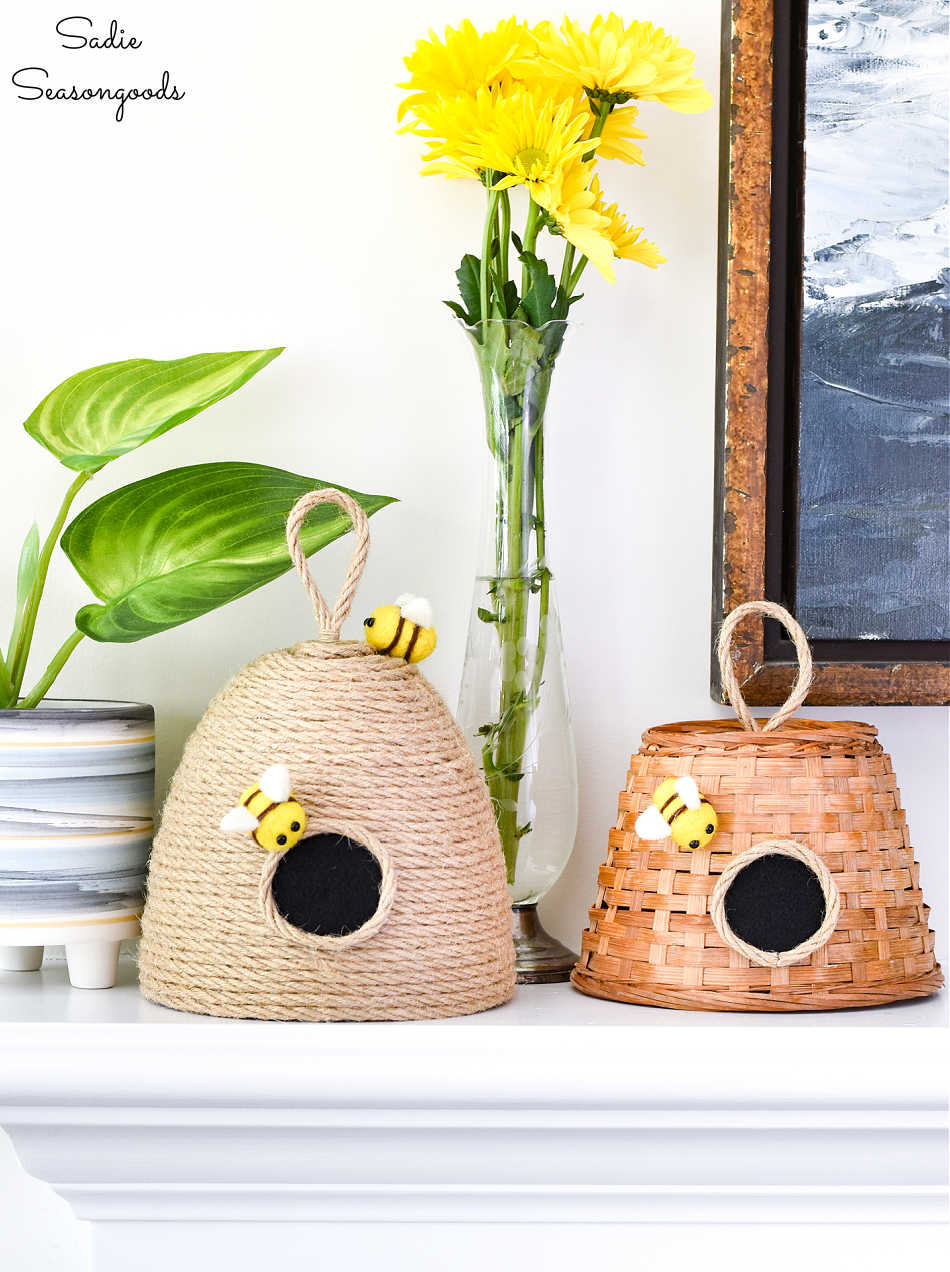
Image credit: Sadie Seasongoods.
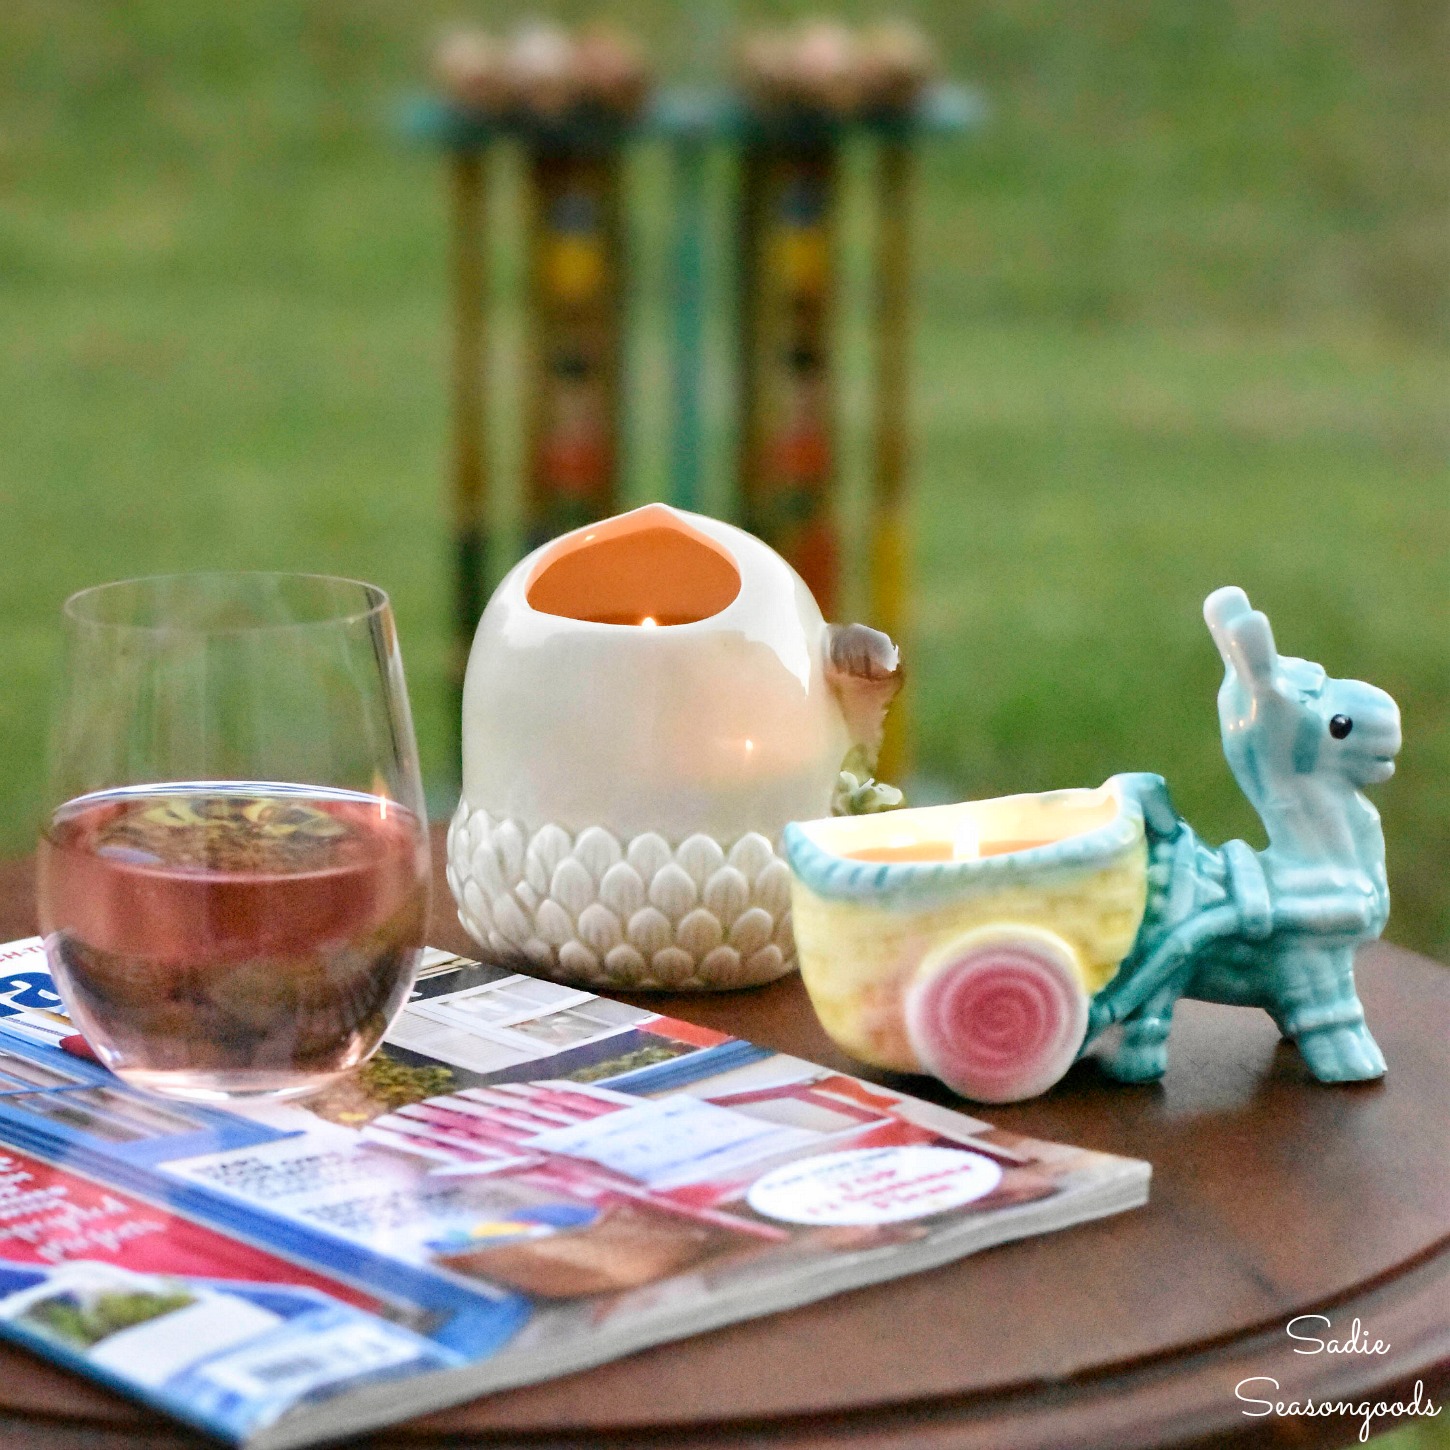
While honey bees are a welcome guest in our yards, I’m NOT as friendly towards mosquitos. Thankfully, these upcycled candles help a bit with that problem!
Craft on!
S
Want to be notified when I publish my next upcycling project tutorial?
Join me on Social Media:
PIN ME!
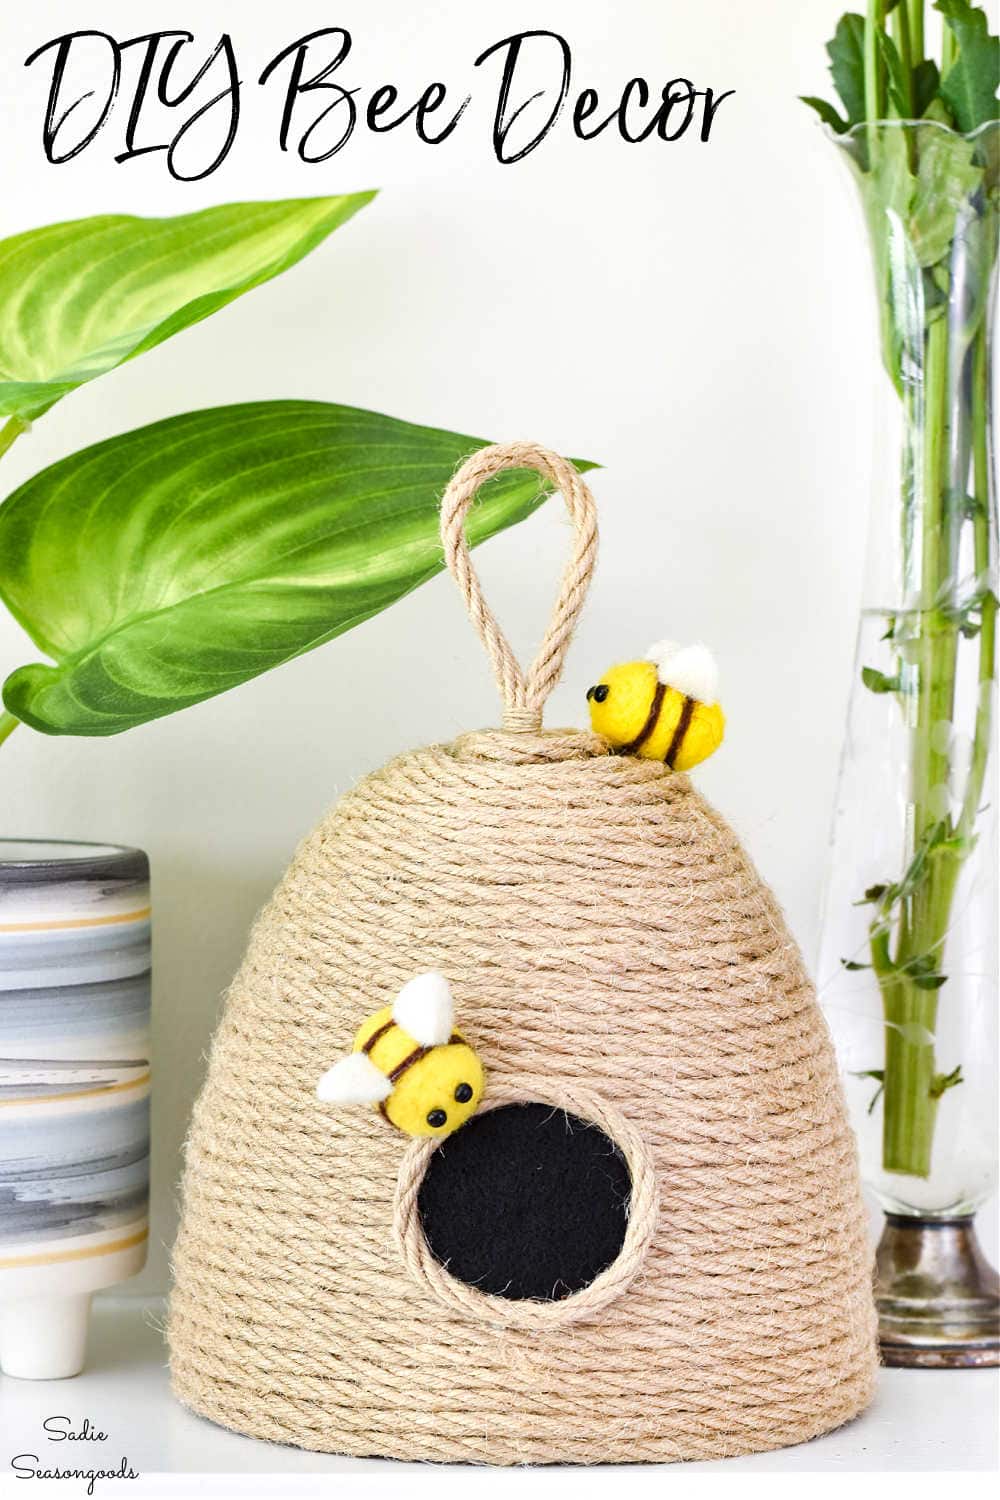
Image credit: Sadie Seasongoods.
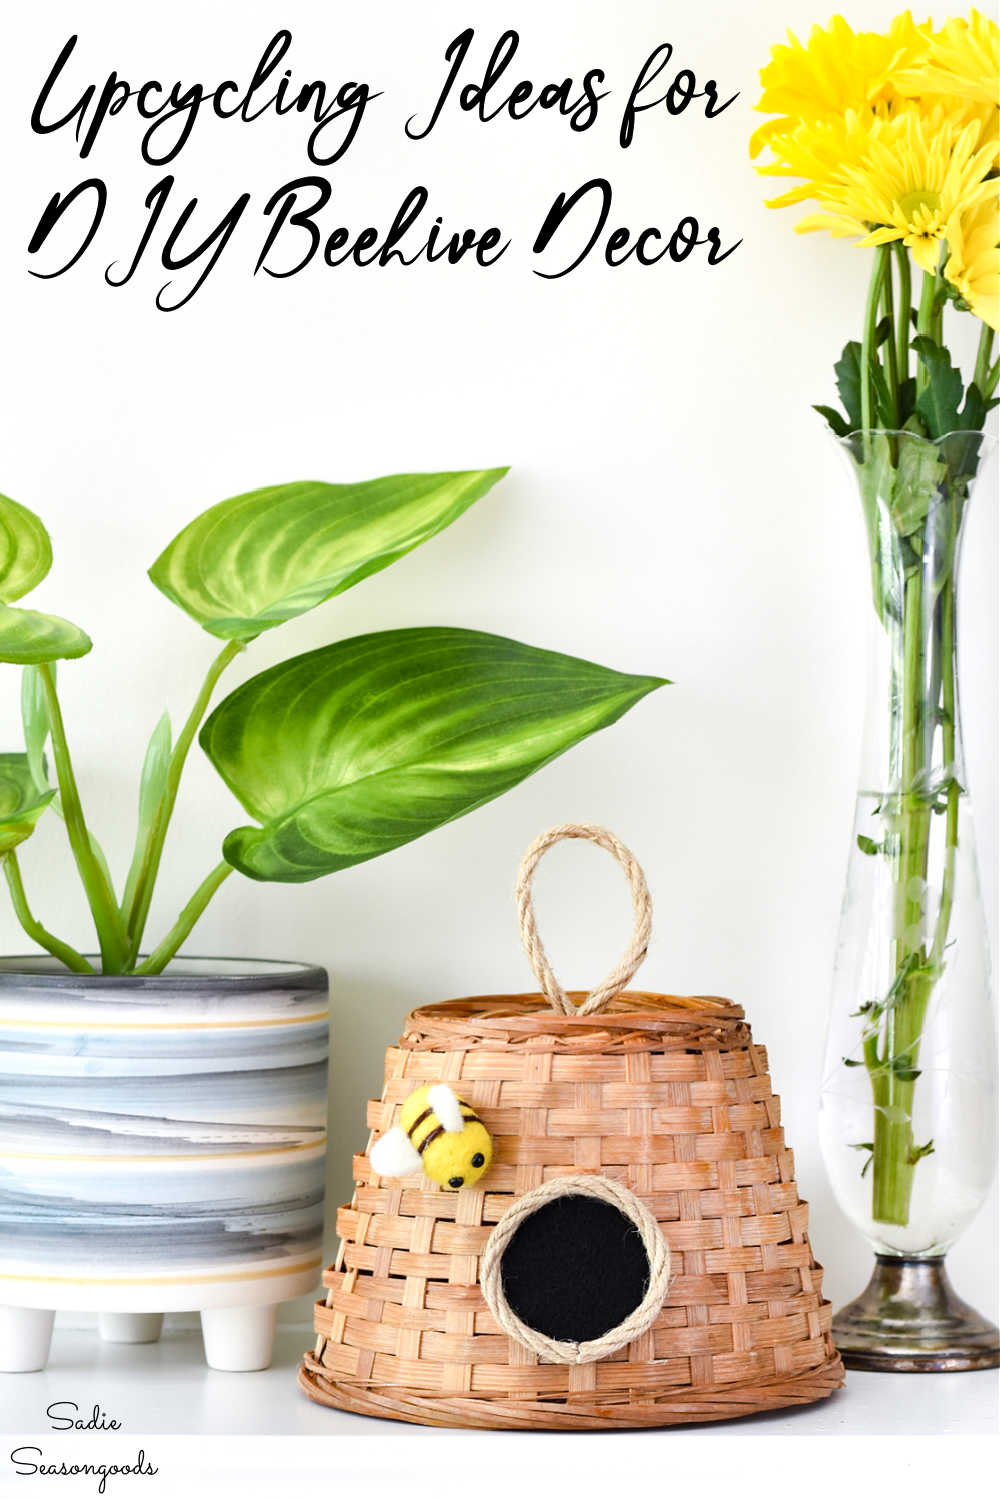
Image credit: Sadie Seasongoods.
Sarah Ramberg is the owner of Sadie Seasongoods, a website that celebrates all things secondhand. From upcycling ideas and thrifted decor to vintage-centric travel itineraries, Sadie Seasongoods is a one-stop shop for anyone who loves thrifting and approachable repurposing ideas. Sarah is also the author of “Crafting with Flannel” and has been featured in numerous media outlets and magazines.


These are cute as they can be! You have such a great imagination!!
Thank you so very much, Barb!
So clever and cute!
Thank you so much, Margaret!
Oh, I love the bee hives!!! How creative, thanks for sharing your ideas with everyone!
Thank you so much, Tracy- and you are so very welcome!
Fantastic! I just bought some light fixtures and was wondering what to do with them. Voilà!!
Yay!! Happy crafting, Tami!
Goodness…. these are adorable! That twine bee hive has my whole heart. Who knew a glass shade could look so cool?!
Thank you SO much for the feature last week, Donna!