Forgive me if this project is similar to a previous project. But I recently saw a tutorial on Postcards from the Ridge that involved making an artisan vase or stoneware vase. And it involved coffee grounds! So, I knew I needed to try out the technique myself and share the results with you.
So, in the blog post I linked above, the blogger made her own textured paint with baking soda, like I had done in this post here.
But, you may recall that I found a fantastic pre-textured paint that I used to make this boho vase.
Now, for that project, I purposefully selected clear glass vases that had texture and patterns in the glass. Patterns that would be enhanced by the terracotta paint. But for the artisan vase project I’m making today? Smooth glass that were plain were on deck instead.
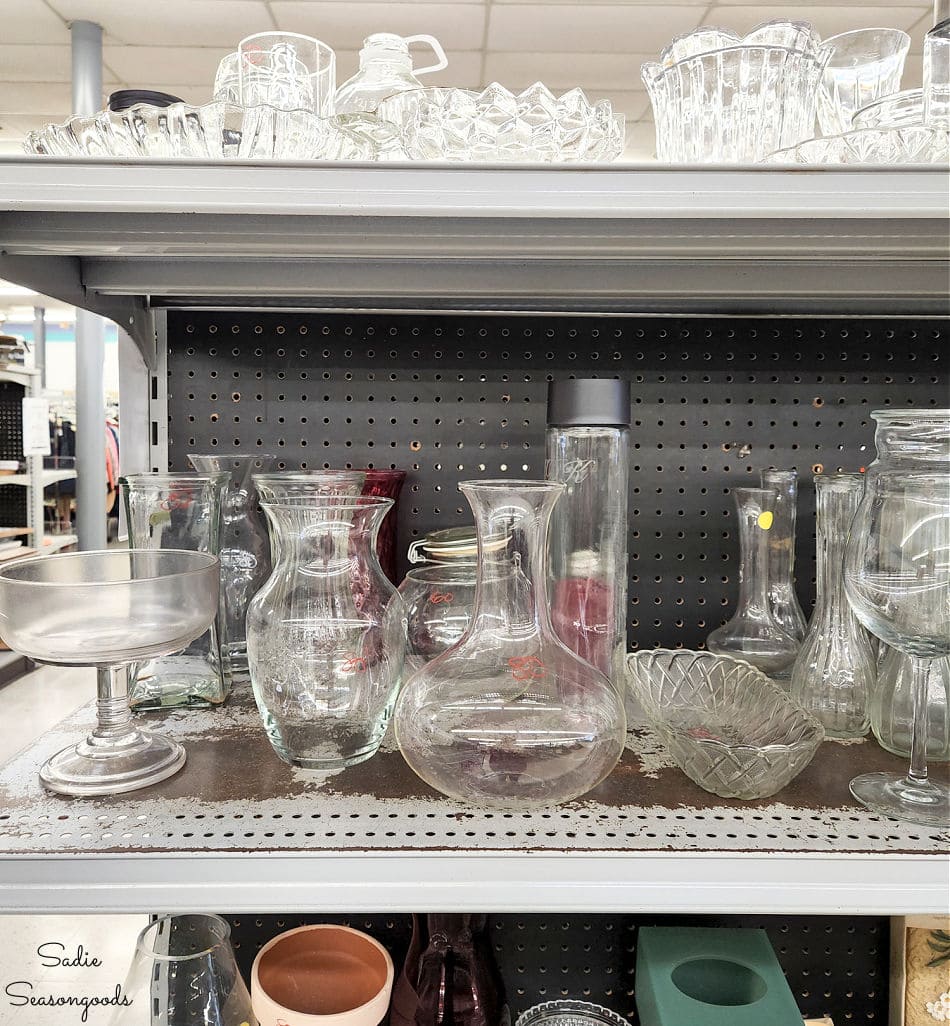
Image credit: Sadie Seasongoods.
So, I selected a couple of plain glass vases to try out this idea.
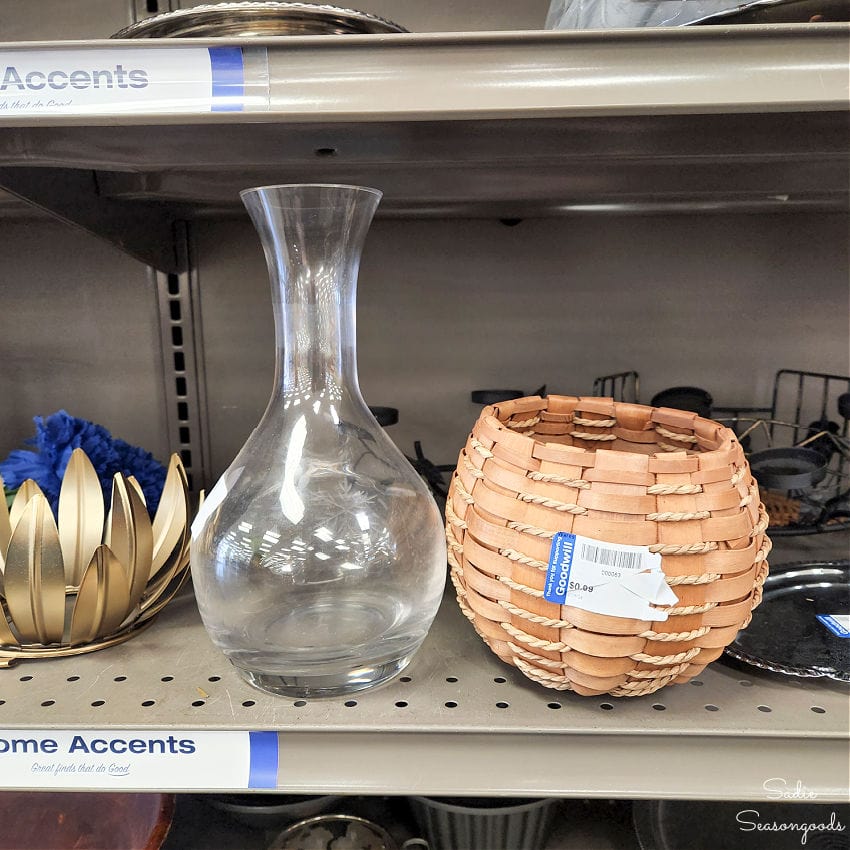
Image credit: Sadie Seasongoods.
Would the terracotta paint and the coffee grounds yield an attractive result? It was definitely time to experiment!
This post contains affiliate links for your crafting convenience. As an Amazon Associate, I earn from qualifying purchases. All blue, bold, and underlined text is a clickable link, either to a product or to a related post.
Textured Paint for an Artisan Vase
Unlike last time (where I used a flat primer before the terracotta paint), I decided to just paint the glass directly with the textured paint.
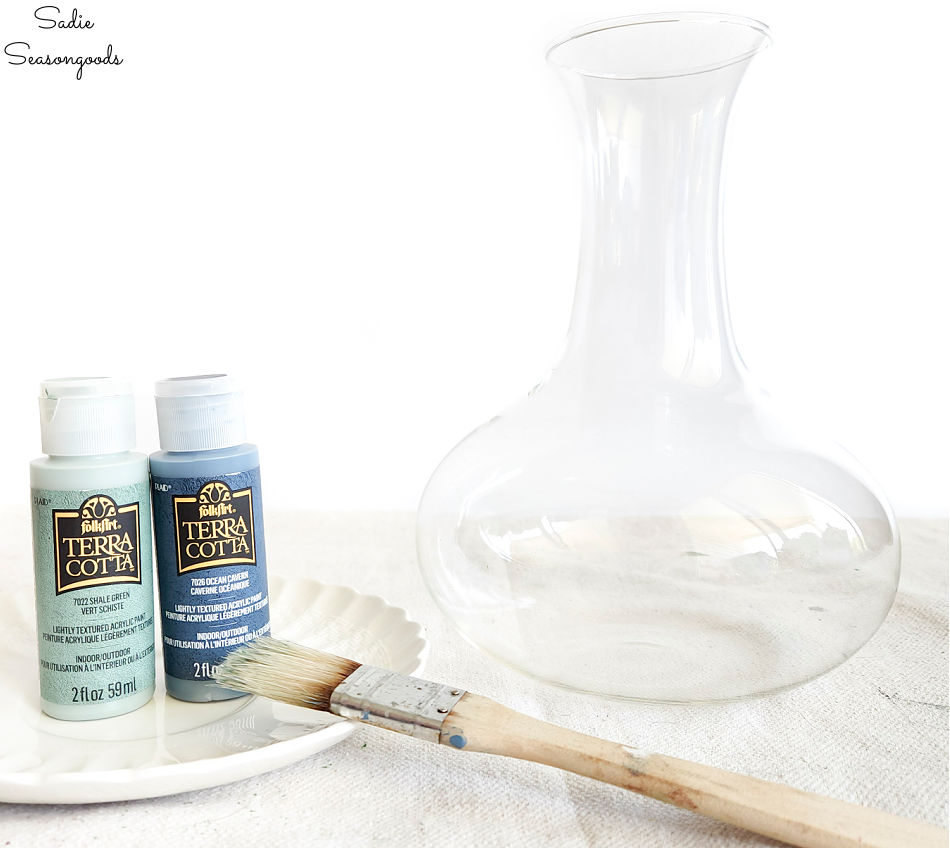
Image credit: Sadie Seasongoods.
Why skip the primer? Because for the previous project, the textured paint was basically the supporting actor and the glass itself was the star. So, I wanted the terracotta paint to go on evenly and smoothly to highlight the glass underneath.
This time, however, the paint was the star- and the “texturier” (not a word), the better! First, I gave the vase a base coat and purposefully changed direction, etc., and did not use long, clean strokes with the brush.
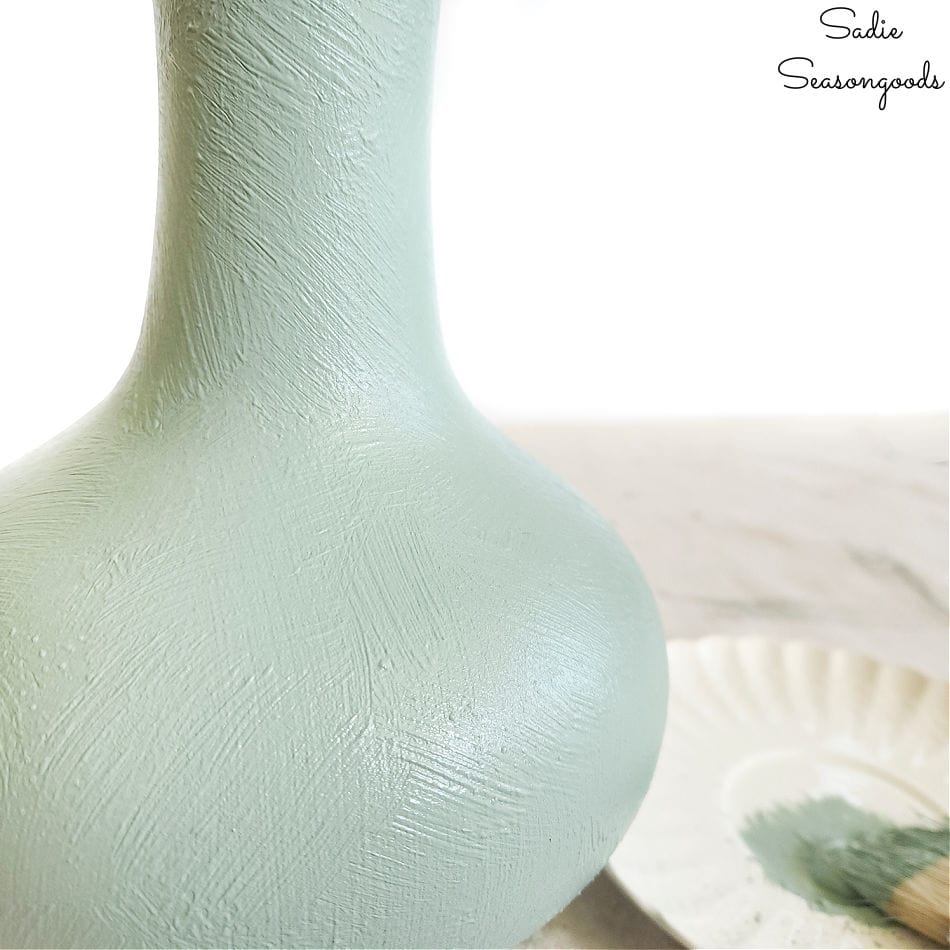
Image credit: Sadie Seasongoods.
Next, I added a second, similarly haphazardly brushed coat. And before the second coat dried, “sponged” the surface of the paint with the flat side of my brush.
It was a fairly saturated brush by this point, which was just fine. I was definitely going for a “stucco” type surface on the vase.
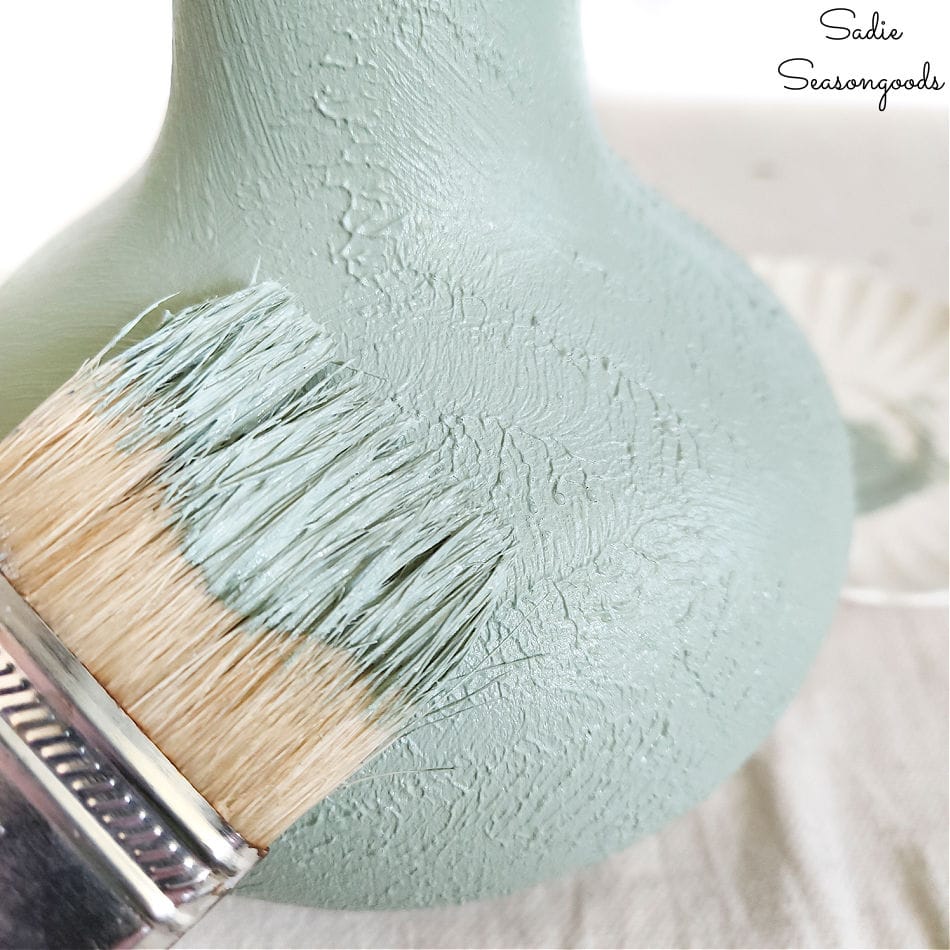
Image credit: Sadie Seasongoods.
When I was satisfied with the texture-y surface, this is how I left the vase to dry.
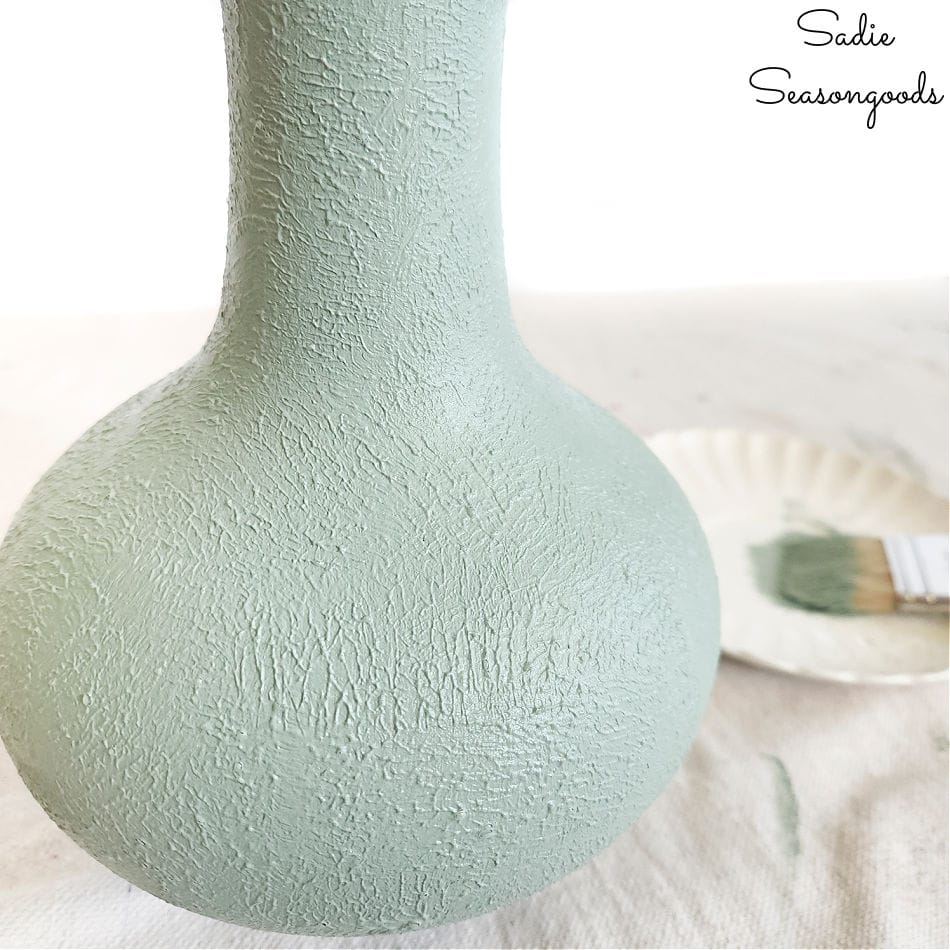
Image credit: Sadie Seasongoods.
A Creative Use for Coffee Grounds
Once my two vases had dried completely, it was time for the experiment- the coffee grounds! So, I carefully moved the filter full of grounds into a medium-sized bowl.
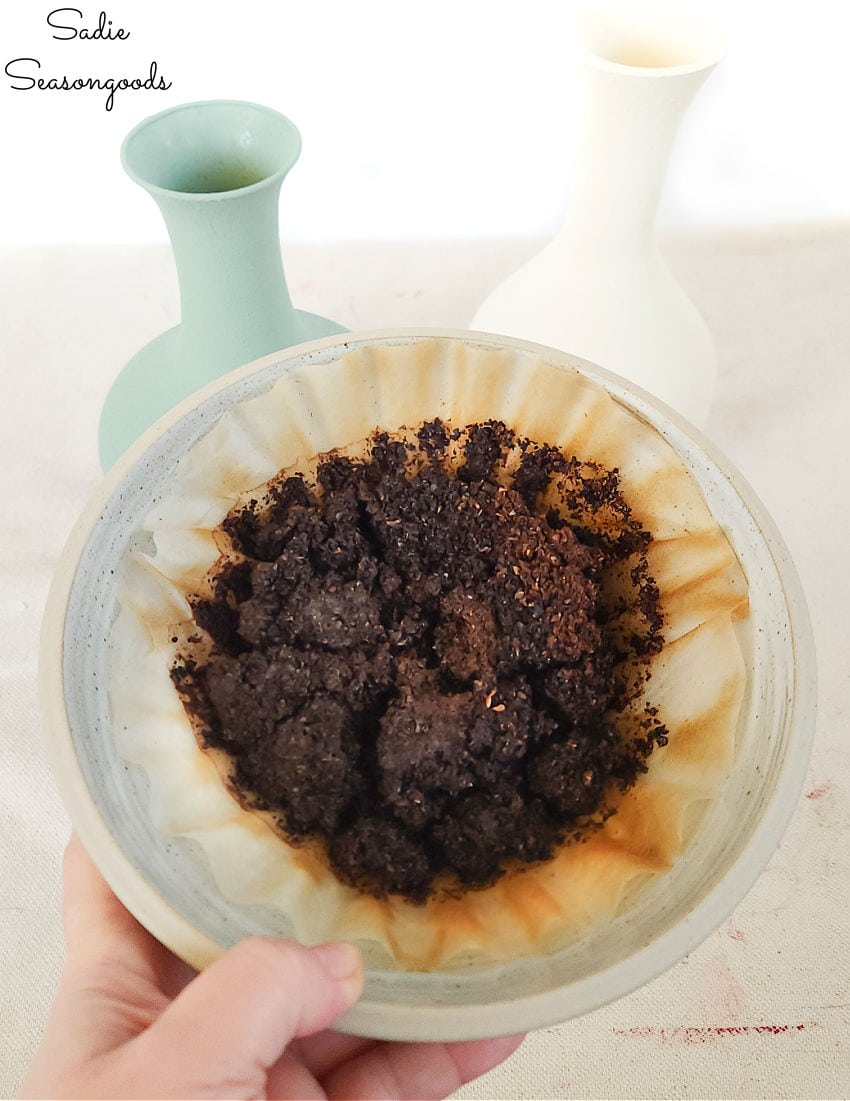
Image credit: Sadie Seasongoods.
Then, I set up a “coffee grounds crafting station” on our kitchen island. Basically, I spread out some used packing paper to collect the mess.
Next, I took a handful of coffee grounds and started to lightly “pack” it and smear it gently on my artisan vase. It was, in fact, messy with lots of grounds falling off but that was fine.
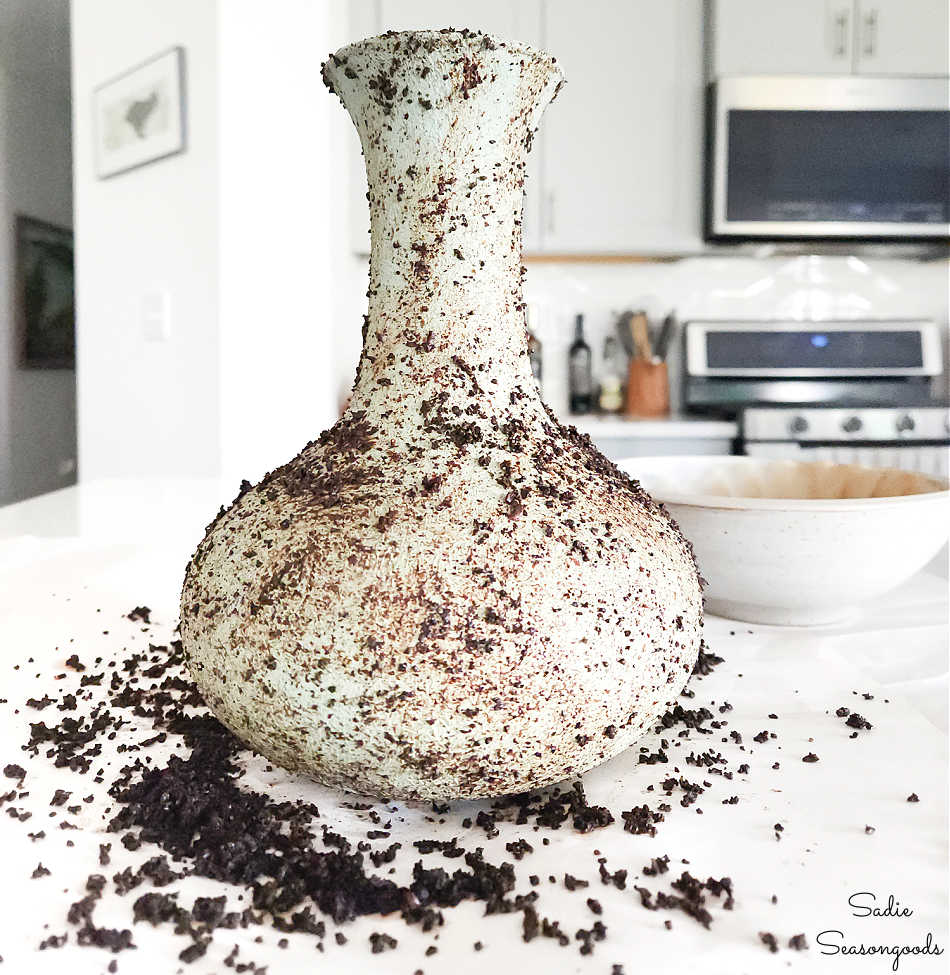
Image credit: Sadie Seasongoods.
I knew this part would be messy! I mean, how could it not be?
After a few hours, I could tell that the grounds had dried. So, I used a fairly stiff paint brush to brush or slough off the remaining grounds.
And they looked pretty good! Sufficiently aged, just as I had hoped. So, I took the vases outside to seal them with a top coat.
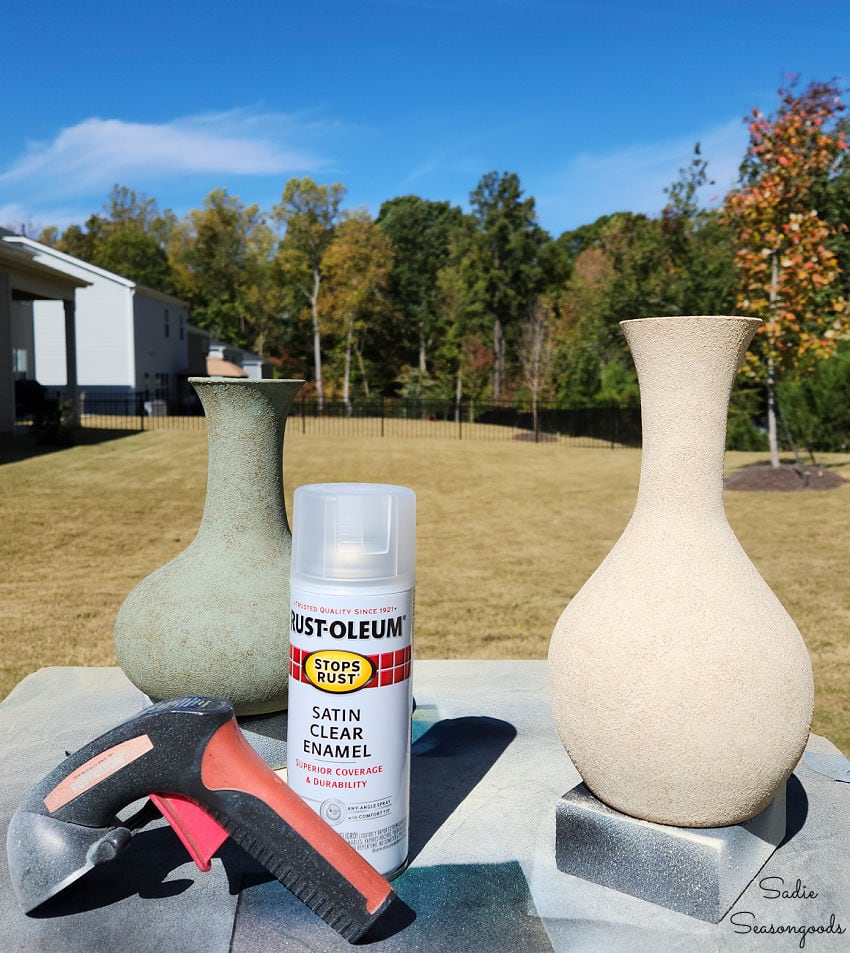
Image credit: Sadie Seasongoods.
Last but not least, I decided to add a little accoutrement to each one. Sure, I could have left well enough alone, but then I remembered how much I loved how these vases looked.
So, I gathered some hemp twine and beads for a little extra pizazz.
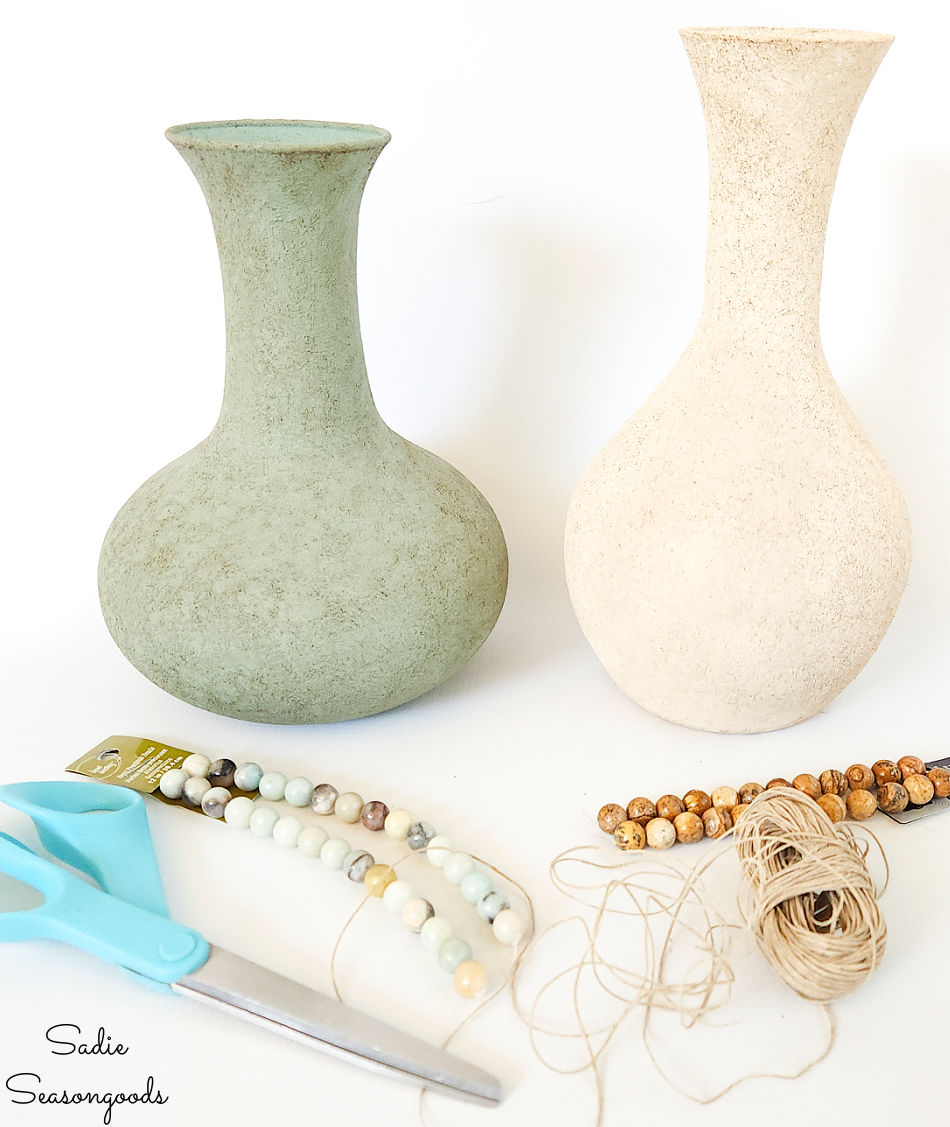
Image credit: Sadie Seasongoods.
Making an Artisan Vase with Coffee Grounds
And there you have it- an artisan vase or stoneware vase that used coffee grounds in the process. What do you think?
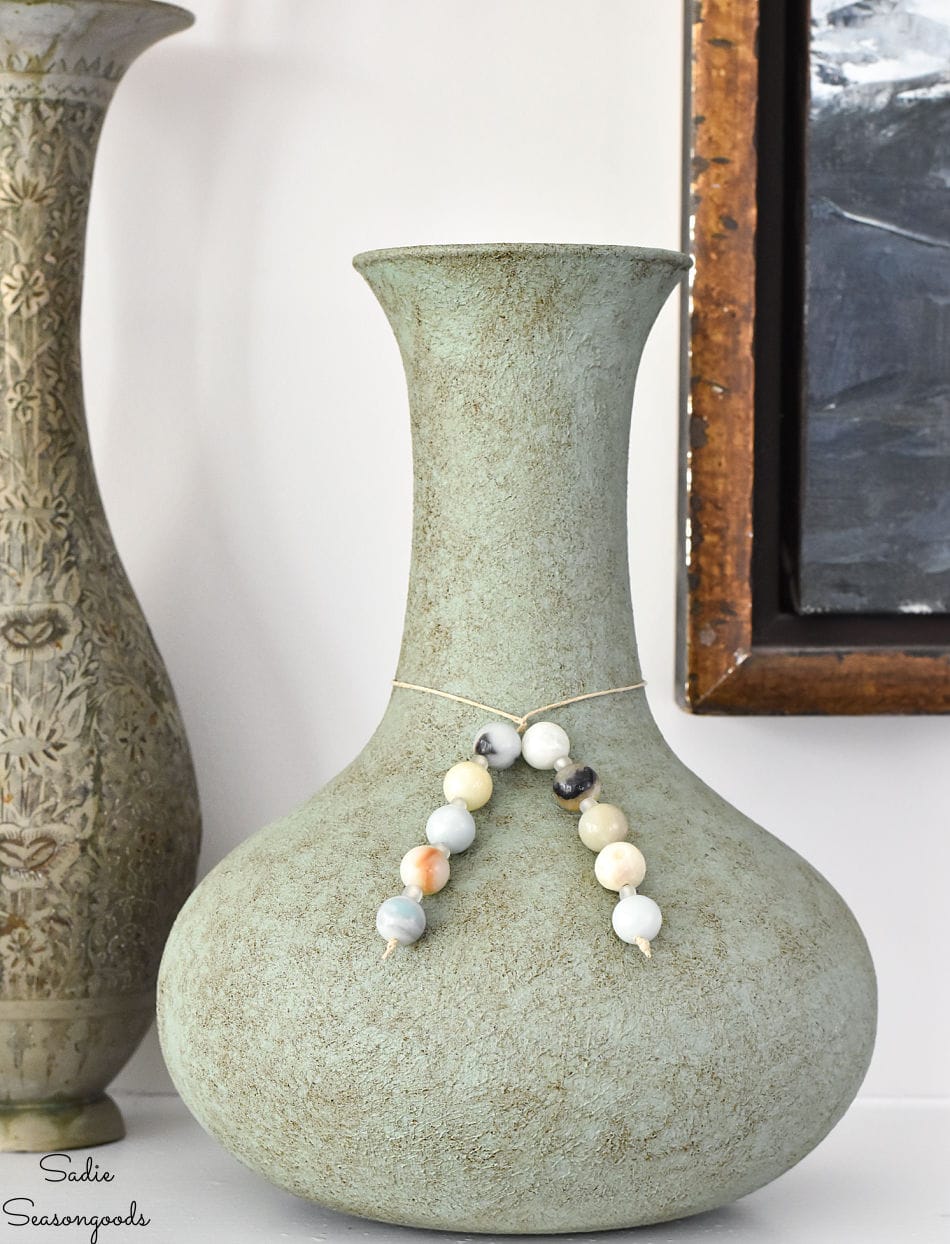
Image credit: Sadie Seasongoods.
To be honest, I haven’t decided if I love the look or not. Maybe because I absolutely LOVED how the terracotta paint looked on the patterned glass in my previous post. So, the bar was set pretty high!
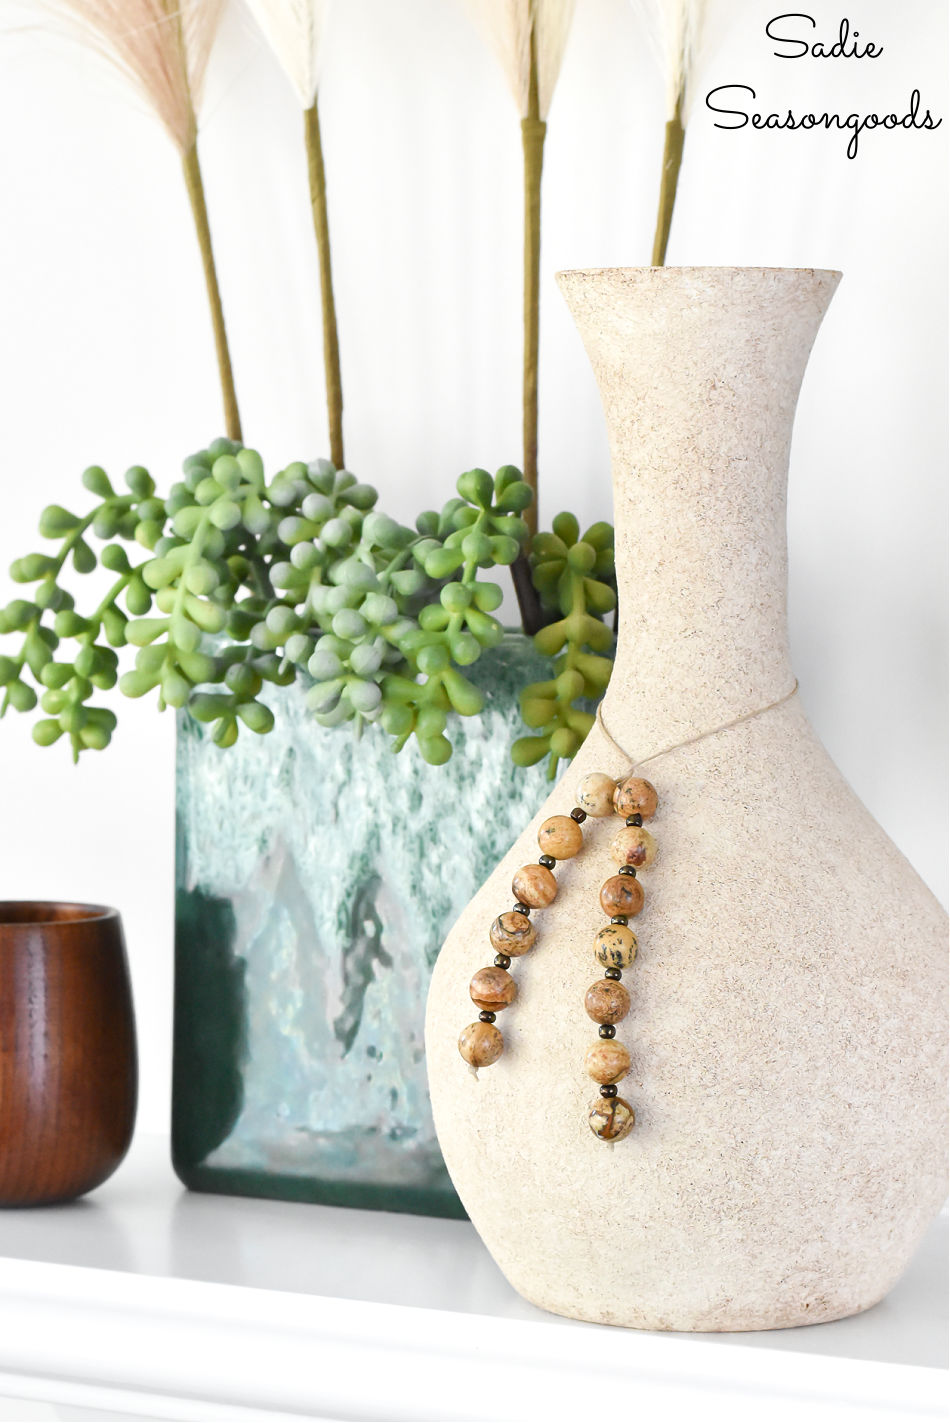
Image credit: Sadie Seasongoods.
But I do like them- the aged/weathered look that they have, thanks to the coffee grounds. And, I also love the idea of reusing something like coffee grounds in my projects!
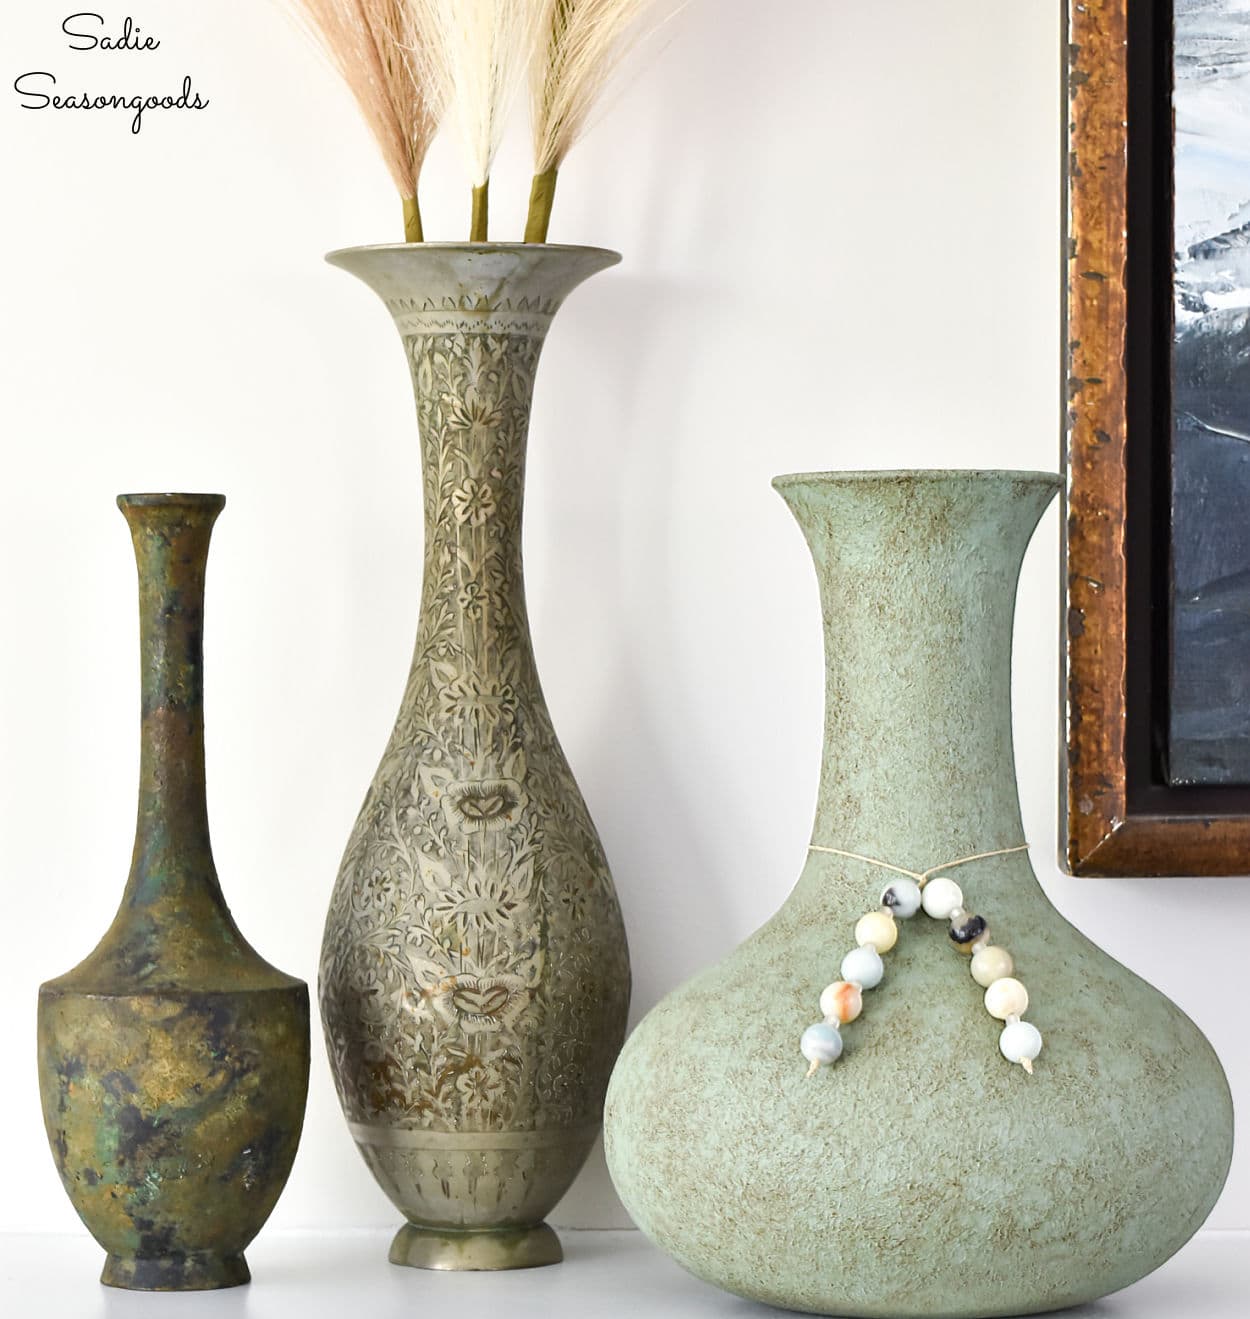
Image credit: Sadie Seasongoods.
It *feels* like a free craft supply in a way, you know? Because I’d otherwise just be throwing them out since we haven’t figured out composting yet.
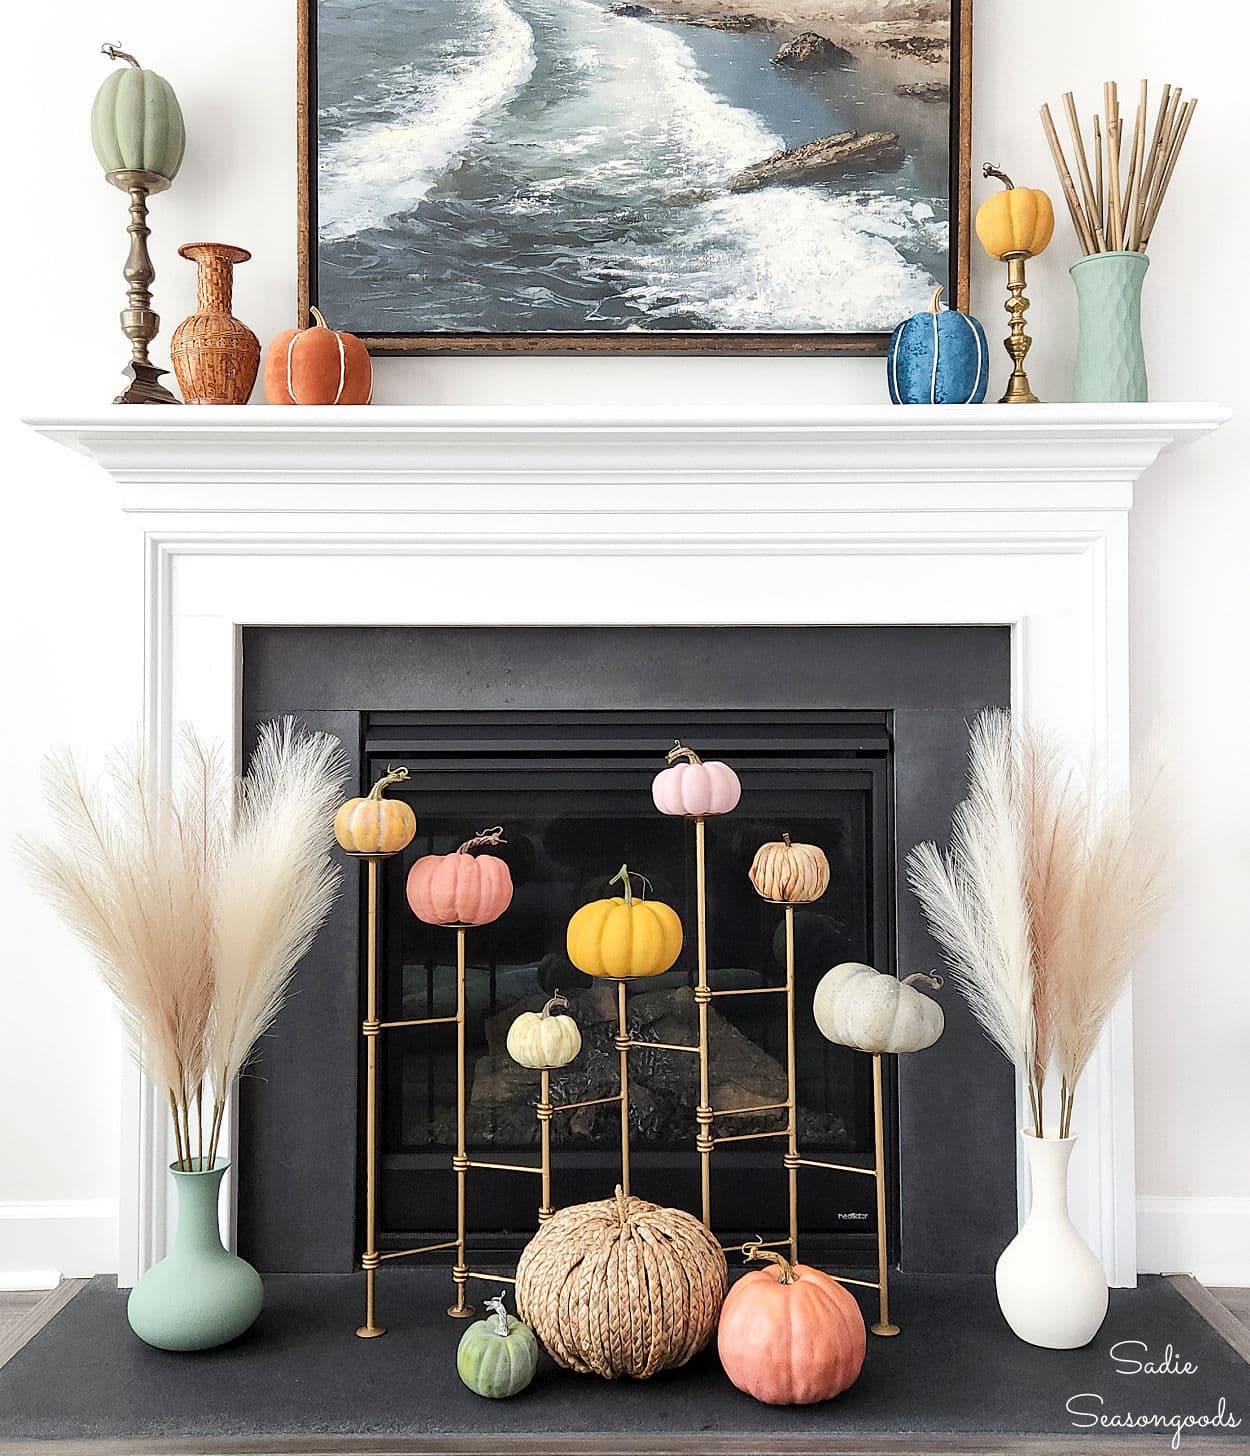
Now, I need to share a secret with you before I go! I didn’t mention it at the time, but I actually used these vases (pre-coffee grounds) in my modern fall mantel decor post! You probably didn’t even notice them at the time, but there they were on the hearth.
Tee-hee! I snuck them in there and didn’t call them out at all. Sneaky Sadie strikes again…
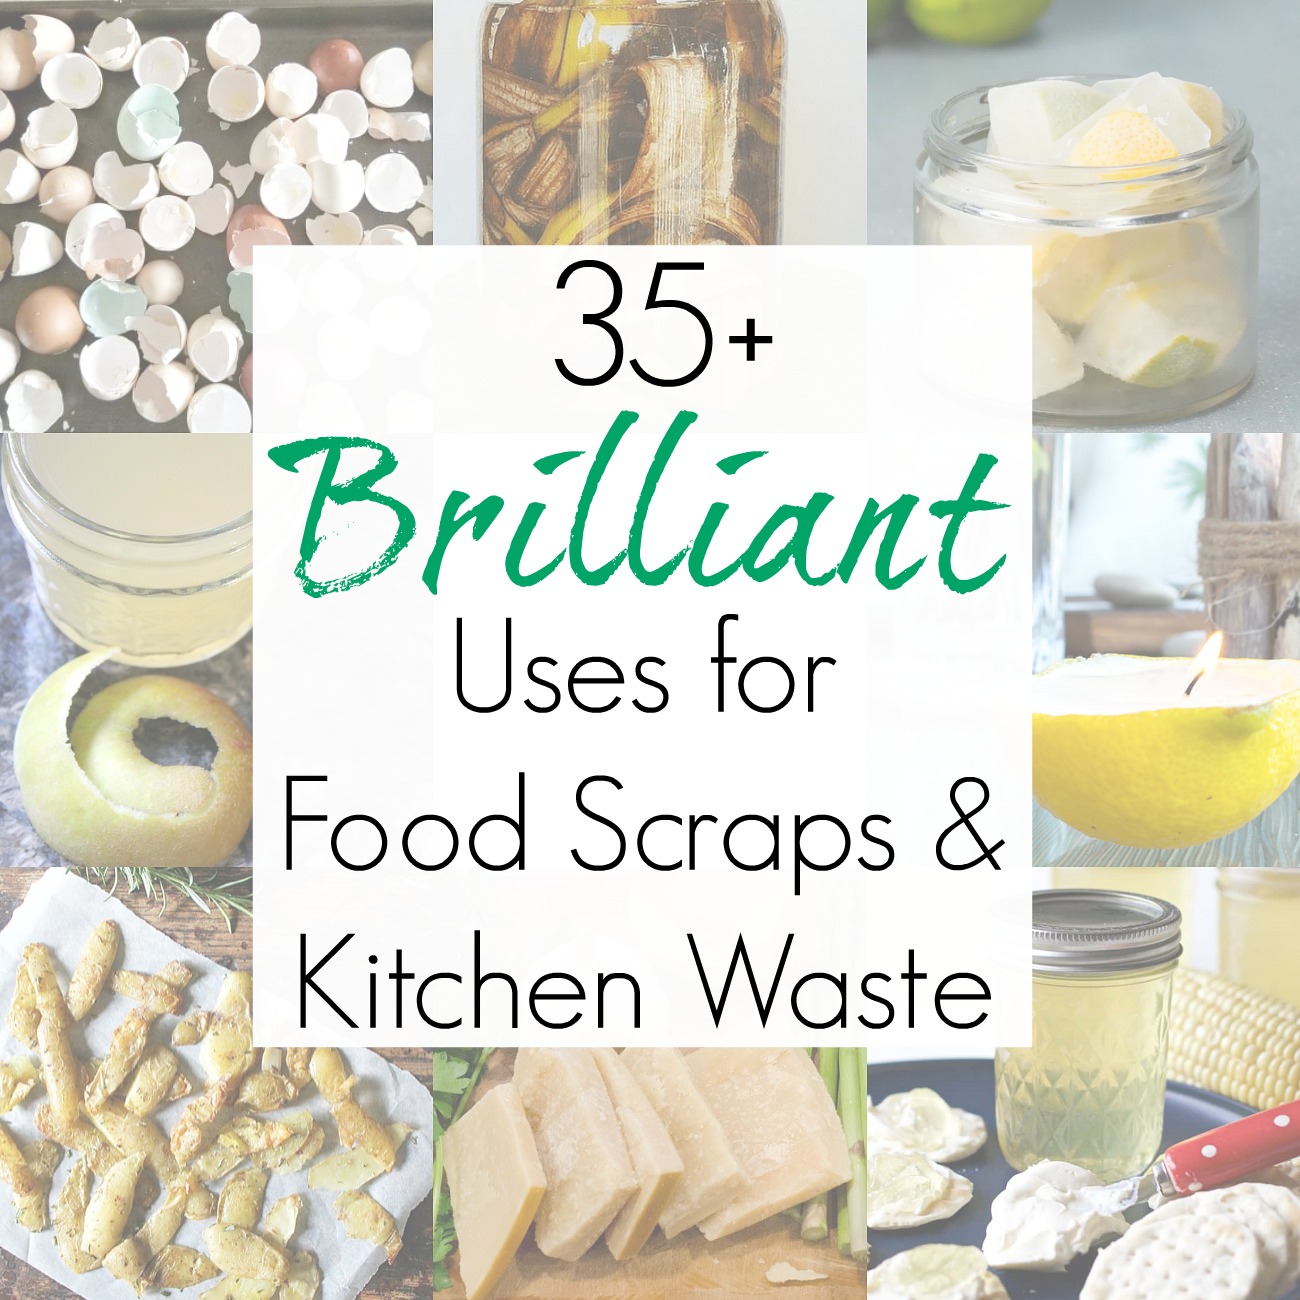
And if you LOVE the ideas of using food scraps like coffee grounds in inventive ways, you may enjoy this collection of clever ways to use food scraps!
Craft on!
S
Want to be notified when I publish my next upcycling project tutorial?
Join me on Social Media:
PIN ME!
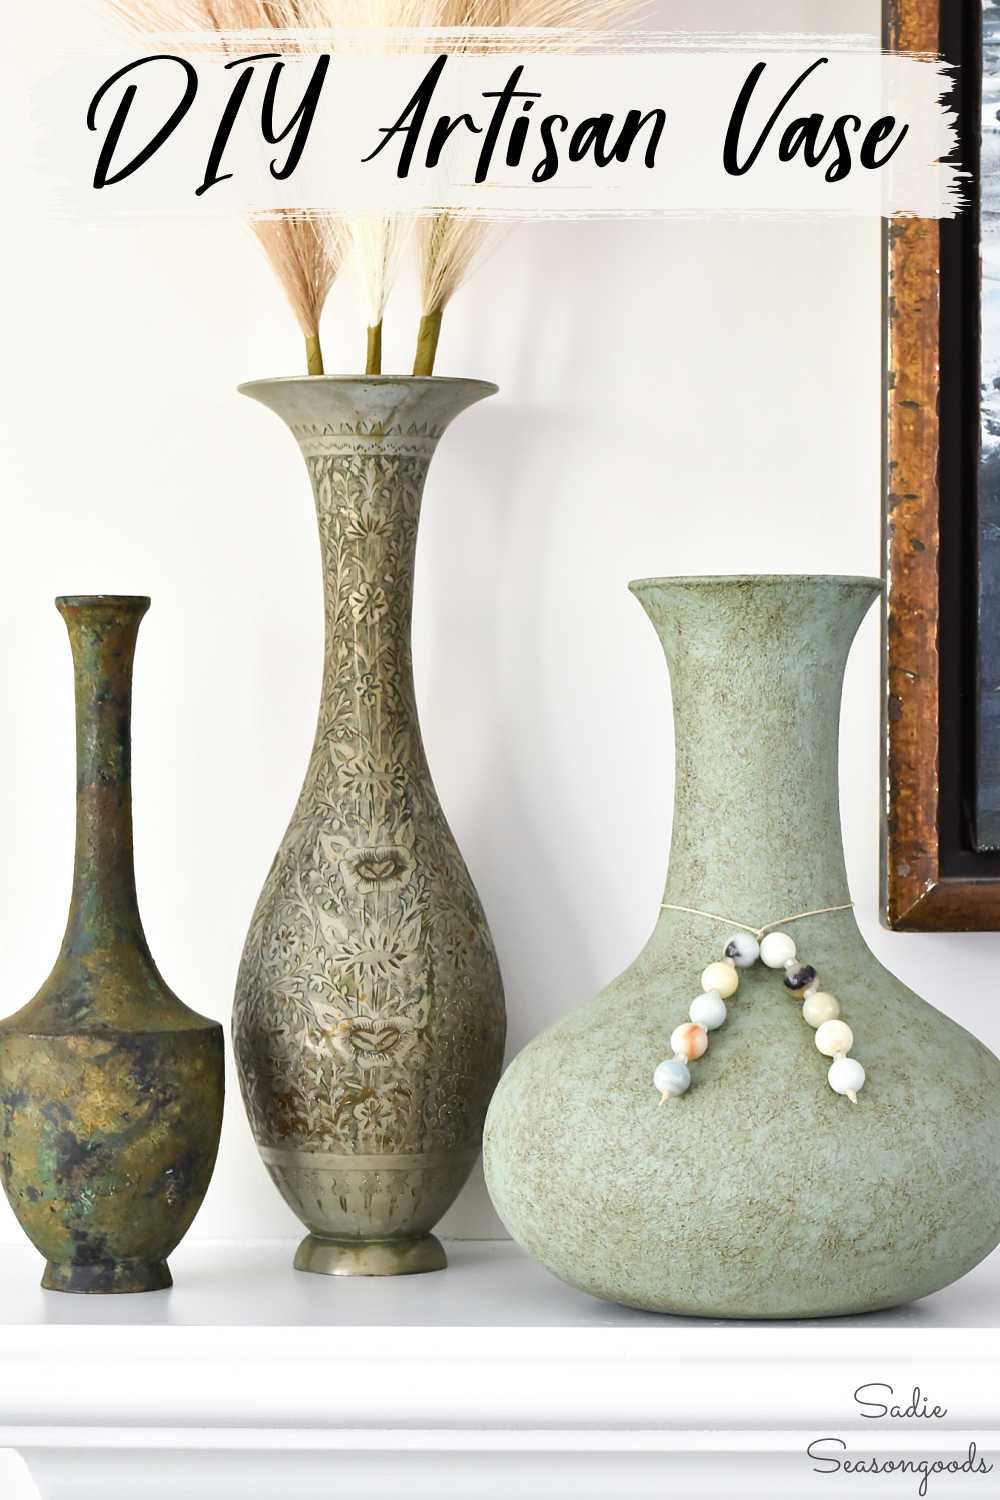
Image credit: Sadie Seasongoods.
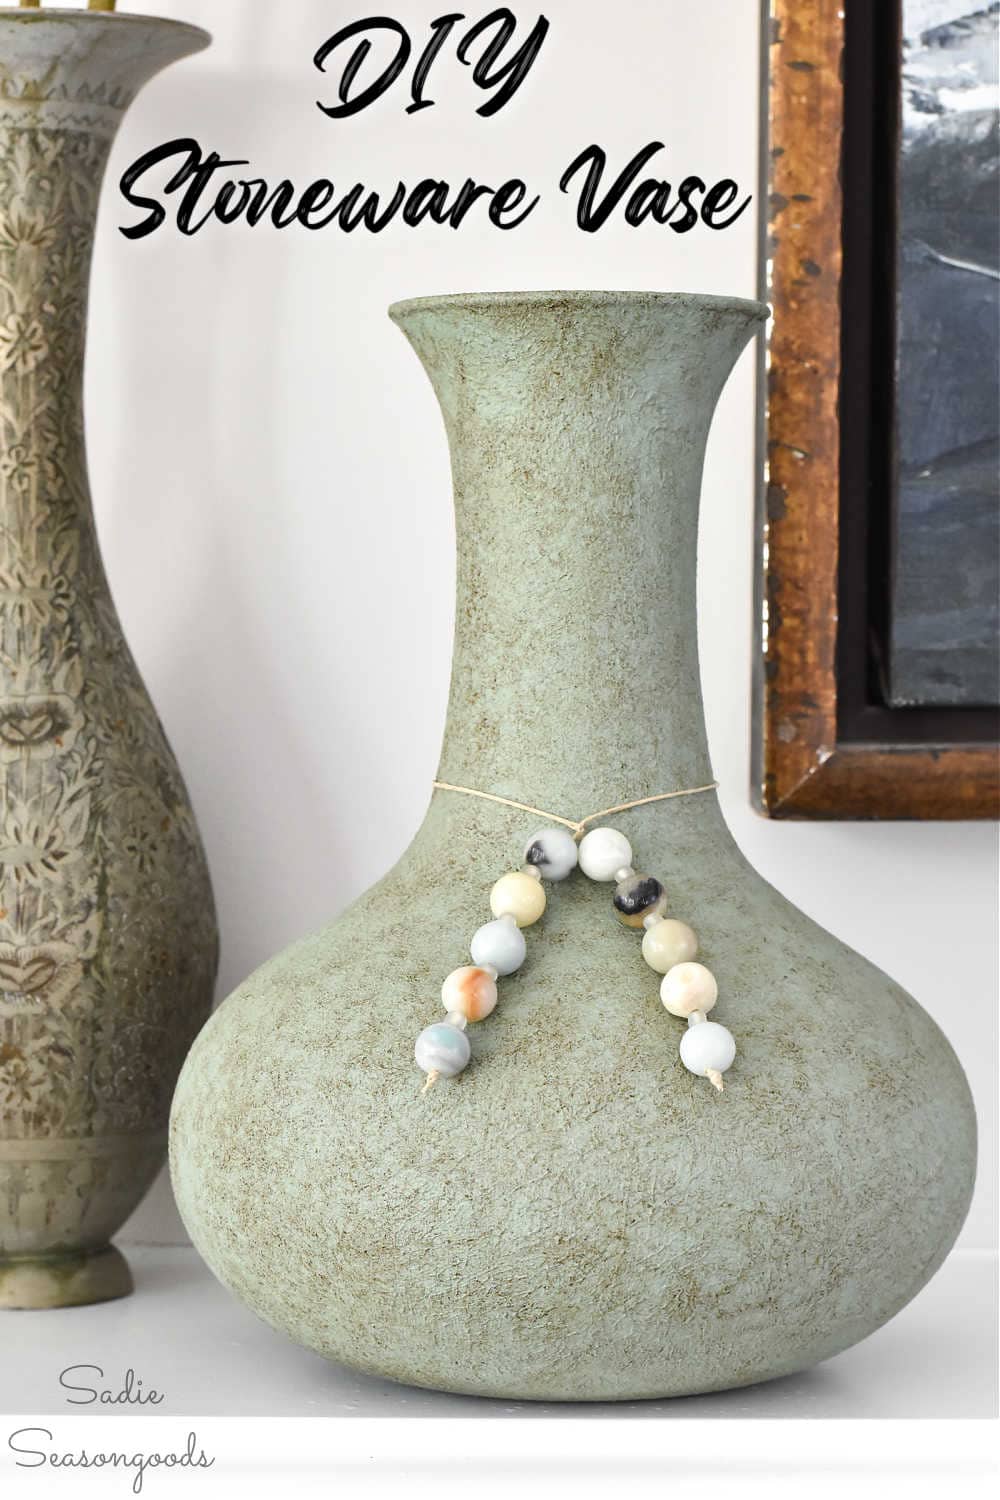
Image credit: Sadie Seasongoods.
Sarah Ramberg is the owner of Sadie Seasongoods, a website that celebrates all things secondhand. From upcycling ideas and thrifted decor to vintage-centric travel itineraries, Sadie Seasongoods is a one-stop shop for anyone who loves thrifting and approachable repurposing ideas. Sarah is also the author of “Crafting with Flannel” and has been featured in numerous media outlets and magazines.


I love the technique, and you just sent the vases over the edge with the addition of the beads! Great job!
Thank you so very much, Fonda! Hope you two are doing well!
I love them! The beads look like jewelry – so pretty!!
Thank you, Gina!
These are beautiful! Who comes up with these techniques?!? Simple, low cost crafting with expensive looking results!
Right???
Great Job I agree the Beads took it to top class rating!
Thank you!!
Ooh, coffee grounds are a medium I never thought about using in crafts. Coffee stains anyway, so why not take advantage of it? This is really ingenious, and the patina it leaves behind looks like it developed over time. Thanks for sharing this one.
You are so very welcome, Deb!