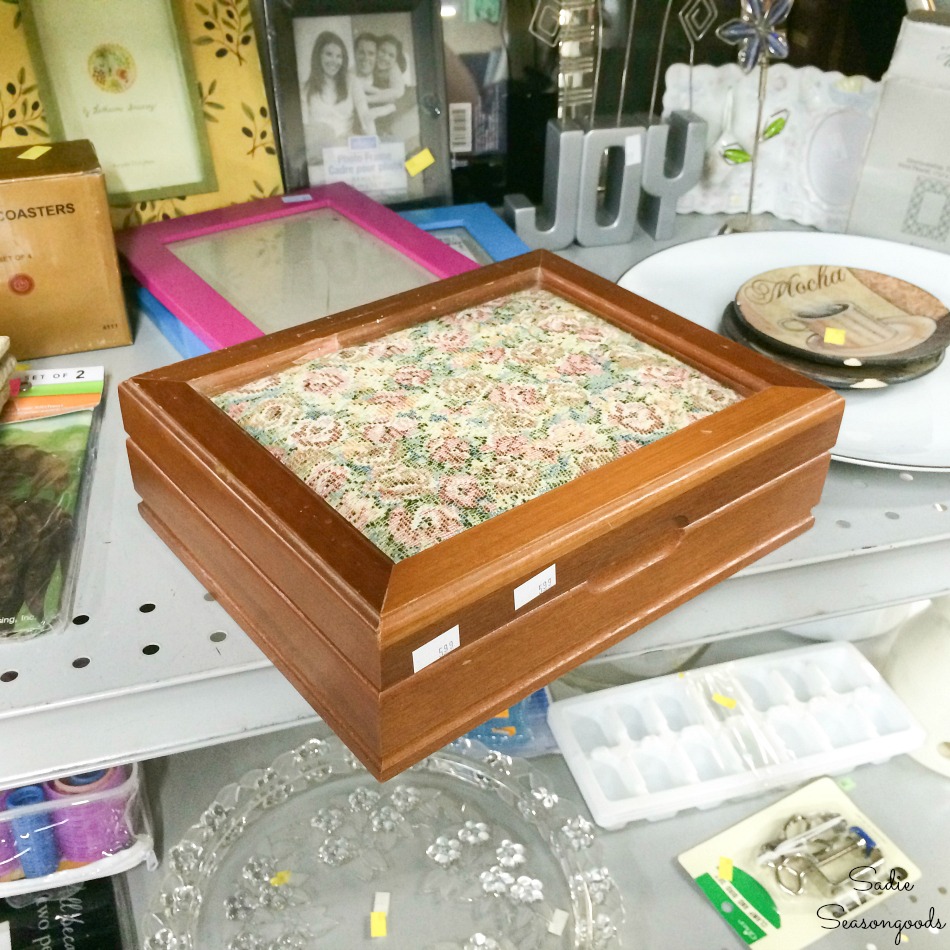
Now, I know what you’re thinking: Sadie already created a sewing caddy once before. And you’re right, I did. I still use it all the time, and the pins are safely tucked away from my cat, Cottonball. BUT, when I found this vintage jewelry box with a tapestry cushion lid at the thrift store, I knew right away it would could easily be upcycled into a sewing starter kit or sewing box.
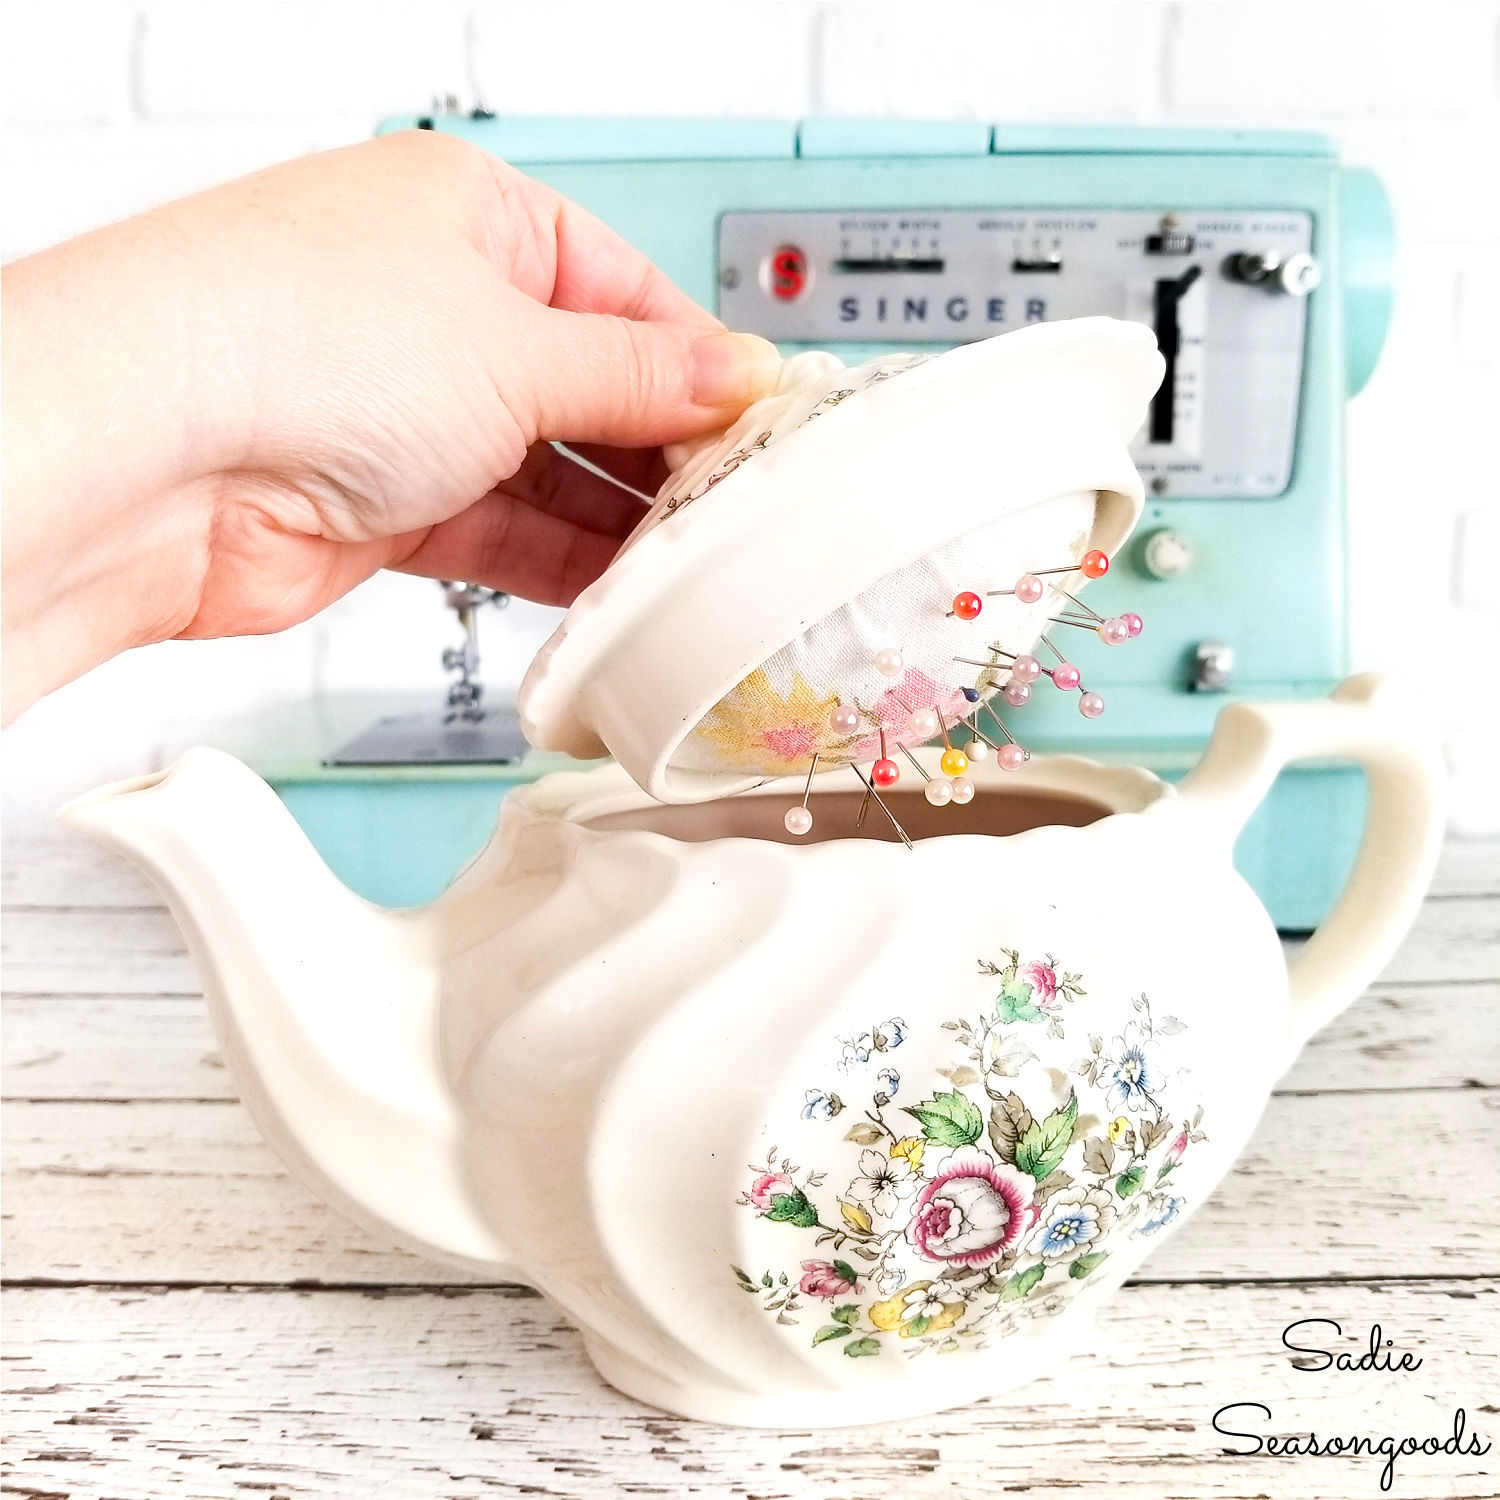
And to jog your memory, this is the sewing caddy I made from a vintage teapot.
Truthfully, who couldn’t use a little more storage for their sewing supplies and sewing notions? Plus, a sewing starter kit would be a delightful gift for a college student or young person moving out on their own.
All I really needed to do was give it a quick makeover, and make a few tweaks inside the box!
This post contains affiliate links for your crafting convenience. As an Amazon Affiliate, I earn from qualifying purchases. All blue, bold, and underlined text is a clickable link, either to a product or to a related post.
Upcycling a Vintage Jewelry Box with a Tapestry Cushion Lid
Sew…I mean, So…this jewelry box didn’t need much to repurpose it into a sewing starter kit. But, first things first, I needed to clean out some of the dust and dirt from the velveteen interior.
Since I was already going to be using some painters tape for the exterior, I used some tape like a lint brush and dabbed out the grime.
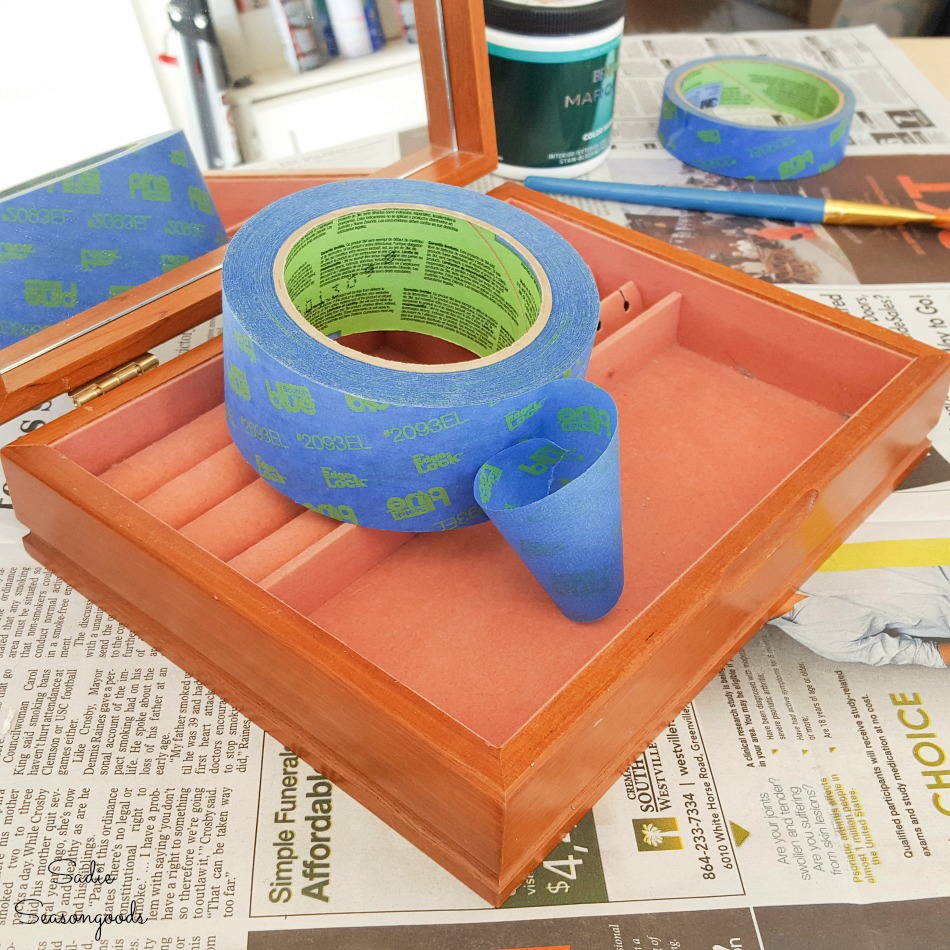
It worked like a charm! After I had cleaned out the velvet interior of the valet box, I taped along the edge between the wood and the upholstered top.
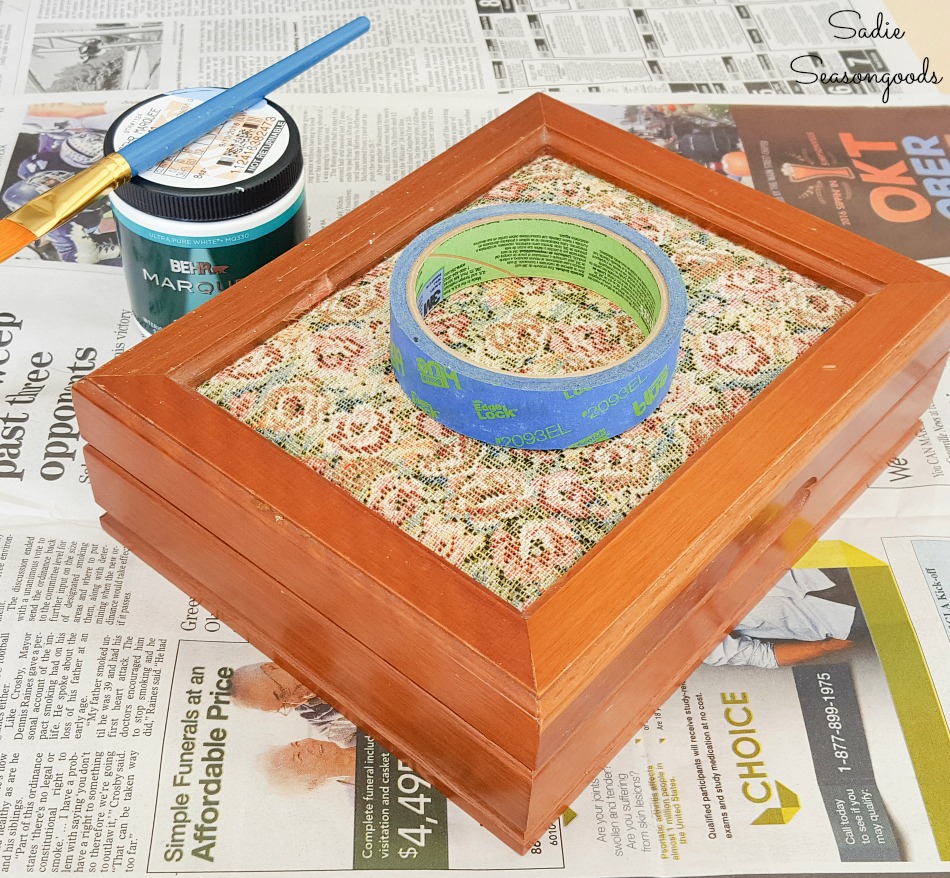
Why? So that I could paint it a pretty periwinkle blue.
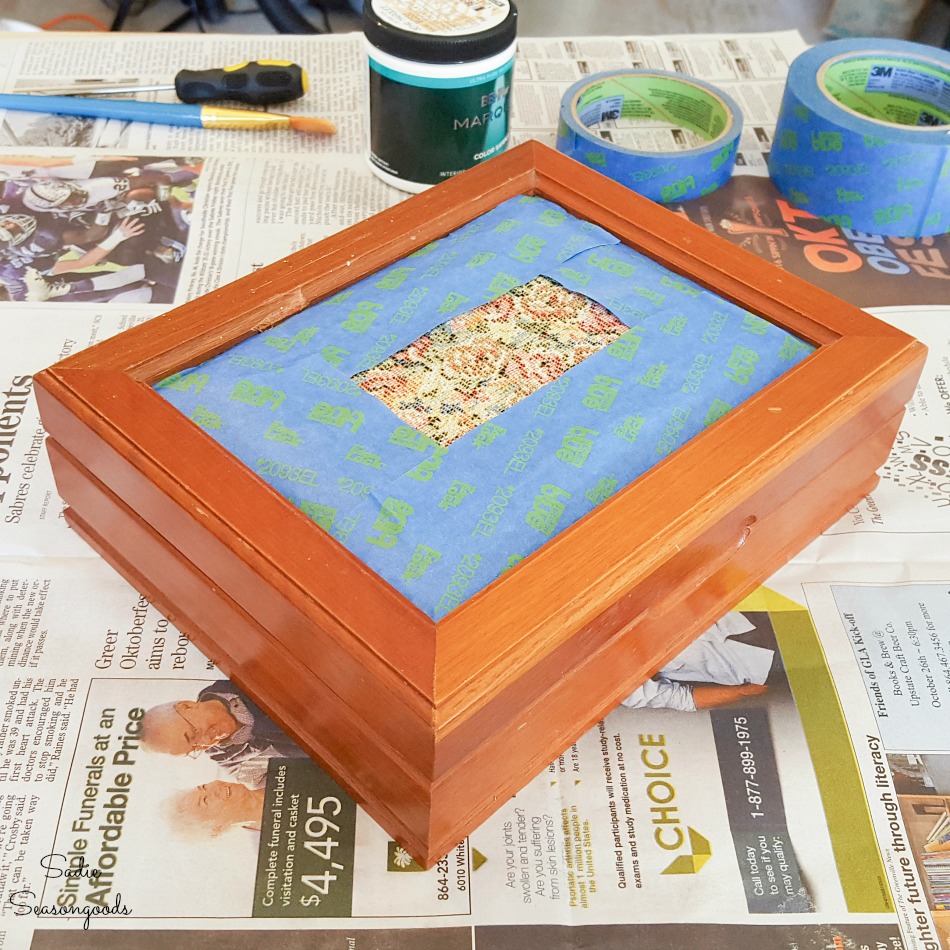
Once the painted had dried and I removed the tape, I was left with a fresh new jewelry box!
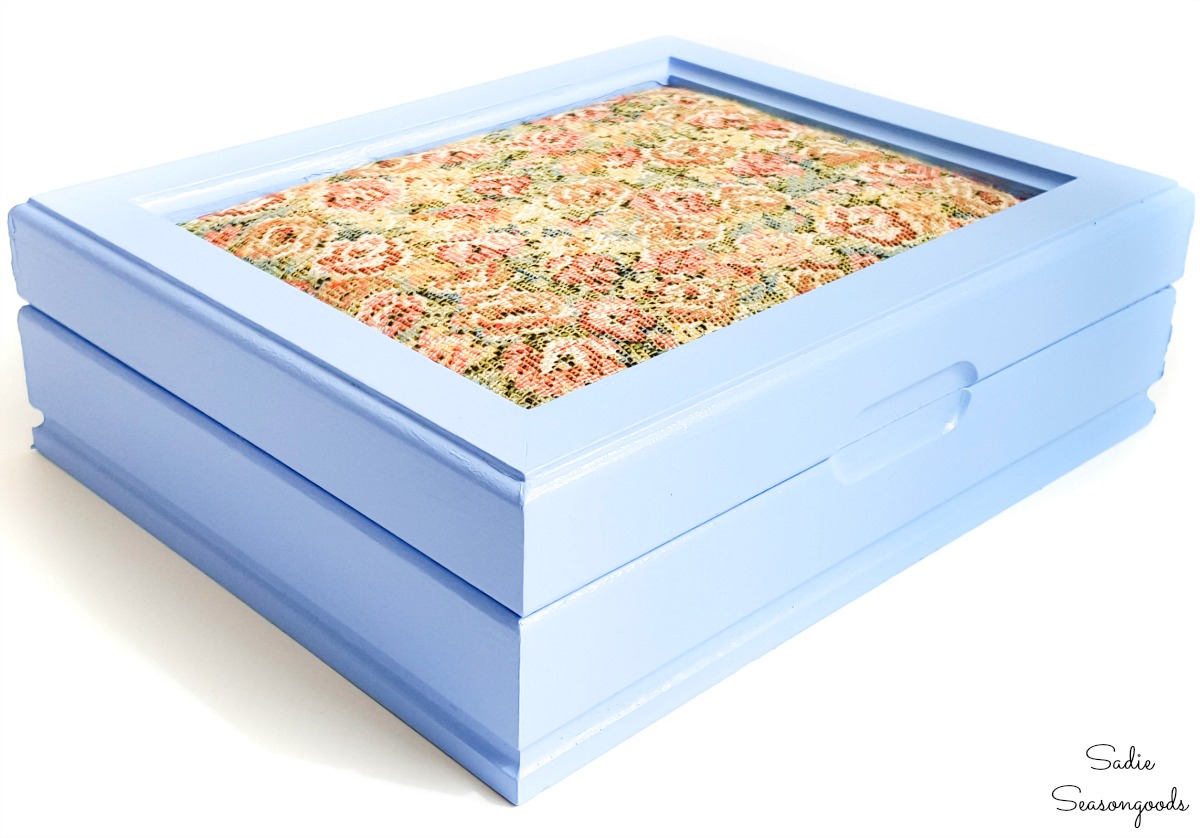
Now to REALLY put my plan for a sewing box or sewing starter kit into action!
A Sewing Starter Kit from a Jewelry Box
First, I did a little modification to the interior of the jewelry box.
With my antique pliers, I removed the foam ring holders.
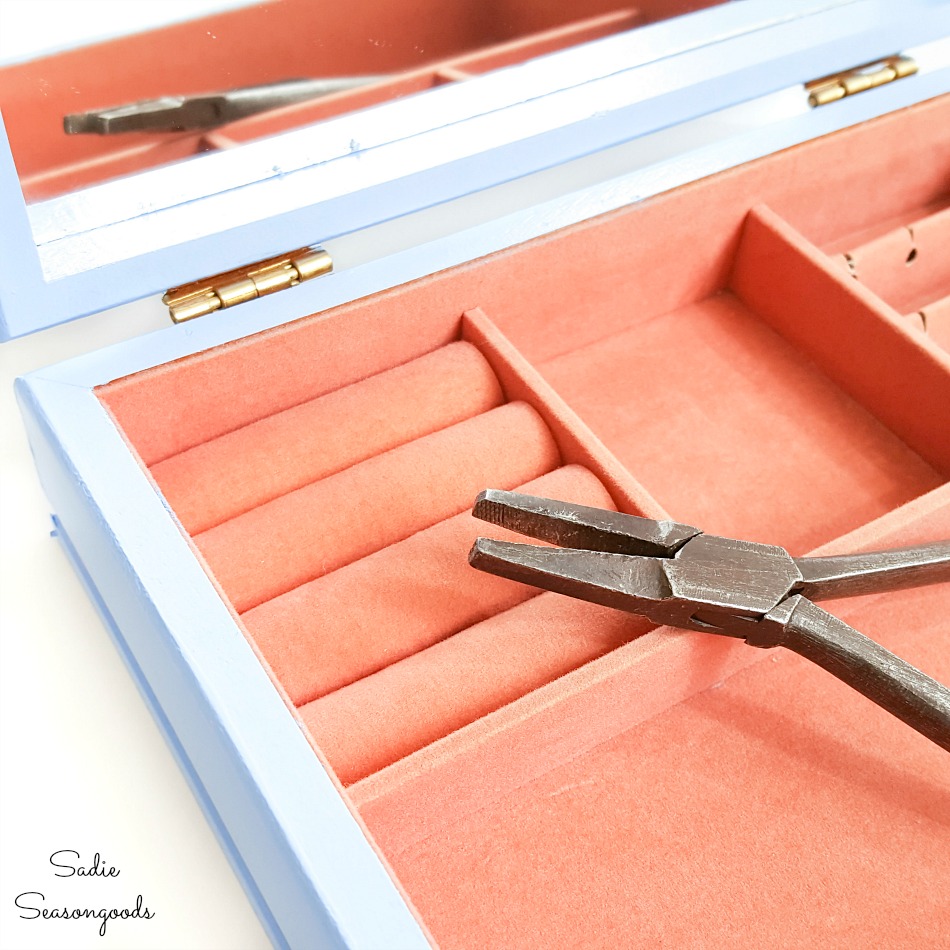
Why’d I do that?
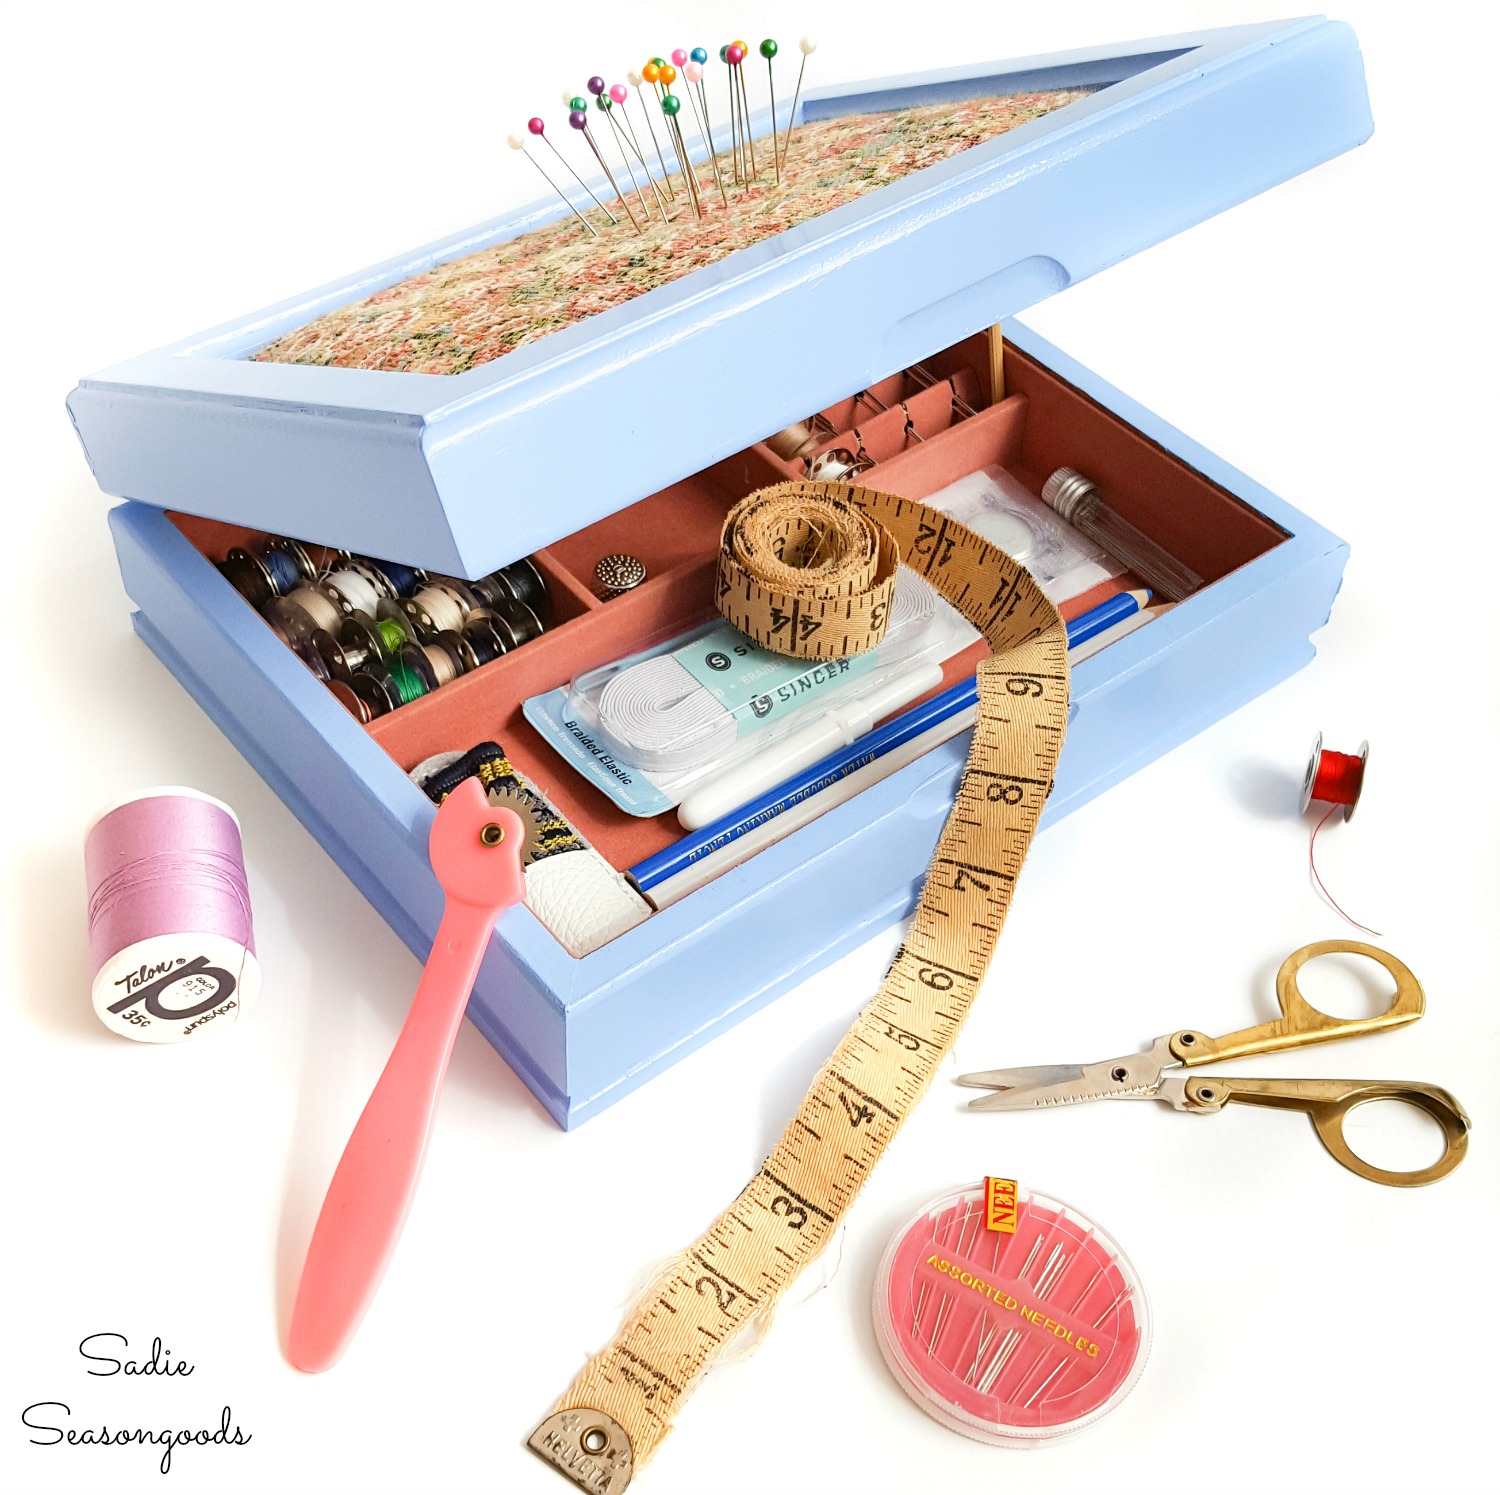
So that the jewelry box could hold more supplies and notions; bobbins, to be more precise.
I mean, I’m upcycling it into a sewing kit, after all..
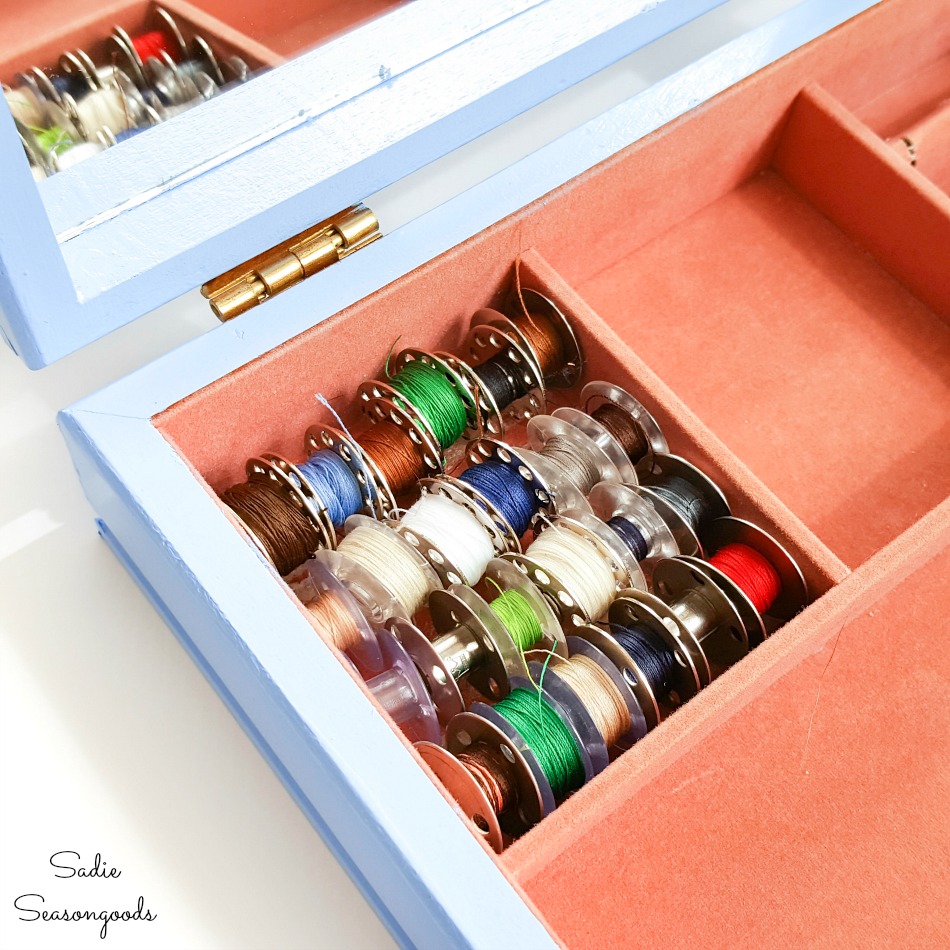
Across the aisle from the bobbins, I used the earring section to hold my long embroidery needles. How perfect is that?
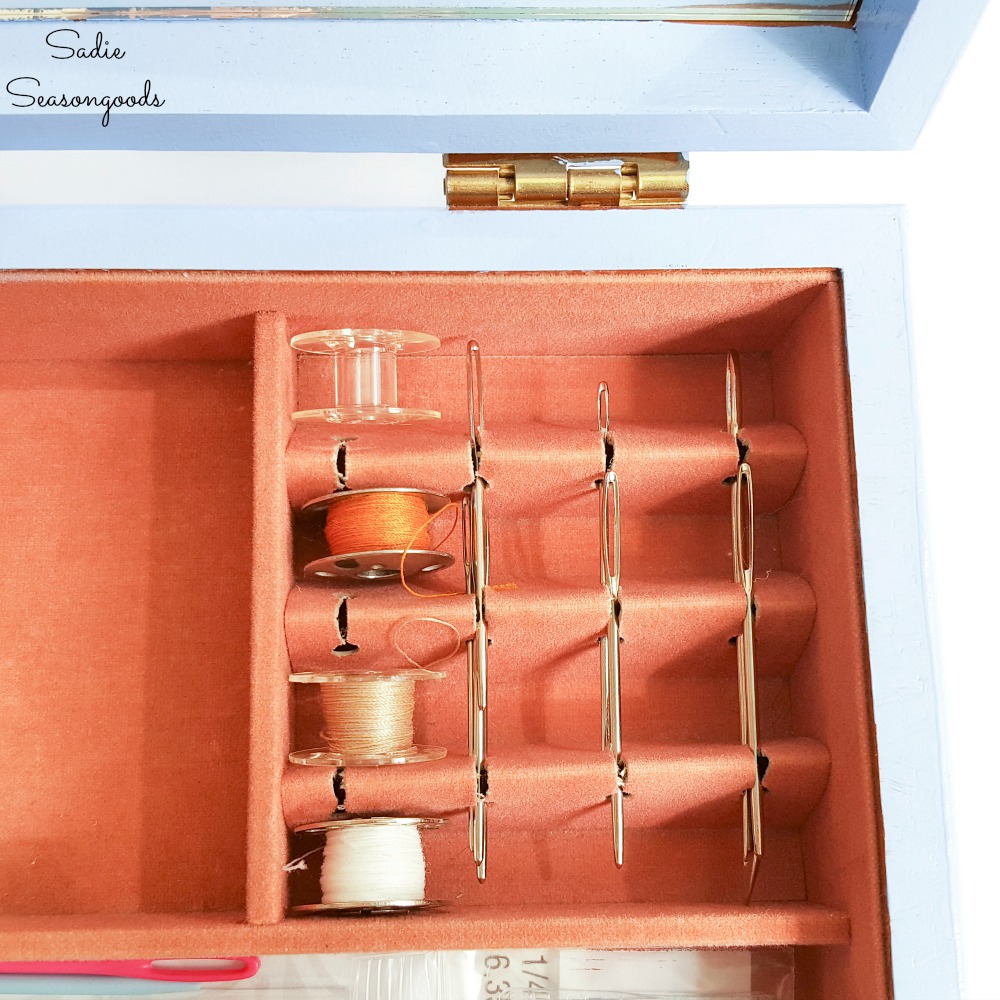
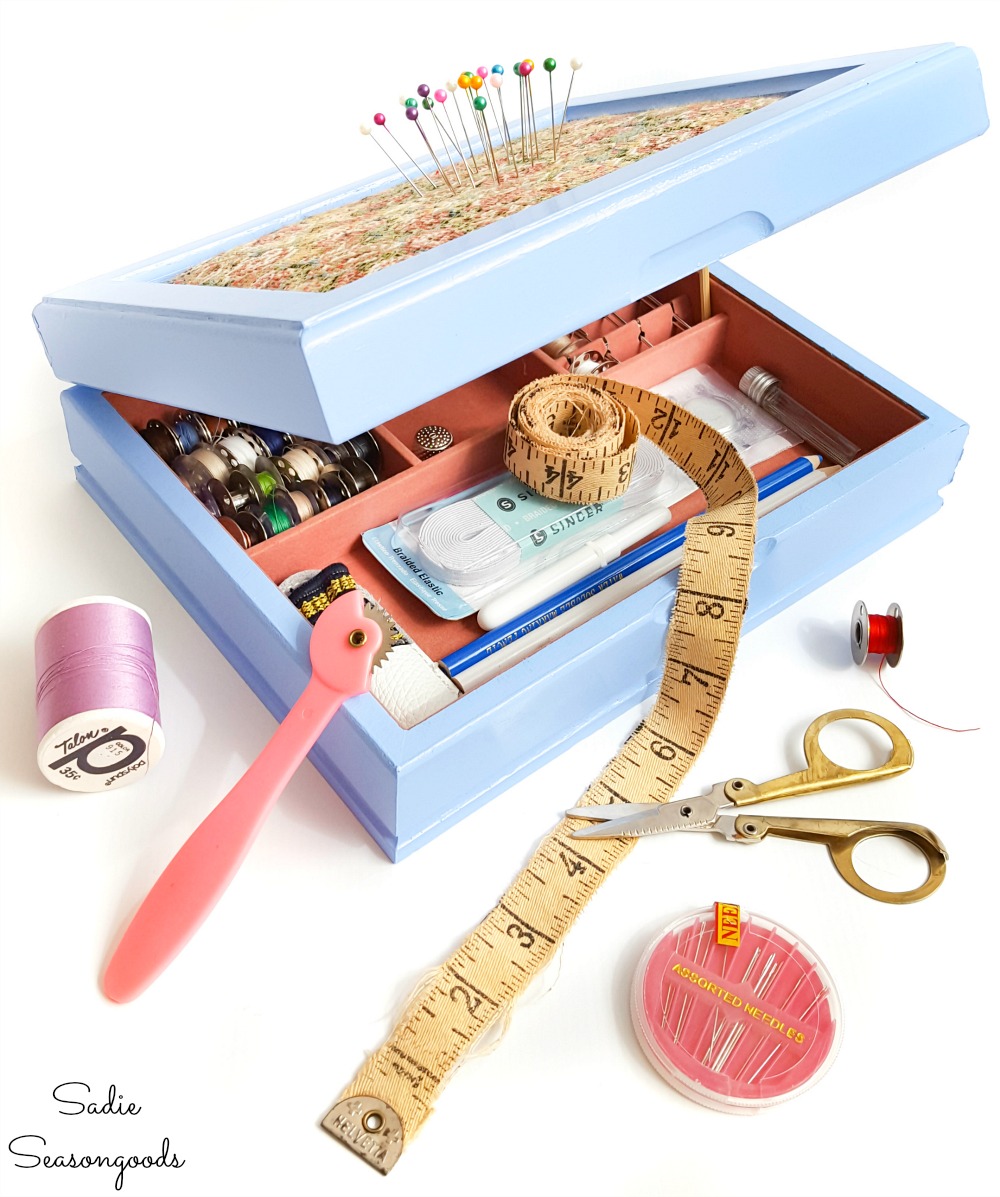
And then I just filled the rest of my sewing box with various sewing supplies- thimbles, measuring tape, cute little folding scissors, fabric pencils, etc.
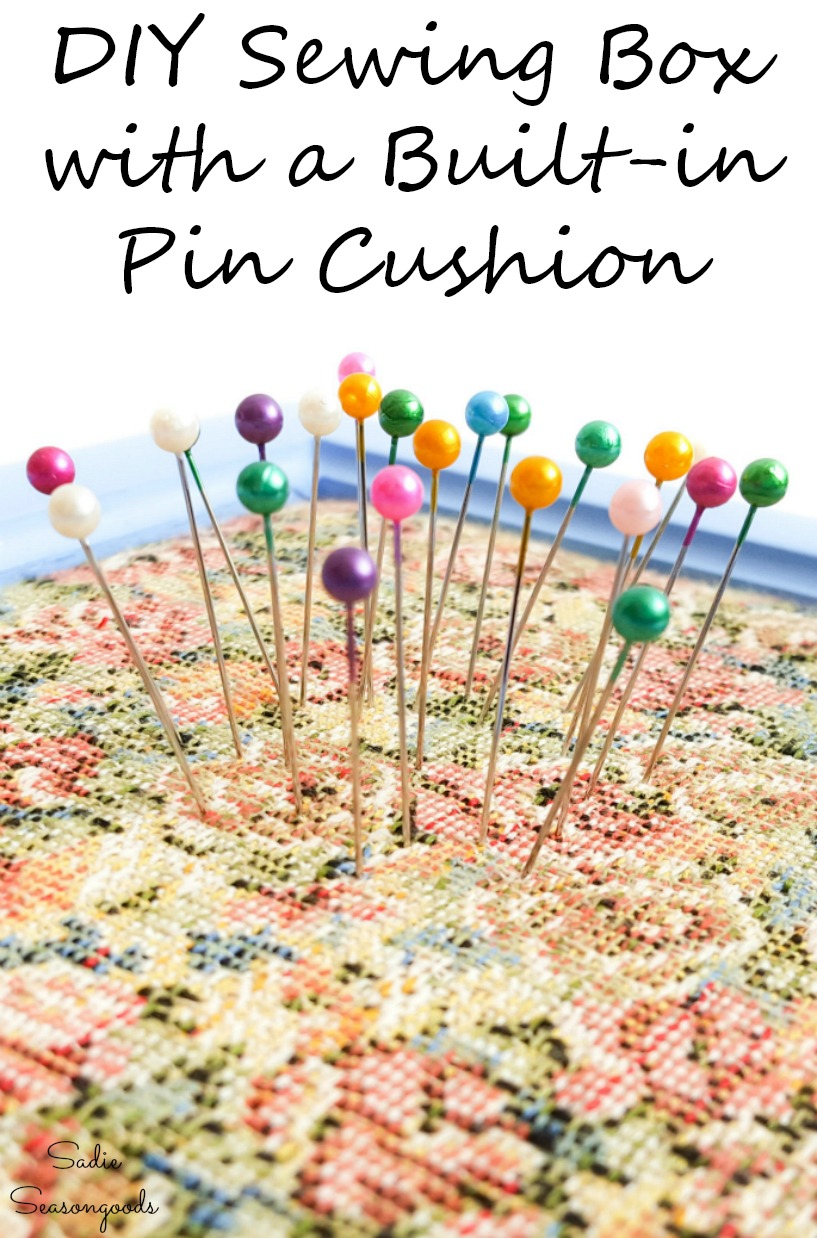
But let’s not forget the most important part, the very reason I purchased this vintage jewelry box in the first place! I used the tapestry cushion top as a built-in pin cushion!
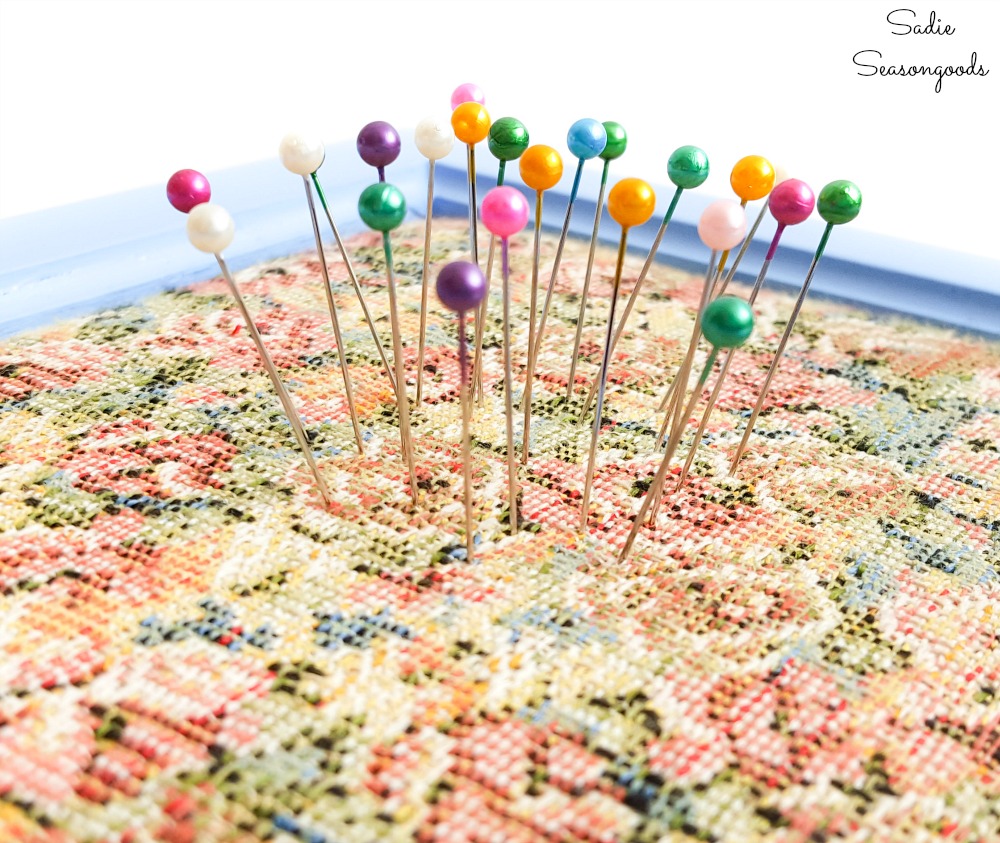
Isn’t that divine? The perfect small sewing box with a pin cushion on top!
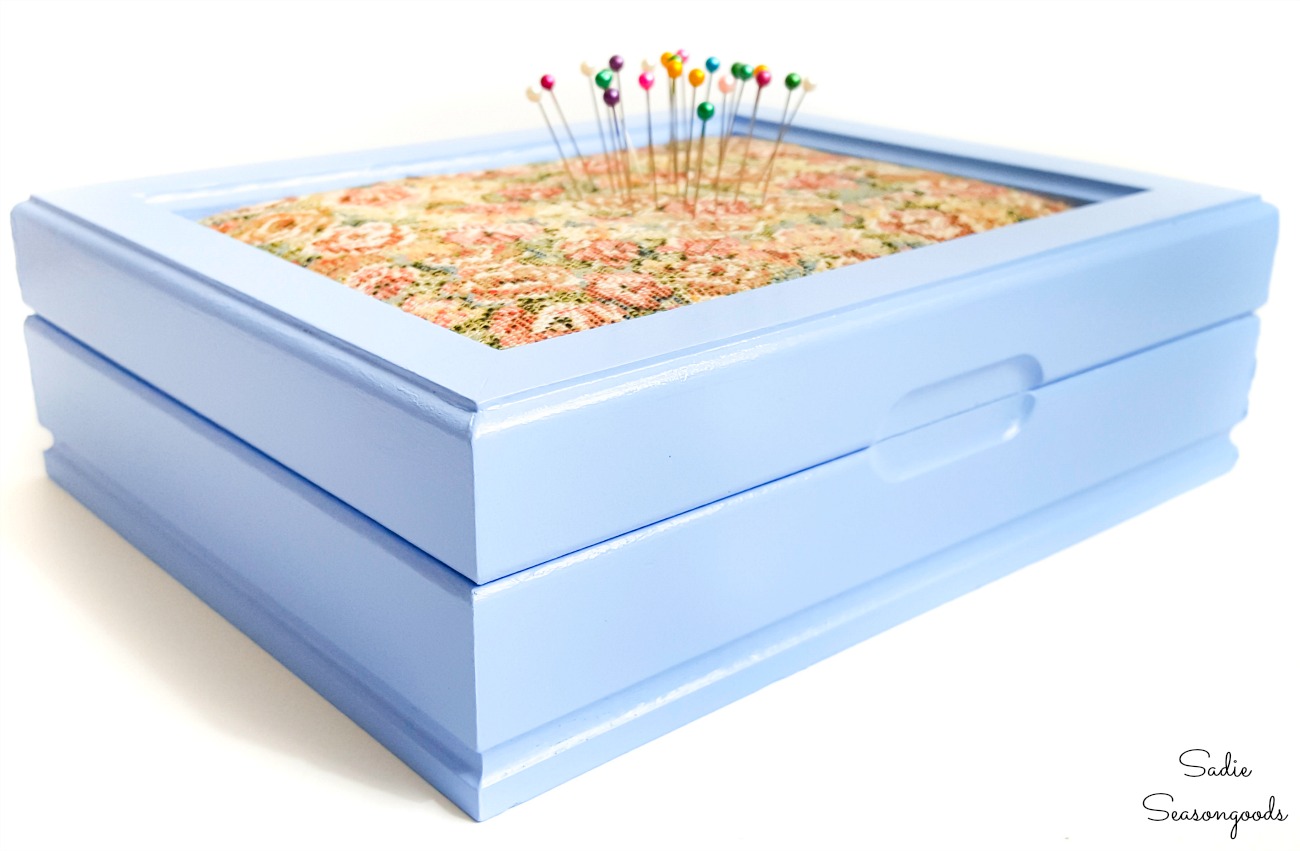
Upcycling a Vintage Jewelry Box as a Sewing Starter Kit
And when it comes to sewing supplies, this jewelry box can really hold a LOT. Definitely more than my (very cute but space-limited) teapot sewing kit.
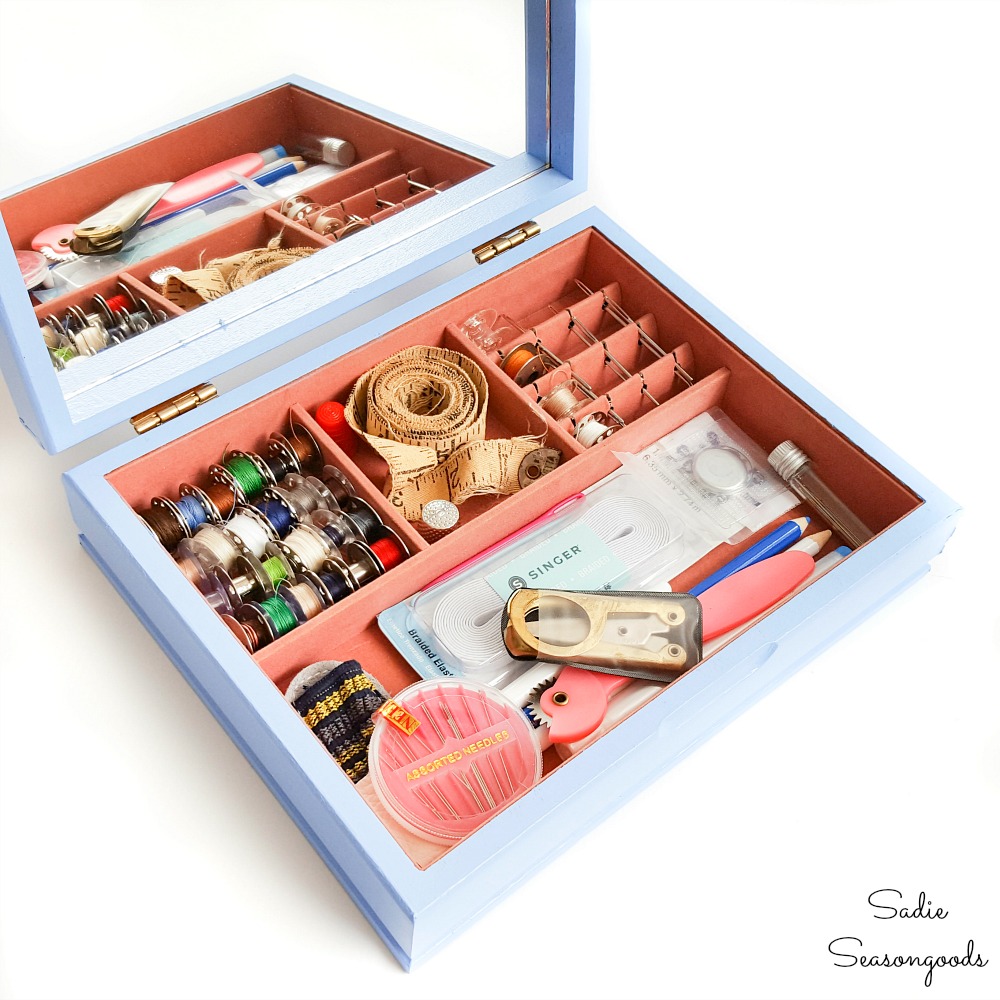
And while it doesn’t hide the straight pins from Cottonball, I can tuck this into a drawer or on a closet shelf just the same.
Just a wonderful little sewing box,- all by upcycling a jewelry box from the thrift store!
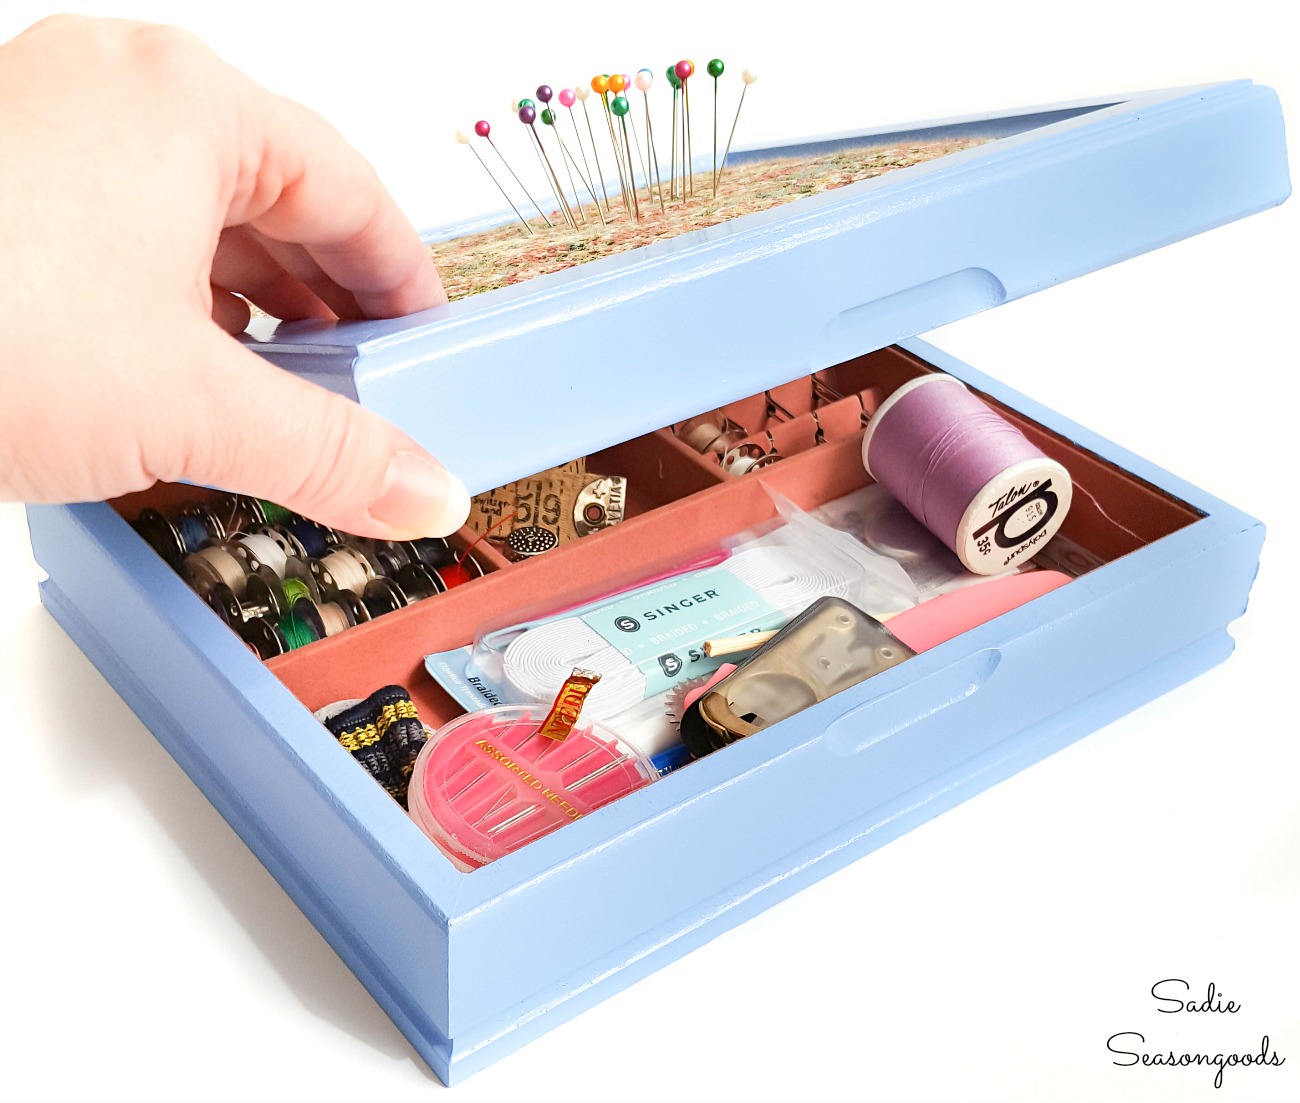
I think the periwinkle paint is a big improvement- it really makes it pop! And now I have a little more storage for my sewing bits!
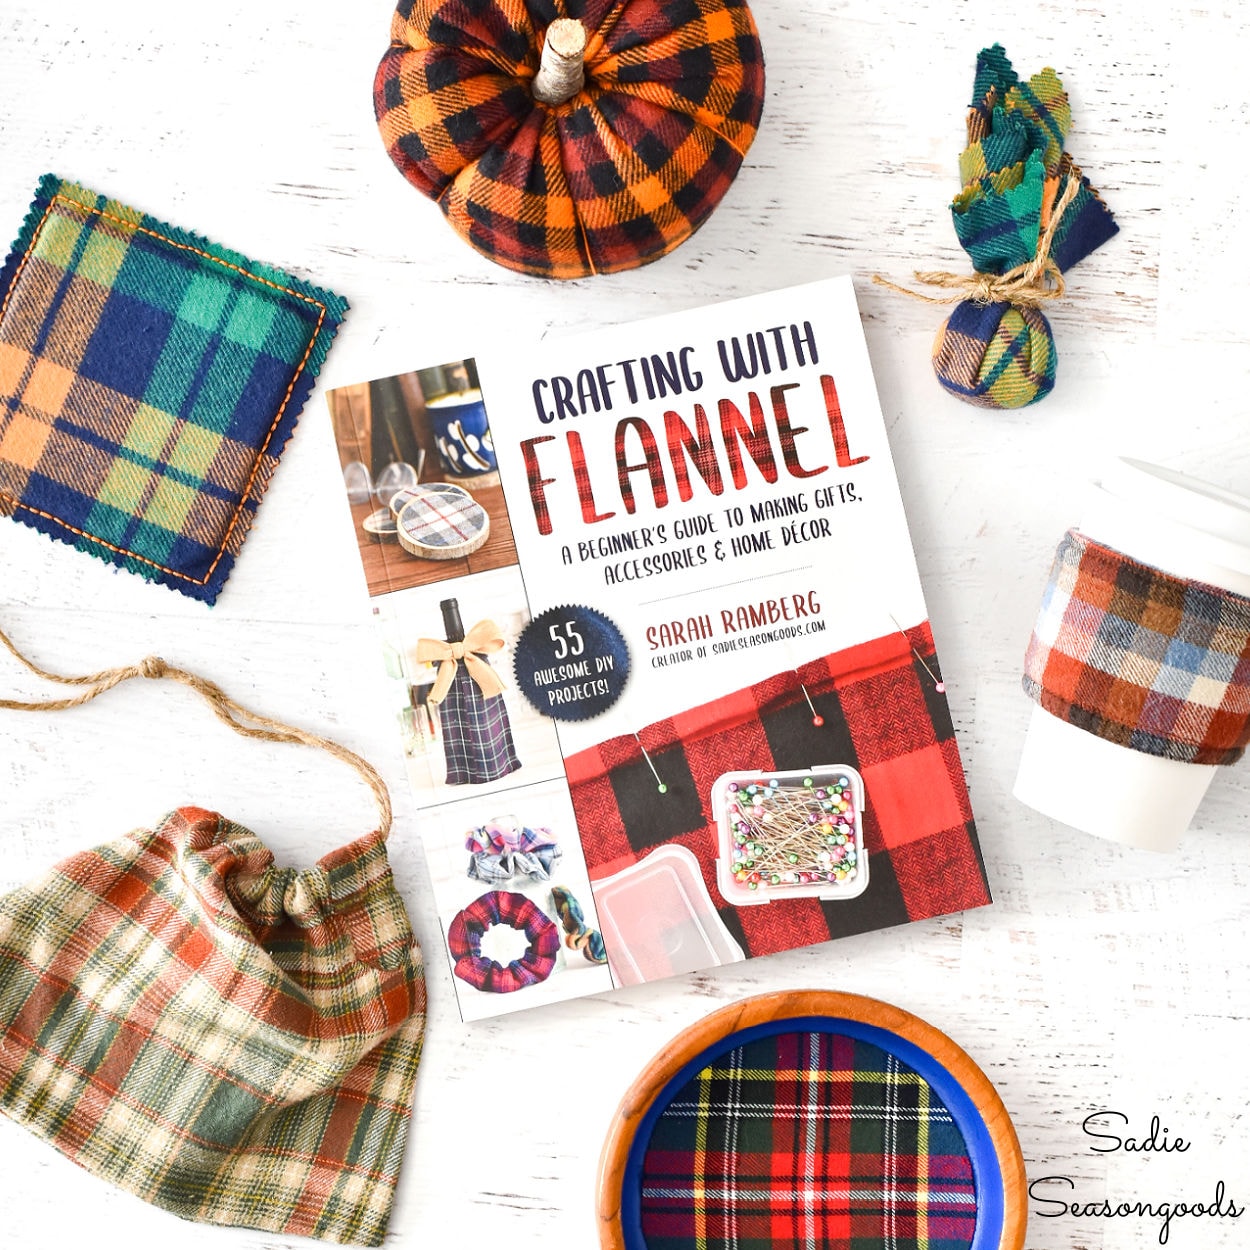
I’m also excited to announce that my first book is now available! If you enjoy upcycling clothing and simple sewing projects, then you will love my book on flannel crafts!
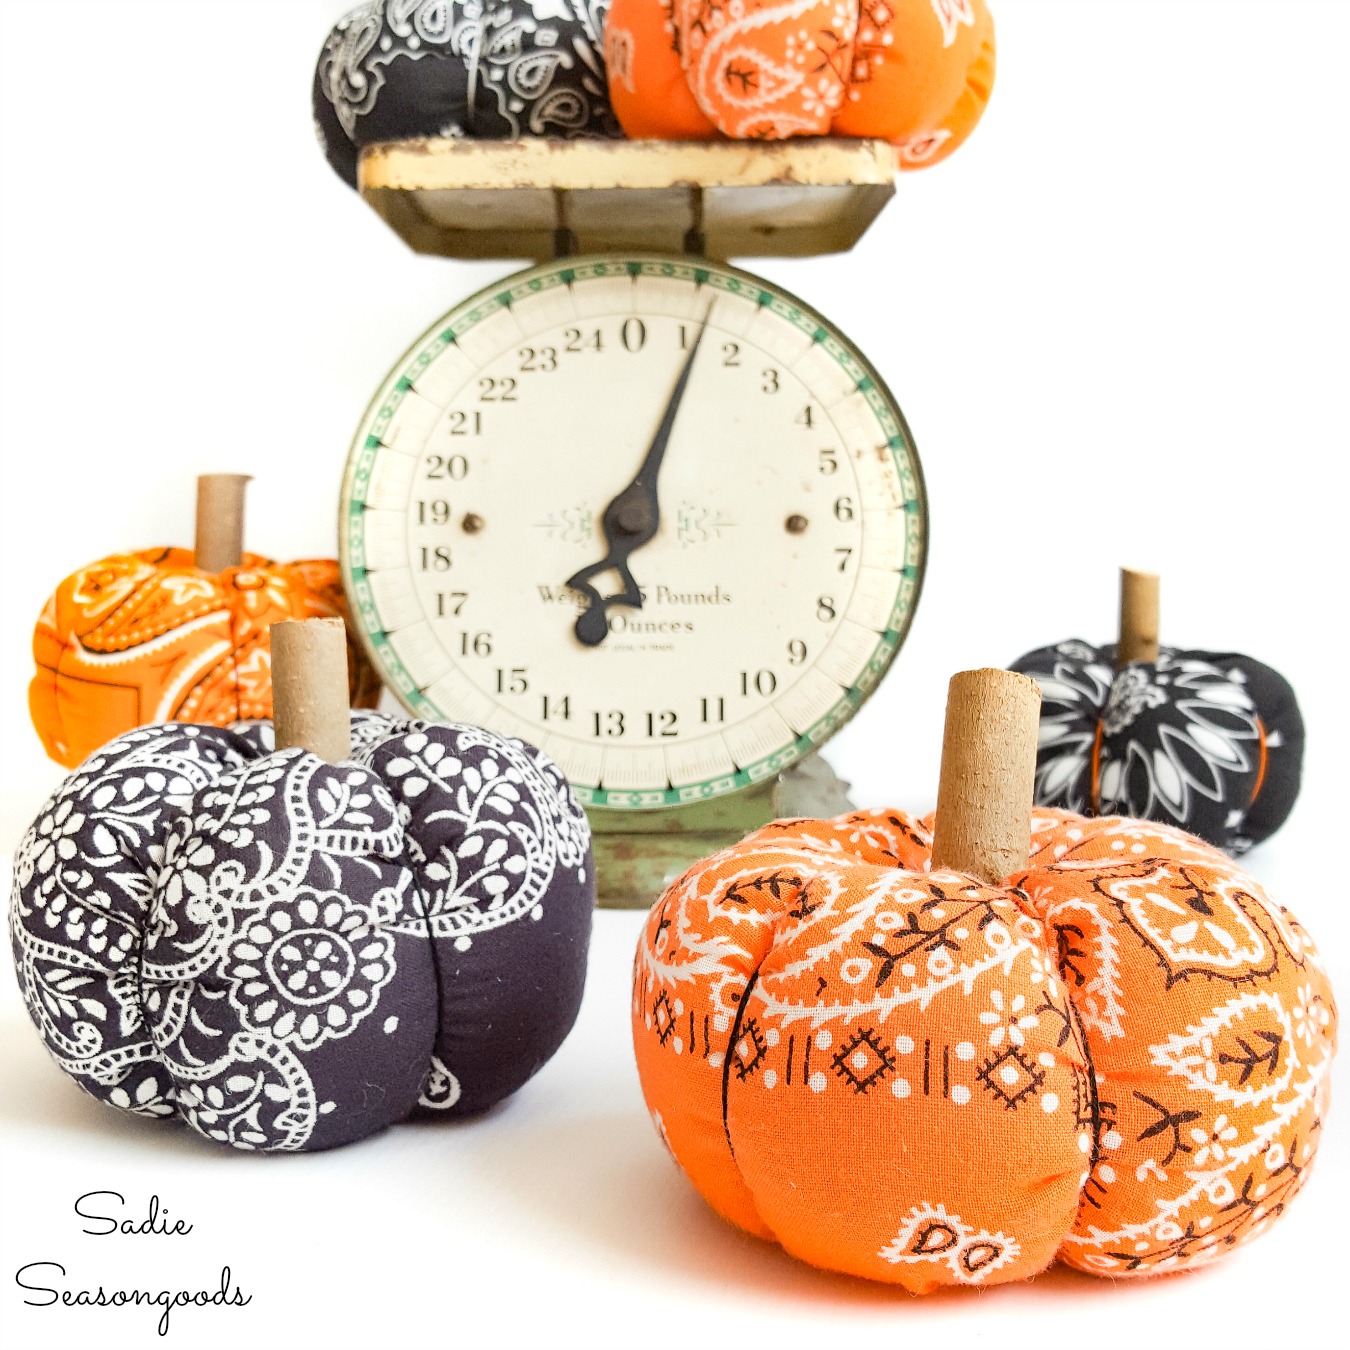
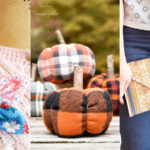
If you also enjoy sewing projects from upcycled fabric then you’ll love these bandana pumpkins which are perfect for Fall and Autumn!
Craft on!
S
Want to be notified when I publish my next upcycling project tutorial?
Join me on Social Media:
PIN ME!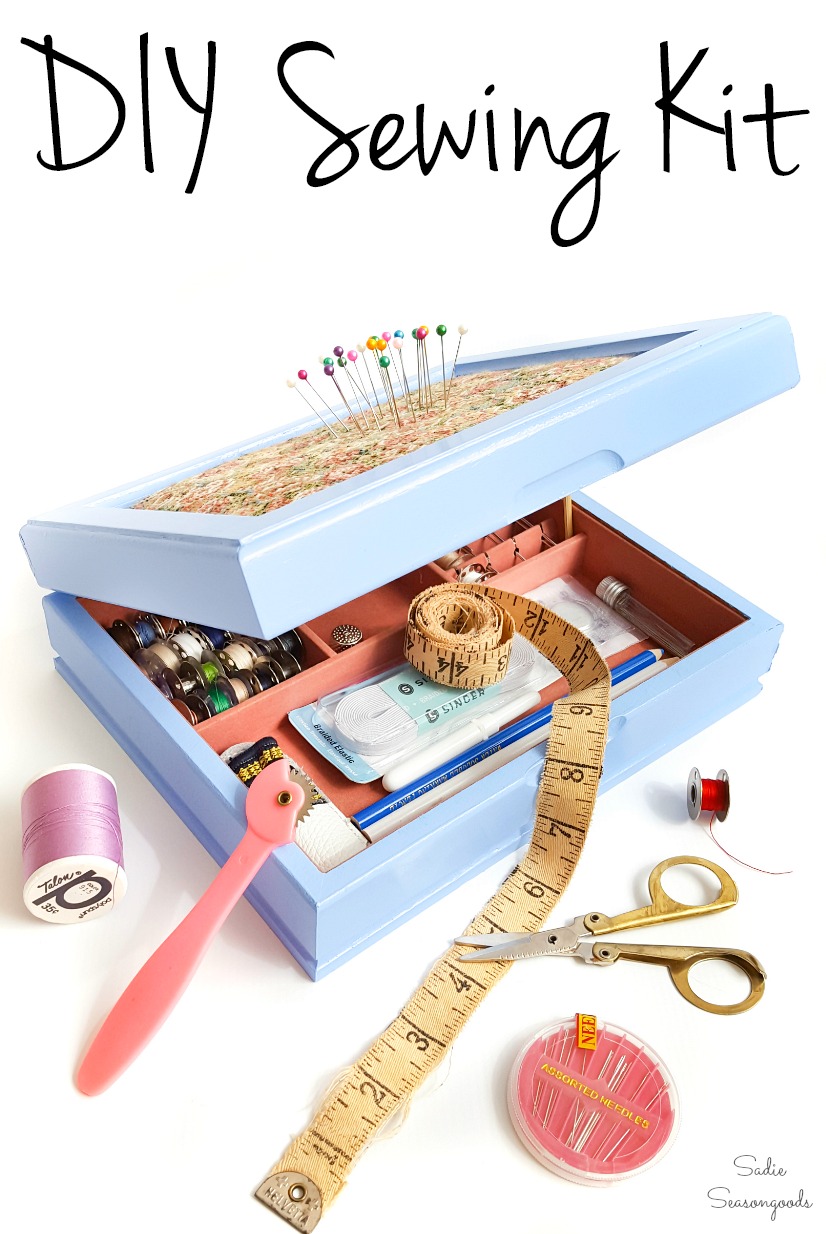
Sarah Ramberg is the owner of Sadie Seasongoods, a website that celebrates all things secondhand. From upcycling ideas and thrifted decor to vintage-centric travel itineraries, Sadie Seasongoods is a one-stop shop for anyone who loves thrifting and approachable repurposing ideas. Sarah is also the author of “Crafting with Flannel” and has been featured in numerous media outlets and magazines.








This is a fantastic project! Very inspiring!
Thanks, Nanette!
OH, snap!! What a marvelous idea!!
Thank you, Carole!!
I just viewed your teapot pincushion, too. Brilliant. What a great way to have sewing supplies handy in the kitchen (or anywhere). I just love your blog.
Ginene
Thanks, Ginene!! And that’s what ends up happening- sewing storage all over the house. But when they’re cute and decorative, no one’s the wiser. 😉
How cute and creative way for this transformation.
Thank you, Fabiola!
This is an awesome gift idea for your favorite seamstress!! thanks for sharing on the Pleasures of the NW’s DIY party!
What a great idea! Pinning this to try someday—just need to find a cute box like this. 🙂
Thanks so much, Jennie!
Thanks, Jennie!!
The ultimate organizer and thanks for the tip on using painters tape for cleaning.
Thanks, Sandra!
Love this idea and it turned out great. Thank you for sharing at Vintage Charm. Featuring it on Vintage Charm tomorrow.
Thank you very much, Sharon- always appreciate that! 🙂
Oh this is so fun! What a neat idea!
I would love for you to share this with my Facebook Group for recipes, crafts, tips, and tricks: https://www.facebook.com/groups/pluckyrecipescraftstips/
Thanks for joining Cooking and Crafting with J & J!
You are so clever, what an incredible redo, would love that for my needles. It looks so cute and is so handy, smart girl. Will keep my eye out for one of those to redo.
Have wonderful weekend
Thank you so much, JaneEllen!! Happy weekend to you, too. 🙂
That’s cute Sadie. I believe that’s my old jewelry box…I used to have one just like it! It’s a great update for sewing notions.
Did you happen to donate it to Goodwill in Tallahassee, FL? LOL, that’s where I picked it up!
Another darling project, Sarah! You have such a great eye for re-purposing things. Pinned and Sharing! Thanks for joining us at Family Joy Blog Link-Up Party!
Thanks so much, Cristina!
What a fabulous repurpose! You have the most clever repurposes and sure do get the creative juices flowing!
Thank you so much for sharing all of your cleverness over at Waste Not Wednesday! 🙂
Thank you so very much, Sam!
This is my kinda jewelry box! lol Not much for jewelry but I do have two mini sewing boxes to hold all the thread. Very cute idea!
Thanks, Audra!
What a fabulous way to upcycle a old jewelry box! It has the perfect spot for holding your needles too. LOVE!