As a short & round woman, I am destined to love accessories since my clothing options are limited. Which means that jewelry organization and jewelry storage are always something I need more of. So, after collecting some salvaged wood and vintage thread spools, I decided to create a wooden necklace holder with them.
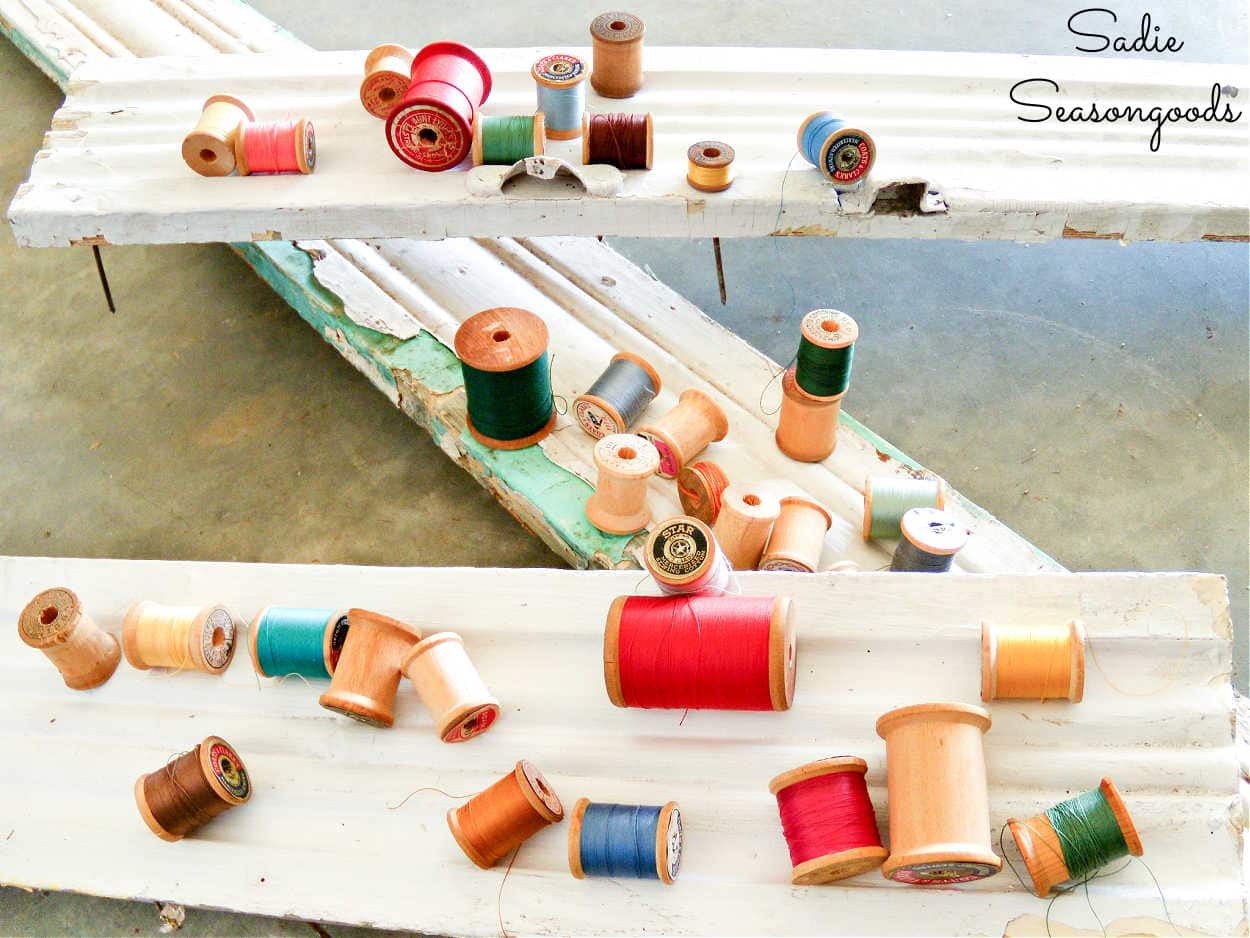
Image credit: Sadie Seasongoods.
Not only do I love vintage sewing notions, but of course I love salvaged wood! This is really a very simple, straight-forward project that anyone can do.
And is so impossibly cute AND functional at the same time!
This post contains affiliate links for your crafting convenience. As an Amazon Affiliate, I earn from qualifying purchases. All blue, bold, and underlined text is a clickable link, either to a product or to a related post.
Building a Wooden Necklace Holder
First, I wiped down my piece of salvaged wood (both sides) and attached sawtooth hangers to the back (one at each end).
Trust me, it’s much easier to do this at the beginning of the project than after the spools are attached.
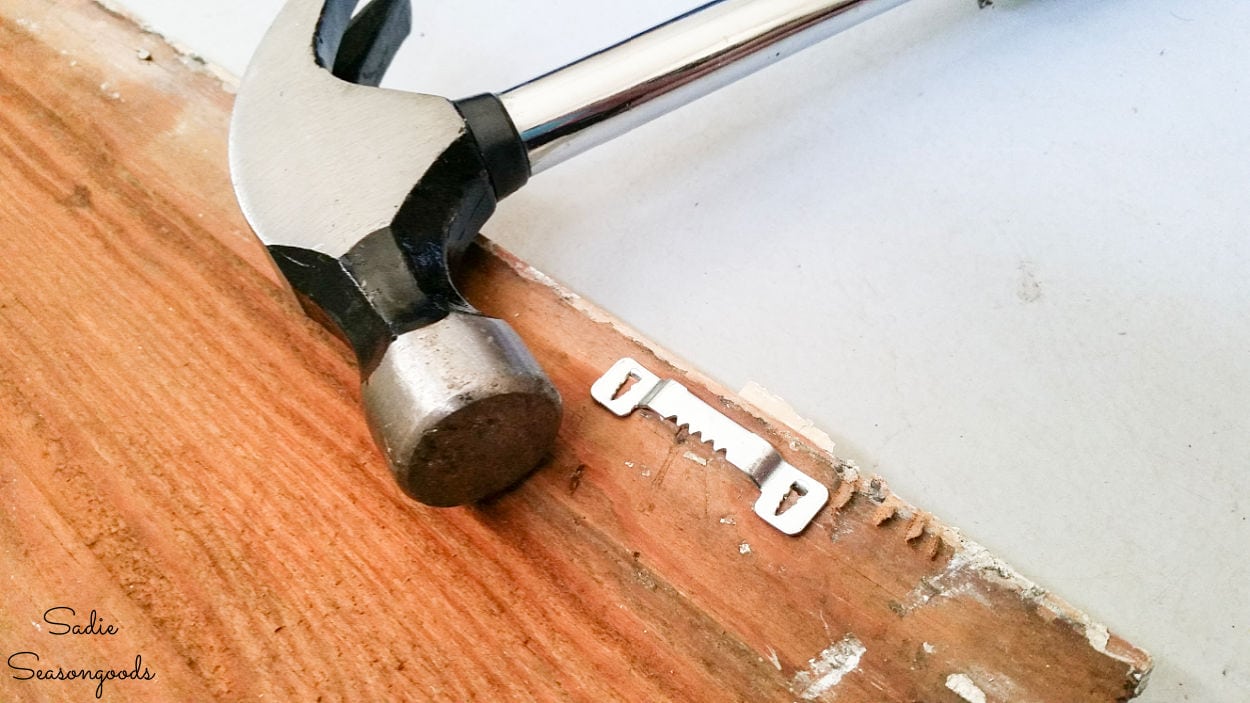
Image credit: Sadie Seasongoods.
Then, I lined up the vintage thread spools along my piece of salvaged wood, spacing them as evenly as possible.
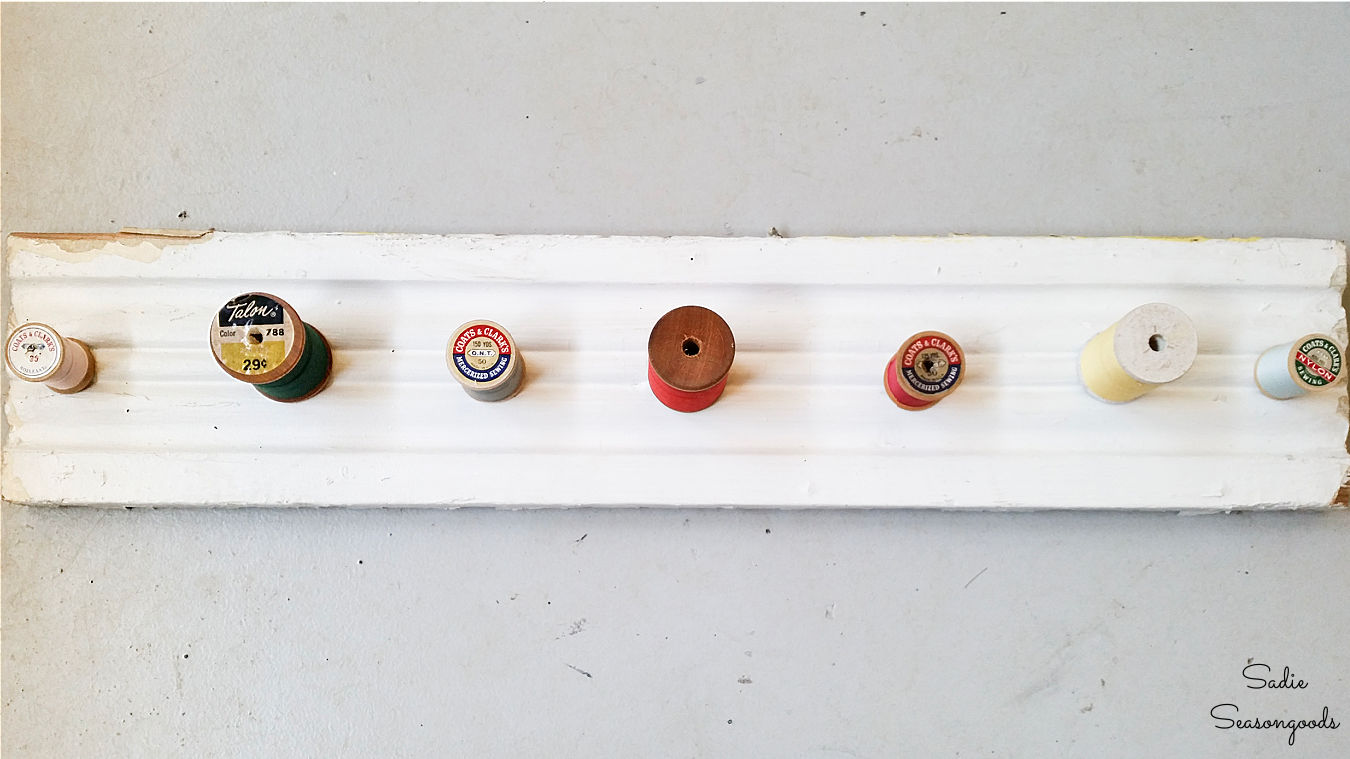
Image credit: Sadie Seasongoods.
Using a pencil, I did my best to mark a dot on the wood directly underneath the holes in each wood spool.
Now it was time to hammer in the nails. I used molding or finishing nails, because the spools can slide on easily.
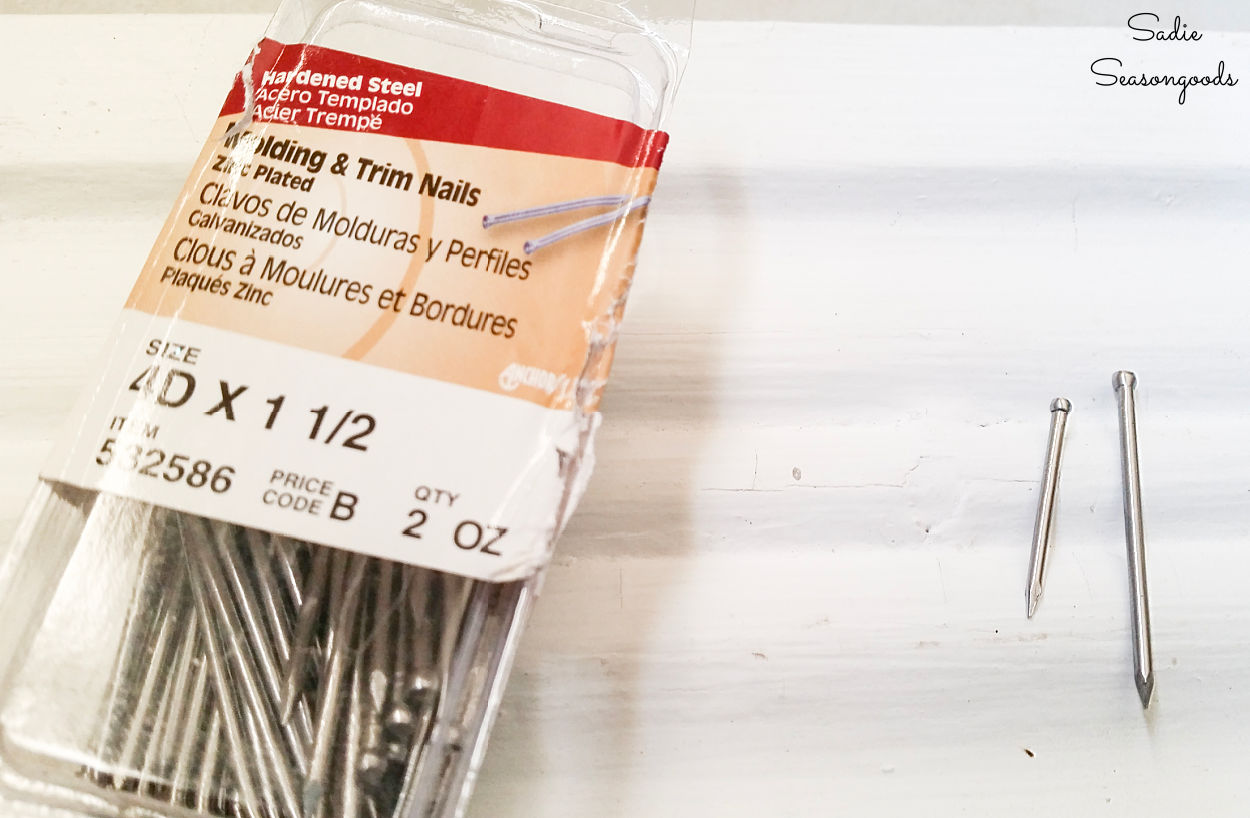
Image credit: Sadie Seasongoods.
Two different sizes (lengths) were used to accommodate different wood spools.
Next, I hammered in the nails. I made sure they were in far enough to be sturdy and that they didn’t stick out past the vintage spools.
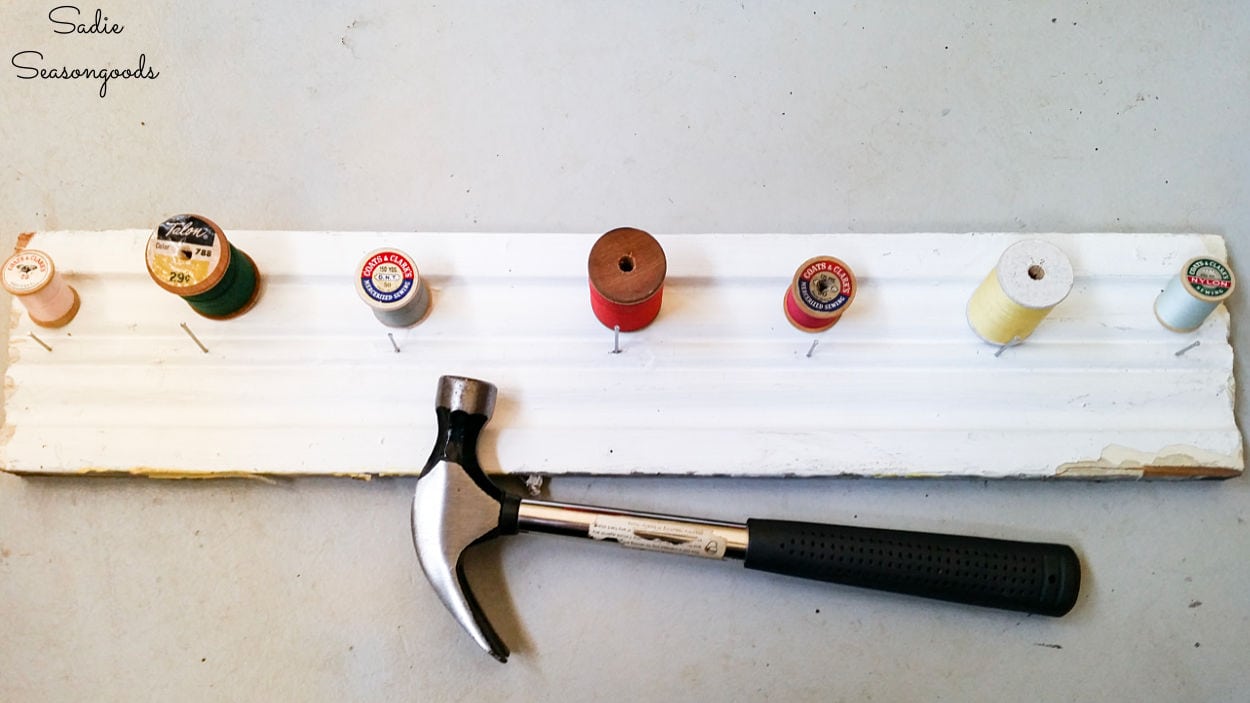
Image credit: Sadie Seasongoods.
Then it was time to permanently attach the wood spools to the barn wood!
Vintage Thread Spools for a DIY Necklace Display
The nails, while perhaps not critical to the project, act as a fail-safe if the adhesive gives out. Nobody wants to deal with a beloved necklace falling behind a large, ornery dresser that is hard to move!
So, for this reason, I used Gorilla-brand epoxy to securely glue the vintage thread spools in place.
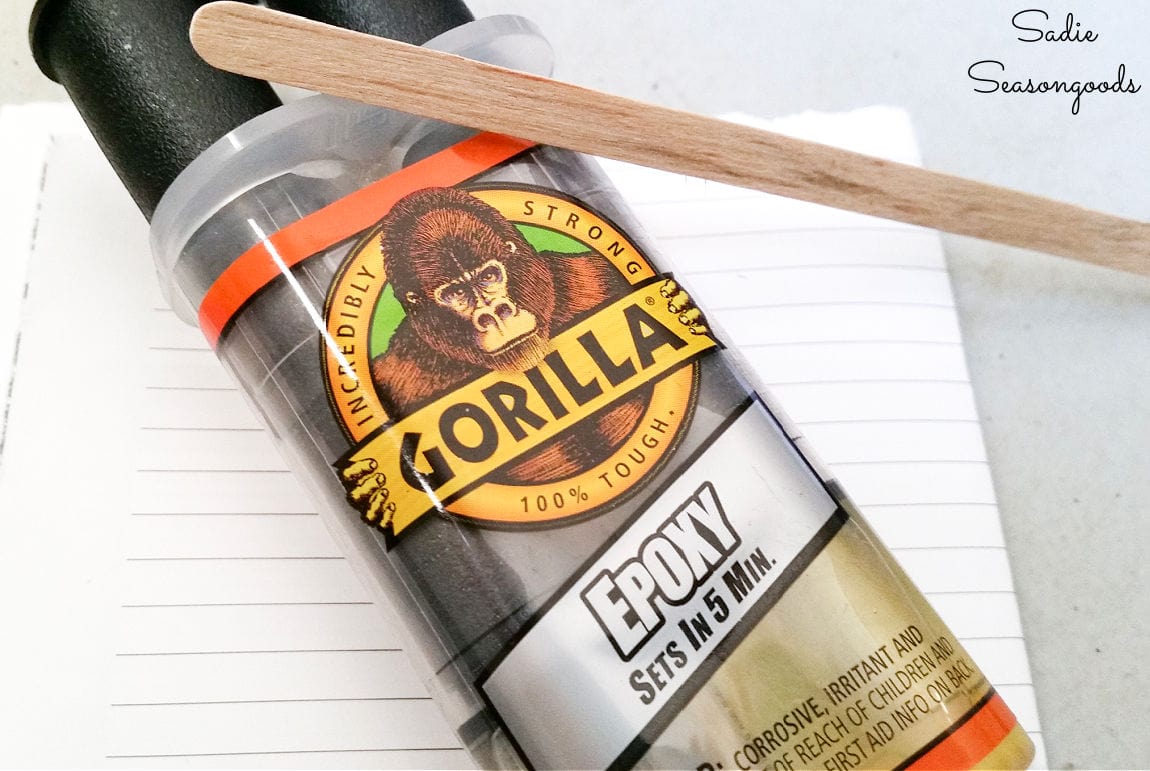
Image credit: Sadie Seasongoods.
After blending the epoxy until it was uniform in color, I used a coffee stirrer to “shmear” the epoxy to one side to the wood spools.
With the epoxy on the wood spools, I carefully slid each one over their corresponding nails.
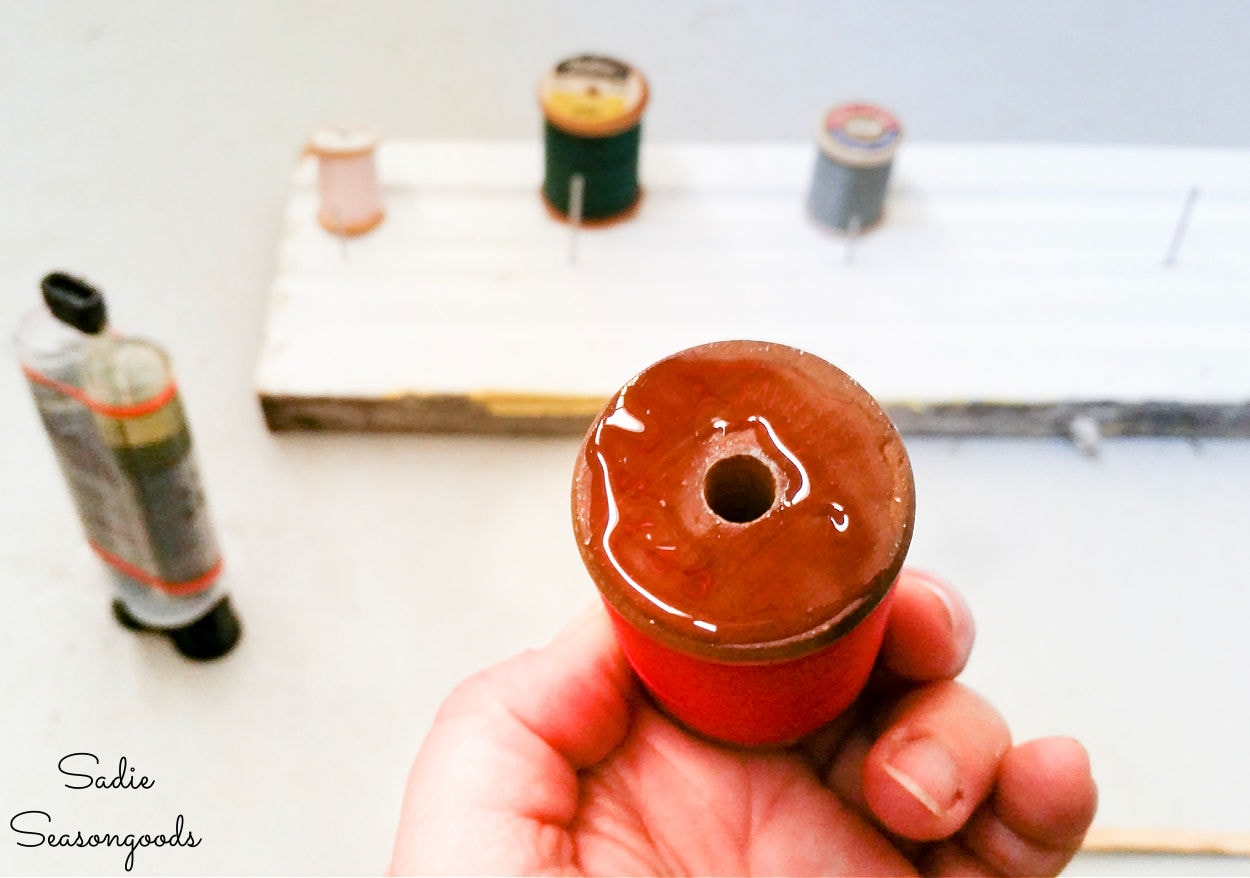
Image credit: Sadie Seasongoods.
I always selected the uglier or naked side of the spools so that I would still see the labels or graphics.
With any epoxy, it’s best to let it sit overnight, weighed down by something.
So, I raided my pantry! Canned goods came in awfully handy, and I let the whole thing sit like this overnight so that the epoxy could cure.
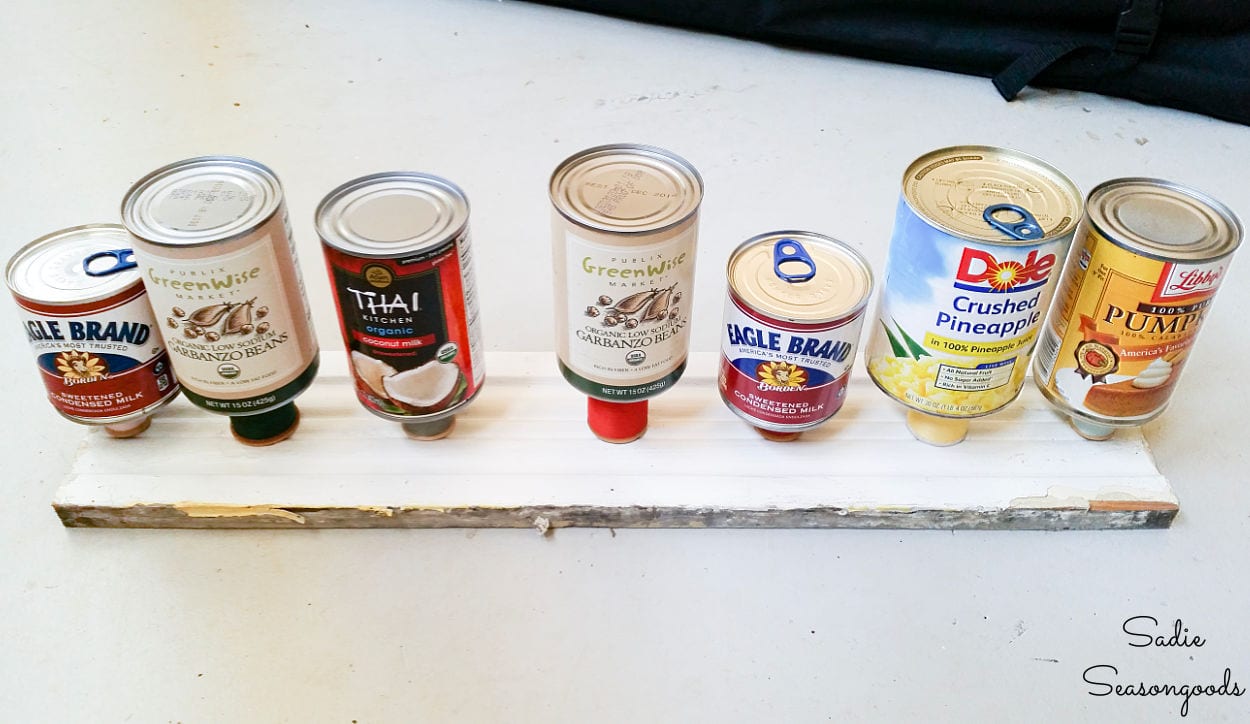
Image credit: Sadie Seasongoods.
And that was it! Once the epoxy cured, I had a wooden necklace holder that was sturdy and cute and ready for my myriad of necklaces.
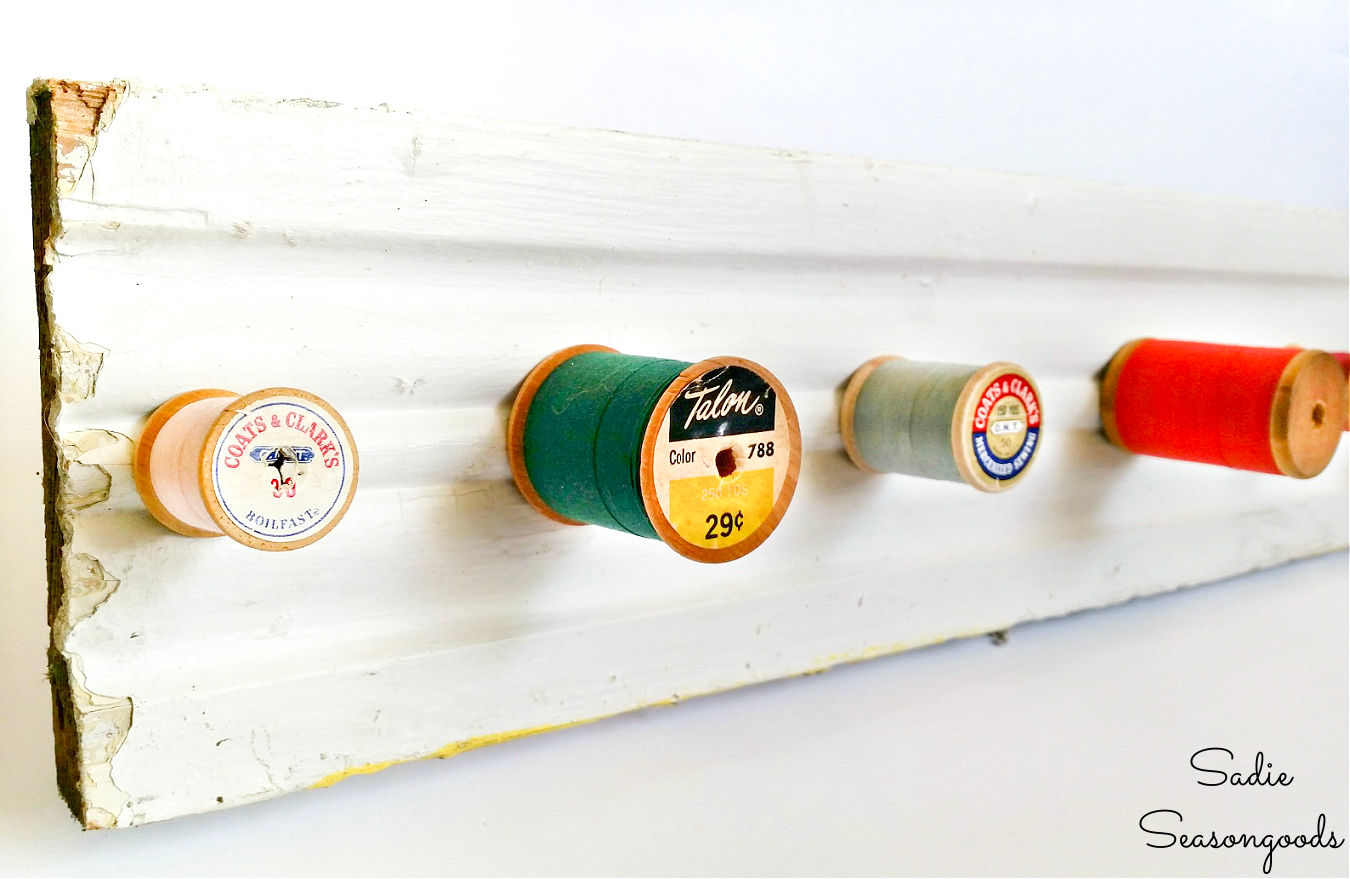
Image credit: Sadie Seasongoods.
Wooden Necklace Holder with Vintage Thread Spools
And you know what? I actually sold the one I made in the previous photos, so I made a different one just for myself. It hangs just like this in our bedroom to this day.
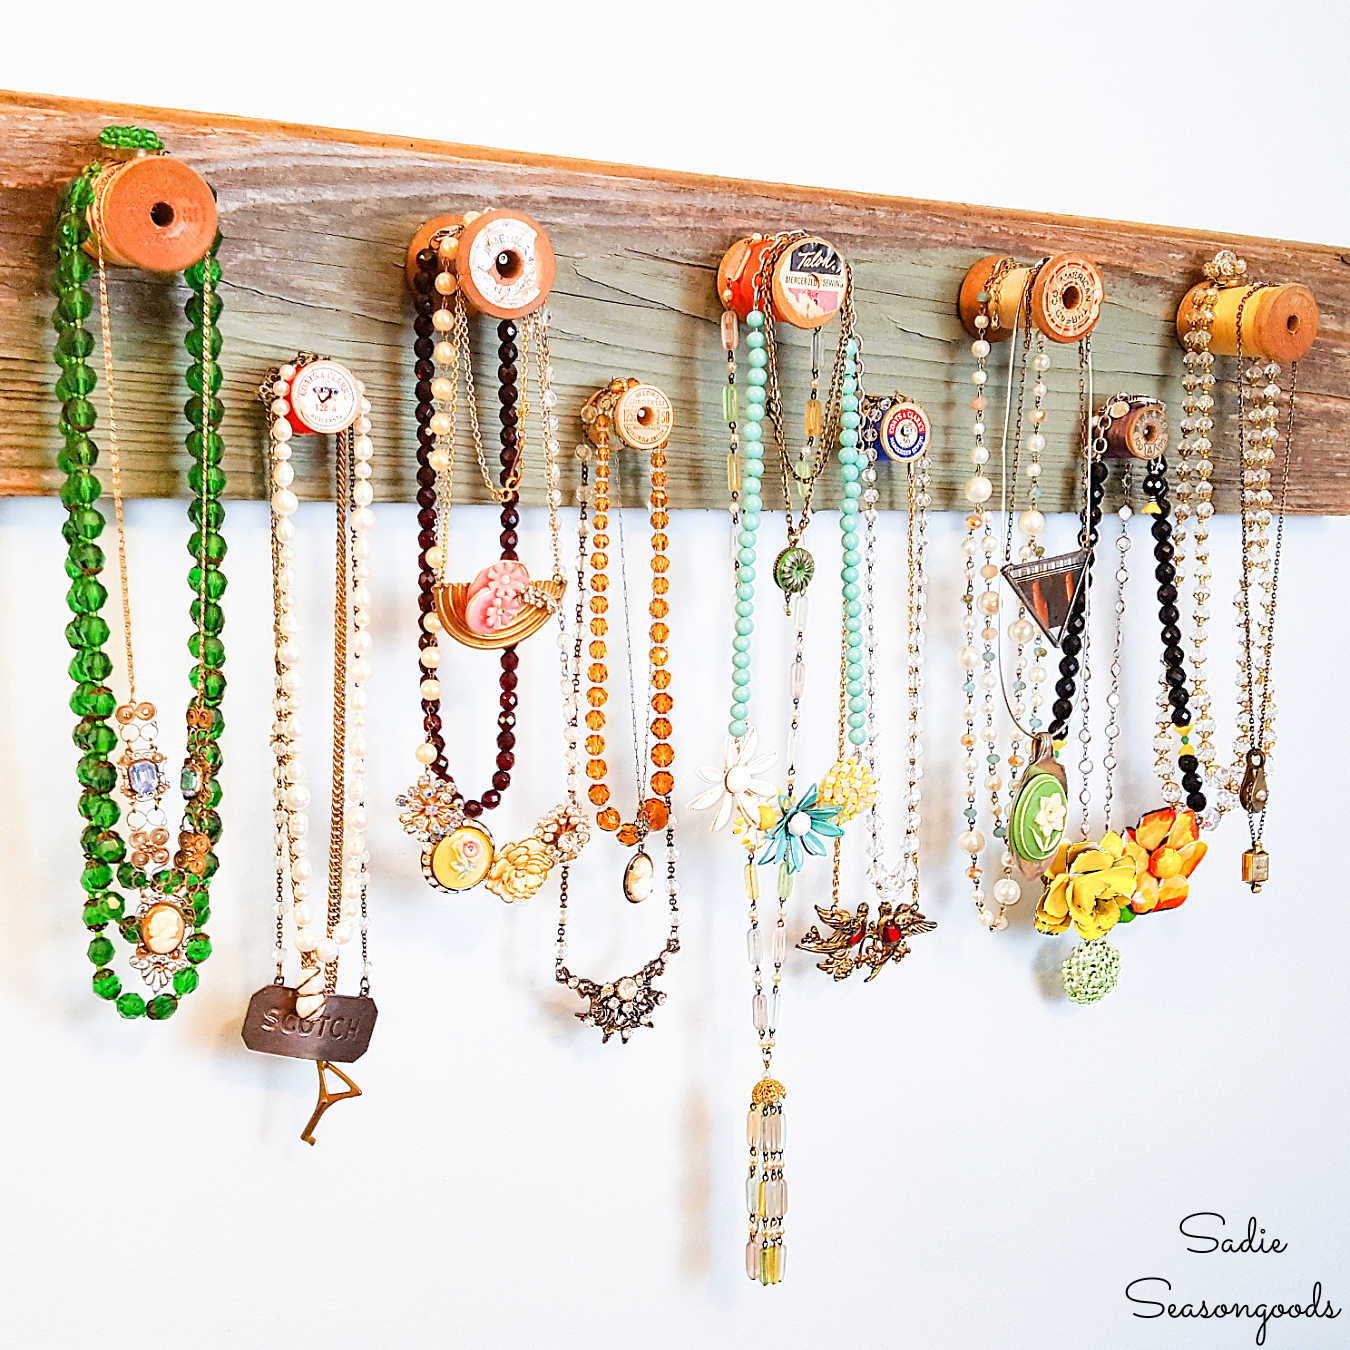
Image credit: Sadie Seasongoods.
This DIY necklace display is just a part of my collection of jewelry holders, and they all hang out together in perfect upcycling harmony.
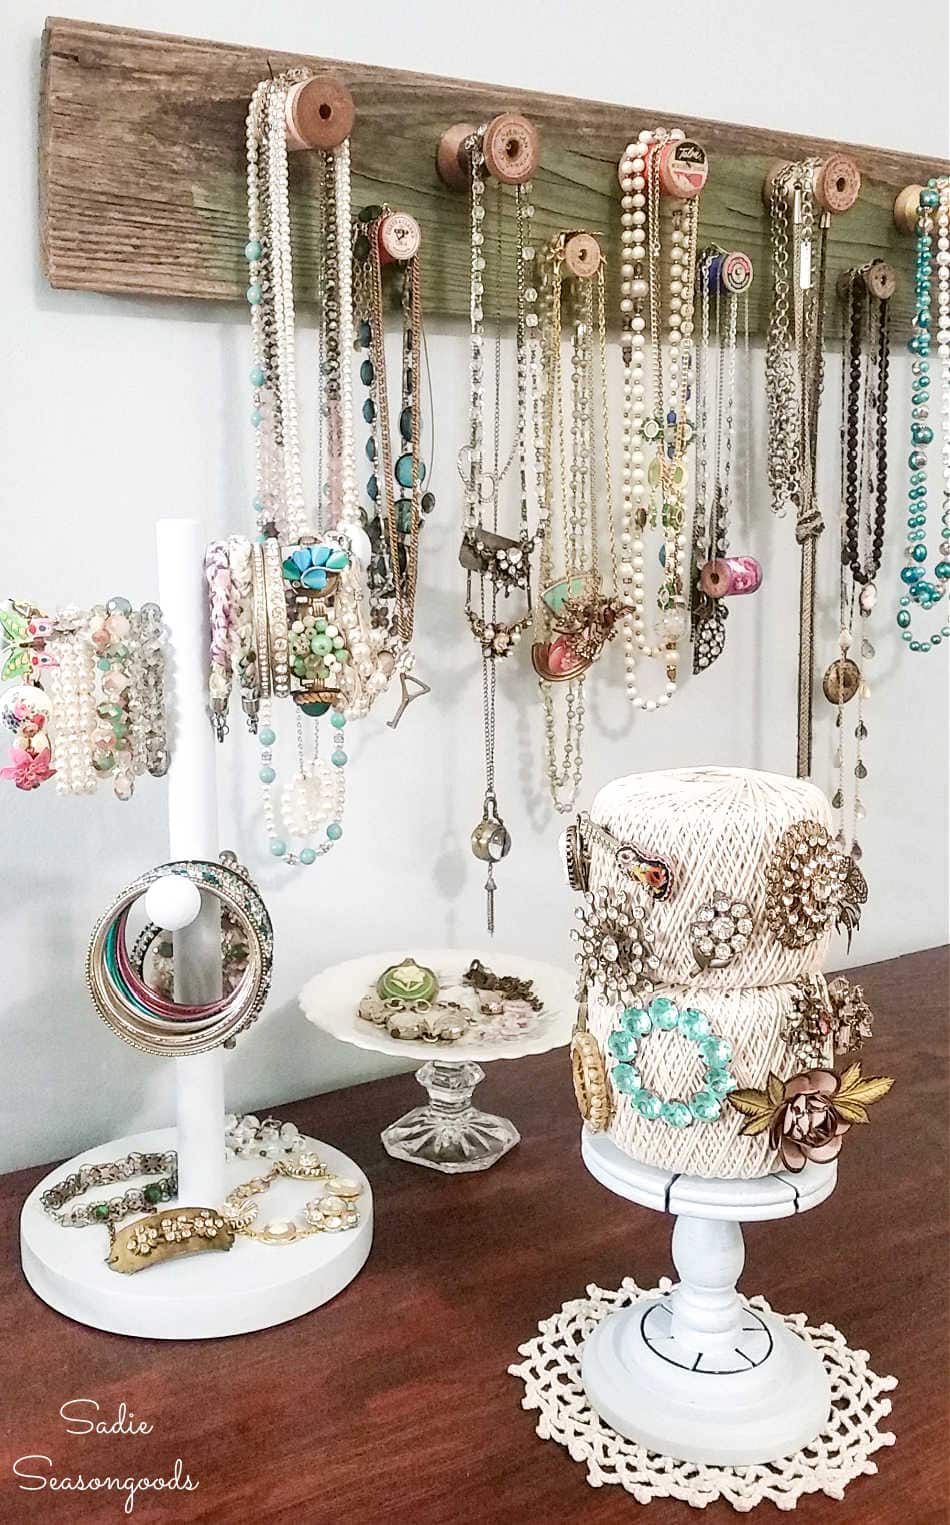
Image credit: Sadie Seasongoods.
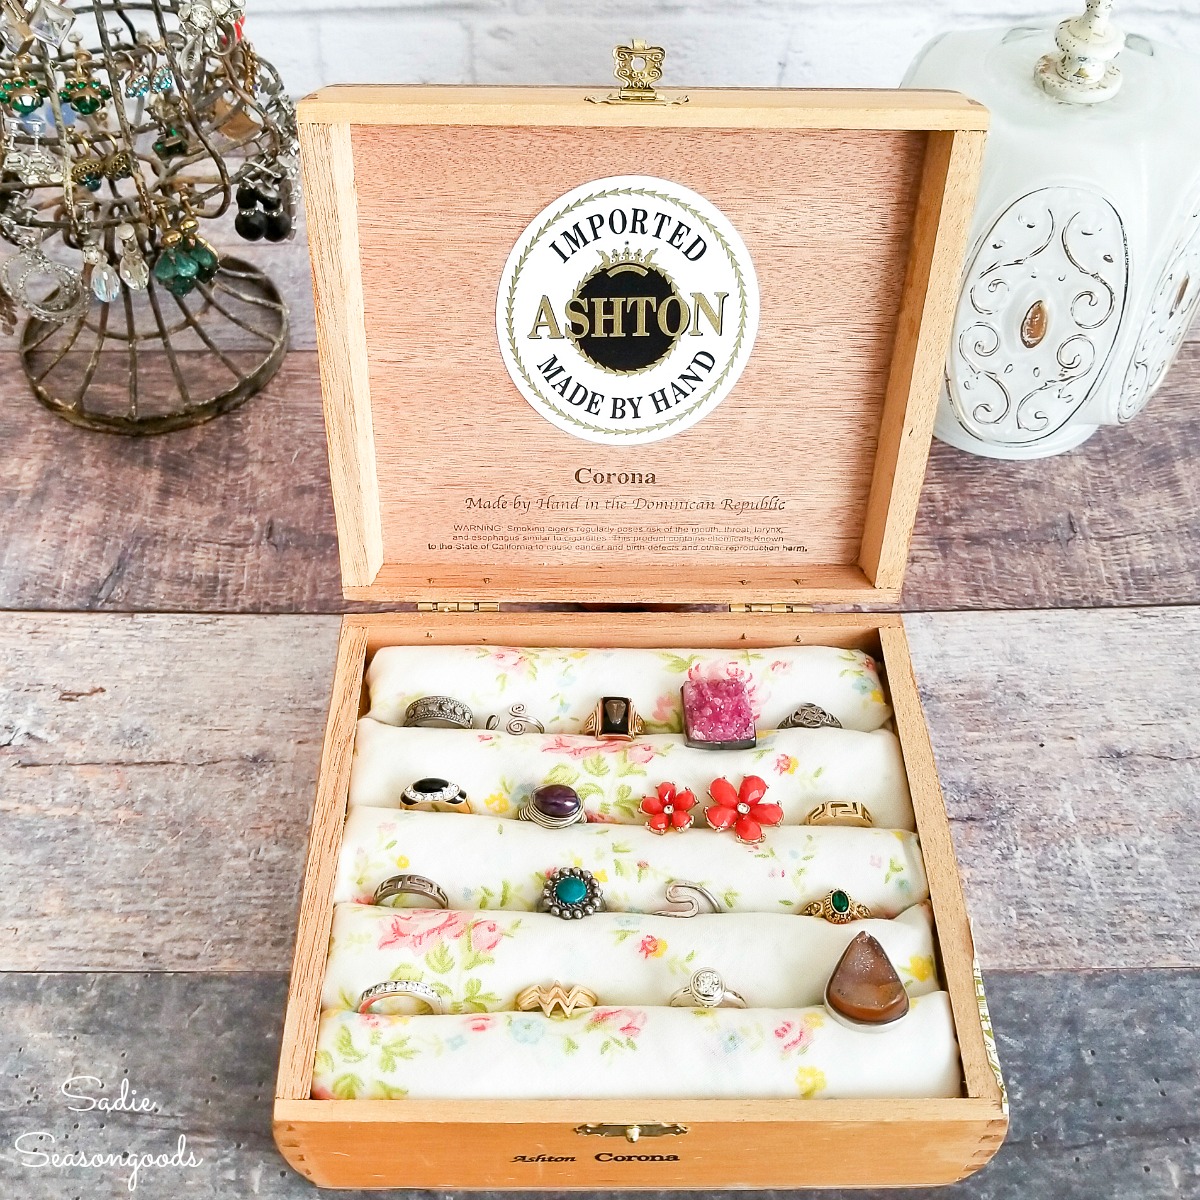
If you enjoyed my wall jewelry organizer project, then you may also be interested in this ring holder I made by upcycling a cigar box, as well!
Craft on!
S
Want to be notified when I publish my next upcycling project tutorial?
Join me on Social Media:
PIN ME!
Image credit: Sadie Seasongoods.
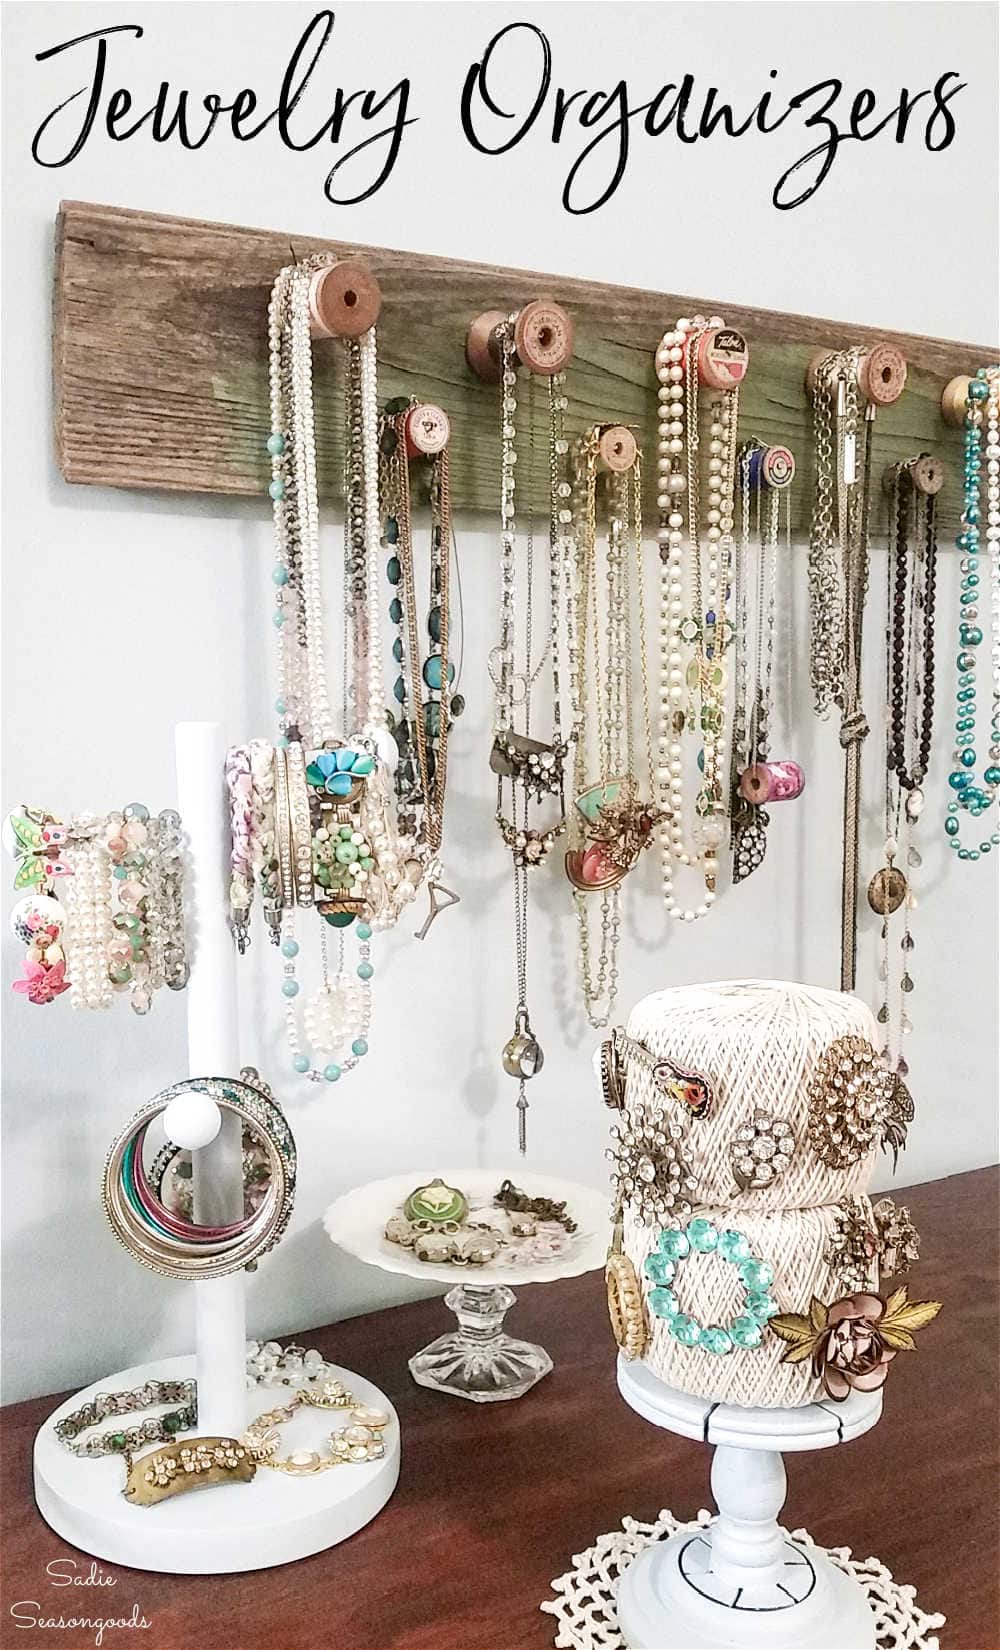
Image credit: Sadie Seasongoods.
Sarah Ramberg is the owner of Sadie Seasongoods, a website that celebrates all things secondhand. From upcycling ideas and thrifted decor to vintage-centric travel itineraries, Sadie Seasongoods is a one-stop shop for anyone who loves thrifting and approachable repurposing ideas. Sarah is also the author of “Crafting with Flannel” and has been featured in numerous media outlets and magazines.





This is really a cute idea. I’d love to make one myself.
Thank you, Danielle!
Love this idea!
Thank you!!
Love how you used canned goods to help hold the spools in place…something I would totally do 🙂 Thanks for sharing you craft on Merry Monday.
Hi Sadie, It looks beautiful and is a great way to store jewelry.
Thanks, Julia!!
How cute….and useful!
Great idea! I love the spools used to hold jewelry. Pinning.
I love this idea so much! Well done.
Thank you so much!
totally awesome repurpose/upcycle! and versatile too! Had to pin three places, couldn’t decide where it went best lol! Thanks for sharing with us!!
LOL! Thank you!! It’s definitely one of my fave projects. Some people decorate their bedrooms with art, and then others decorate it with necklaces. 😉
Sarah, hi! Such a clever idea! I seriously need to ditch my boring metal jewellery storage rack… Thanks for sharing the tutorial 🙂
I can not see your photos. Is there a special way to open your posts.
Hi, Maxine. I’m so very sorry to hear that you can’t see any of the photos. I don’t have any issues on my end and have tried two different browsers. I’ll try and see if there is any issue on the page hosting end. Hopefully you’ll see them soon!
My SIL’s grandmother just gave me vintage spools that would be perfect for this project.
Thanks so much for sharing on Show-Licious!
~ Ashley
What an adorable idea, this would be cute in a sewing room too!
Thank, Jillian- and yes it would!!!
Oh my gosh I LOVE this! What a fun upcycled project! Thanks for sharing at The Makers! Pinned 🙂
Thank you, Katie! And thanks for hosting such a great Link Party!
So creative! What a great way to recycle. Thank you for sharing this post at City of Creative Dream’s City of Links last Friday! I appreciate you taking the time to party with me. Hope to see you again this week 🙂
Not just cute, super cute! This is a great way to get those vintage spools out into the open.
Thanks so much for sharing at the Make it Monday Party!
I put some vintage molding in my truck to take to the booth. I am now going to take it our to make one of these. So creative. Thank you sharing this idea at Make It Monday.
Beautiful. Love this – looks great
Sarah @ EDEA Smith
http://www.edea-smith.co.uk
Fabulous!
That is adorable!! I make jewelry so I have tons of necklaces and not enough storage!
I know that problem well!! Thanks so much for swinging by!
Hi I found you on Great Ideas Thusrday and love this jewelry rack. I do like recycling and rustic and this is both so thank you.
Thanks, Jennifer!
Adorei seu trabalho! Parabéns!
Muito obrigado!
Is the twine holder (?) that has pins attached in a separate post? What is it made out of? Everything is so cute.
It sure is, Susan, here you go!: https://www.sadieseasongoods.com/found-objects-brooch-holder/