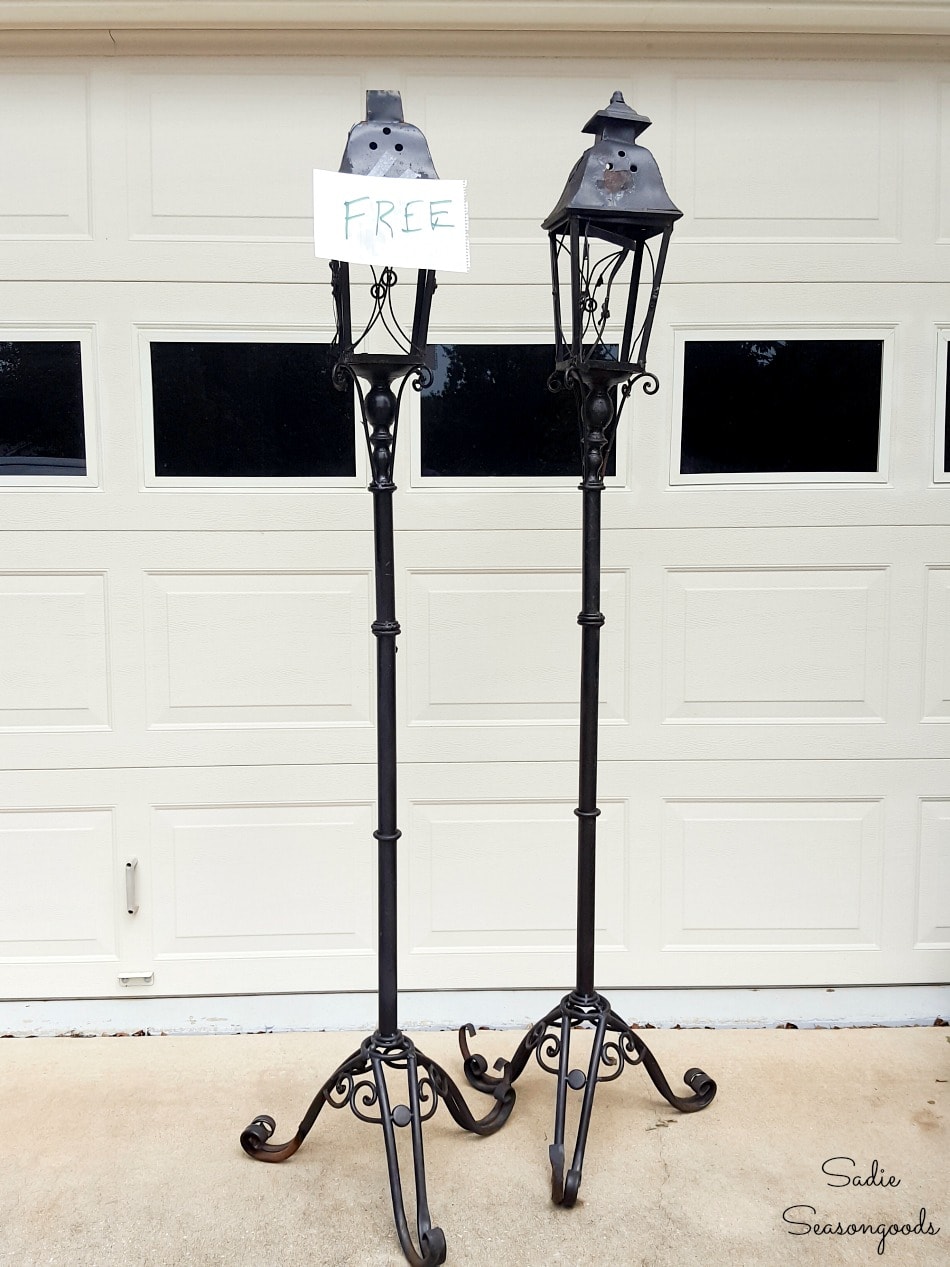
Over the years, Mr. Seasongoods has become accustomed to scanning the curb for interesting “things” that could become blog projects for me. And just a few weeks ago, he came across a pair of these candle holders that looked like a Victorian street lamps. He knew I could use them for something, and as soon as I saw them, I planned on transforming at least one of them into a Halloween lamp post to use as porch decor.
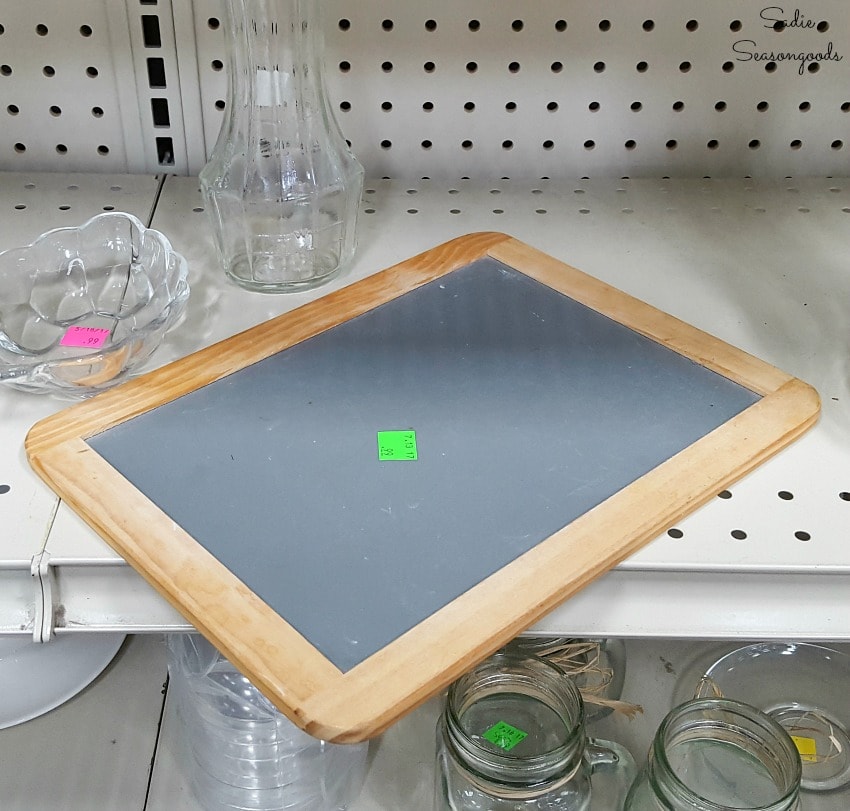
To bring my vision of spooky porch decor to life, I wanted to create a Happy Halloween sign, as well. And this small chalkboard that I found at the thrift store would be perfect for it.
I had a very specific vision in mind that was Hitchcock-esque. NOW I needed to find out if I could make it come together in real life!
This post contains affiliate links for your crafting convenience. As an Amazon Affiliate, I earn from qualifying purchases. All blue, bold, and underlined text is a clickable link, either to a product or to a related post.
Victorian Halloween Decor for the Front Porch
First things first, I needed to drill a hole through the post in order to hang my chalkboard sign.
And when I say “I”, I mean Mr. Seasongoods, of course. We used our drill and a high-quality unibit to get this done.
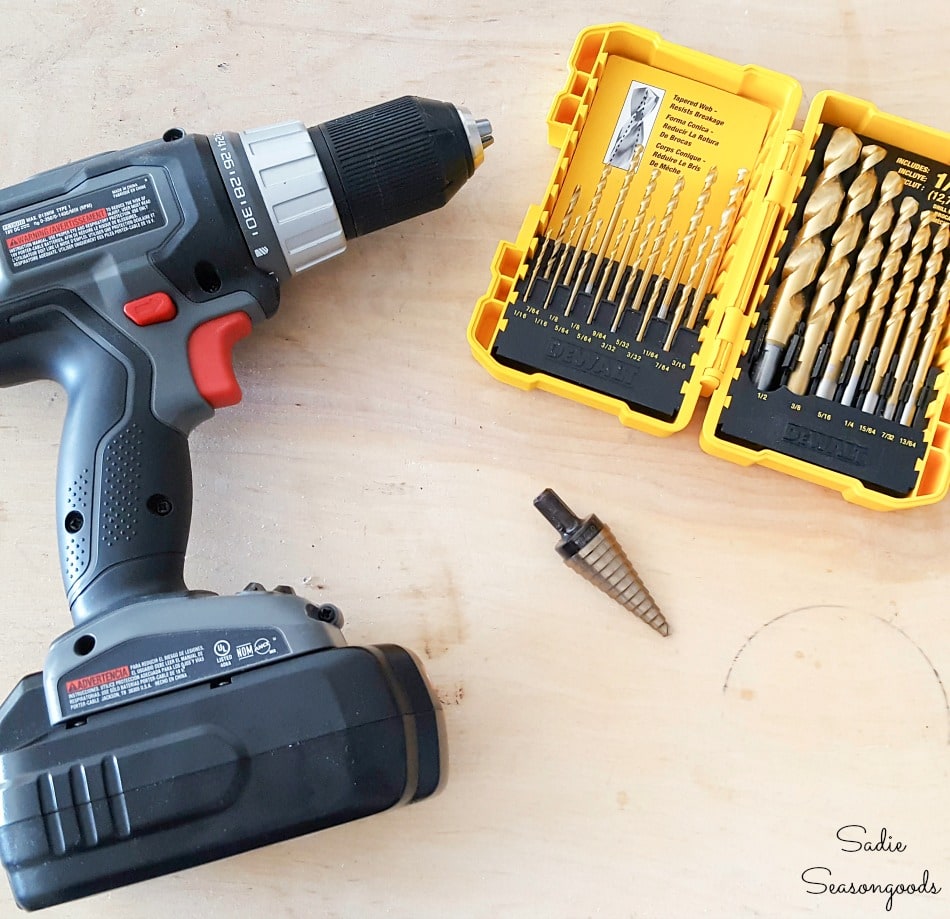
With the drill, unibit, and some multi-purpose oil, he very carefully drilled a half-inch hole straight through both sides of the light post.
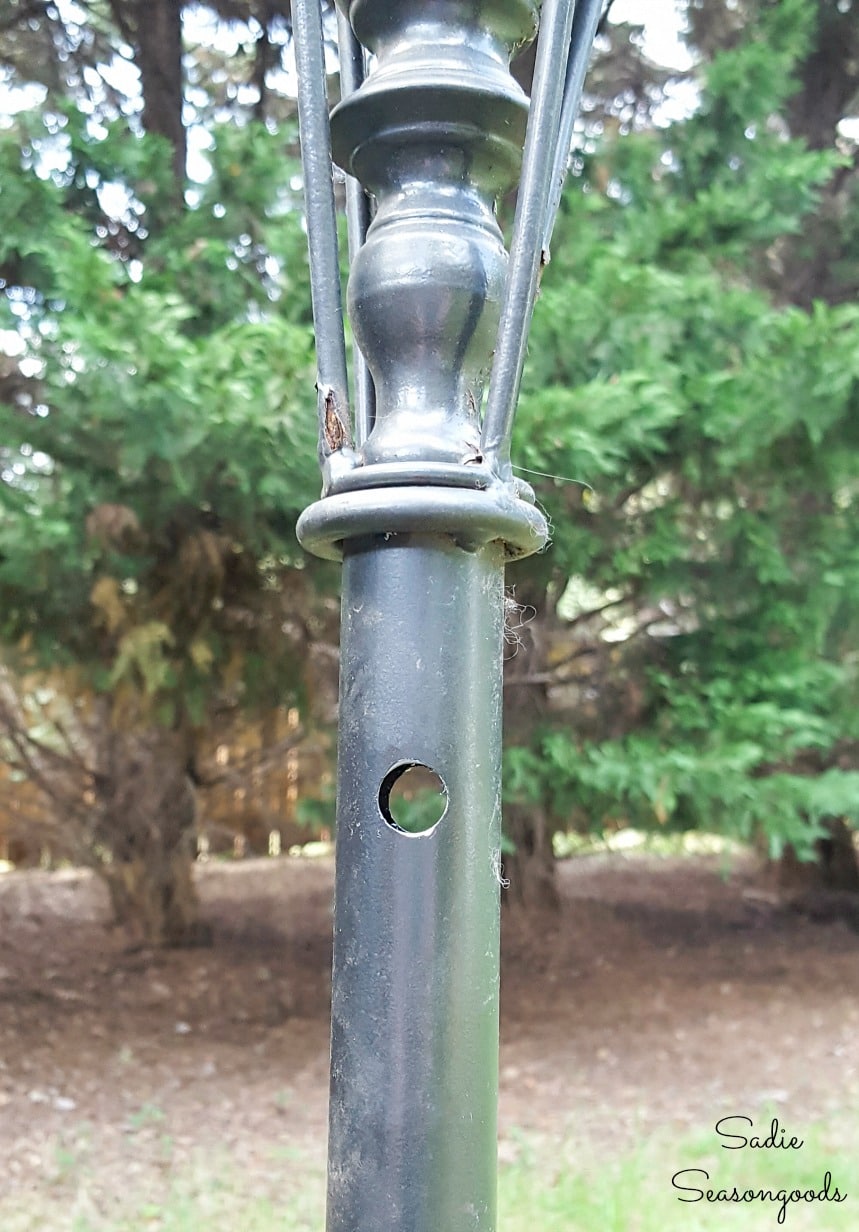
Now I could insert a wooden dowel (from the craft store) through the lamp post and hang my Halloween sign from it.
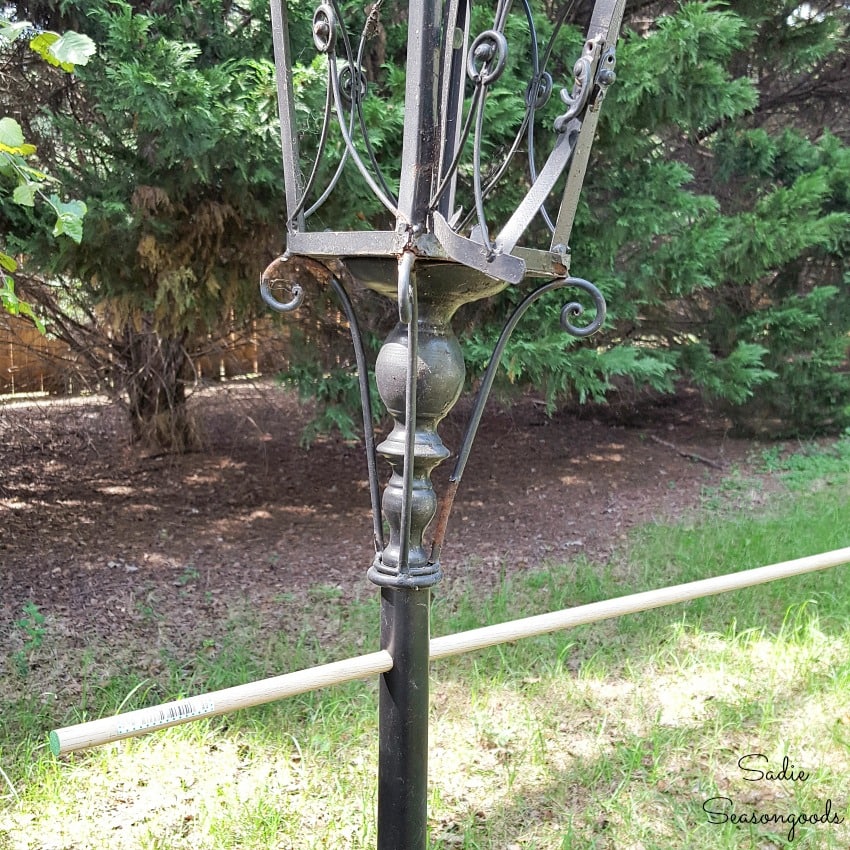
Now that the Halloween lamp post had been drilled through, I could focus on the small chalkboard. To upcycle it into a sign, I planned to hang it from the wooden dowel.
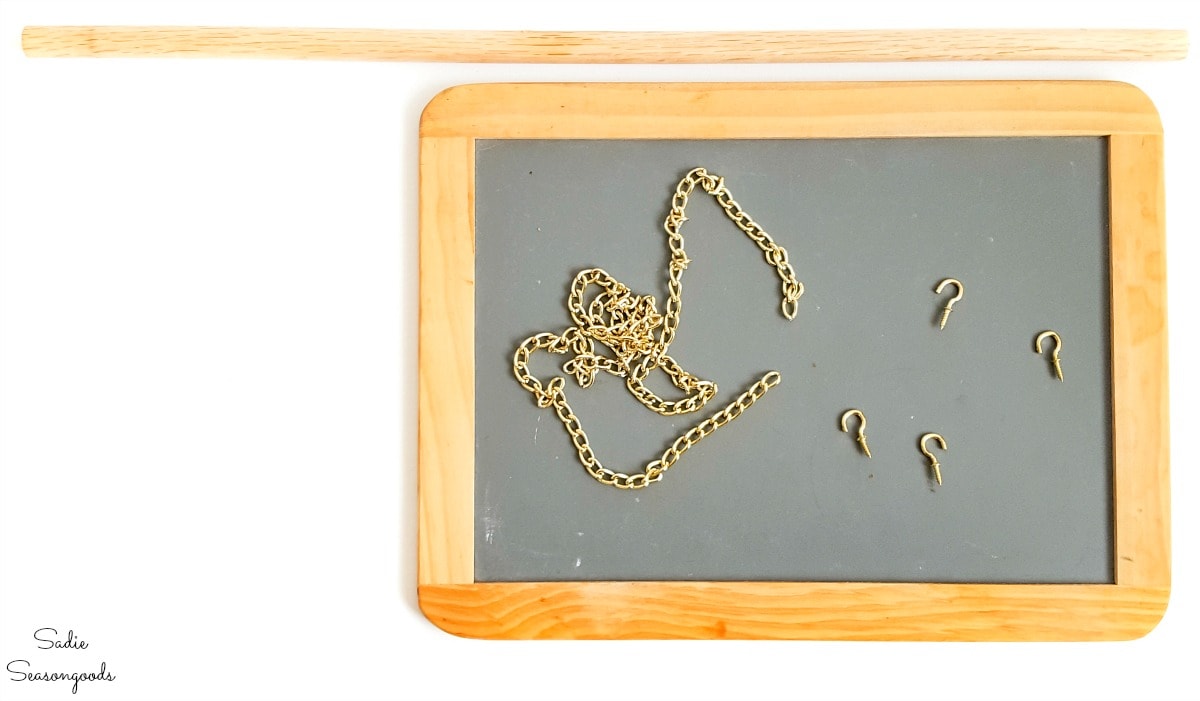
Happy Halloween Sign for a Halloween Lamp Post
Next, I decided to stain the wooden frame of the small chalkboard, just to make it look a little more vintage.
I placed strips of wide painter’s tape on the actual blackboard to keep wood stain from bleeding through.
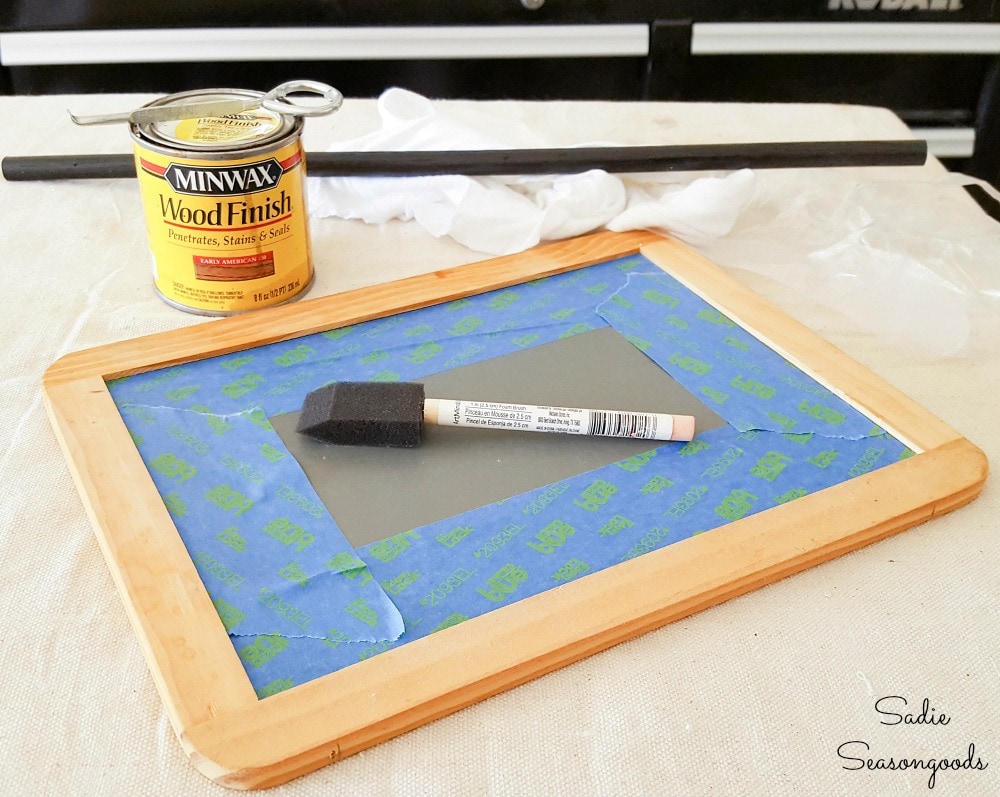
As you may have noticed in the above photo, I also painted the wooden dowel black to match the Halloween lamp post.
Then, I turned my attention to the hardware (chains and cup hooks) that I would use for hanging the Halloween sign.
They needed to be spray painted to also look a little more “Victorian”. So, I screwed the cup hooks into a piece of scrap wood to easily paint each side evenly.
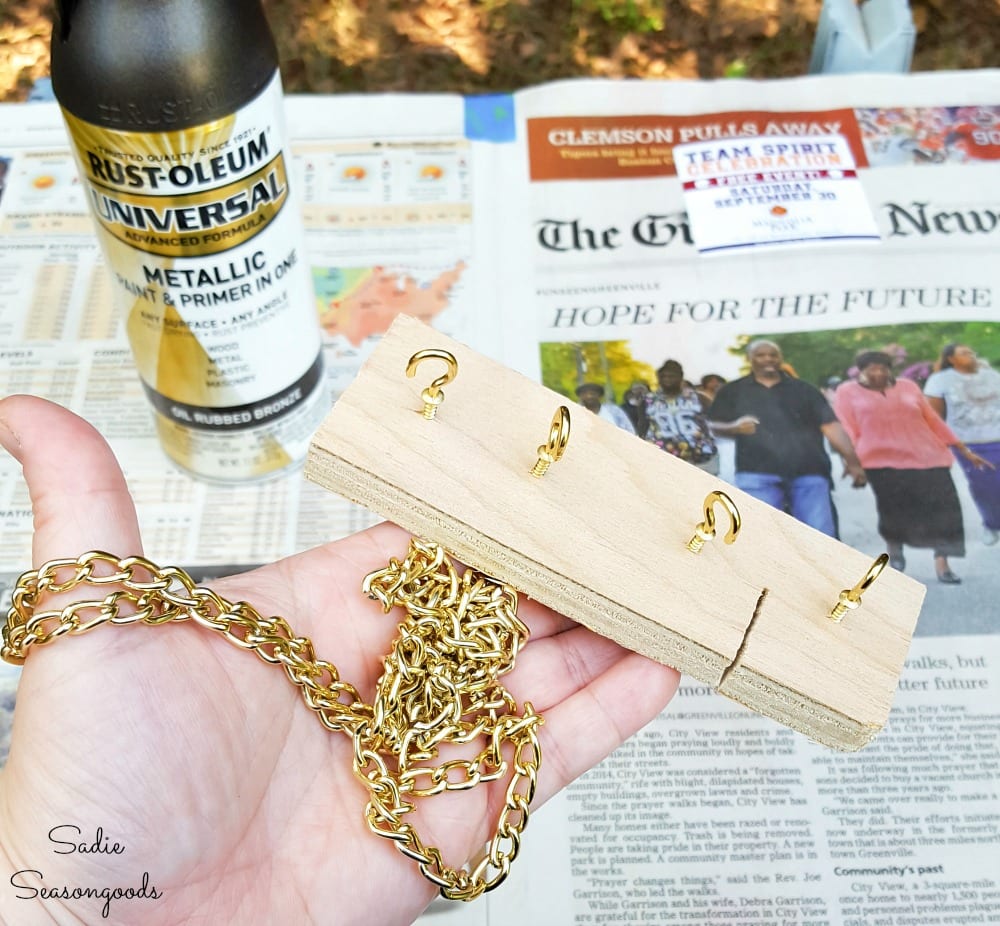
While the cup hooks dried, I started on the chain. I used a DIY-dedicated clip hanger to hold it for ease of spray painting.
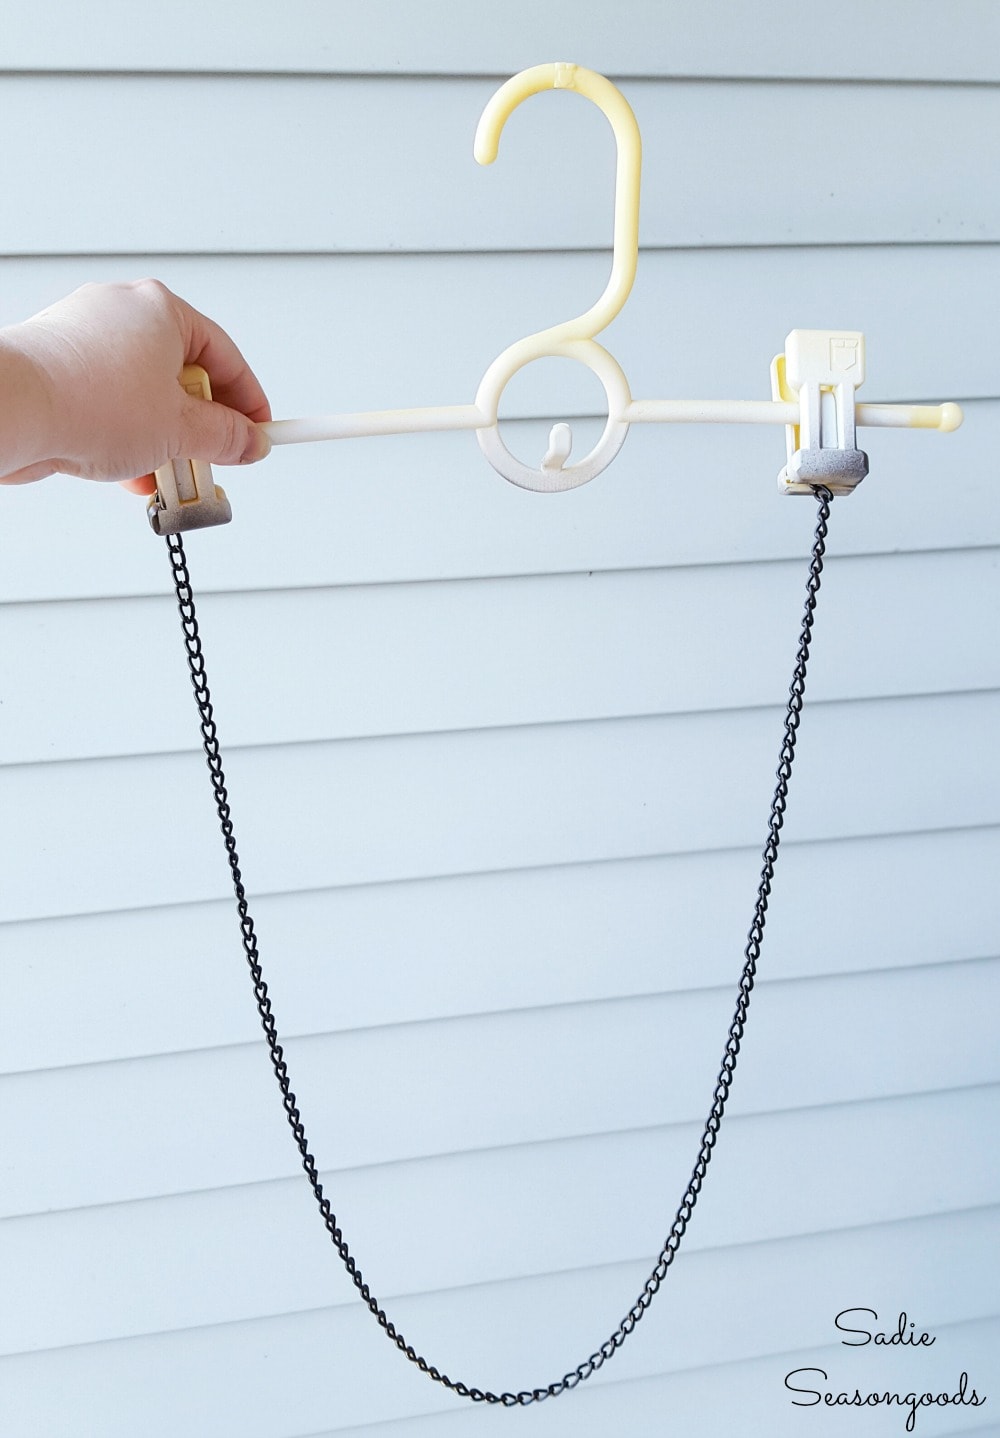
Doing this made it SO easy to get in all the nooks & crannies of the chain!
Next, I purchased a perfectly-sized Halloween stencil and used liquid chalk to bring my sign to life.
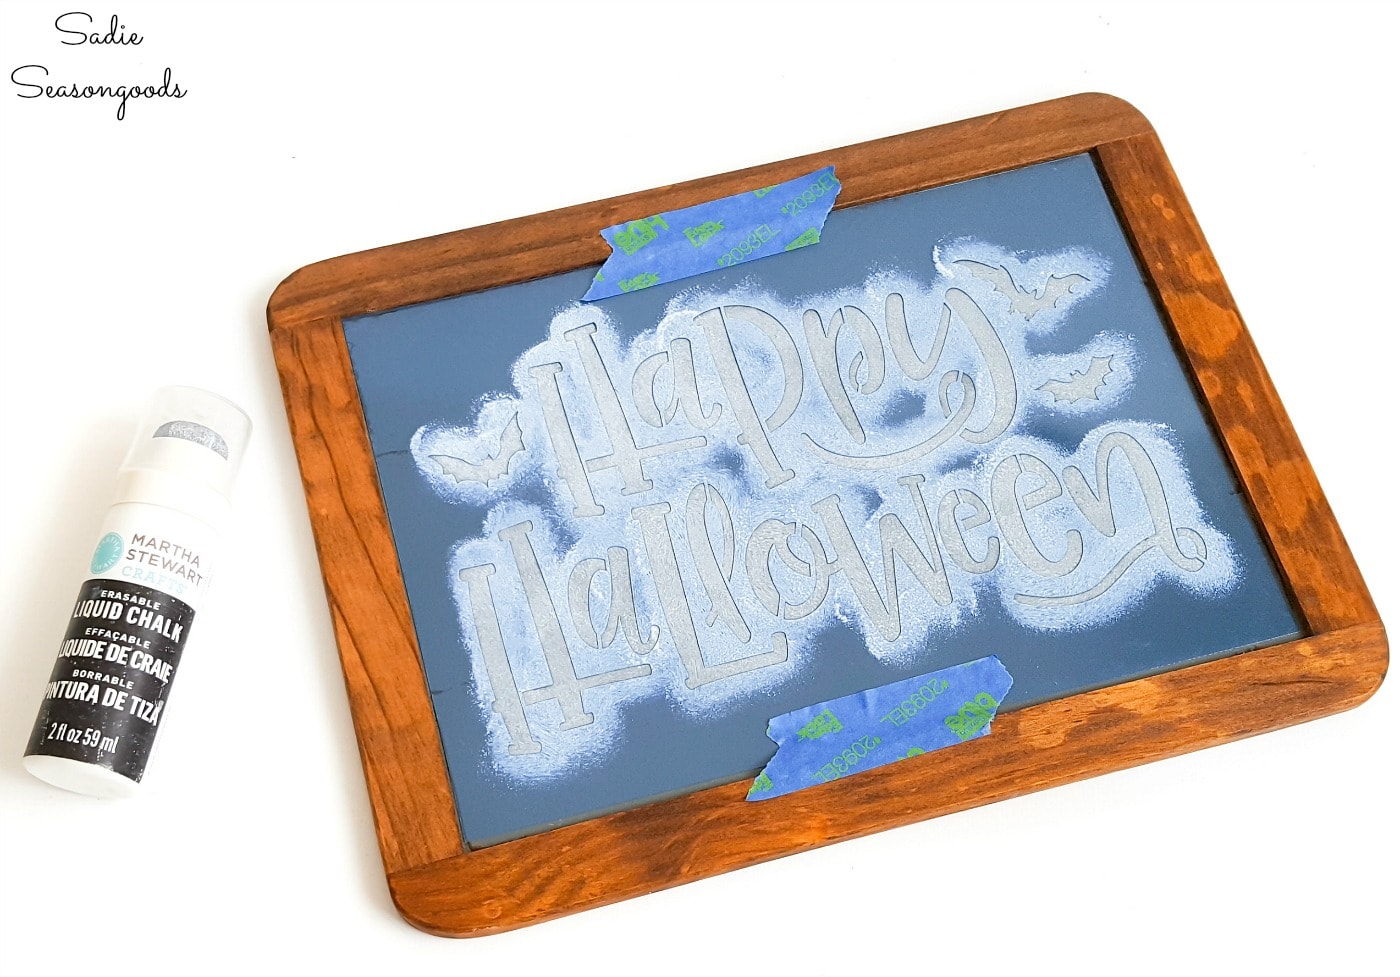
I was ready to finish up everything for my Halloween lamp post!
Once the liquid chalk had dried, I carefully removed the stencil. Then, I screwed the cup hooks into the dowel and into the top of my chalkboard frame, and used equal lengths of chain between them!
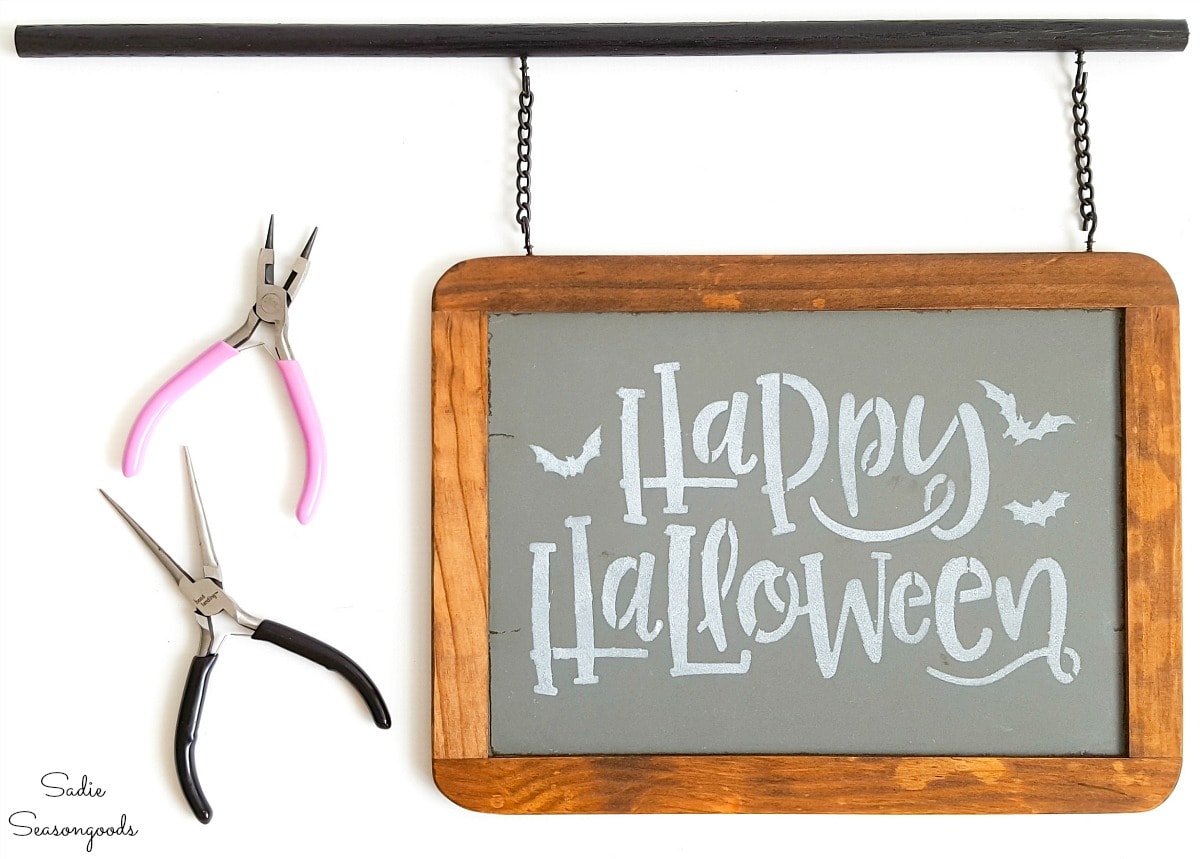
And just like that, I had everything I needed to put together my front porch decor with a Halloween lamp post!
Halloween Lamp Post for Halloween Porch Decorations
To assemble my Victorian Halloween decor, I simply slid the dowel through the hole in the lamp post.
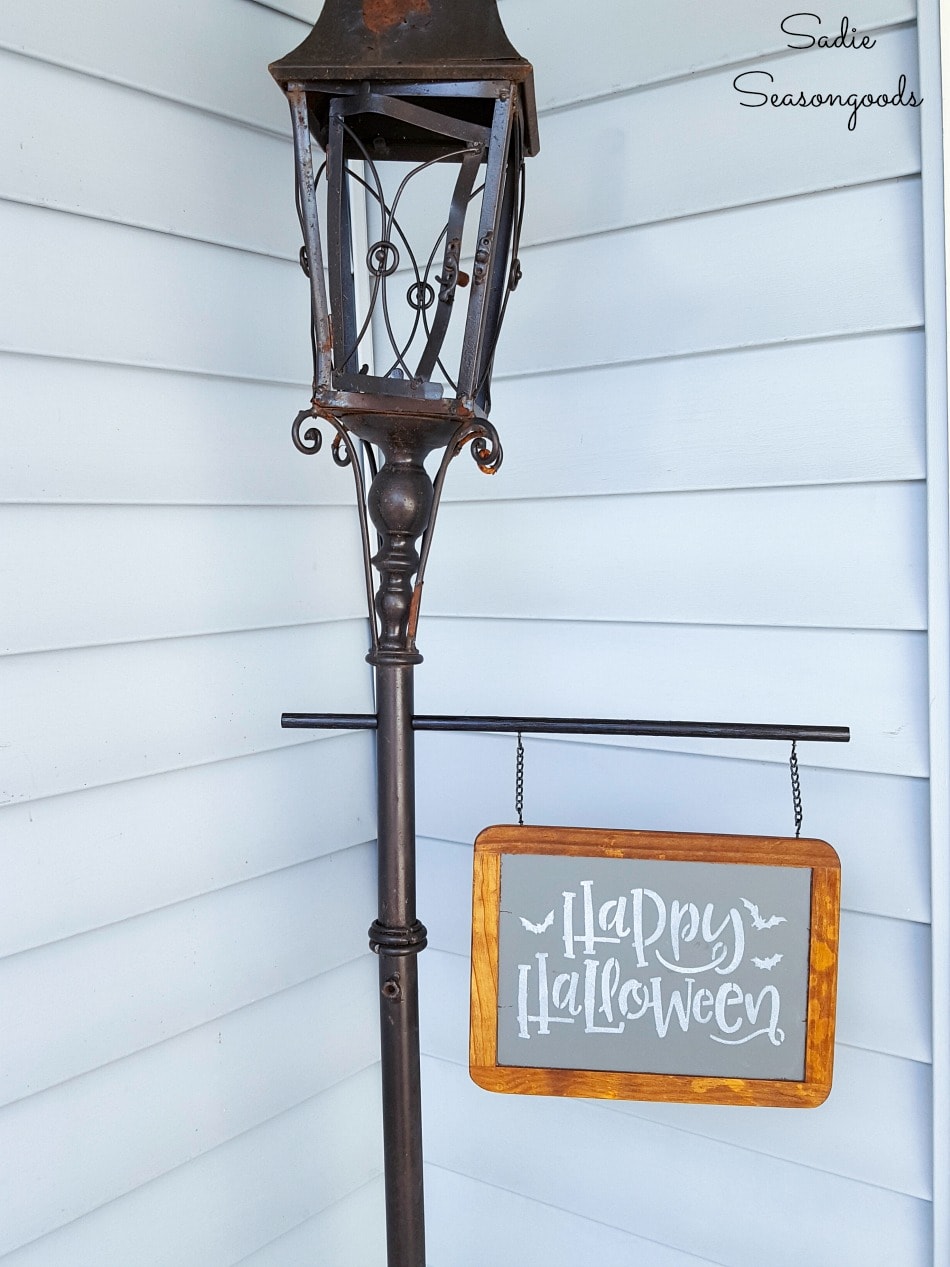
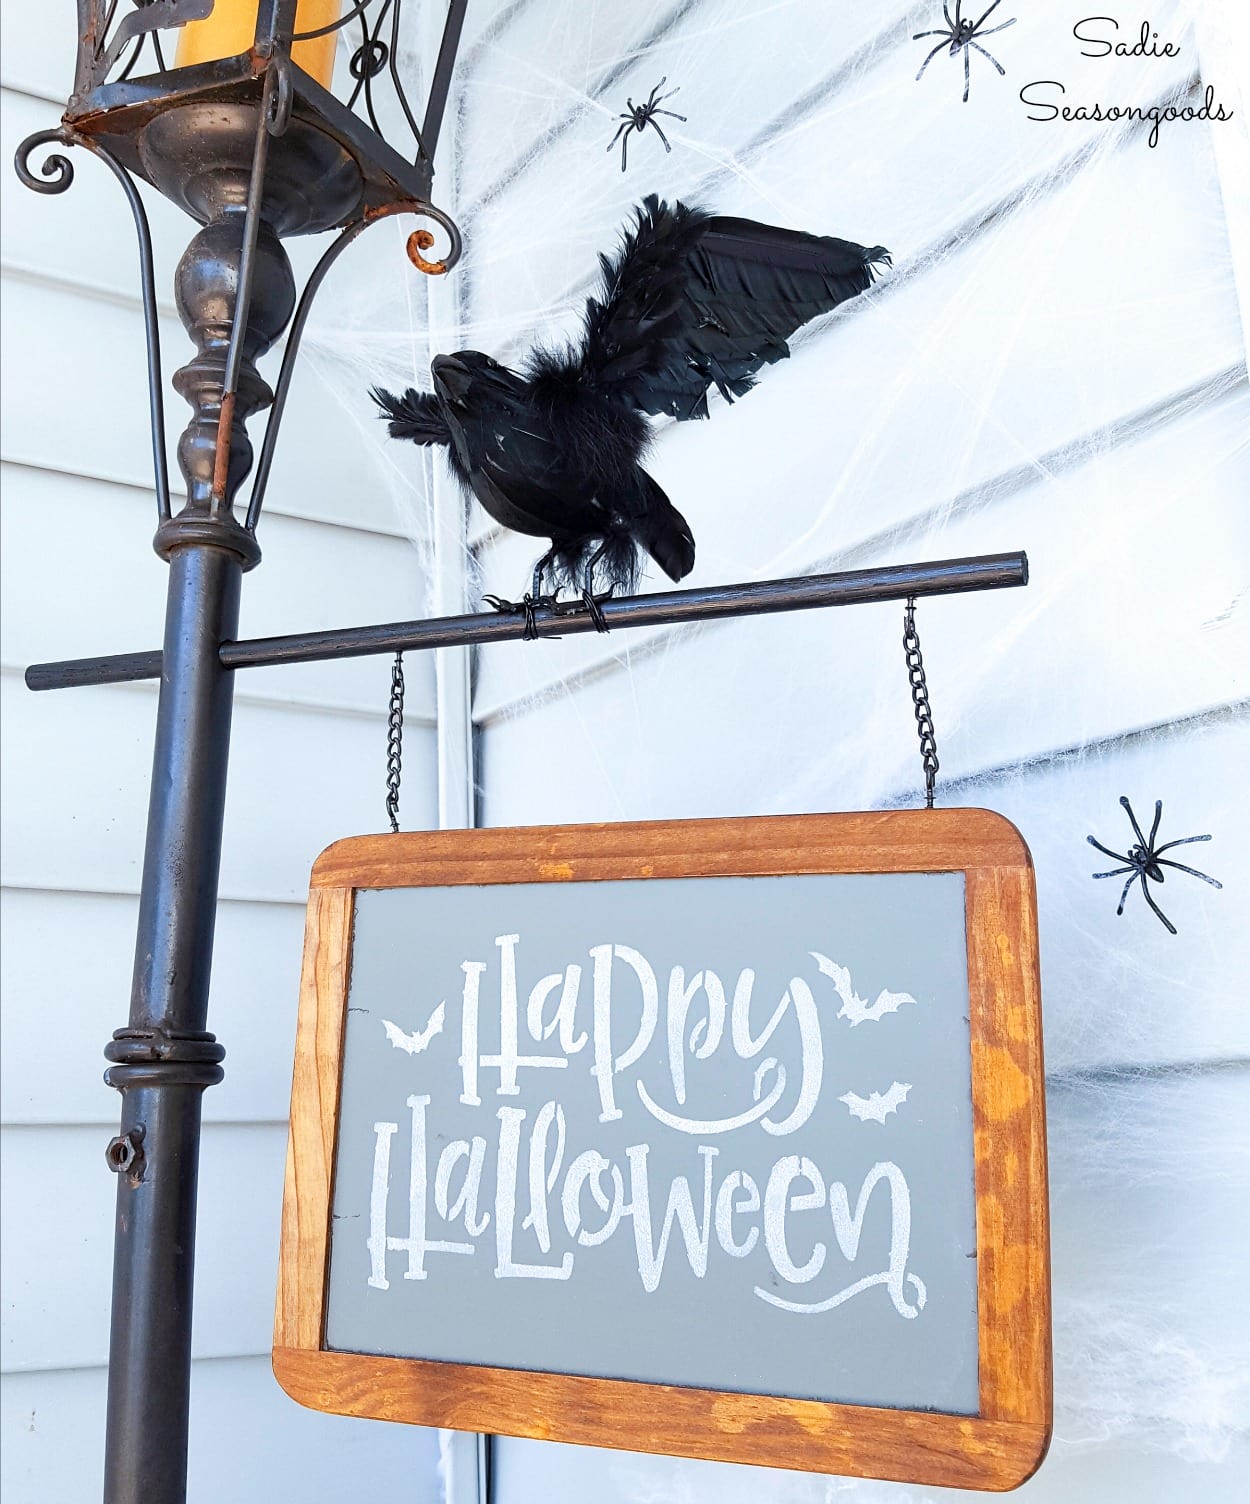
Of course, my Halloween lamp post needed some additional embellishments. So, I also added fake spiderwebs to the corner of my porch, a flying crow to the Halloween sign dowel, and a fat yellow candle inside the lantern.
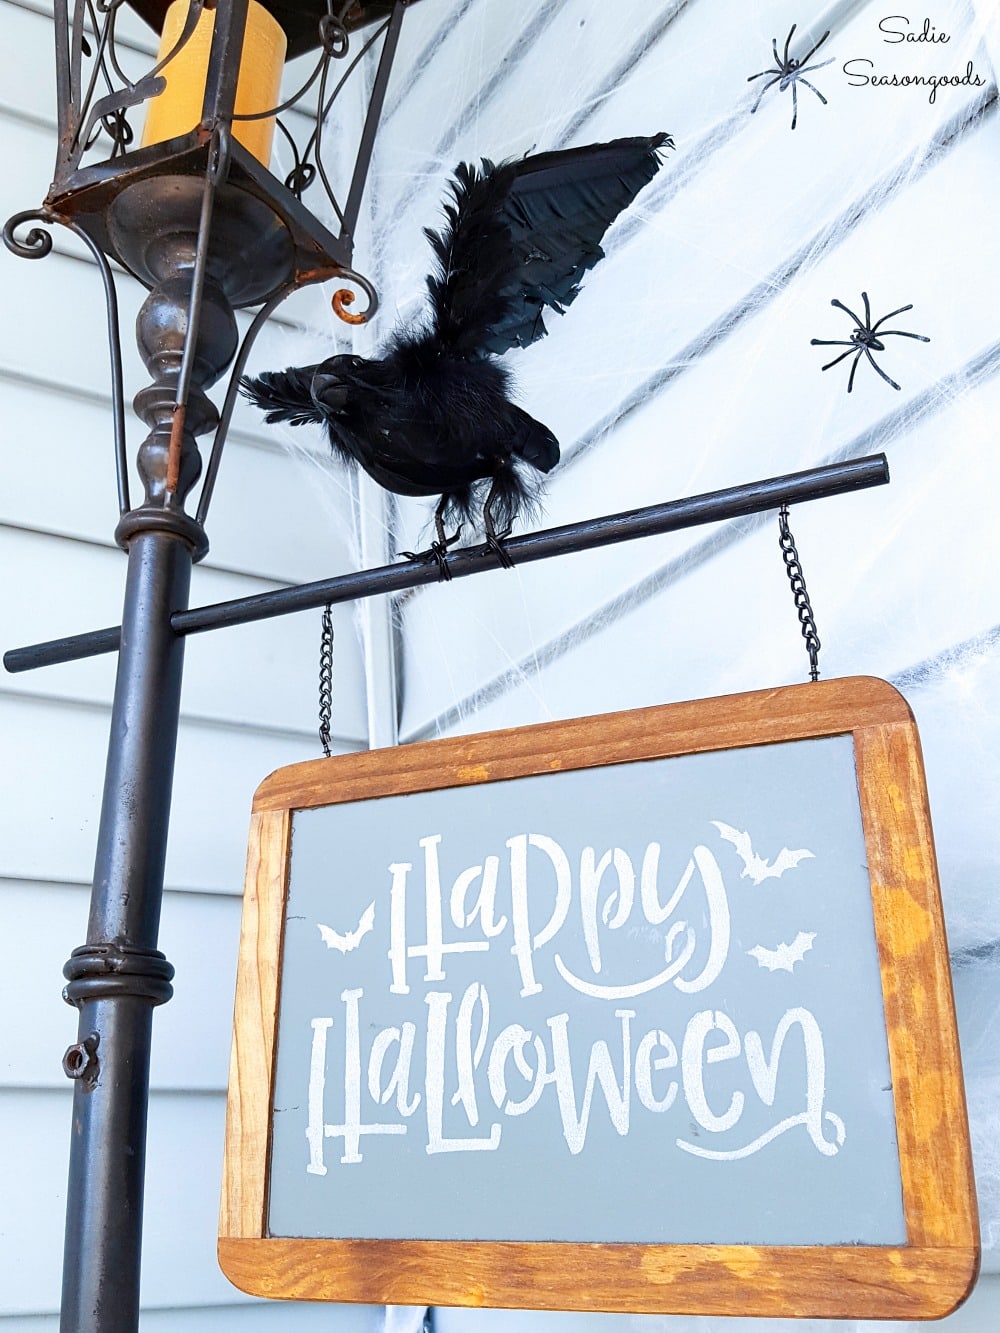
It has such a Hitchcock feel to it with the addition of the crow, doesn’t it? I love vintage Halloween decorations, and this fits right in with my decorating motif.
And because I used liquid chalk on the Halloween sign, I can easily erase it (wipe it off). Then, I can use the blackboard sign all year long!
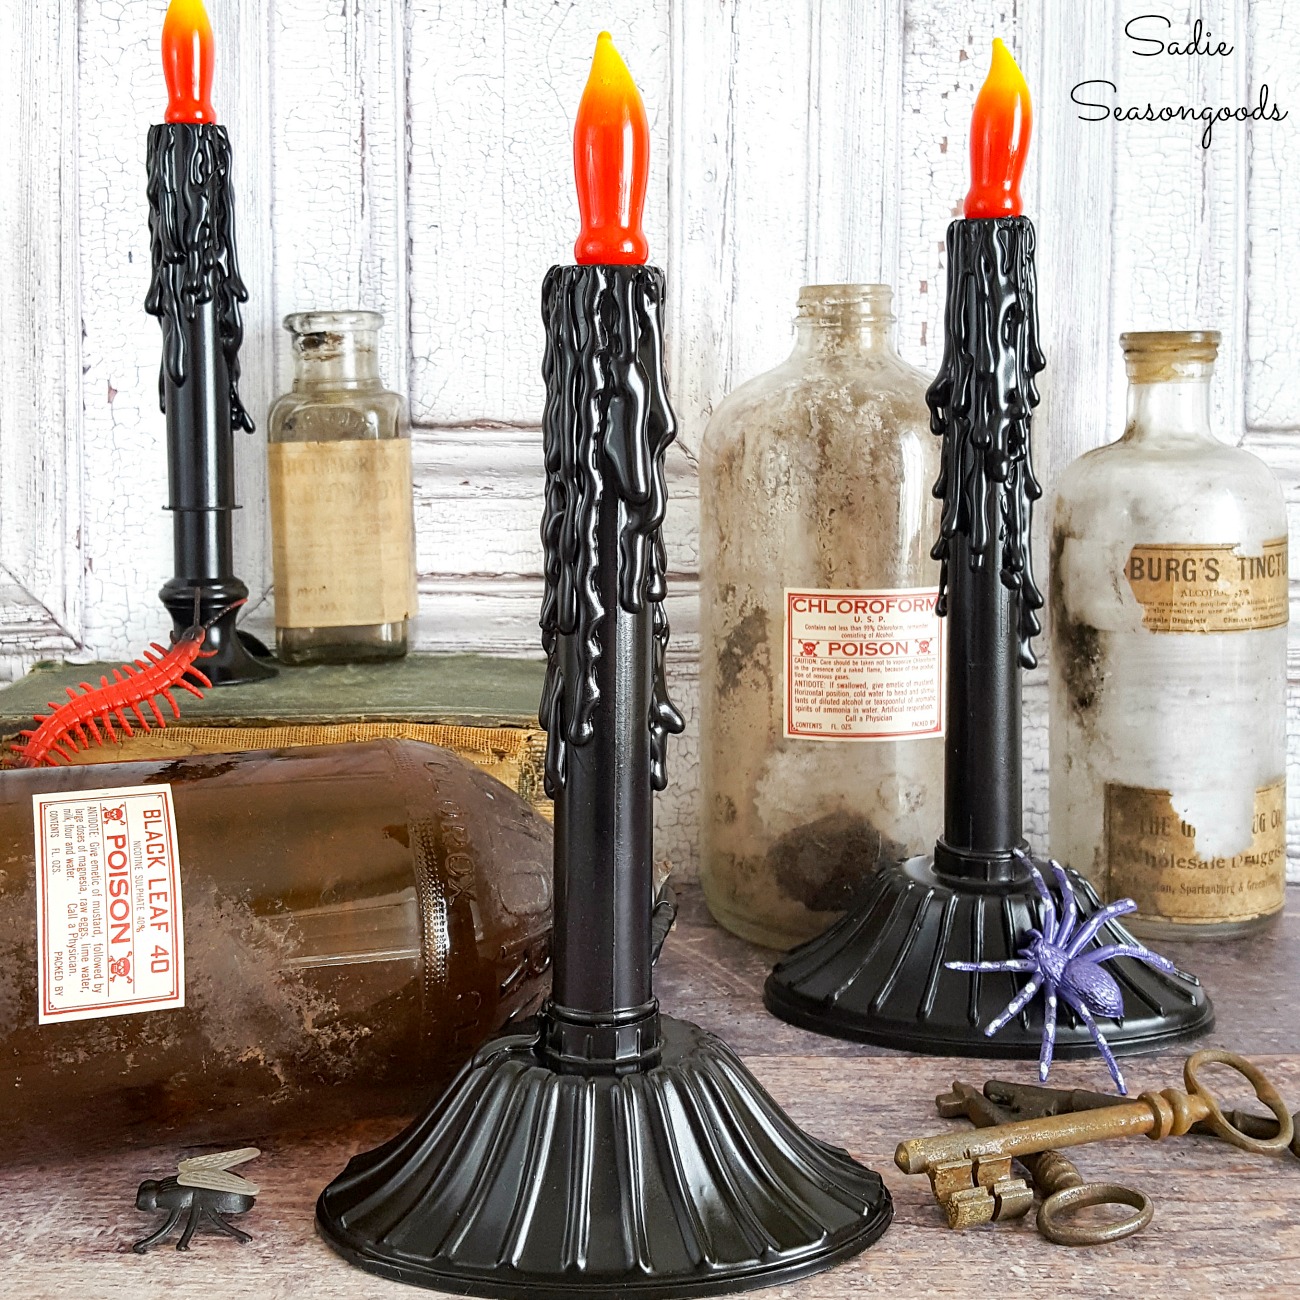
If you enjoyed this upcycling idea for spooky Halloween decor, then you’ll love these spooky candles made from Christmas window candles, too!
Craft on!
S
Want to be notified when I publish my next upcycling project tutorial?
Join me on Social Media:
PIN ME!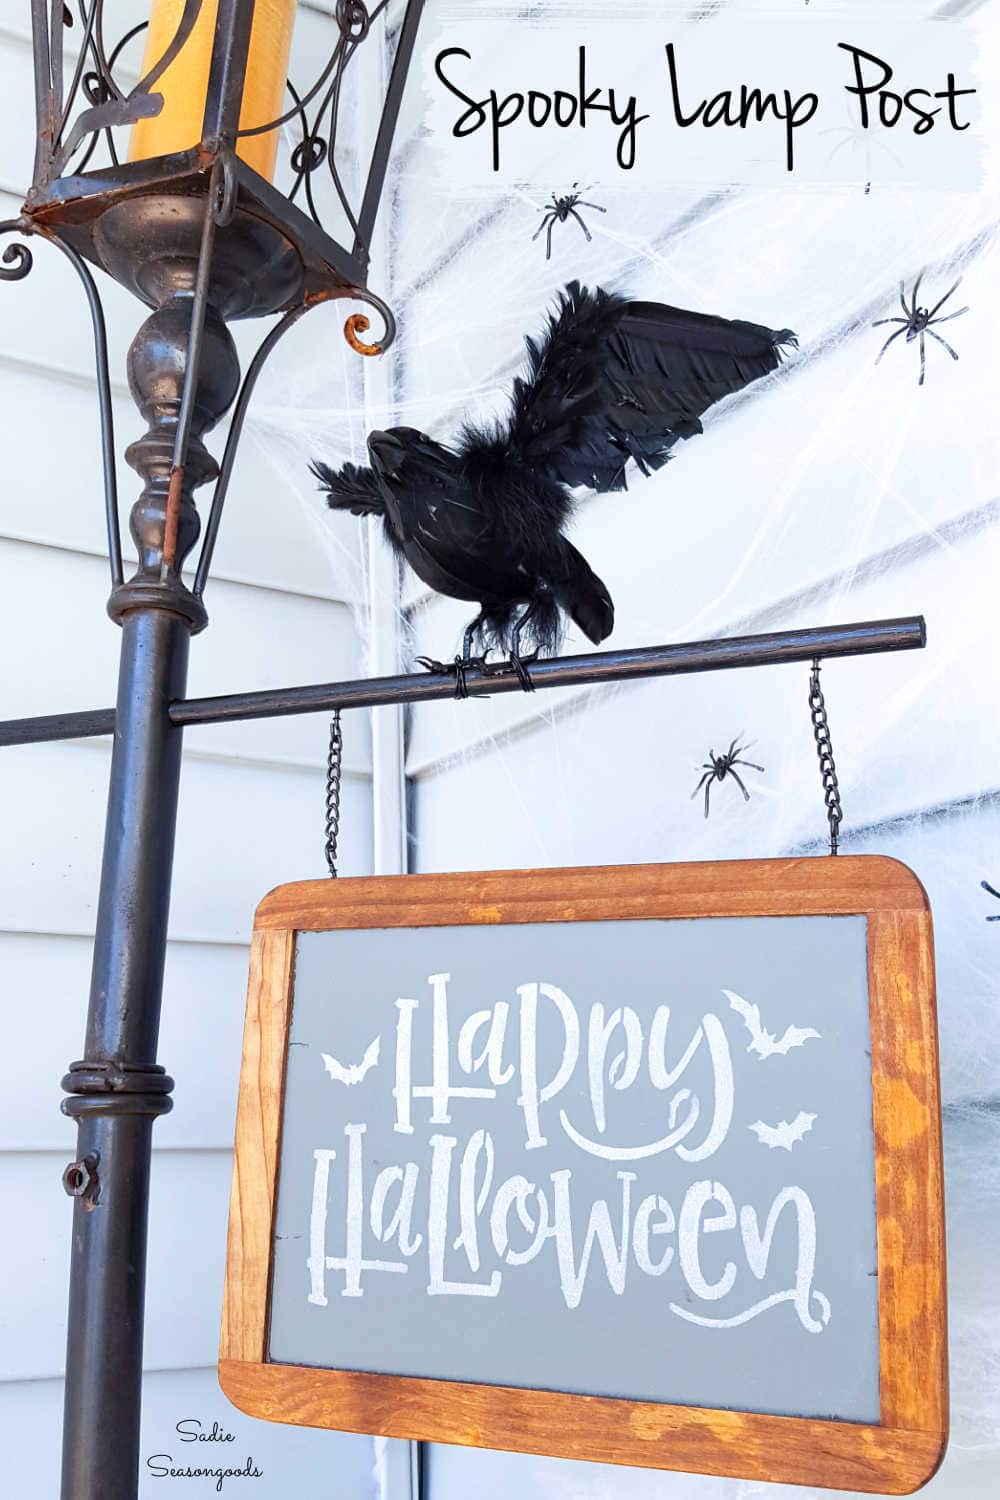
Sarah Ramberg is the owner of Sadie Seasongoods, a website that celebrates all things secondhand. From upcycling ideas and thrifted decor to vintage-centric travel itineraries, Sadie Seasongoods is a one-stop shop for anyone who loves thrifting and approachable repurposing ideas. Sarah is also the author of “Crafting with Flannel” and has been featured in numerous media outlets and magazines.






LOVE, LOVE,LOVE this!! I definitely would have stopped and picked up those candle holders!! You have trained your hubby well!! LOL!!
Hugs,
Debbie
He is such an amazing blog partner, I’m a lucky gal! Thank you so very much. 🙂
You lucky thing! What a great find, and I’d have snapped them up too. So clever, making the Halloween sign, the bird is the perfect touch!!
Thank you so much, Carole!
Such a lucky, love it Sarah!!!
Wow, does this look great!
Thanks, girl!!
Your lamps turned out so cute. Kudos to hubby for finding such a deal. I wouldn’t have thought to use the stencil and liquid chalk, will certainly try it.
Thank you, Leanne!
You always come up with the best ideas for repurposing your finds. This repurpose it one of my favorites.
Thank you, Sharon!!
Thanks for sharing at Snickerdoodle!
I just love it all so much! Great ideas!
Thanks, Amberly!!
How lucky you are to have Mr. Seasonsgood on YOUR side. My boyfriend does not SEE roadside stuff and most yard sales at all. I am still waiting for him to redrill holes in a teacup rack so I can replace the broken cup sticks! He does make nice noises about finished projects, though. I have taught him and my son the required response: “OOOOhhhhh, aaaaahhhhh.”
He’s pretty wonderful, that’s for sure- thank you so much!!!
Perfectly spooky is right Sarah. Love how this sign turned out and that crow is just the best. Please take a picture when the little ones come trick or treating. I would love to see their faces when they see all the things you’ve put up
Thank you so much, Michelle!
This turned out so good, Sarah and the flying crow couldn’t be a more fitting embellishment! Your house must look amazing for Halloween.
Thank you so much, Marie!!
I LOVE your decoration for Halloween! You are creative and talented!
Awww, thank you, Natalie!
So jealous of your cool lamp post. What I great idea to highlight your cool find.
Thank you, Trish!
Great look and love how you made this great looking vignette with used parts.
Thanks!
You have such cute ideas! I’m hoping I can find a similar light post, because I really need to have one of these!
Thank you, Cherryl!
You can’t beat free and this is so fun! Thanks for sharing @Vintage Charm!
Thanks, Cecilia!
Those posts are awesome! I am green with envy! I love the finished project. I’m planning to make a Halloween wreath that has blackbirds or crows on it. I’m wondering where you found that flying bird on your lamp post. Mind telling?
Sounds great, Naomi! I bought that bird at Michael’s last year- not sure if they have them again this year, but definitely worth a look.
I really loved your mantle, just loved it! I also loved the Halloween lamp post and candle sticks, who would have thought to do that, not me, but now I might pick some up next time I see them at the thrift store!!! Thanks so much for sharing all your wonderful ideas! You are very talented for sure!!!
Thank you so much, Carmen, I’m so glad you are enjoying them. Halloween is my favorite holiday so I love to find new upcycling projects to celebrate it!